Movavi Screen Recorder
The perfect way to record anything from your screen
Disclaimer: Please be aware that Movavi Screen Recorder does not allow capture of copy-protected video and audio streams.


Can you screen record on a Chromebook? Yes! In fact, there are a few ways to do it. Let’s walk through how to screen record on a Chromebook with audio, some options available to get the job done, and how to determine which is right for your next video project.
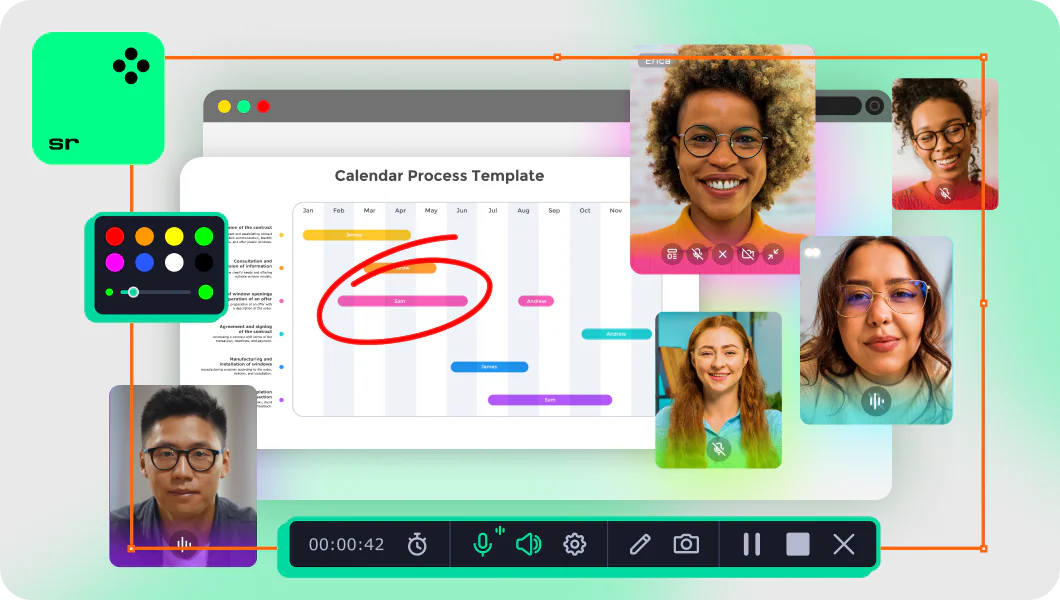
If you’re looking for a screen recorder for your PC or Mac, our pick is Movavi Screen Recorder. It’s compatible with HP, Dell, and other computers that run Windows. This robust platform includes a free trial period and allows users to record live webinars and presentations, create tutorials and videos of their own using screen activity, and capture webcam footage as well. Plus, it includes some key video editing features and tools that allow users to polish their video projects without using a third-party video editing platform.
Key features:
Our goal is to provide you with only verified information. To ensure this, Movavi Content Team does the following:
The team tests all the products mentioned in this article.
When testing, we compare the key characteristics of the products, which include selecting capture area, schedule recording, showing keystrokes and mouse, and other significant features.
So, how do you screen record on a Chromebook? One way is to use hotkeys to activate the native screen recorder for your Chromebook.
Hold down Shift + Control + Show windows (on the right side of your keyboard, the key with the icon of a rectangle with two lines).
From the menu at the bottom of your screen, select Screen record.
Select your preferred recording parameters (Window, Partial screen, or Full screen). Once you make your selection, your recording will begin.
When you’re done, hit the Stop recording button.
If you have Chrome OS 89 or newer, it comes with a built-in Chromebook screen recorder that you can use to grab quick videos of your screen activity without any extension. Here’s how to screen record on a Chromebook with audio using this feature:
Open your Quick Settings panel by clicking on the clock on the panel at the bottom-right corner of your desktop screen.
At the upper right of the panel, click the up arrow (if the panel isn’t already expanded).
Choose the Screen Capture button to open the Screen Capture toolbar.
Once the Screen Capture toolbar opens at the bottom of your screen, you can start recording immediately.
On the left of the toolbar, you’ll see an option to take a screenshot (a photo camera icon) or record your screen (a video camera icon), but don’t hit record just yet.
Before you start recording, choose how much of your screen you want to record. To the right of the Record button, you’ll see three icons: Full screen, Partial screen, and Window. Select the one that best fits your needs.
To ensure that your audio settings are correct, click on the Settings gear to the right of the parameter icons. Then choose whether you want to record your microphone along with system audio.
Now, hit the Record button, and when you’re done, hit Stop to finish and save your video.
Here’s how to record your screen on a Chromebook with a browser extension:
When you get done recording your screen with the built-in program, a prompt will appear that says “Screen recording taken.” Click on the prompt where it says “Show in folder” to find your recorded video. If you miss this prompt, though, don’t worry. The program automatically saves to the Downloads folder. You can find your videos there.
Screen recording on a Chromebook without sound is pretty easy, as the program defaults to recording without audio. You can capture a still of your screen or take a video of your screen without audio in a few simple steps:
Press Shift + Control + Show windows or click on the panel at the bottom of your screen to open Quick settings.
From the menu, choose the Screen record icon.
Choose whether you want to record a window, partial screen, or full screen.
Click on the video camera icon to take a screen capture video or the photo camera icon to capture a still shot of your screen.
When you’re done recording, just click the Stop recording button.
Now, let’s talk about how to stop screen recording on your Chromebook. When you start your screen recording, the Record button will disappear and should be replaced by a red Stop icon. When you’re done with your recording session, your video will automatically save in the Downloads folder.
How to choose the best method of screen recording on a Chromebook
You should now have all the info you need to learn how to record your screen on a Chromebook. While you don’t necessarily need to download an external program or install a browser extension, you may want to consider how you’ll use your videos and what features and tools you’ll need for your screen recording projects. Keep these things in mind as you consider the best option for you:
Will you need to edit your videos? Look out for a program that includes tools to edit screen recordings, it will help you save time and create a polished final video.
Do you want to include a webcam overlay in your videos? The built-in screen recorder will record your Chromebook screen, but it doesn’t make it easy to record your webcam footage and include it in your presentation.
How much do you like the user interface of your screen recorder? The native screen recorder is relatively easy to use, but it’s not the most user-friendly option available. Do you like its price tag (free) enough to give up a more intuitive experience with more features and tools?
Best ways to screen-record on a Chromebook
Summary
We hope this article has helped you answer the question “how to screen record on a Chromebook with audio”. If you’re still not sure which option to pick for your school project or content creation, try out Movavi Screen Recorder.
Movavi Screen Recorder
The perfect way to record anything from your screen
Disclaimer: Please be aware that Movavi Screen Recorder does not allow capture of copy-protected video and audio streams.
Frequently asked questions
On your personal or school Chromebook, hold Shift + Ctrl + Overview. At the bottom of the screen, choose Screen record from the available options. To record part or all of your screen, select the appropriate icon for Full screen, Partial screen, or Window. When you’re ready, click the Record button, and click Stop when you’re done.
The built-in Chromebook screen recorder defaults to recording video without audio. To record with sound, just click on the Settings cog and turn on microphone recording for your video.
See other useful how-to guides
Join for how-to guides, speсial offers, and app tips!
1.5М+ users already subscribed to our newsletter