Movavi Screen Recorder
The perfect way to record anything from your screen
Disclaimer: Please be aware that Movavi Screen Recorder does not allow capture of copy-protected video and audio streams.


Some Mac users face a common screenshot on a Mac not working issue. If you are also facing the same problem, this article can help you with useful solutions.
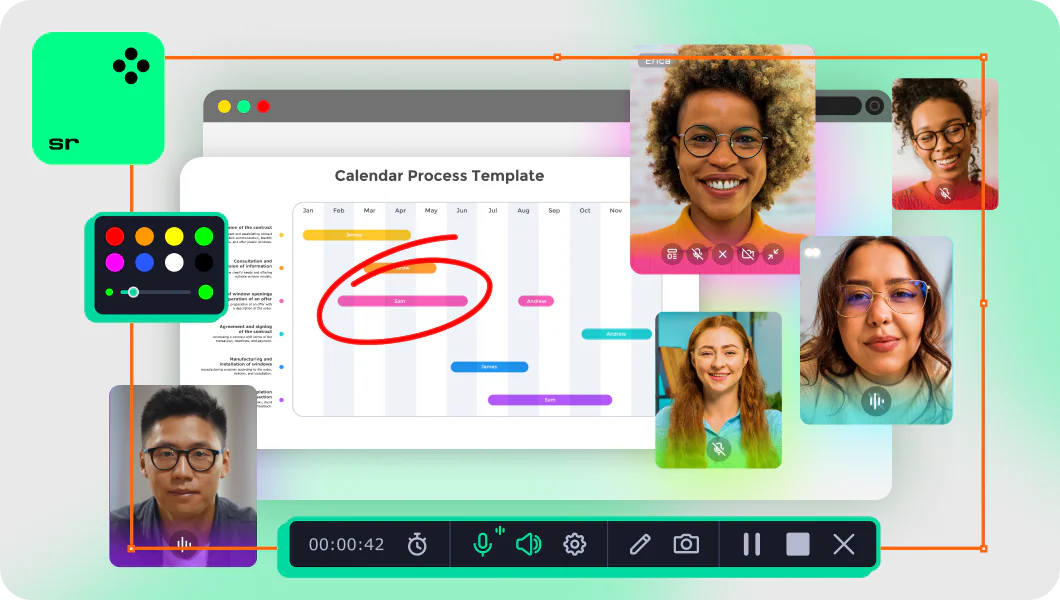
Movavi Screen Recorder can be a great option when you need to take screenshots on your Mac without any hassle. The application is easy to use, and it comes with great features. Among them is a very useful ability to take scrolling screenshots. It will also let you edit your screenshots with ease.
At Movavi, we’re committed to providing you with verified information only. Here’s what we do to ensure this:
When selecting methods to include in our reviews, we research both demand and popularity.
All the methods of fixing troubles with screenshots on a Mac that we mentioned in this article have been tested by Movavi Content Team.
When testing, we aim to highlight the best features of a method and what it’s best suited for.
We study user reviews from popular review platforms and make use of this information when writing our reviews.
We collect feedback from our users and analyze their opinions of Movavi software as well as products from other companies.
Wondering “Why is my screenshot not working on a Mac?” Here are some solutions if you face the screenshot not working on a Mac problem.
The majority of users take a screenshot on Mac using the keyboard shortcut. Sometimes the keyboard settings might not be right, which can cause a screenshot on your Mac not working. So, if Mac screenshots are not saving to the desktop, you will need to recheck your keyboard settings. Here’s how to fix it:
Click on Open System Preferences using the Dock Apple menu.
Click on Keyboard and then Shortcuts.
You will get a list of options.
Select all the options and save them.
See if you can take screenshots.
A benign system error might cause a screenshot on your Mac not working. So, restarting the MacBook can help. To restart, click on the apple icon that you can find in the top-left corner of your screen. Click on Restart. It can also help if you check your system for updates.
Go to System Preferences.
Click on Software Update.
Your system will start checking for updates.
If any update is available, click on Update Now.
If your Mac is not taking screenshots, you can go for Movavi Screen Recorder. It can help you take easy screenshots. Also, the application allows users to record their screens. You need to download the application, install it in your system and select the area you want to capture. Movavi Screen Recorder has various editing features that let you edit your screenshots. You can add lines, texts, shapes, arrows, and clip screenshots on Mac.
NVRAM is a kind of computer memory that stores basic information about your system settings like time zone, volume, screen resolution, and many more. Resetting NVRAM can solve the issue if you face a problem while taking screenshots on your Mac. Resetting NVRAM is quite a simple task. You will need to start by shutting down your Mac. Restart the system again using the power button. As you hear the startup sound, press at once – Command + Option + P + R on the keyboard. You will need to keep the keys pressed for about twenty seconds. Even if a screenshot on your Mac is not working after this, keep reading.
A common reason behind the Mac screenshot not working issue could be the applications you have in your system. Or it could also be due to malware that is not allowing your system to take screenshots. If you want to test this out, you will have to start your system in safe mode to find out if your Mac can take screenshots. To do this, shut down your Mac and wait for about twenty seconds. Restart the system and press Shift. Keep holding the key until you can see the login window. You can see Safe Boot at the top right of the screen as you log in.
When your system has malware, it might result in a screenshot not working on your Mac. If you feel this might be the case, it is important to take the necessary action as soon as possible. To remove malware from the system, uninstall new programs, clean the system, and optimize Mac.
If any previous solutions cannot fix your problem of a screenshot not working on a Mac and you need to take it urgently, you can go for Grab. It is an application that comes in-built with Mac. You can use Grab to take a screenshot of a screen area, an entire screen, or an individual window. Here are the steps to follow.
Go to Applications.
Click on Utilities.
Search and open Grab.
Click on Capture.
You can now take screenshots according to your need.
Preview is another default tool you can use if a screenshot on your Mac is not working. It also permits capturing screenshots by clicking on the toolbox icon. Here are the steps to follow.
Click on Preview.
Go to File. A drop-down menu will open.
Click on Take Screenshot.
You will get the option to select a certain area on the screen, capture the entire screen, or capture a window.
You will know that when you take screenshots on Mac, it’s appearing on the desktop by default. But if you change the saving location by mistake, you will not be able to find the screenshots. However, it doesn’t mean that screenshots on your Mac are not working. Here are the steps to determine the saving location on Mac.
Start by launching the screenshot application from Option.
Find the saving location of your screenshots.
If it is any other location, change it to desktop.
The Preference file can cause macOS screenshot not working. If that is the case, you will need to move it to the desktop and find out if the screenshot function is working or not. Here are the steps to follow.
Start by opening Finder and Go.
Select Go to the folder and enter ~/Library/Preferences/.
You will need to search for the file
-com.apple.ImageCaptureApp.plist.
Now, move this file to the desktop.
Restart the system.
Check if you can take screenshots now.
If your Mac is still not screenshotting, delete the file from the desktop.
If you use Dropbox on your Mac, you will need to set it up so you can save your screenshots to Dropbox instead of on the desktop. To check the necessary settings, you will have to open Dropbox. Click on Backups. Check if the box right next to Share screenshots and screen recordings using Dropbox is checked or not.
Screenshots on Mac not working can seriously cripple your experience while using the system. Screenshotting can help you save images without large files, create visual stories, and so on. There is good news for you. You will not need to think about how to turn on screenshots on Mac, as it comes as a default feature. You will only need to remember the key combinations to take screenshots.
You can use any of the above combinations according to your need. The tool comes in handy for quick and easy screenshots.
You can also use Movavi Screen Recorder as a screenshot tool for a Mac. Download and install the program and follow the instructions below.
Taking screenshots on a Mac is not tough as it comes as an in-built feature. But you might sometimes face problems that cause screenshots on your Mac not working for various reasons. You can use the solutions from this article to deal with the problem of Mac screenshot not working. Also, you can use third-party applications like Movavi Screen Recorder for hassle-free screenshots.
Movavi Screen Recorder
The perfect way to record anything from your screen
Disclaimer: Please be aware that Movavi Screen Recorder does not allow capture of copy-protected video and audio streams.
Frequently asked questions
There is no need to enable the screenshot feature on a Mac as it comes as a default setting. You can use the following combinations to take screenshots.
Command + Shift + 3 – full-screen screenshot
Command + Shift + 4 – area screenshot
Command + Shift + Space + 4 – window or menu screenshot
Why won't my Mac screenshot? There could be various reasons that can cause a screenshot on your Mac not working. Some common reasons are:
Your keyboard settings might be different, which causes shortcuts not working. Check it to ensure that all the shortcut options are perfect.
Your system might have some malware. It might get into your system easily as you download a new program or software.
The saving location of your screenshots might be different. By default, the saving location for screenshots is the desktop.
If a built-in screenshotting tool doesn't work, it might be due to following reasons: NVRAM is malfunctioning and you should reset it, applications affecting the screenshot function, or the Preference file.
There are many reasons why your MacBook Air isn’t screenshotting. Dropbox settings might force the screenshots to be saved to Dropbox or there may be a system error that you can fix by restarting the MacBook.
FIrst of all, check if Command + Shift + 3 is enabled. Open Keyboard preferences and open the Screen Shots tab. Make sure the appropriate checkboxes under the Screen Shots tab are checked.
See other useful how-to guides
Join for how-to guides, speсial offers, and app tips!
1.5М+ users already subscribed to our newsletter