Movavi Screen Recorder
The perfect way to record anything from your screen
Disclaimer: Please be aware that Movavi Screen Recorder does not allow capture of copy-protected video and audio streams.


Want to know how to take a partial screenshot on Windows 10? Here, you’ll learn about 6 different tools for a partial print screen on Windows.
At Movavi, we’re committed to providing you with verified information only. Here’s what we do to ensure this:
When selecting products to include in our reviews, we research both demand and popularity.
All products mentioned in this article have been tested by Movavi Content Team.
When testing, we aim to highlight the best features of a product and what it’s best suited for.
We study user reviews from popular review platforms and make use of this information when writing our product reviews.
We collect feedback from our users and analyze their opinions of Movavi software as well as products from other companies.
Best for: screenshotting and screen recording
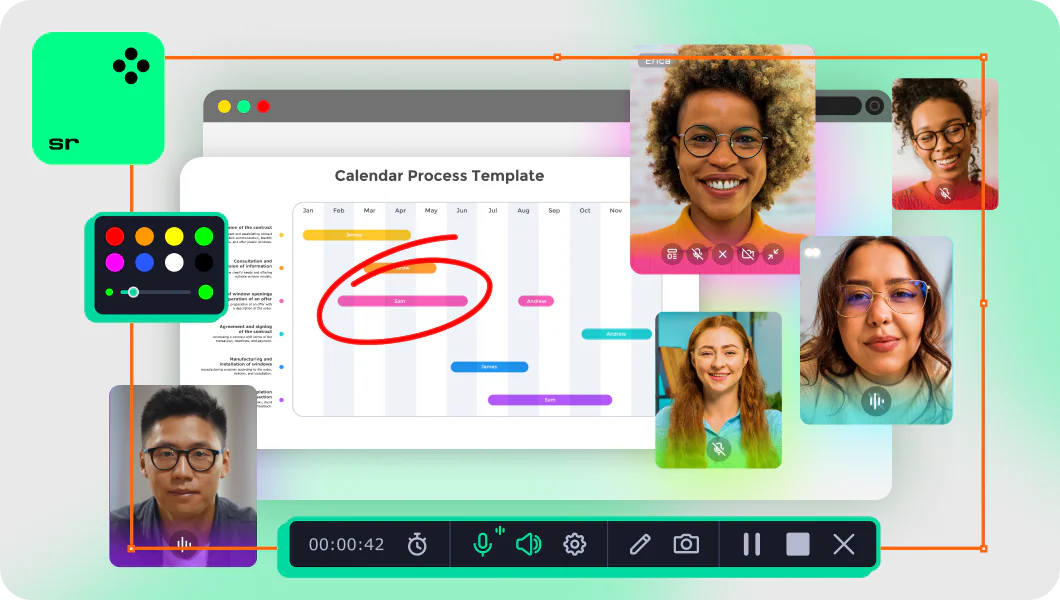
Movavi Screen Recorder lets you easily make a partial screen capture on Windows 10. You can adjust the capture frame manually and select any part of the screen. If you want to take a screenshot of a window, simply hold the mouse cursor over this window, and the capture frame will adjust automatically. Movavi Screen Recorder also offers drawing tools – you can add lines, arrows, frames, and text to your screenshots.
Here’s how to use Movavi Screen Recorder for Windows to capture a part of your screen:
Launch the app. Click Screenshot on the sidebar or press F8.
Specify the part of the screen that you want to capture.
Use the drawing tools if needed.
Save the screenshot. You can save it to your computer as a JPG image, copy it to the clipboard, or share it.
Best for: one-click screenshotting
Another option is to use hotkeys on Windows to screenshot a part of your screen. It’s a convenient way to take a screenshot since you don’t need to install any software. This Windows shortcut lets you choose a form for your screenshot – rectangular or free-form. After you’ve captured a snip, it will be copied to the clipboard. You can paste in an image-editing app like Paint and then save it to your computer.
Here’s how to screenshot a part of your screen on Windows 10 using shortcuts:
Press Win + Shift + S.
Select the part of the screen you want to capture.
Paste the snip in an image editor and make necessary edits.
Save your screenshot.
Best for: editing screenshots
Snipping Tool is a built-in Windows app for capturing and editing snips. The app lets you draw and write on your screenshot. Snipping Tool also offers an option to print a part of your screen.
Here’s how to capture a part of the screen on Windows with Snipping Tool:
Open the program and select the desired option from the Mode drop-down list. You can choose Rectangular Snip, Free-form Snip, or Window Snip.
Then click New and select the capture area.
Edit the screenshot with the Pen and Highlighter tools.
Click Save Snip. Select the output folder, enter the file name, and hit Save.
Best for: cropping screenshots
Snip & Sketch is another Windows app that you can use to capture snips. This app offers useful editing tools. It lets you draw on your screenshots using Pen, Pencil, and Highlighter. Using Ruler, you can draw a straight line on your image. You can also crop your screenshot if needed.
Here’s how to use Snip & Sketch on Windows for partial screenshots:
Open the program and click New.
Select the area for capture.
Annotate and crop the screenshot if needed.
Click Save As and select the folder where you want to save the snip.
How to capture a part of a screen with ScreenRec
Best for: increasing productivity
ScreenRec allows people to be more productive through the ability to quickly record and share video and audio messages and screenshots. With a click of a button, you can capture your computer screen. This freeware allows you to annotate your screenshots by adding comments or highlighting important sections of your image to make them stand out.
How to take a partial screenshot with ScreenRec:
Launch the app and press Alt + S.
Drag the frame over the capture area and click the leftmost camera icon.
Annotate the screenshot if needed.
Use the icons in the lower part of the window to save the screenshot, get a shareable link, or copy the image to clipboard.
How to use PicPick to take a partial screenshot
Best for: users who want a screenshot tool for graphic design
If you’re looking for a mix of image editing tools and screenshot capabilities, PicPick is an excellent choice. The program can capture your screen in many ways, including scrolling screenshots, screenshots of active windows, specific regions, and your entire screen. You can also capture freehand, delay capture, and show the cursor on the image.
How to take a partial screenshot with PicPick:
Open PicPick. In the Screen Capture section, select Region.
Hold the left mouse button and drag the frame over the capture area. When you are satisfied with the result, release the left mouse button to take a screenshot.
Edit the screenshot if needed.
Click the Save icon in the upper-left corner of the program window.
How to choose screen capture software
We hope that this guide has given you enough ways to take a partial screenshot to choose your favorite. If you're still not sure about the preferred method, here are some simple factors to keep in mind:
Ease-of-use: Ensure that the tool is simple and straightforward. Nobody wants to spend hours working out how to use the functions for a simple screenshot.
Features: Some screenshot methods are very basic and will just copy a screenshot to your clipboard for you to paste and save in another program, but others are full-scale programs that provide editing tools, multiple sharing options and screenshot modes including scrolling screenshots. Make sure you’ve got all the features you need.
Price: Find a screenshot tool or application that is within your budget. Remember that there are plenty of free screenshot tools available, but you may want to pay for extra features and functions.
Support: It’s generally better to use an app with accessible customer support. It’ll help you out in case of trouble.
Taking a screenshot requires just a couple of clicks. The tools we’ve described above let you not only capture snips but also edit them. Try the apps and decide which one you like best. We recommend Movavi Screen Recorder – with it, you can easily capture your screen, edit screenshots, and share your snips. And the app also lets you record your screen with sound.
Movavi Screen Recorder
The perfect way to record anything from your screen
Disclaimer: Please be aware that Movavi Screen Recorder does not allow capture of copy-protected video and audio streams.
Frequently asked questions
To take a partial screenshot, try Movavi Screen Recorder.
Download and launch the app.
Download Movavi Screen Recorder
Click Screenshot.
Select the area for capture.
Draw on the screenshot if needed.
Save the image.
When you use Windows hotkeys to take a screenshot, the image is copied to the clipboard. You can then paste it in an image-editing program and save it to your computer.
Popular
Join for how-to guides, speсial offers, and app tips!
1.5М+ users already subscribed to our newsletter