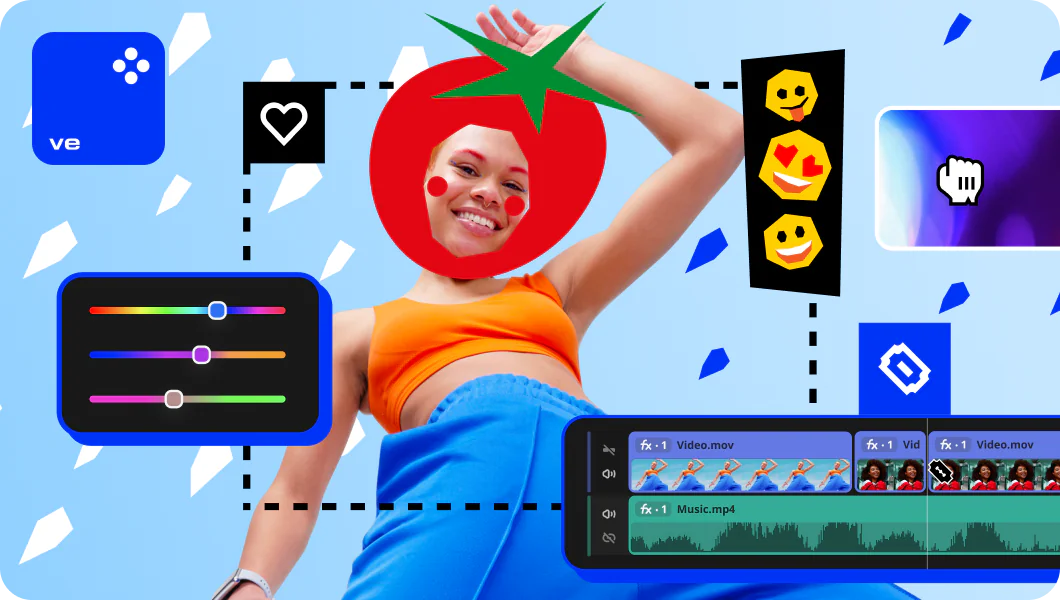
How to Make Stop-Motion Videos

Edited by Ben Jacklin
21 650

Read this article to find out!

  • What is stop motion?

  • How to do stop motion
  • How to use a stop-motion video editor
  • How to make stop-motion videos on an iPhone

Stop-motion video is an exciting form of animation that uses real objects instead of drawings or computer renderings. It can be a fun and creative way to tell the stories you want to tell. With modern tools, this beloved art form is available to storytellers of all budgets and skill levels. In this post, we’ll talk a little about the history of stop motion and then take an in-depth look at how to make stop-motion videos of your own. In addition to the basics of how to do stop motion, we’ll go over some tips and tricks to help your animated still photos look more lively and professional, just like those stop-motion movies you watched growing up.

What is stop motion?

Stop-motion video is a simple animation technique that has been around almost as long as motion pictures themselves. All video relies on a series of still images being played back fast enough to give the illusion of adding motion. Still, most video captures the actual motion of animate objects. Stop-motion video relies on inanimate objects, such as toys or clay figures, that are moved by an animator between each frame and photographed. The first known commercial stop-motion film was made in 1898. It was called The Humpty Dumpty Circus and was produced by animating a toy circus. It’s suspected that the technique was used before that in DIY animations by hobbyists that didn’t have commercial releases.

From the 1950s and up until 1981’s Clash of the Titans, the technique was also mixed with live-action footage as a precursor to what is now accomplished almost entirely with CGI. Perhaps the most famous examples of stop-motion animation are the children’s shows produced with clay figures. Known colloquially as claymation, these shows include Gumby and several holiday-themed specials. Several major motion pictures were made with the technique in the 1990s, such as The Nightmare Before Christmas, Chicken Run, and James and the Giant Peach.

Because of the amount of work involved, this alternative way to animate video often has a much lower frame rate than a typical video would have, giving it a distinctive look that has become part of the appeal.

How to do stop motion

Making these types of videos used to require special equipment if you wanted results that rival what the professionals do. With modern video-editing equipment, it is easy to import pictures taken from any digital camera and sequence them into a video. This means that high-quality stop-motion animations can be made even with the phone in your pocket. You can find many detailed stop-motion tutorials online that will cover every aspect of stop-motion film-making, but this post will show you the basics of how to make a stop-motion animation so you can get started quickly. Despite being a quick overview, we’ll still cover every aspect of the process in this how-to. Stop-motion animation production starts before you’ve even picked up the camera or got your props ready. Let’s take a look at how to create a storyboard to prepare for your stop-motion film-making journey.

Making a storyboard

All professional productions begin with storyboards, so the director knows exactly what types of shots they will need. This is even more important for animation because redoing a scene can take a very long time due to the amount of work required for each frame. A good storyboard ensures that you’ll get your shots right the first time, so you aren’t scrambling to redo hours of work after discovering things didn’t work as well as you’d hoped. Below are some steps you can take to make the perfect storyboard. To create one, you can use special storyboarding software, or just draw everything using paper and pencil.

  • Break down the scenes – Before you can storyboard your scenes, you have to know what they are. It’s possible you created an outline of all your scenes during the process of creating the script. If not, then now is the time to get the script out and start going through it page by page. Each time you get to a new scene, write down the location, time of day, and a brief description of what is going on to give you an idea of how to frame the shot.
  • Sketch the characters – Your characters are the focal point of your story. Every shot should be designed around framing them in the best possible way. For that reason, your storyboard frames should start with only the characters in them. Remember, you don’t have to be an artist to make a storyboard. You aren’t making a comic book. No one outside of production needs to see the storyboard. So don’t worry about creating the perfect representation of your characters. Blobs, the general size and shape of the characters will work just fine.
  • Add the background – The characters being the focal point doesn’t mean that a basic background isn’t important for your storyboards as well. Eventually, you’ll have to create your set, and the storyboards will help tell you the major props that you’ll need to acquire or create in order to do that. Go back and add background elements to your frames, taking care to make sure that the characters are never upstaged by the background.
  • Flesh out the details – Your storyboards may not be a comic book, but that doesn’t mean they can’t convey useful information. After getting everything blocked in the way you want it, you can start adding some details. This doesn’t mean aesthetic details, such as those that a production-ready drawing may have. Instead, add details that convey information to the person who will be setting up the shot. What color are the walls? Are the characters wearing any unique articles of clothing? You can represent these details in a simple fashion; just make sure they are represented.

Setting up the camera

Making animation pictures is not the same thing as snapping some photos for your Instagram. A great deal of care must be taken to ensure that each image is as similar as possible to the one before it, except for whatever movement has been added to the scene. To make a convincing animation, the viewer needs to believe that the frames were captured within a fraction of a second from one another. Any deviation in the camera will create unnatural movement or focus. Your stopmotion maker likely has some tools to help with color grading that can fix minor mistakes, but those will never be perfect, and they will be very time-consuming if all of your frames need to be fixed. Therefore, it is crucial to carefully set up your camera and capture the shots correctly to save yourself headaches later on.

The first step to ensuring good, consistent shots is to use a tripod. You should try to use one of the heavier, more sturdy tripods for this task. Smaller ones may be great for getting a still one-off shot, but their light weight makes it easy for minor movements to occur. Those movements will make your animation look jerky and unprofessional. The longer you expect your shot to take, the more true this is. Your tripod could potentially have to sit undisturbed for hours or even days.

Similarly, you should set your focus to manual. Ideally, you will focus it on a central location in the scene and not have to worry about it again. For complex shots, where the character in frame needs to move forward or backward, you may need to adjust the focus of each frame. Such shots are usually avoided when making stop-motion animation for this very reason.

Taking pictures

Once the camera is properly set up for stop-motion photography, you’ll need to take the pictures themselves. It will likely take you some practice to figure out how much you need to move the props each frame in order to capture the animation you want. Major keyframes should be timed. You should know ahead of time, for example, that you want your character to take half a second to raise his hand. By dividing this number by the number of frames per second you are aiming for, you’ll know how many shots you need to get of each step in the motion. This alone is a big help in deciding how much to move the characters.

The consistency issues you faced when setting up the camera extend to actually taking the shots as well. Even the slightest movement, such as pressing down the shutter button, can cause unwanted motion in the camera that carries over to the animation. If your camera has a remote control feature, this can be a convenient way of getting the shot without any risk of unwanted motion. You also have to work to ensure that the lighting is consistent between shots. This means leaving whatever lighting setup you have in place alone during the duration of the scene. Because the color temperature of regular light bulbs can vary over time, it’s also a good idea to use lights that are designed for photography.

Making the video in a video-editing program

If you’re going to learn how to make an animation video, then at some point, you’ll need to bring those pictures into a video editor. This is an essential part of the process and will get an entire section dedicated to it. Here, we’ll just outline the very basics of how to create animation videos using a video editor.

  • Import the photos – Some video editing software will allow you to directly import a series of image files into a video clip. This is the most convenient way to get all of your images into the editor. If not, you can import all the images and place them in the timeline individually, taking care to set the duration for a still image to 1 second divided by your frame rate. You can then export the scene as a clip so that it can be moved around more easily.
  • Arrange your scenes – With your images now turned into video clips, you can arrange your scenes exactly as you would if you were editing video shot in the traditional way. This includes trimming down some scenes, cutting ones that don’t work out entirely, and anything else that goes into traditional video editing.
  • Add the effects and transitions – Now is the time to put the finishing touches on your video with effects and transitions. These will help make your final product look professional.

How to use a stop-motion editor

Using a stop-motion editor dramatically simplifies the process of making excellent stop-motion animation. The tool will make it easy to keep your frame rates consistent and provide you with an array of effects, transitions, and titling options, so your finished product has more in common with the big-budget stop-motion films of the 1990s than the early attempts from the nascent days of the technology. You will also be able to import your photos from whatever format they are in quickly and export them to the most common video formats, so you spend less time struggling to make the technology work and more time editing your animation.

Here’s how to use Movavi Video Editor as a stop-motion editor.

Step 1. Install Movavi Video Editor

Download the installation file and install the program on your computer following the on-screen guide. After the installation is complete, click the Start button in the installation window to launch the program.

Step 2. Add photos to the program

Click the Add Files button, find the folder with the pictures you’ve taken, and select the appropriate photos. The files will be added to the Media Bin. Now you can drag-and-drop them to the Timeline. To change the position of a picture in the film sequence, drag it to the desired position on the Video Track.

Prepare the set for shooting

Step 3. Set the timing for the frames

Click Transition Wizard and set the timing in the Photo clip duration field. To create a video with 24 frames per second, enter 00.042 in the field. To make a video with 12 FPS, enter 00.084. If you don’t have enough photos, choose a longer image duration. Click Apply to All Clips to set the duration.

Add your files to Movavi Video Editor

Step 4. Add caption

Click Titles, select one of the suggested options, drag and drop it to the Titles Track. Edit the text, color, and duration of the titles. When you’re satisfied with the result, click Apply.

Use Transition Wizard to set the image slide duration

Step 5. Add an audio track

To add music to your video, open the File import tab, click Add Files, and choose an audio file. Then, drag and drop it from the Media Bin to the Audio Track. If the audio track is longer than your video, cut it to fit. Click the audio, set the red marker where the video ends, and click the Split button. It will cut your audio track into two parts. Select the unwanted part and hit the Delete button on your keyboard to remove it.

Add an audio track to the movie

Step 6. Save your video

Click the Export button and enter your preferred save options. You can save your animation in any popular format, prepare it for uploading to a particular device, or share it on YouTube. To save the movie, click Start.

Now you know how to create a stop-motion video sequence with Movavi Video Editor.

Record your own audio if you want

Movavi Video Editor

Сreate awesome videos easily

*The free version of Movavi Video Editor may have the following restrictions depending on the build: watermark on exported clips, 60-second video or 1/2 audio length limit, and/or some advanced features unavailable when exporting videos.

How to make a stop-motion animation if you’re a beginner

Hopefully, you’ve found a lot of actionable information in this post that will get you started on creating your stop-motion animation. But sometimes, just getting started on a new hobby can seem daunting. Here are a few helpful tips to help you get over that hurdle and get you creating.

  • Practice first. A few test animations will build your skills and confidence.
  • Plan everything ahead. There’s a lot of work. Do it right the first time.
  • Use everyday objects around your home for props.
  • If you’re an artist, you can paint or draw backdrops.
  • Claymation was popular because of how easy clay is to move and mold. Try it!
  • South Park famously mimics the paper cut-out style of stop motion. Try using the real thing.

How to make a stop-motion video with iPhone

If you are looking for a stop-motion app for iPhone, Movavi App is an easy way to create your stop-motion animations. Clips will allow you to easily convert your images into a video of up to 10 frames per second. To do so, follow the steps below

  • Tap the still camera icon – To load media into Movavi App, you are prompted with the icon of a video camera and the icon of a still camera. Selecting the still camera lets you pick photos from your phone’s camera roll.
  • Select your animation photos – Import all of the photos that make up your scene. You can select multiple photos at once, so bringing them in should be easy.
  • Select an aspect ratio – As the final step of setting up a project, the app will ask you to select an aspect ratio. Pick the one that matches the aspect ratio you used to take the photos.
  • Set the photo duration – You have a bunch of photos in your timeline, but they look more like a slideshow than a stop-motion video. To change that, look at the icons above the timeline and tap the one that says duration. Lower the duration to match your desired frame rate; clips can go down to 1/10 of a second.
  • Adjust the photos – If any of the photos were not imported in the correct order, you can easily drag and drop them to get them where they are supposed to be.
  • Save the scene – Use the save icon in the top right of the screen to export your stop-motion animation to a video. If you have a multiple scene project, you can make each scene into a video clip and then edit those clips. This will make it easier to add transitions and other effects.

Now that you know how to make a stop-motion video with an iPhone, you’ll be able to practice your stop-motion skills from anywhere. Movavi Clips is powerful enough to be the only editor you’ll need. Or you can use it as a practice tool before moving on to Movavi Video Editor on your desktop computer, like in the video below. Either way, have fun with your new hobby!

Movavi Video Editor

Сreate awesome videos easily

*The free version of Movavi Video Editor may have the following restrictions depending on the build: watermark on exported clips, 60-second video or 1/2 audio length limit, and/or some advanced features unavailable when exporting videos.

You may also like

Movavi Screen Recorder

An easy way to record from your screen in HD. Make video footage of any application, record online streaming video, webinars, even Skype calls, and save clips in all popular formats.

Movavi Photo Editor

An intuitive photo-editing app that lets you retouch any photo on the fly. Improve quality, add filters and captions, remove unwanted objects, change backgrounds, and more!

Join for how-to guides, speсial offers, and app tips!