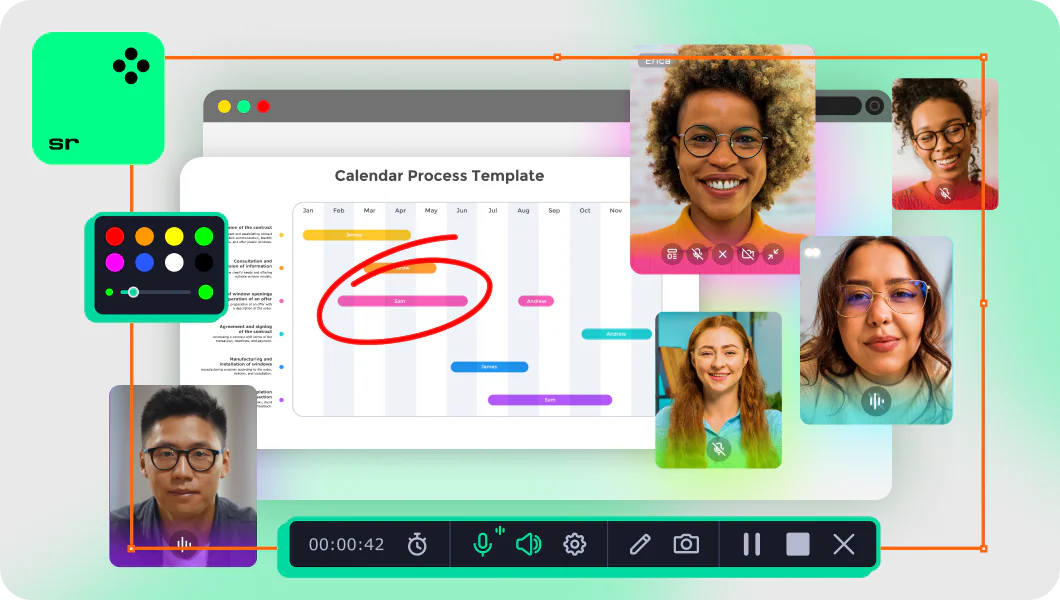
Movavi Screen Recorder
The perfect way to record anything from your screen


In this guide, we will explore how to record a Skype meeting with inbuilt options and Movavi Screen Recorder. Also, we’ll explore some pros and cons of both ways and explain how to record Skype for Business meetings.
Movavi Screen Recorder features:
Our goal is to provide you with only verified information. To ensure this, Movavi Content Team does the following:
When selecting products to include in our reviews, we research both demand and popularity.
The team tests all the products mentioned in this article.
When testing, we compare the key characteristics of the products, which include selecting capture area, schedule recording, showing keystrokes and mouse, and other significant features.
We study user reviews from popular review platforms and make use of this information when writing our product reviews.
We collect feedback from our users and analyze their opinions of Movavi software as well as products from other companies.
How to record a Skype meeting
You can record Skype meetings without any additional software by using Skype for Business – a paid membership scheme. Just follow these simple steps:
Step 1. Download the software and ensure you’re using Skype for Business
Skype for Business is separate enterprise software, and it allows you to take advantage of these extra features, including recording. Ensure you’re not just using the Skype app, as this doesn’t have the same options. Skype for Business has a paid membership scheme and is designed for use within businesses and larger enterprises.
Step 2. Start recording
Under the More Options menu, usually at the top of your Skype window, you will find a button that says Start Recording. Click this, and a button will appear to allow you to start the recording when you wish. If the switch is dimmed, you may have to connect your audio device to the platform.
During recording, if you hover your mouse over the record button, you can also see who else is recording via Skype for Business.
Step 3. Start your video call and record a Skype for Business meeting
It’s time to record your Skype for Business meeting. You can inform other participants you’re recording and start to grab the audio and video feed. You can also use the Pause and Stop buttons if you need to at any time. For example, if you have a break. Use Stop when you are done capturing the Skype conference.
Skype for Business automatically saves the recording in MP4 format. You will receive a notification that the recording is being processed. You can close the meeting at this point.
To record Skype meetings, you will also need to learn how to use the Skype Recording Manager. This is where your recording goes when processed. Skype for Business will show you a message to say that the recording is ready. This alert is clickable and will open Recording Manager. If you don’t use this method, you can click on Tools on the main window and then access Recording Manager.
The recording manager window will show you the meetings that have been saved and processed. From here, you can highlight a recording and click Play to watch it back. You can rename recordings, too. If you want to share the video elsewhere, click Browse, find the recording, and then copy it to OneDrive or another sharing platform.
Within this window, you also have other options for managing all of the recordings you have made. Be warned that clicking Delete will permanently and irreversibly remove the recording from your computer, rather than putting it in the recycle bin.
The window also gives you options to click Rename, where you can simply type in a new name for the file. The Publish button lets you rename the recording or even save it to different locations. There are options to include or exclude data, for instance, if you want to exclude the IM data from the video you publish.
Knowing how to record a Skype meeting doesn’t just mean learning to use the Skype for Business recorder. You can use Movavi Screen Recorder to grab the video, and this can give you a few more options on file types, too. Movavi’s screen recorder is simple to use and has some features that you don’t get with the option of recording from Skype for Business directly.
Also you can read a Windows Report review.
Step 1. Download and install the program
Download the installation file from Movavi. You can get Windows or Mac versions to suit your operating system. Run the installation file, which will guide you through setup instructions. The Mac file is a DMG file, whereas Windows is an EXE file.
Step 2. Navigate to the Skype meeting you wish to record
The program can record whatever you have on your screen and the internal audio on your computer. Make sure it doesn’t get blocked by other windows. Open Skype and prepare your meeting with other participants.
Step 3. Click the screen recording button
When you open Movavi Screen Recorder, a Screen recording icon will display. Click on this to start to prepare to record. It is next to a Screenshot icon which is for screenshots. Ensure you choose the correct icon.
Step 4. Set audio and display options
You can click and drag a video frame for a cropped look to capture any video from within that frame, perfect if you just want to film the video feed section of Skype.
Drag the box to the desired dimensions, and new controls appear. You can click the microphone and speaker icons to choose where Movavi Screen Recorder takes audio from. There are a few other options you can choose from, too.
Step 5. Record the video
Press the REC button to start the screen recording. A countdown will appear, letting you know when the recording will start. When your Skype conference has finished, or you have captured the required footage, you can press the Stop button in the Movavi Screen Recorder interface.
Step 6. Edit the video
When you stop the recording, a window will pop up with the video in it. This window lets you do basic editing tasks, such as trimming the video. This is perfect for getting rid of the unnecessary sections at the start and end of your Skype meeting. For example, while you are waiting for people to join the call.
Step 7. Export the video
To save the video to disk, click on the Export button in the bottom-right corner of the edit window. Simply enter a filename and a save location, and press Save. This is also your opportunity to choose different file types. Movavi Screen Recorder supports MP4, AVI, MOV, MKV, GIF.
We hope this article will help you pick the right program for the task at hand. To sum up, here are some things to keep in mind when choosing a screen recorder:
OS: There are many operating systems and very few programs that support all of them. So, make sure that the app you pick is compatible with your device.
Simplicity: Consider the experience you have. Choosing software that is too complicated for you can cause unnecessary trouble.
Features: If you want to do something beyond simple screen capture, take a look at feature lists and app descriptions. There you can see whether the app can offer the functions you need.
Reviews: Magazines, bloggers, and simple users can tell a lot about the app’s issues in their reviews.
Support: In case the issues do happen, it is good to know that the support team is there to help.
Movavi Screen Recorder
The perfect way to record anything from your screen
Frequently asked questions
Yes, you can record Skype calls. Even without a membership to Skype for Business, you can use the inbuilt functions within Skype to capture the call. Skype will inform everyone else on the call that you are recording the feed to help you with legal obligations and ensure people are warned before being recorded.
There are numerous methods to record a video call from either Skype or Skype for Business. We’ve created a complete guide to recording Skype calls. Follow the link below.
Participants who want to record a Skype meeting should be careful to ensure they don’t break the law. In many states, you need “two-party consent,” which means that you need permission from those involved in the call to record the conversation. Other states, such as New York and New Jersey, only require one party to consent to the recording. If you don’t get the appropriate permissions, then you might face criminal penalties. For a business meeting, it is a good idea to give a warning and get authorization to record the conversation.
Skype for Business will also automatically show people who are recording the conversation. To record a Skype Meeting using Skype for Business, navigate to the More Options menu, usually at the top of your Skype window, where a button says Start Recording. This will bring up the menu to start, pause, and even stop the recording if required. Remember to get permission first.
By default, when you record a Skype for Business meeting, it is saved in your Videos > Lync recordings folder. You can change this if you have somewhere else you’d like the recordings to be saved.
From the Skype for Business window, click the Tools menu and then open the Recording Manager. This is where the options for your recordings are controlled.
Click Browse, and then navigate to the folder where you want to save your recordings. Select the folder and click OK. All future recordings will be saved here, as well as the existing recording. You can change this location at any time.
See other useful how-to guides
Join for how-to guides, speсial offers, and app tips!
1.5М+ users already subscribed to our newsletter