5 Ways to Screen Record on a Mac with Audio

Use Movavi Screen Recorder!

  • Record screen with audio in HD

  • Capture system sound and microphone
  • Draw on recordings
Edited by Ben Jacklin
41 220

Want to know more about how to record a screen on a Mac with audio? First, take a look at this comparison table with tools that will help you record screen with sound on a Mac.

Quick summary

For easy, high-quality screen capture with audio: Movavi Screen Recorder

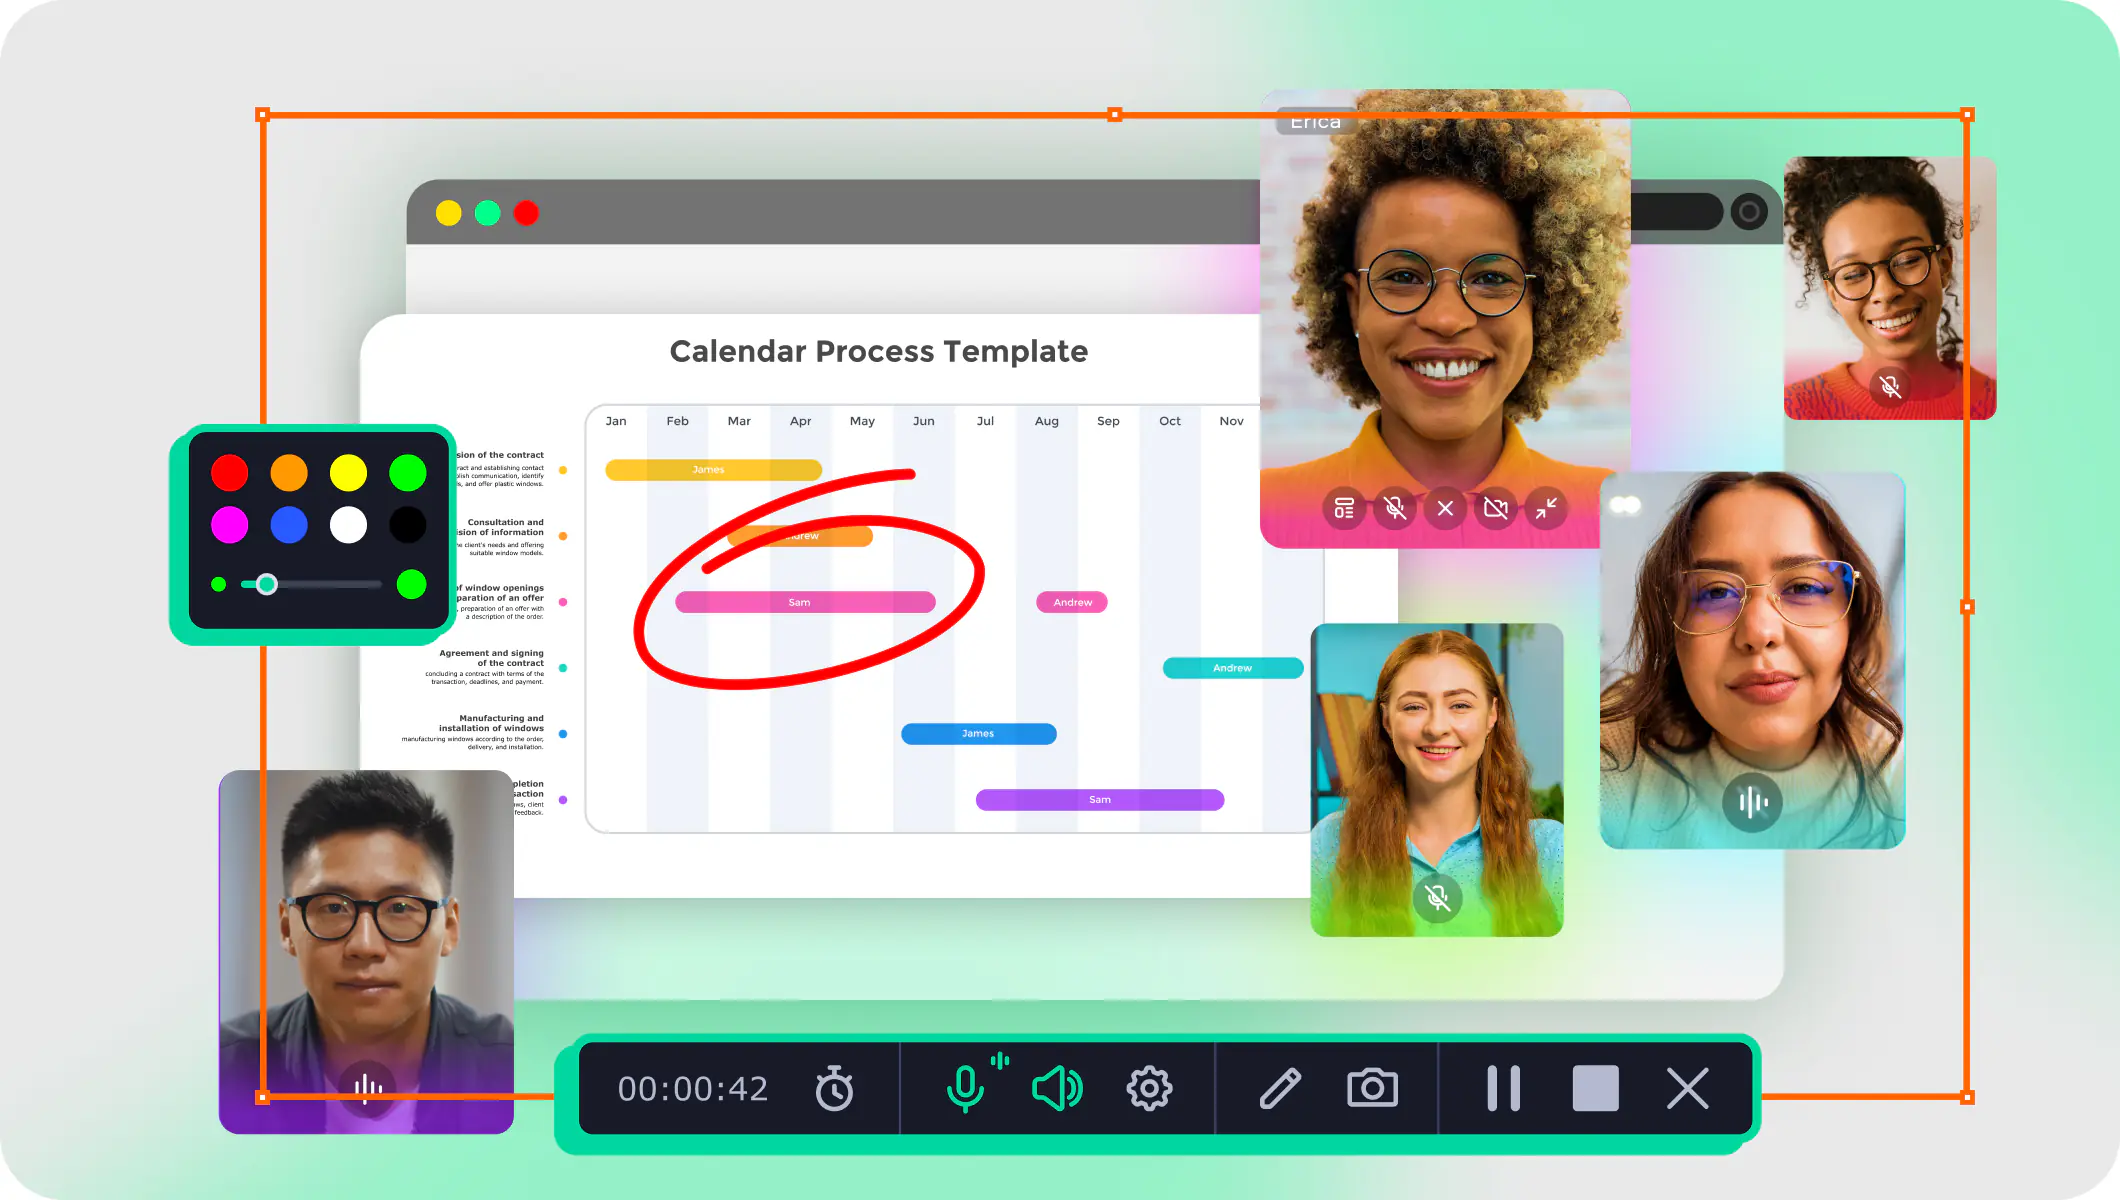
An easy tool for capturing your Mac screen with audio. The software includes a ton of great features. During the recording, you can use drawing tools to make annotations on your video.

For free screen recording: QuickTime Player

The built-in app has a screen recording feature and allows you to record audio using a third-party extension.

For live streaming with audio: OBS

A very robust solution for broadcasting streaming video, with a lot of great features for mixing and combining sources to create a professional look.

At Movavi, we’re committed to providing you with verified information only. Here’s what we do to ensure this:

  • When selecting products to include in our reviews, we research both demand and popularity.

  • All products mentioned in this article have been tested by Movavi Content Team.

  • When testing, we aim to highlight the best features of a product and what it’s best suited for.

  • We study user reviews from popular review platforms and make use of this information when writing our product reviews.

  • We collect feedback from our users and analyze their opinions of Movavi software as well as products from other companies.

Free screen recording

QuickTime Player
Bestseller

Recording with two clicks

Movavi Screen Recorder

Live streaming with audio

OBS

How to screen record on a Mac with audio using QuickTime Player

Free screen recordings

QuickTime Player

Main features:

  • Quickly record your screen with two clicks
  • Has some editing functionality
  • Also acts as a solid multimedia player that works with many file formats
  • Soundflower allows you to channel audio from multiple applications

QuickTime is built-in to every version of Mac OS for free. So, whether you’re using MacBook Air, MacBook Pro, or any other Mac computer model, you’ve probably used QuickTime at some point.

The app has a screen-recording feature, but it comes with a pretty severe drawback. By default, QuickTime's screen capture does not record any audio from your computer's default output. Message boards and support forums are flooded with people wondering how to record the screen and audio at the same time on a Mac with QuickTime. Thankfully, there is a solution, but it requires third-party software. Soundflower is an open-source macOS system extension that allows applications to pass audio to each other. Let's take a look at how to record screen with audio on a Mac using QuickTime. You can also access the detailed instructions by following the link below:

Go to the QuickTime screen recording guide


Download QuickTime Player

Pros:

  • No need to download software for OS X

  • Easy to record video on Mac

Cons:

  • Limited features

How to screen record:

Step 1. Install the Soundflower software

Download and install Soundflower for macOS. The installer will come in a zip file that you'll need to extract before you can run the installer application. On newer versions of macOS, permissions behave differently than when Soundflower was created, so the installation will initially fail. It will get far enough into the process to add an option to your System Preferences, though. After the installation fails, go to Security and Privacy in the macOS System Preferences. You'll see a message that system software by developer Matt Ingalls was blocked from running. Press the Allow button and run the installer again. It will finish installing this time. If prompted to, restart your computer.

Step 2. Change your audio output device

Soundflower works by rerouting your audio. In order for it to do that, you'll need to set it as your audio output device. To perform this step, go back to the System Preferences window and open the Sound settings. Click on the Output tab to bring up a list of available sound output devices. You will see that Soundflower has been added to that list and that it has two entries, Soundflower (2 ch) and Soundflower (64 ch). The 64 channel version is for more advanced uses. Set your output to the 2 channel version.

Step 3. Adjust the settings

Open the QuickTime app and go to the File menu. From there, click on New Screen Recording. A new window will pop up with a Record button in the middle of it. Don't hit it quite yet. Look for Options on the right side of the window. Click on that and make sure that your Microphone is set to Soundflower (2ch). Soundflower works by routing your audio output to the microphone input and tricking QuickTime into thinking it is recording from the microphone.

Step 4. Record the video

To begin the recording process, click the Record button in the QuickTime menu. A dialog may pop up asking you to give QuickTime permission to access the microphone. Agree to that. You may need to press the record button again afterward. It can sometimes take a while for the process to start, so be patient. When it starts, QuickTime will tell you to click a mouse button to record full screen or drag a box around the area you want to record. Once you do one of those, the recording will start.

Step 5. Change your audio output device back

When you are done recording, press the Stop button. You are not done yet, though. You need to go back to System Preferences one more time and set the sound output device back to the default value. Otherwise, you will not hear any sound coming out of your computer.

Recording a screen with audio on an iPad and iPhone with QuickTime

Now you know how to screen record with sound on a Mac. As a quick bonus, we'll tell you how to record your iPad and iPhone screen using QuickTime. This is actually very easy. Plug your iPhone or iPad into your Mac. From the QuickTime File menu, choose New Movie Recording. Now use the arrow menu to select the iOS device as both your camera and your microphone. Now you'll be able to start the recording process the same way you did above and capture your mobile screen with audio.

Screen recording on a Mac with audio using Movavi Screen Recorder

Easy high-quality screen recordings with audio

Movavi Screen Recorder

Main features:

  • Schedule recording of must-attend meetings, late-night webinars, or live events – even when you’re away – and watch your saved videos later
  • Dig deeper by drawing notes, shapes, and figures on videos in real time
  • Add a personal touch to customer communications by including in-app sounds in product walkthroughs and feature demos

An easier tool for screen recording on a Mac with audio is Movavi Screen Recorder. The software was created with ease of use in mind, but the design does not let that get in the way of placing in a ton of great features. During the recording, you can use drawing tools to make annotations on your video. When you export your video, you'll benefit from Movavi's SuperSpeed tool that greatly accelerates the encoding process. Let's take a look at how to make a new screen recording with audio using Movavi Screen Recorder.

About Movavi Screen Recorder

Pros:

  • Capture anything from your screen in HD and 4K, complete with keystrokes and mouse actions

  • Draw right on your screenshots and videos while recording live

  • Grab system sound, mic, and speaker feeds – even on Mac computers

Cons:

  • To have full access to all the features the app has to offer, you need to get the full version of the program

How to screen record:

Step 1. Download and install the program

Download Movavi Screen Recorder from the website and install the app following the on-screen instructions. Once you have finished installing the software, run it. After the program starts up, you'll see a widget appear on your screen that lets you control the recording process.

Step 2. Navigate to the program you want to record

Movavi Screen Recorder will record whatever is on your screen, so once you open the software that you plan on recording, be sure that no other application windows block the view of it while you are capturing your video.

Step 3. Click the screen recording button

On the widget that popped up when you opened Movavi Screen Recorder, look for the Screen Recording button. The icon with the picture of a movie camera on it will be that one for capturing video. Next to it is an icon of a still camera that can be used for taking static screenshots.

Launch Soundflower on Mac

Step 4. Drag the box over the area you want to record

Once you press one of the screen capture buttons, you'll be presented with the option to click and drag a box over the area of the screen that you'd like to record. If you'd only like to record one window, you can drag it around that. You can also cover the whole screen if you'd prefer to get everything on your desktop in the video.

Step 5. Set audio and display options

When you are done positioning the box where you want it, you will see an additional set of controls pop up. One of them will be a red record button. Hold off on clicking that, as we still have some things to set up. Next to the record button are icons of a Microphone and a Speaker. This will determine whether the video will include external audio captured from the microphone or the internal sound, respectively. Set each of those according to your needs.

Adjust the audio output settings

Movavi Screen Recorder has some options that make certain types of screencasts easier to follow for the viewers. It will allow you to show when the mouse is clicked, show the location of the mouse cursor as you move it around, and display any keystrokes that you make while you are recording the video. You'll find all of these settings in the options box near the one with the Record button on it.

Step 6. Record the video

You are now ready to record a video of your screen. Press the Record button to screen capture with audio on your Mac. The countdown timer will appear and let you know when the recording will start. After the recording has started, perform the actions you wish to capture. The recording will continue until you press the Stop button in the Movavi Screen Recorder interface.

Adjust the microphone settings

How to use the OBS Mac screen recorder with audio

Free screen recording and live streaming with audio

OBS

Main features:

  • The ability to use window captures, images, text, browser windows, webcams, and capture cards

  • An intuitive audio mixer with multiple options

  • Multiple, easy-to-use configuration options

  • Easy layout rearranging

OBS Studio is another Mac screen recorder with an audio option. It is a very robust solution for broadcasting streaming video, with a lot of great features for mixing and combining sources to craft a professional look. However, this power comes at the cost of a much larger learning curve.

Now we'll take a look at how to record a video with OBS. You can also access the detailed instructions by following the link below:

Go to the OBS screen recording guide


Download OBS Studio

Pros:

  • Live streaming and recording

  • Great game optimization

  • Nice selection of source options

Cons:

  • Lacks guidance and help

How to screen record:

Step 1. Download the program

From the OBS website, choose the version for macOS.

Download OBS Studio

Launch the installation file and follow the instructions to finish the installation process. Once you have installed the app, open it up to begin recording.

Step 2. Create a new profile (optional)

Creating an OBS profile makes it easy to switch between various recording setups. If you find that you are doing a lot of screencasts and want subtle, or extreme, differences between how they are laid out and captured, it is good to create a profile for each of them. To create a profile, go to the menu bar, click on Profile and click New. Give your new profile a descriptive name. Settings you change will be saved to this profile until you switch to a different one.

Record screen on Mac with sound

Step 3. Create a scene collection

Just like you'll probably want different profiles for different types of videos, you'll probably want a different collection of scenes as well. Now let's set up a new scene collection. From the menu, go to Scene Collection and click on New. Name your scene collection and click OK. Everything will be cleared, and you'll get a fresh canvas.

Step 4. Add images (optional)

To add an image for use as a background or display element of some sort, you can drag and drop the image directly onto your canvas. Once on the canvas, it can be dragged around to resize and position it. You can show and hide sources of all types by clicking the eye icon next to it in the Sources tab. This will come in handy if your image is initially covering up everything else when you first load it in.

Step 5. Configure your settings

You can add any type of source by clicking the plus button in the Sources tab and selecting the type of source you'd like to add from the pop-up menu that appears. There are many types of sources in OBS that are beyond the scope of this tutorial. For now, you just need to know that you can record your screen by adding a Display Capture source.

You can add audio sources the same way you added video sources. When you add an audio source, you'll get a mixer in the window.

Look at the Controls menu on the bottom right of the screen. You'll see a Settings button near the bottom of that menu – here, you can adjust various recording parameters.

Step 6. Record the video

The same menu with the Settings button has the button to start recording. Click on Start Recording to start recording your video. The Start Recording button will change to a Stop Recording button while you are recording. When you are done recording, press that.

Free screen recording

QuickTime Player
Bestseller

Recording with two clicks

Movavi Screen Recorder

Live streaming with audio

OBS

How to screen record with sound on a Mac online

One-click screen recording online

Screencapture

  • Price

    Free with a watermark; $9.95/month; $39.95/year

Main features:

  • Screen and webcam capture

  • Microphone and system audio recording

  • Option to grab the entire screen or a certain browser tab

Screencapture is a simple online tool that lets you record your screen with audio. You don’t need to install anything on your computer – just open the website, set the capture parameters, and start recording! The tool allows you to capture the entire screen, a window, or a browser tab. The output video is saved in the MP4 format. Screencapture is supported in Google Chrome, Mozilla Firefox, Microsoft Edge, and Opera.

Here’s how to make a recording of your screen with audio using Screencapture.


Go to Screencapture

Pros:

  • Free version

  • Simple to use

  • No download needed

Cons:

  • Lack of editing tools

  • The free version puts a watermark on recordings

Here’s how to make a recording of your screen with audio using Screencapture:


Step 1. Open the website

Follow the link below to open the recorder’s website:

Go to Screencapture

Step 2. Set the capture parameters

Click Sound to activate the system sound capture. You can also choose to record webcam and microphone.

Step 3. Start recording

Click Start Recording and select the desired screen capture option.

Step 4. Save the video

Click Stop Recording when you’re done. Hit Download to save the file to your computer.

How to record screen and audio at the same time on a Mac using hotkeys

Fast, intuitive screen recordings with audio

Record screen with hotkeys

Does Mac have a built-in screen-recording feature? Yes! On macOS Mojave and later, you can use hotkeys for screen recording. Let’s see how to use shortcuts to record your screen with audio on a Mac.

Pros:

  • No need to install a screen recorder for Mac

  • Easy-to-use

Cons:

  • Suitable for basic use

How to screen record:

Step 1. Open the toolbar

First, you need to open the toolbar for recording. Hold down Command + Shift + 5 to bring up the screenshot toolbar.

Step 2. Specify the settings

Next, specify the recording settings. Select Options and choose your Audio/Microphone, Save to preferences.

Step 3. Select the recording area

Select Record Entire Screen and start recording immediately. Or select Record Selected Portion, choose the area you want to record, and click Record.

Step 4. Finish recording

To finish recording your screen, select the Stop button or simply hit Command + Control + Esc.

Program

Best for

Cons

Download

Free screen recordings

Needs third-party software to capture with audio

Easy high-quality screen recordings with audio

Free trial limitations

Free screen recording and live streaming with audio

It has a difficult learning curve

Show more

Summary

That wraps up our recommendations for the 5 best screen recorder options for Mac. Now you will need to weigh up the pros and cons of each, as well as a few important points to help you make your choice. When selecting the best software for your own personal recording projects, consider the following key factors:

  • Cost. Do you have a budget, or would you prefer to use free software? If you only need the basics, you can happily settle for free tools or the free version. If you require more advanced features, consider splashing out on the paid version.

  • User-friendliness. What is your individual level of experience using software or recording/editing videos? Be sure you choose a program that allows you to be operational as quickly as possible. For this reason, a user-friendly and easy-to-navigate program with an intuitive interface is highly recommended.

  • Features. What are the deal-breakers for you in terms of features? Here you need to do your homework and compare the different software options available. Do you need just recording capabilities or editing tools too? Do you require special effects or subtitles?

  • Supported formats. How do you want to save and share your video once complete?

  • User reviews. Always read the product user reviews online. Here, you will benefit from the experiences of others and save yourself some trouble.

  • Technical support. Who is going to be available to help you if you have a technical issue? Does the software come with a dedicated customer support team that you can reach out to by online chat or email?

Frequently asked questions

How to screen record with sound on a Mac with QuickTime Player?

QuickTime Player doesn't natively support the recording of your computer's audio. It does, however, let you record your voice from the microphone while you are recording your screen. To capture your screen with audio, you’ll need to use the Soundflower plugin. You can see the detailed instructions by following the link below.

Why is there no sound when I capture my screen on a Mac?

If you are using QuickTime player to record the screen and audio at the same time on a Mac, then the answer above will apply to you. If you are using some other software and still not getting any audio, it's possible that the software cannot capture audio and video simultaneously. Try to use another app, like Movavi Screen Recorder.

How can I record my screen with audio?

One of the best ways to record your screen with audio is to use Movavi Screen Recorder.

  1. Download the app and launch it.
    Download Movavi Screen Recorder for Mac
    Download Movavi Screen Recorder for Windows

  2. Click Screen Recording and select the area you wish to capture.

  3. Activate the recording of system sounds.

  4. Click the REC button to start the recording and hit Stop when needed.

  5. Hit the Export button and click Save.

Was the article helpful?

Movavi Screen Recorder

The perfect way to record anything from your screen

Disclaimer: Please be aware that Movavi Screen Recorder does not allow capture of copy-protected video and audio streams.

Have questions?

Have questions?

If you can’t find the answer to your question, please feel free to contact our Support Team.

Join for how-to guides, speсial offers, and app tips!