Step 1. Download and install Movavi Video Editor
Download Movavi Video Editor and launch the installation file. Follow the on-screen instructions to install the app.
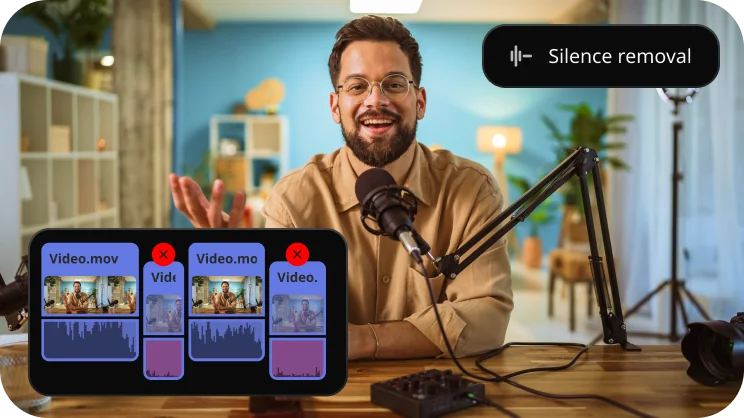
Cut out unwanted pauses automatically or fine-tune the pause length and volume threshold yourself.
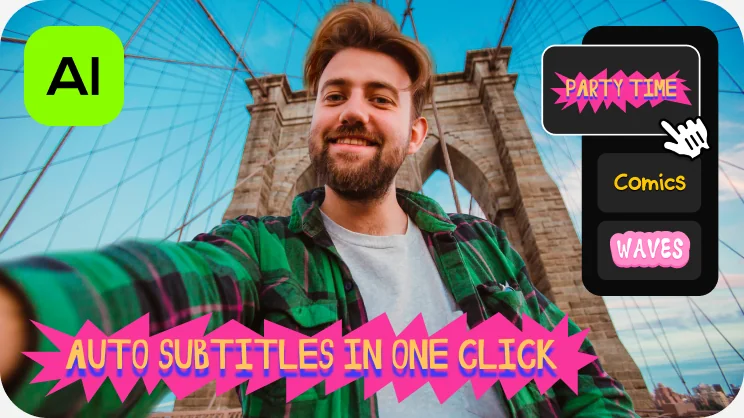
Let AI quickly turn your speech into text and automatically create captions for your videos.
Our built-in AI will quickly remove a background from your video.
Download Movavi Video Editor and launch the installation file. Follow the on-screen instructions to install the app.
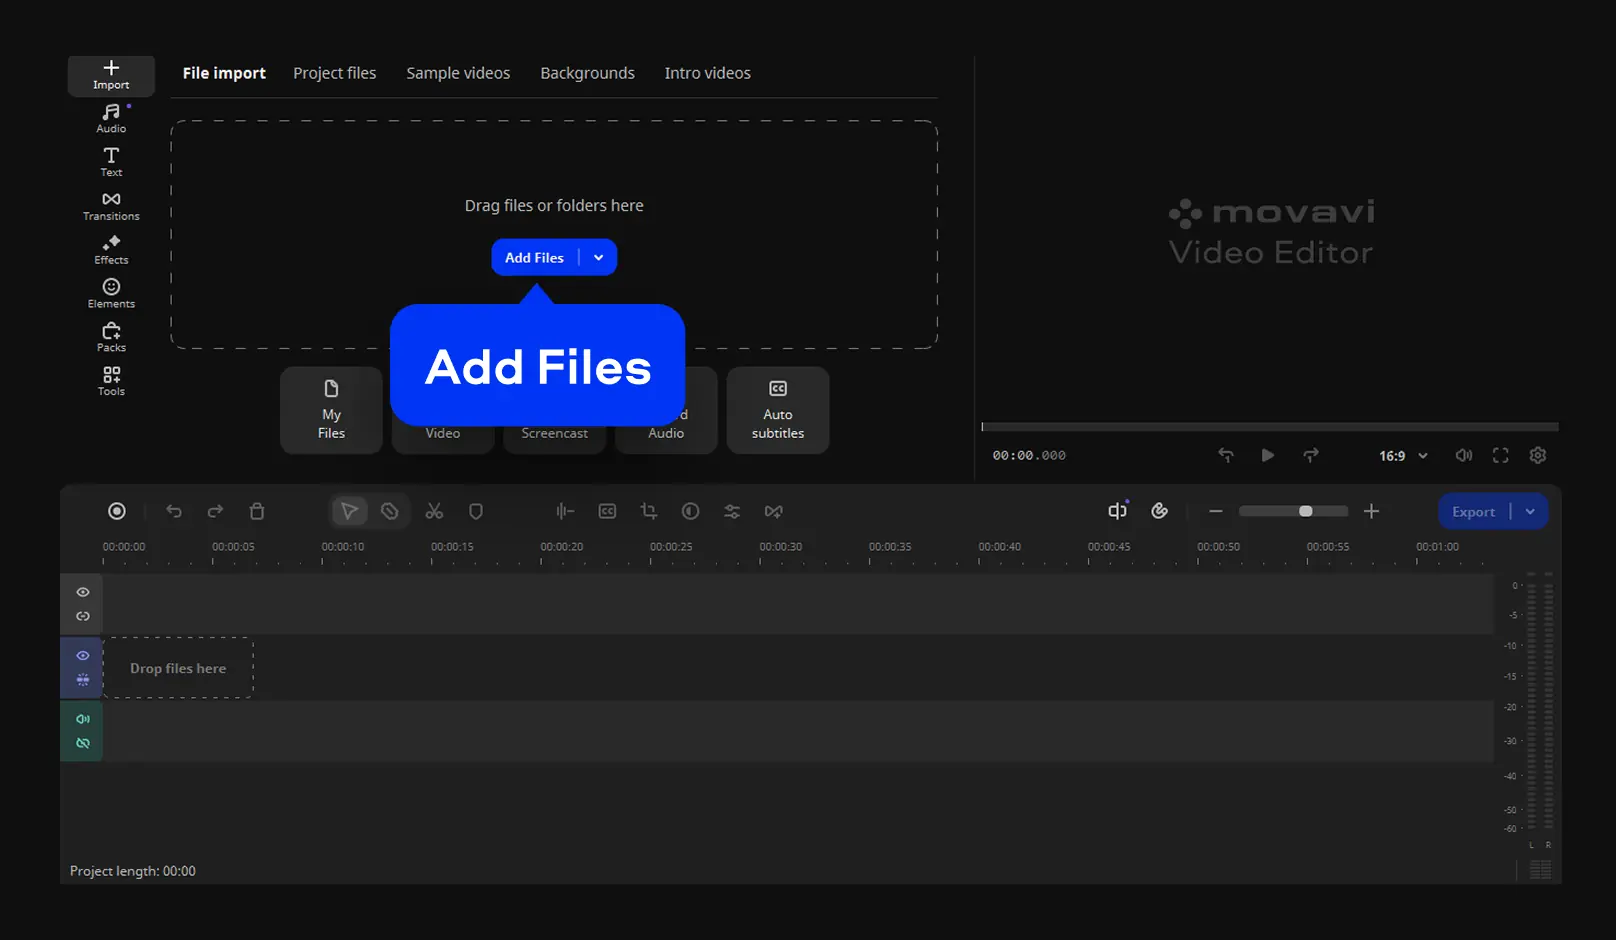
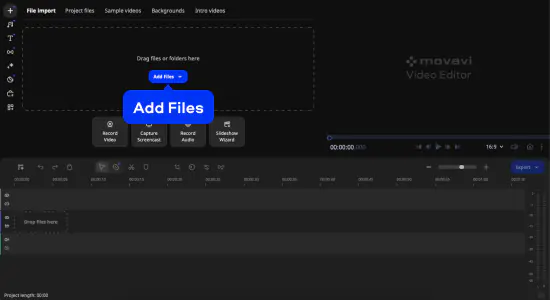
Click Add Files and select your video. Then move the imported video onto the timeline.
Click Silence removal. In the Auto mode, simply click Remove Silence and enjoy the result.
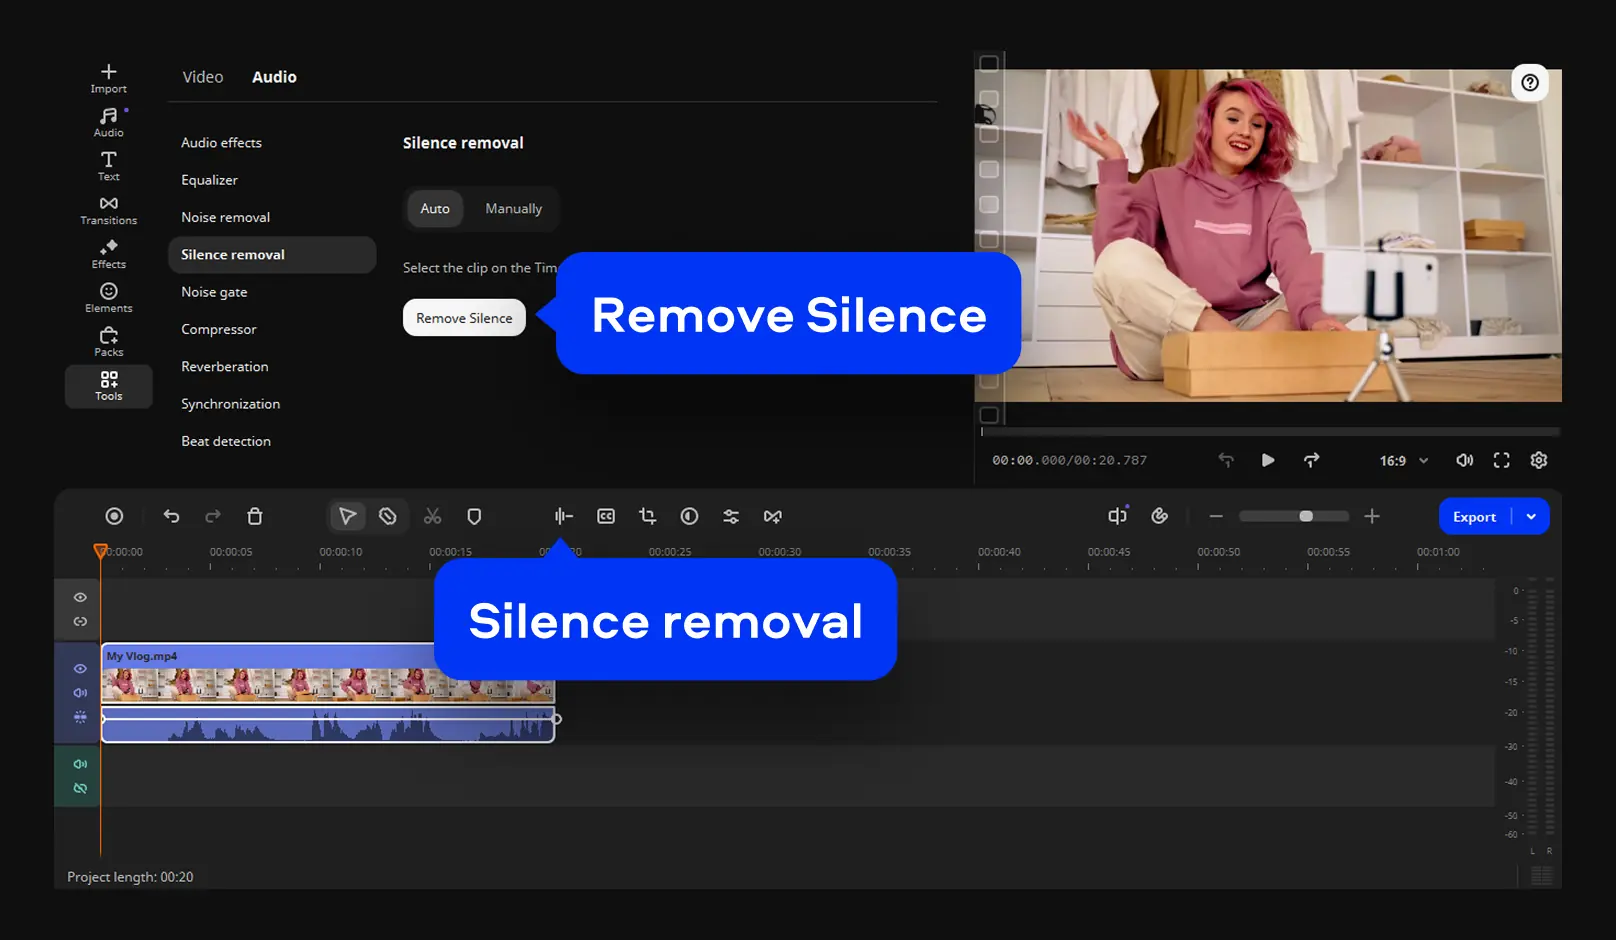
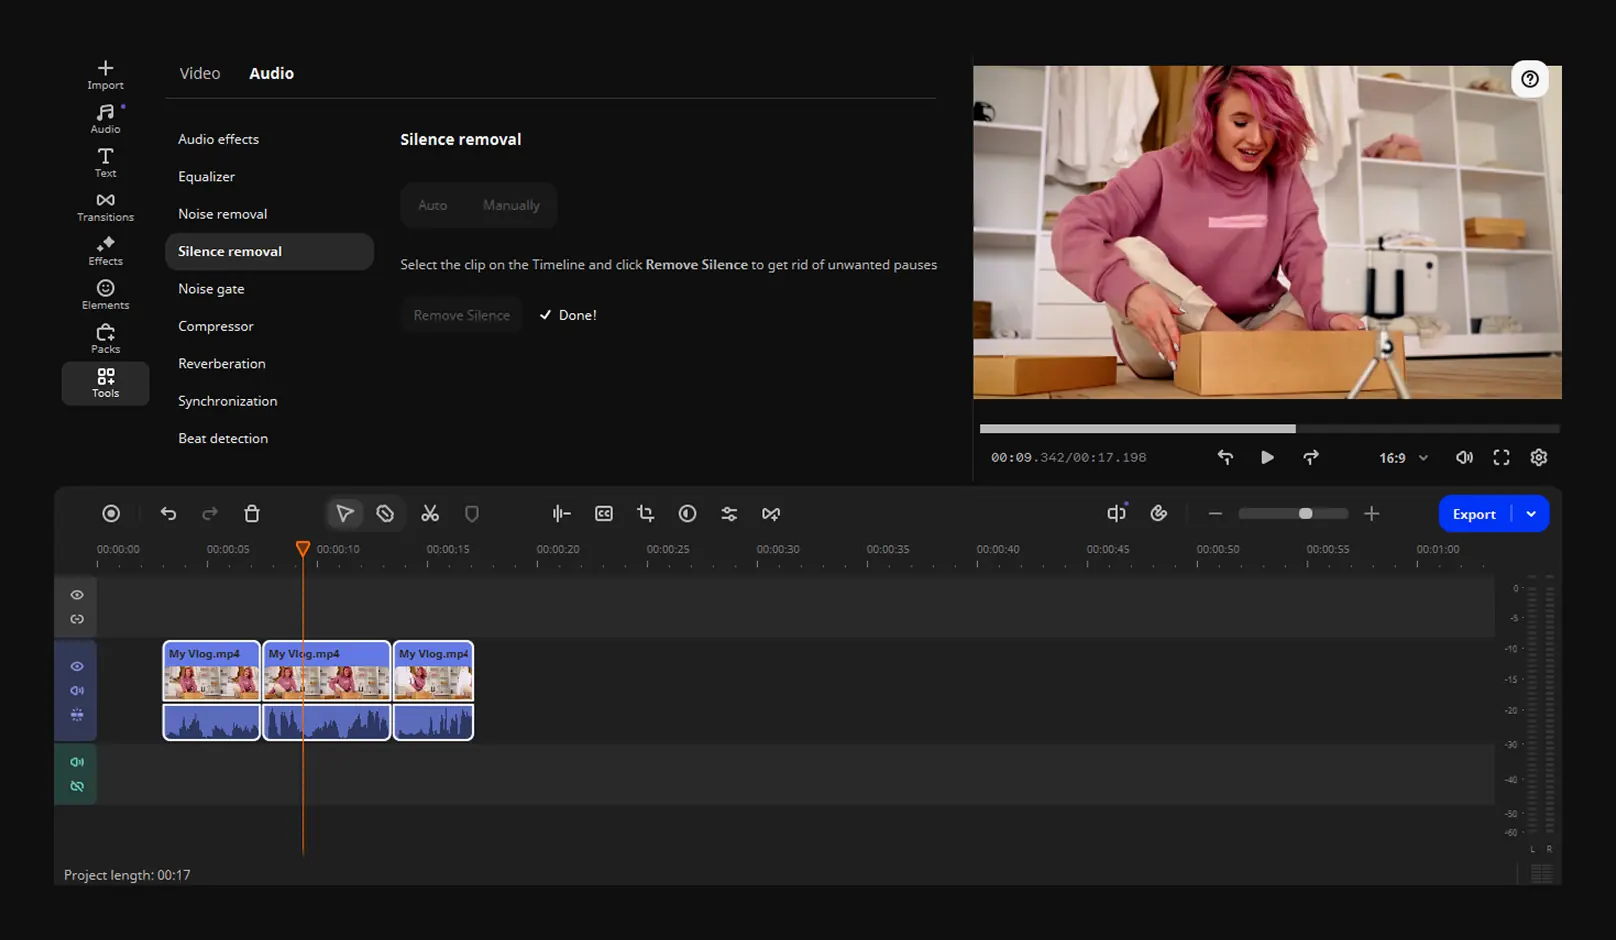
Movavi Video Editor will detect pauses in your video, delete them, and join the clips together leaving no gaps.
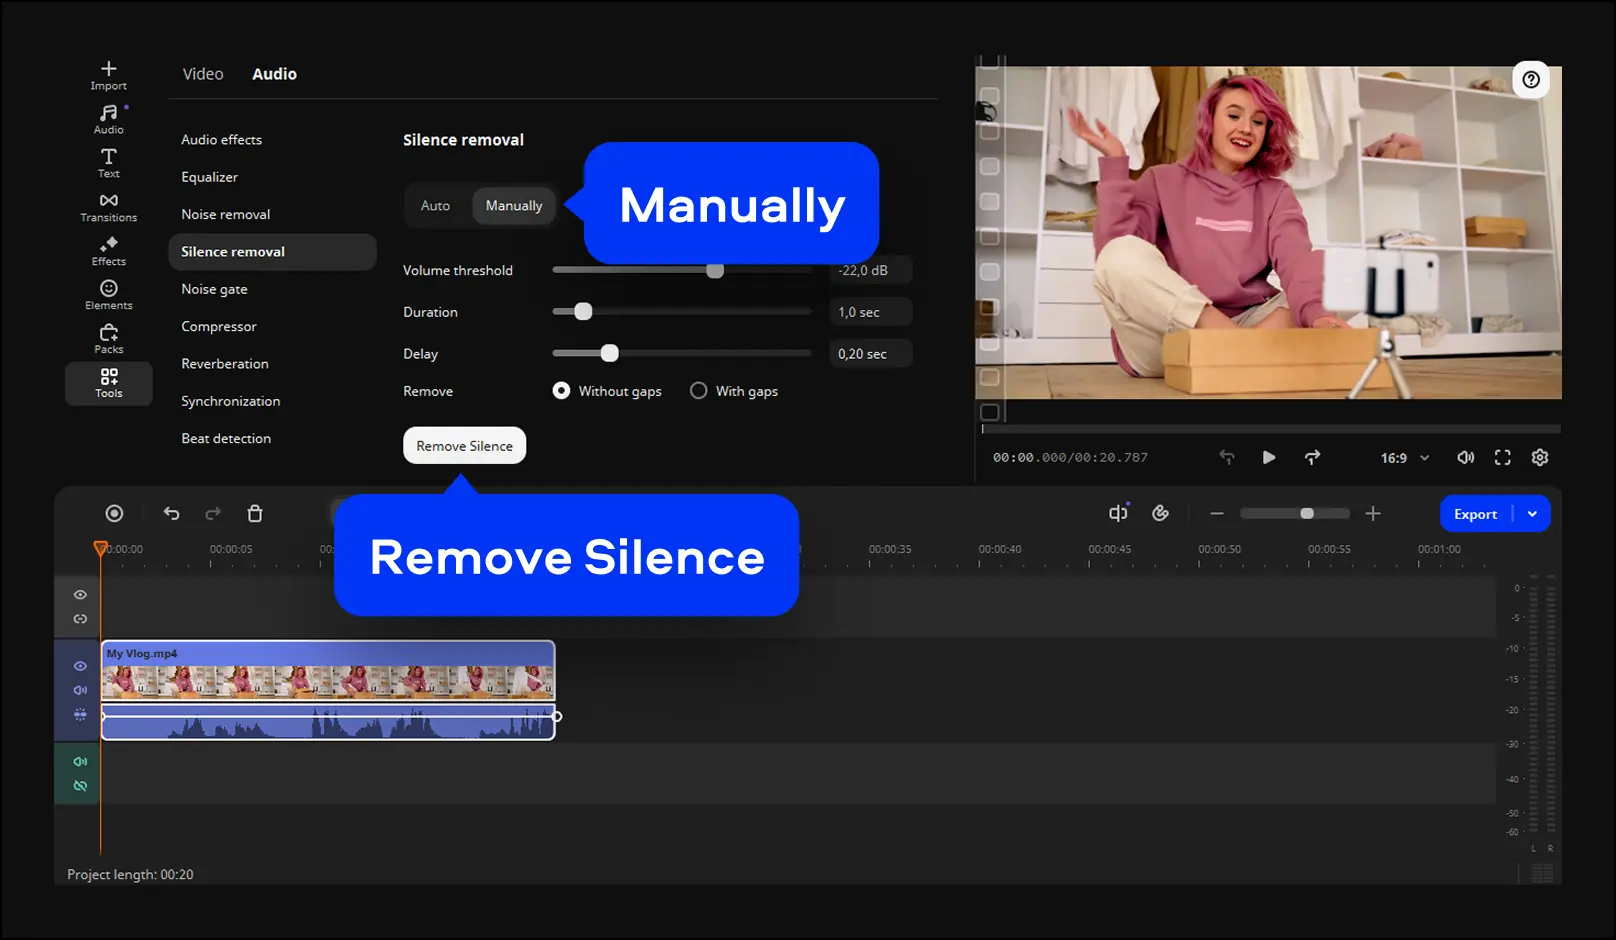
You can also select Manually to set the parameters for silence removal yourself. Adjust the volume threshold and duration of pauses that you want to remove. Pick Without gaps to automatically remove gaps between clips after deleting pauses. When everything is set, hit Remove Silence.
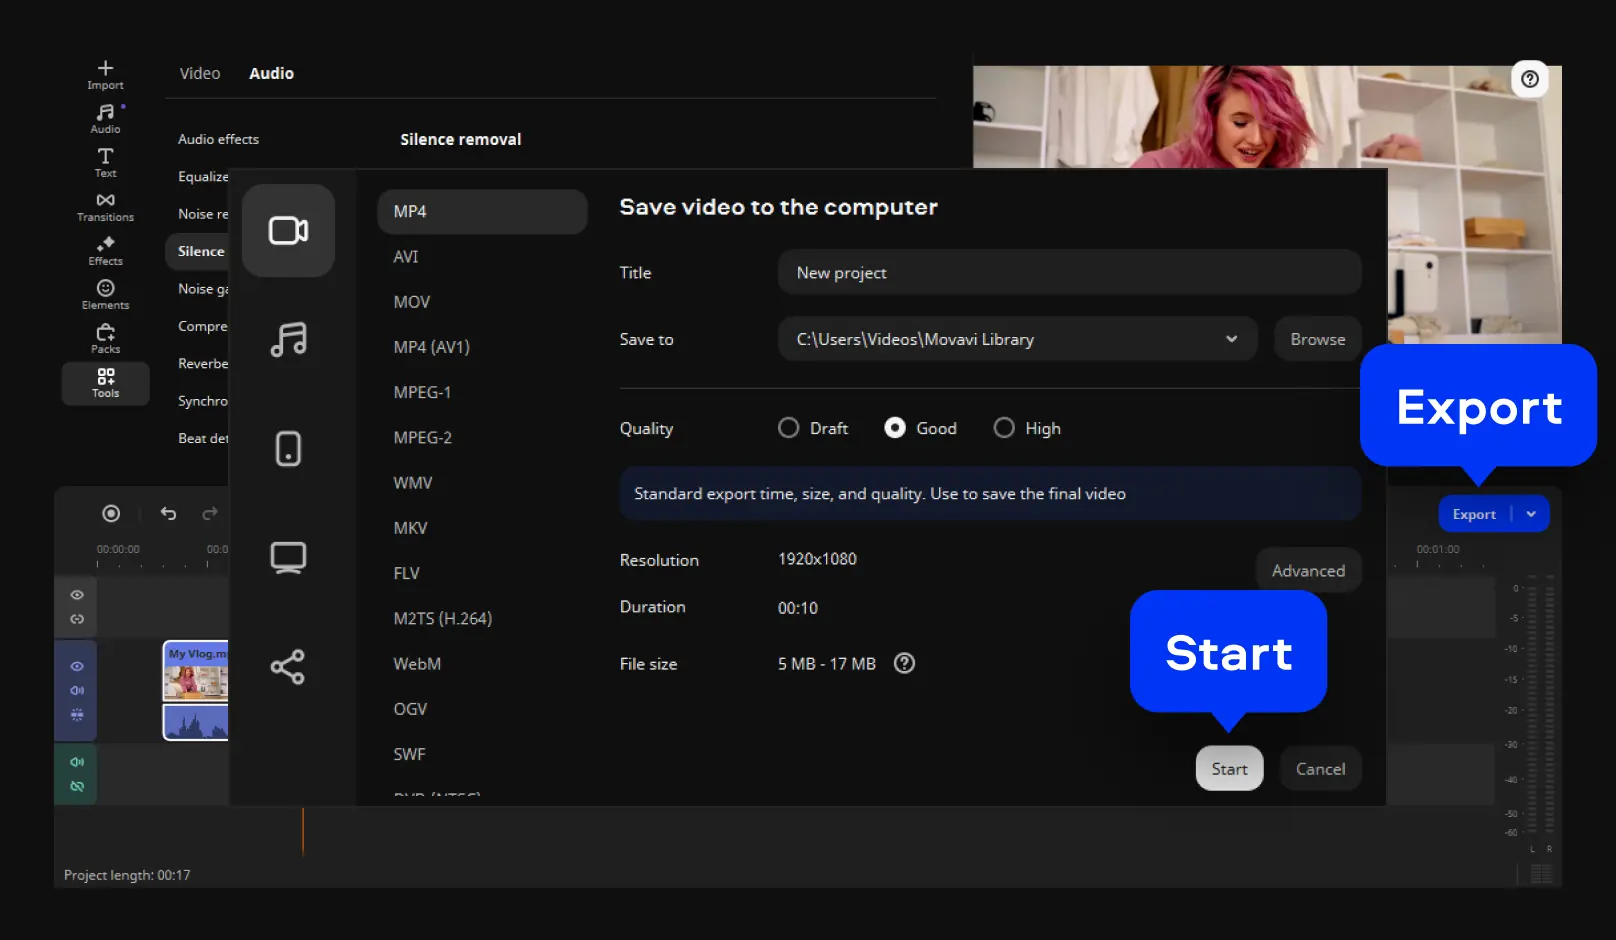
Click Export, set the desired output parameters, and hit Start.
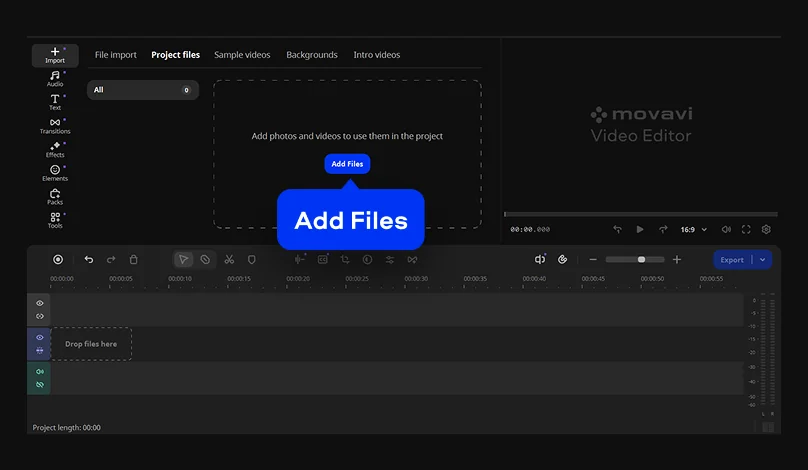
Download Movavi Video Editor and install it on your computer. Once the installation is complete, launch the app.
Click Add Files and select your video. Then drag and drop the file on the timeline.
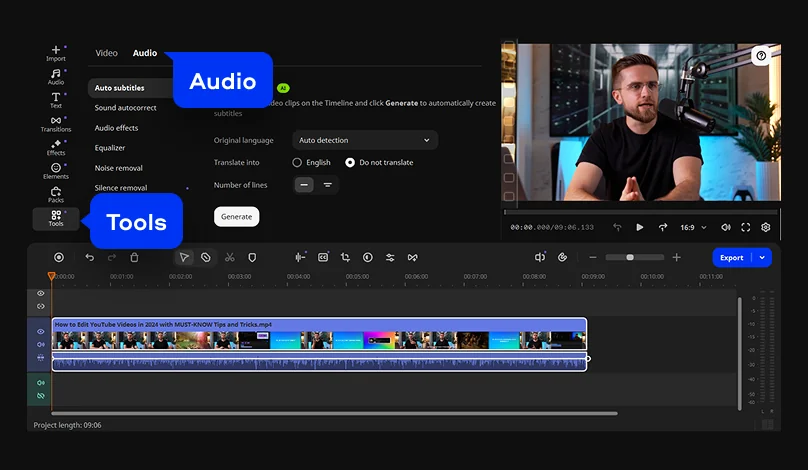
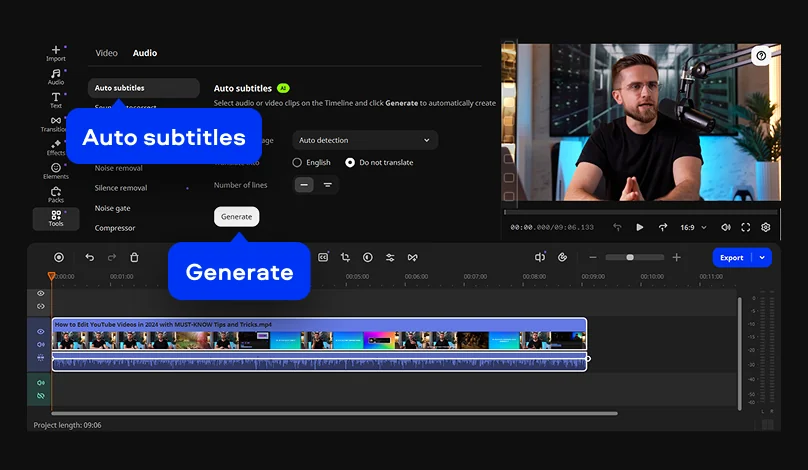
Click on your video on the timeline and open More tools. On the Audio tab, you’ll find Auto subtitles.
The language of your video can be detected automatically. Alternatively, you can set the language manually by choosing the appropriate option from the Clip language drop-down list. Hit the Generate button and wait until the subtitles generation process is complete.
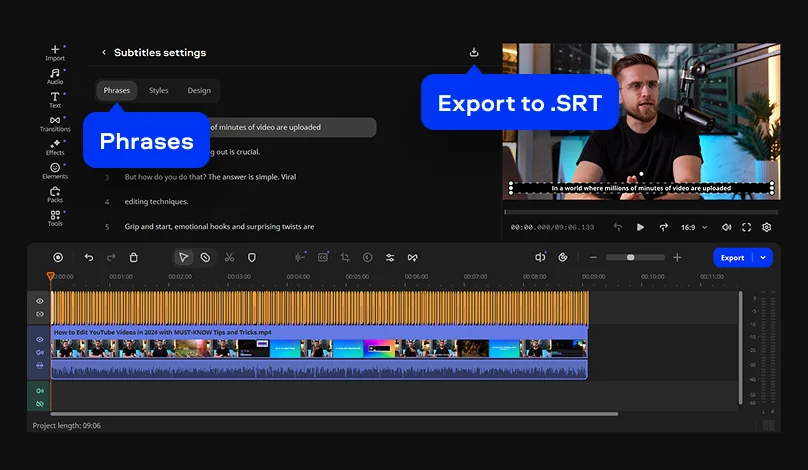
When the subtitles are ready, you’ll see all the lines on the Phrases tab. You can edit the text if you need.
On the Design tab, you’ll find various settings to customize your subtitles. Place the subtitles anywhere you want on the video – use the options Bottom, Center, and Top, or adjust the position manually.
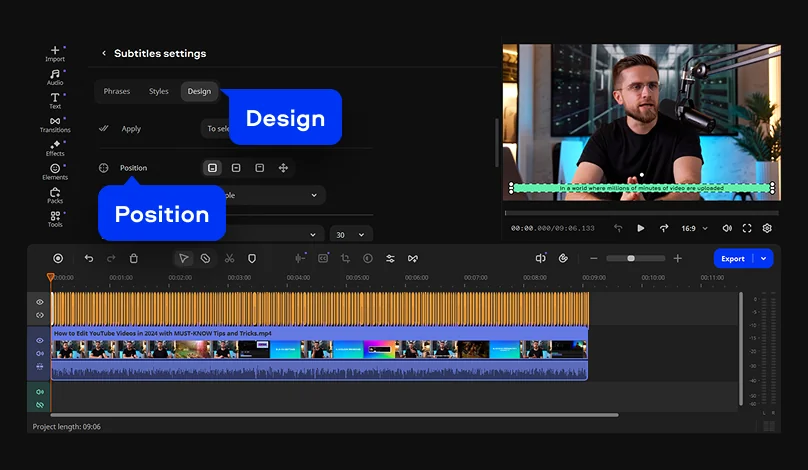
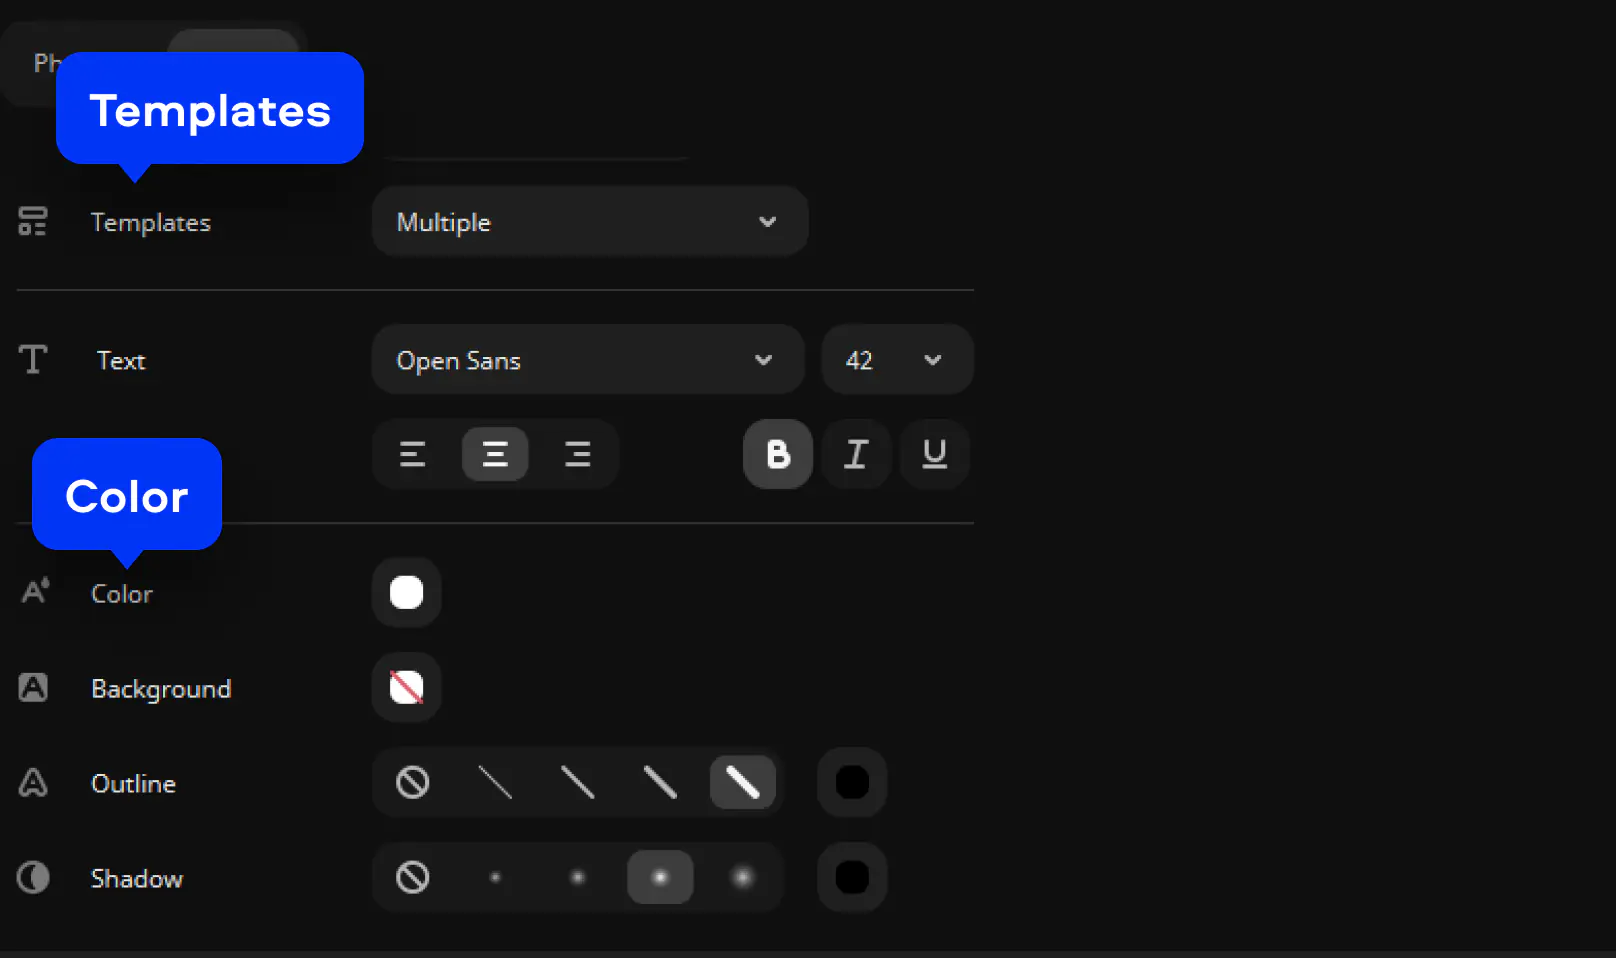
Play with fonts and colors. Pick a ready-made preset from the Templates drop-down list, then make any changes you like. Select the desired font, size, and color. Get the perfect look for your subs by changing the Background, Outline, and Shadow settings.
Great! Now, it’s time to save the video. Hit the Export button, adjust the output settings, and click Start.

Download the installation file and launch on your PC or Mac. Follow the on-screen instructions and open the program.
Click Add Files or just drag and drop your files into the program window. Then put your video on the Timeline.
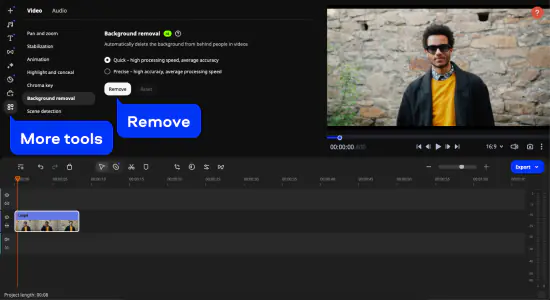
To use the AI-powered feature, go to More tools, find the Background removal tool, and select which one of the two methods you want to use: quick or precise. Click Remove and just watch AI work its magic on the video.
After removing the background, you might want to insert a new one: use another video or image, or pick one from our gallery of ready-to-use media.
To insert another video as a background, first add it to the Project files, then create an overlay track. Click Add an extra track and select Add video track. Drag the new video you want to use as background to the main video track, and the video with no background – to the extra video track.

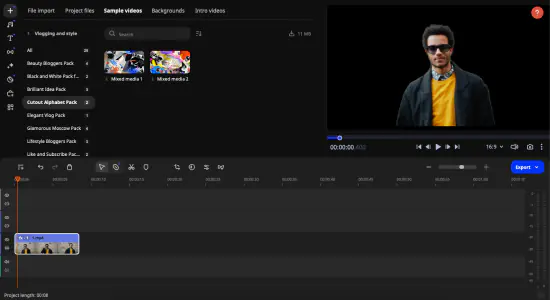
Here in this example, we’re using a sample video called Mixed Media 2 from the Cutout Alphabet Pack that you can find in Movavi Effects.
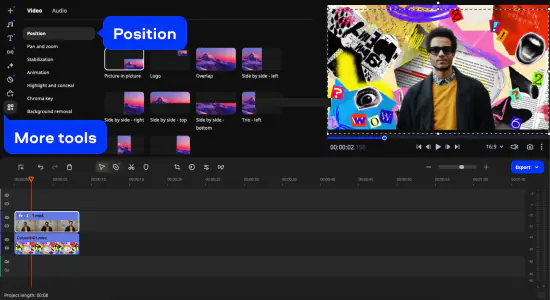
As soon as you overlay one video on another, the Picture in picture mode will be applied. Adjust the main video’s position in More tools, Position.
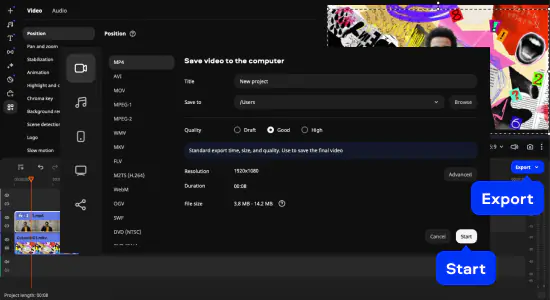
Click Export, select the output format for the video, then hit Start.
As you can see, Movavi Video Editor doesn’t require profound editing skills. In less than a minute, it provides you with a result that you can use to create awesome edits – just add some titles, overlays, transitions, and stickers!
Get infinite video-editing opportunities
Drag-and-drop filters, titles, overlays, and more – Movavi Video Editor has all you need to make striking content right away.
 Blade tool
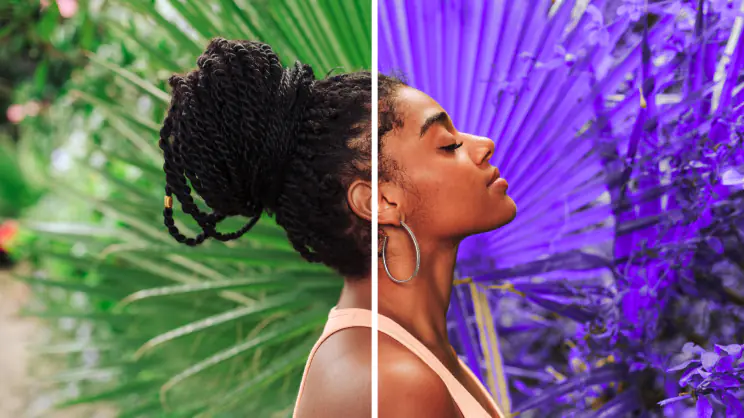 Filters and LUTs
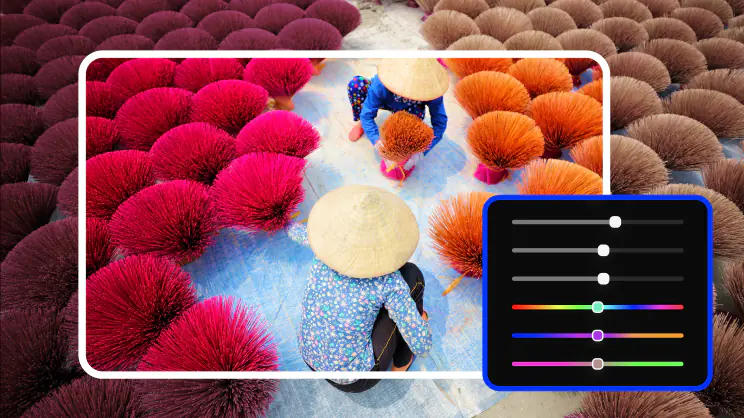 Color correction
 Transitions
 Overlays
 Stickers
 Intros
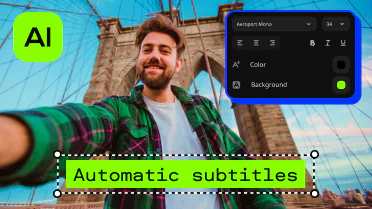 Automatic subtitles Blade toolFilters and LUTsColor correctionTransitionsOverlaysStickersIntrosAutomatic subtitles
 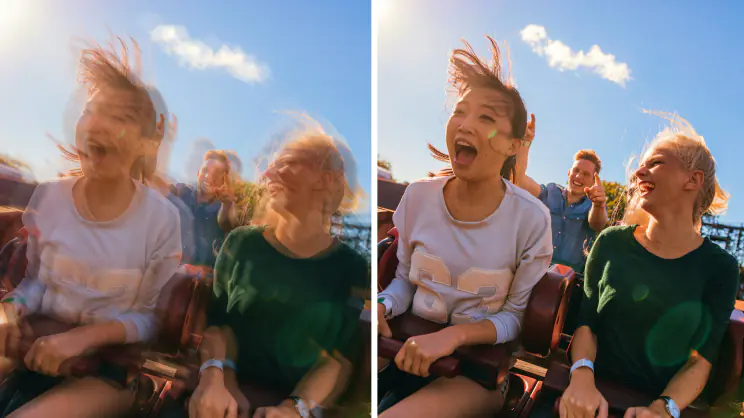 Stabilization
 Free music and sounds
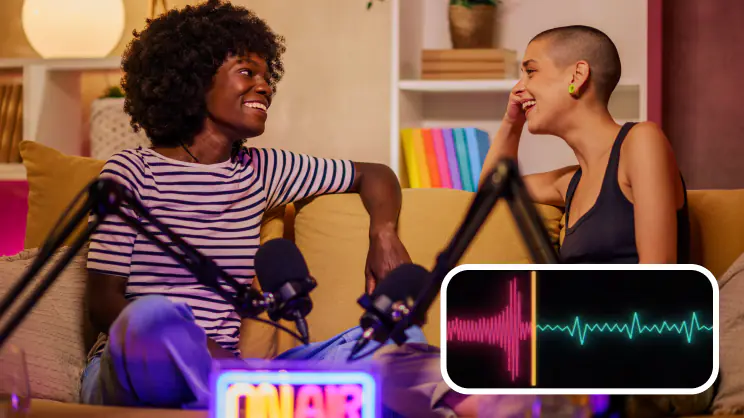 Audio editing
 Motion tracking
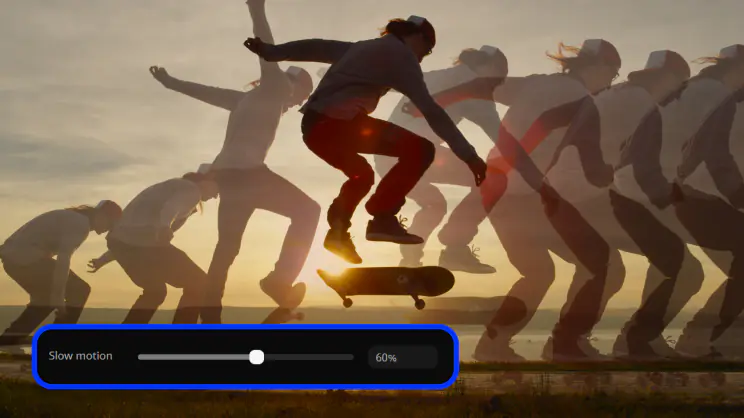 Slow motion
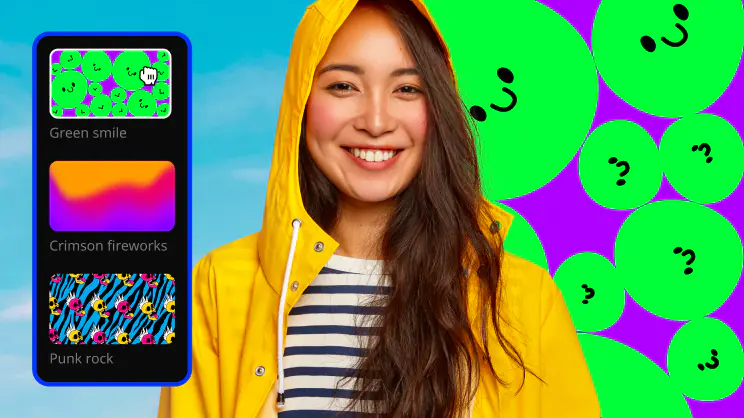 Chroma key
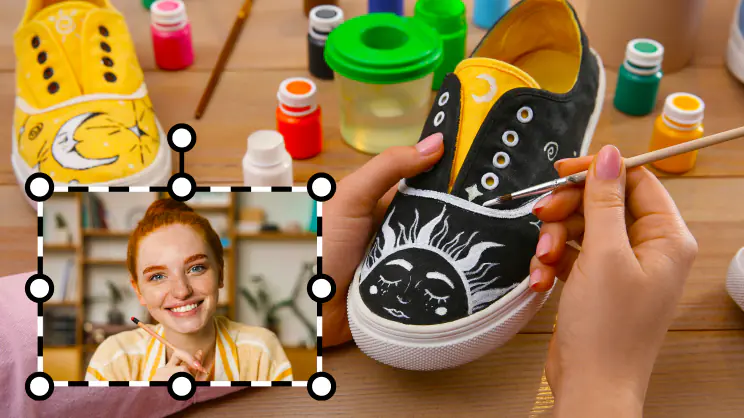 Picture in pictureStabilizationFree music and soundsAudio editingMotion trackingSlow motionChroma keyPicture in picture
*The free version of Movavi Video Editor may have the following restrictions depending on the build: watermark on exported clips, 60-second video or 1/2 audio length limit, and/or some advanced features unavailable when exporting videos.


1.5M+ users already subscribed to our newsletter