The hook is the opening stretch that proves the video delivers what the title promised. A travel vlogger can open on the best shots of the trip instead of a long hello, and a quick-cut Block is already edited to work that way.
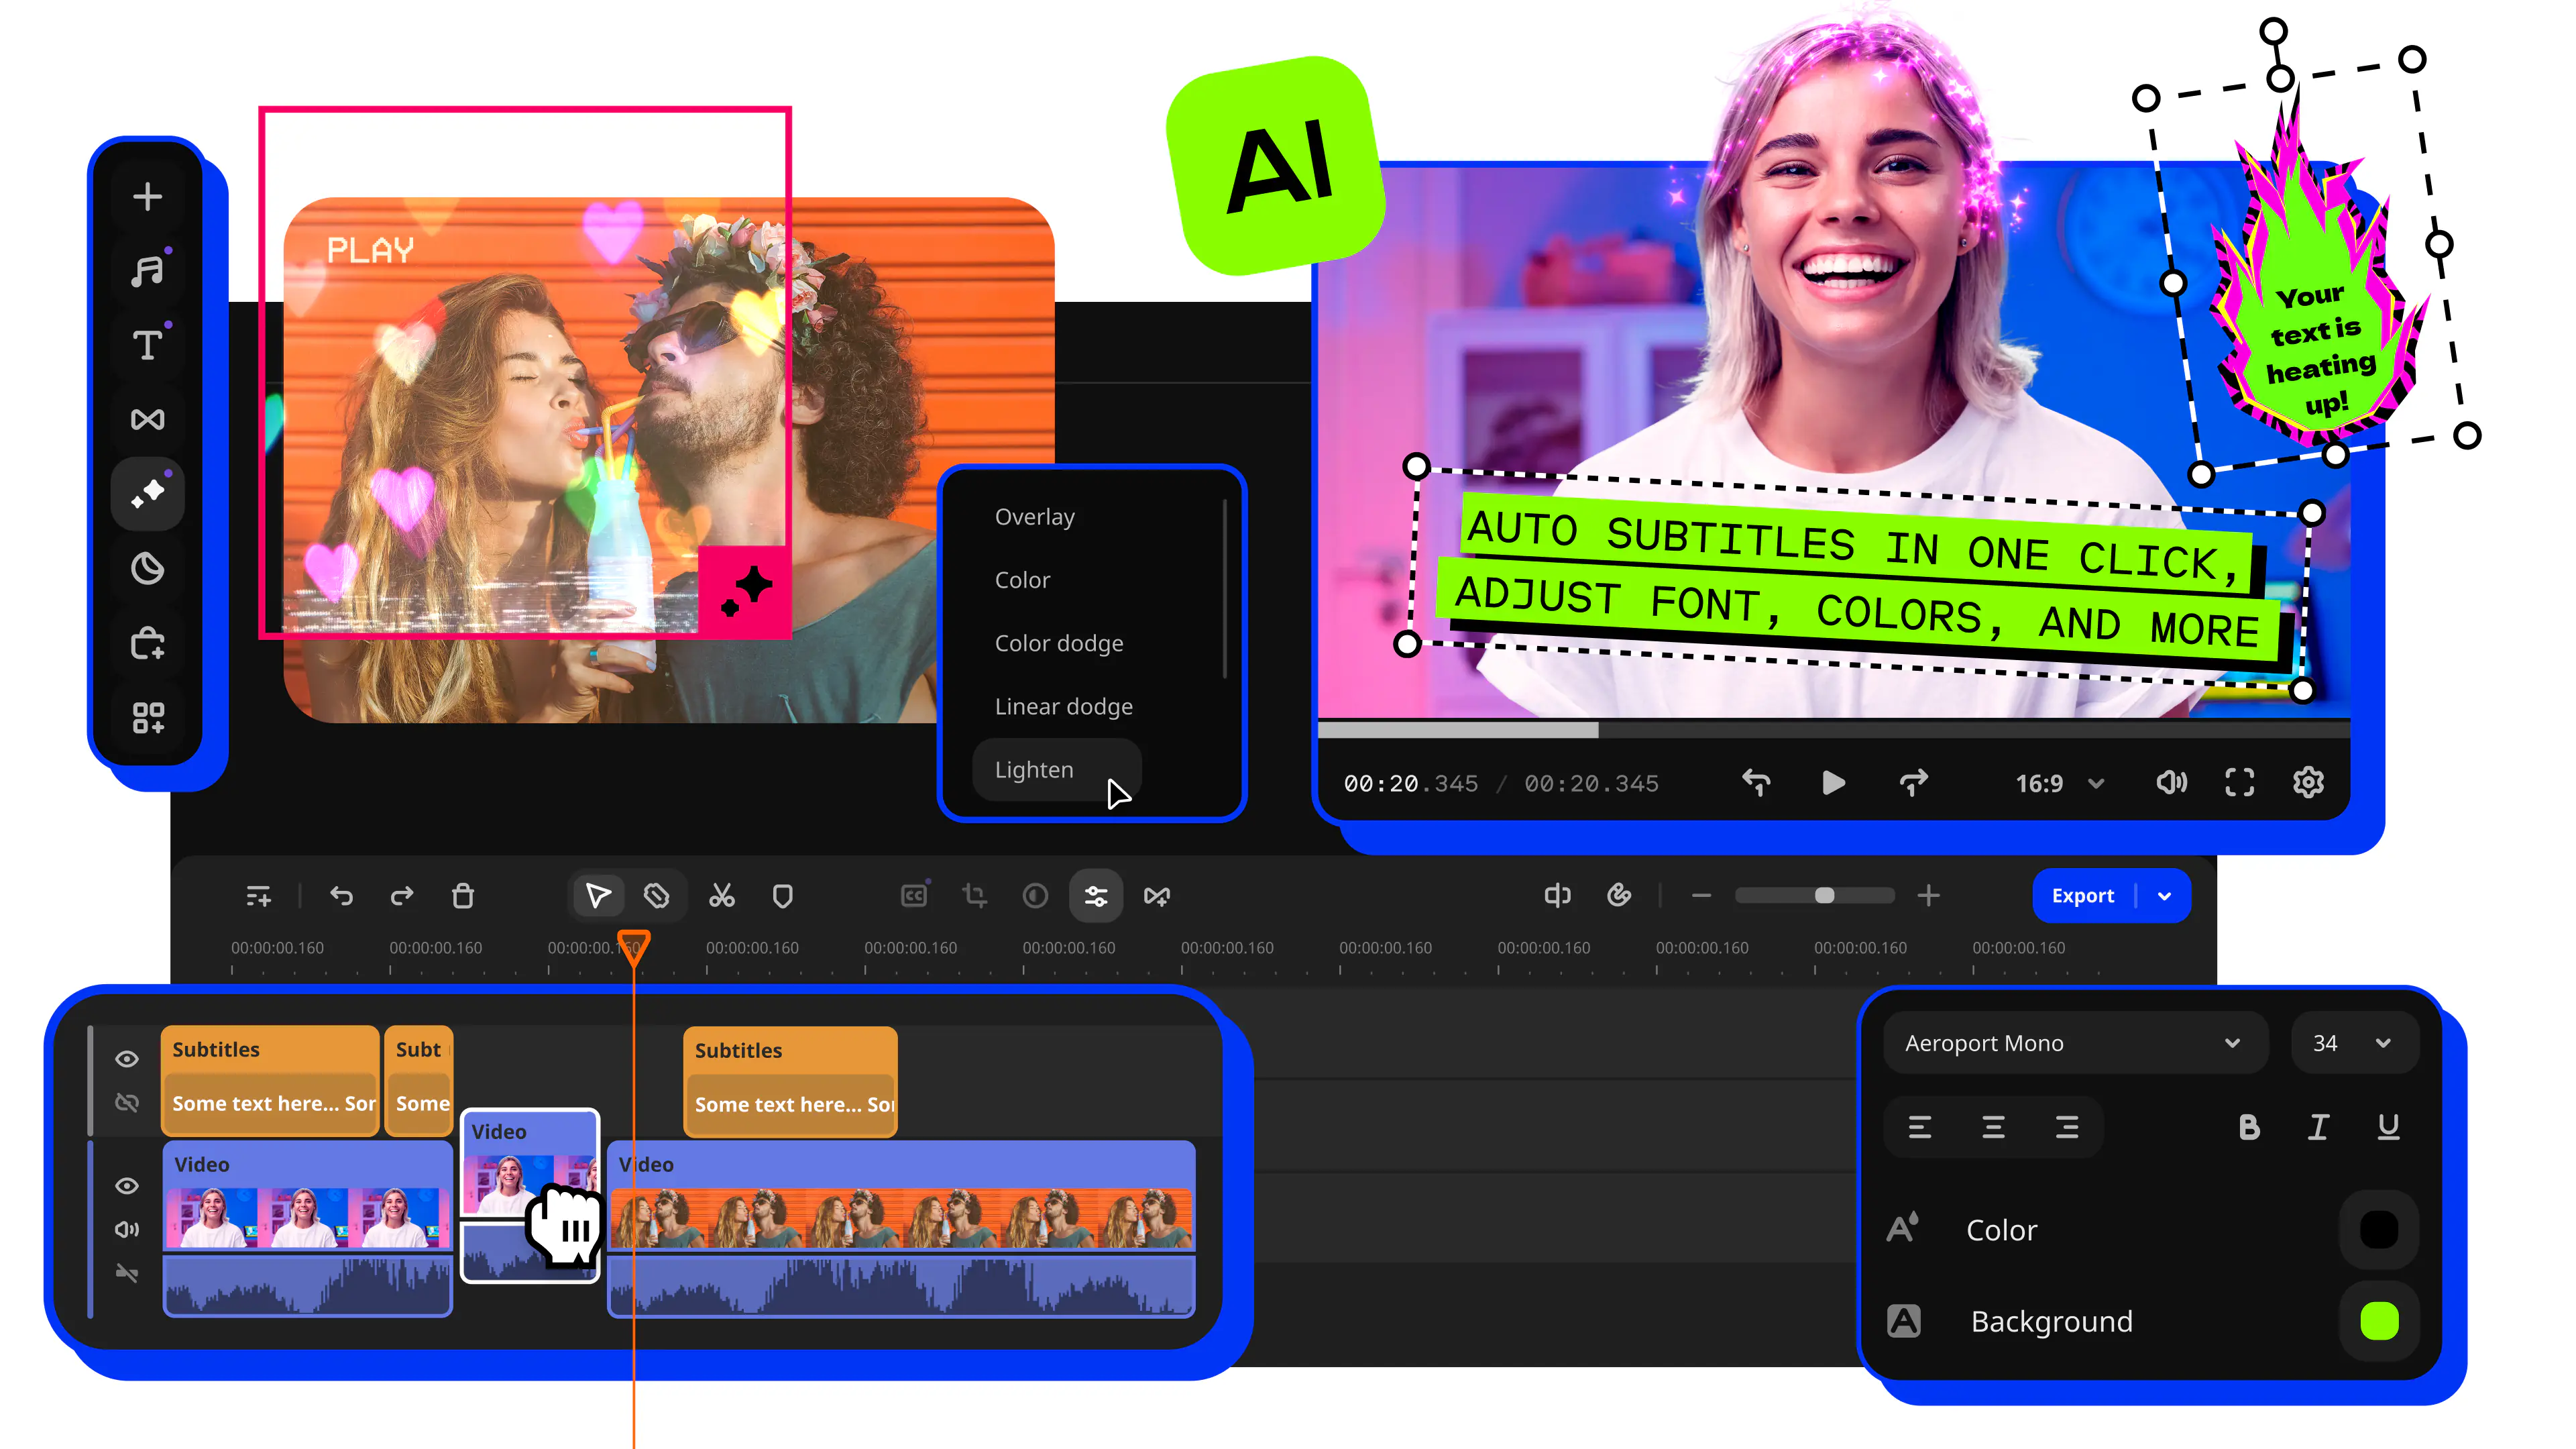
10 YouTube Editing Tips to Make Your Videos Better
Use Movavi Video Editor!
NEW: Adjustable video templates for any vibe – made of Blocks
NEW: Blocks – pre-edited video segments you can customize
Fast and easy editing: cut, crop, adjust colors and speed
Auto subtitles, noise removal, hundreds of effects, and more
By clicking the download button, you're downloading a trial version of the program.*

Edited by
13,386
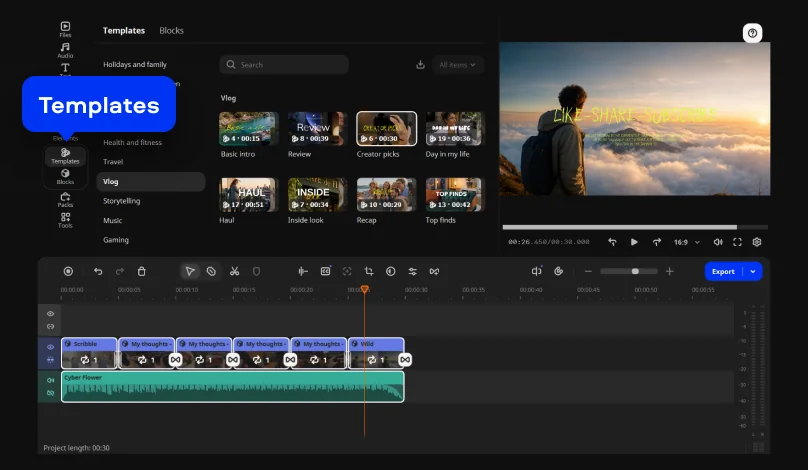
The quickest way to make YouTube videos better is to edit for attention: a hook that confirms the click, pacing that keeps moving, and an ending that points to your next video. That is retention editing, and each of these YouTube editing tips can be done on YouTube video templates. Movavi Video Templates is a multi-style library of customizable, pro-looking, modular templates for any kind of video.
A template is a ready-made project built from Blocks: short segments of the video where you drop in your own clips, photos, and text. The editing, music, transitions, and text come pre-set, and you can keep, change, or remove any of it. Hover previews show you a clip or effect before you commit, and drag-and-drop does the rest, so a first edit lands with a shape already in place. Movavi Video Editor is an intuitive video editor with customizable video templates, one-click AI tools, and hundreds of drag-and-drop effects. It is a desktop app for Windows and macOS.
This guide is for lifestyle and travel vloggers, family channel creators who film birthdays and other special occasions, and anyone who teaches a topic on camera. If you want fresh ideas after the last video-editing tips for YouTube, Movavi Ideas is a free tutorial hub with a new editing idea and a step-by-step guide every week.
Tip 1. Put a hook in the first seconds
- Click Add Files. Select the clips from your trip.
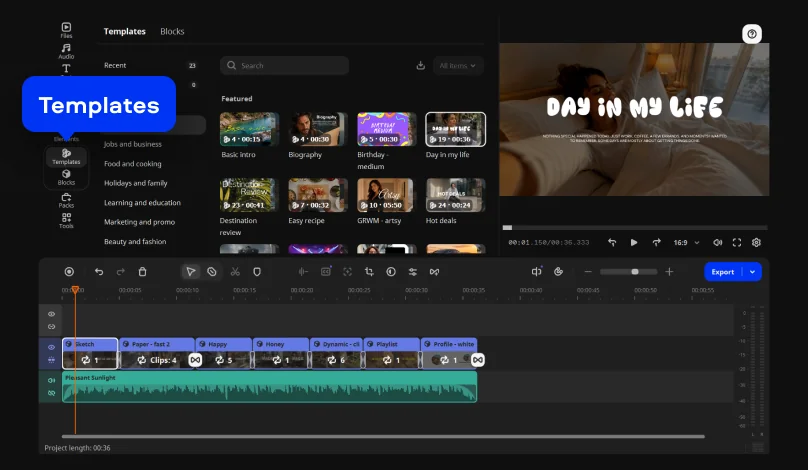
- Open the Templates tab. Choose a template that begins with a quick-cut Block. Drop the template onto the timeline.
- Double-click the quick-cut Block on the timeline. Replace the placeholder clips with your best moments.
- Retype the Block text with the promise of your video.
Tip 2. Swap the long opener for a short YouTube intro
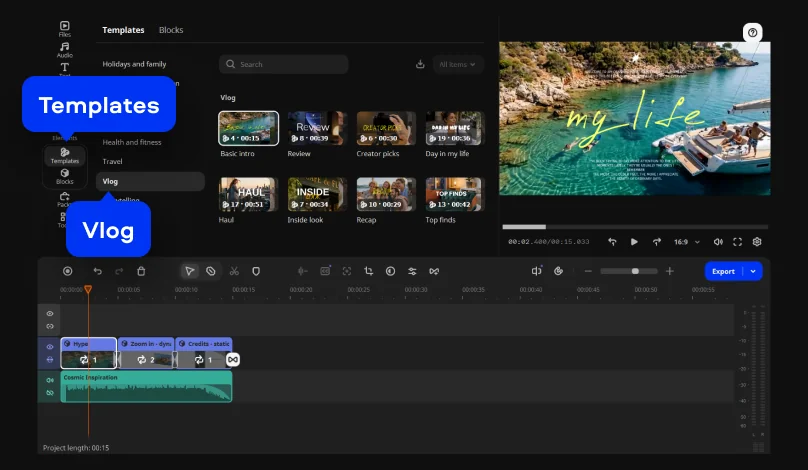
A branded intro should run no longer than five seconds. The Intro video template gives your channel a short opener, and you add your channel name.
- Click Add Files. Select the clips for your video.
- Open the Templates tab. Choose the Intro video template from the Vlog category. Drop the template onto the timeline.
- Double-click the intro Block on the timeline.
- Retype the Block text with your channel name.
Tip 3. Tease the payoff with a countdown
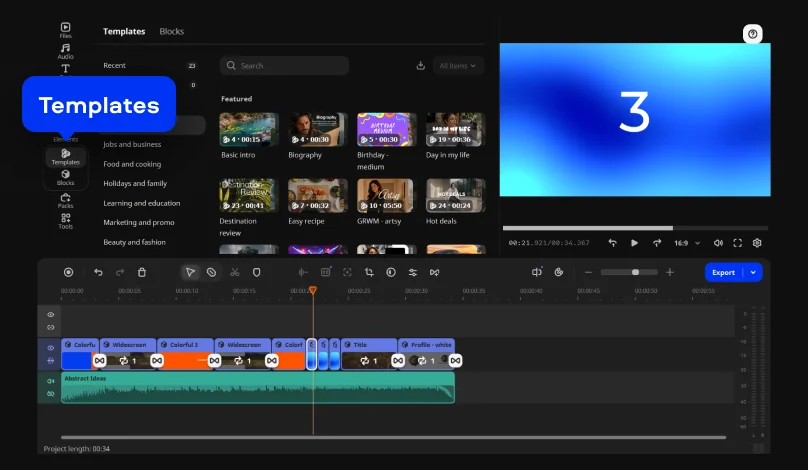
A teaser gives a video a storytelling thread. A countdown Block handles the promise in a few seconds, which suits a family vlogger counting down to the birthday cake or to the first stop of a road trip.
- Click Add Files. Select the clips and photos from the day.
- Open the Templates tab. Choose a template with a countdown Block. Drop the template onto the timeline.
- Double-click the countdown Block on the timeline. Replace the placeholder with your own clip or photo. Retype the Block text to name what is coming.
Tip 4. Keep the pace tight with jump cuts
A jump cut skips a pause or a stumbled word inside one shot, so the video keeps moving. Quick-cut Blocks give you that rhythm from the start, and auto silence removal clears the pauses in your talking clips with adjustable pause length and volume threshold.
- Click Add Files. Select your talking-head clips.
- Open the Templates tab. Choose a template built from quick-cut Blocks. Drop the template onto the timeline.
- Double-click a quick-cut Block on the timeline. Replace the placeholder with a clip from your footage. Reorder, add, or delete Blocks until the sequence feels brisk.
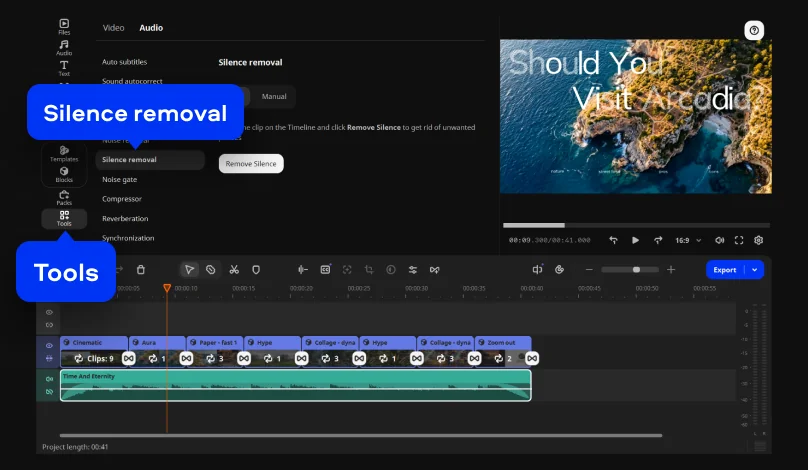
- Select a talking clip on the timeline. Open the Tools tab > Audio and select the Silence removal tool. Choose Auto mode and confirm the removal.
Tip 5. Cut to B-roll and animated collages
B-roll is the supporting footage that covers your main shot. Cutting to it while you talk gives the eye something new, so it works as a pattern interrupt too. An animated collage Block shows your clips and photos together instead of one static frame, which helps an unboxing or a recipe step.
- Click Add Files. Select your main clip and your extra footage.
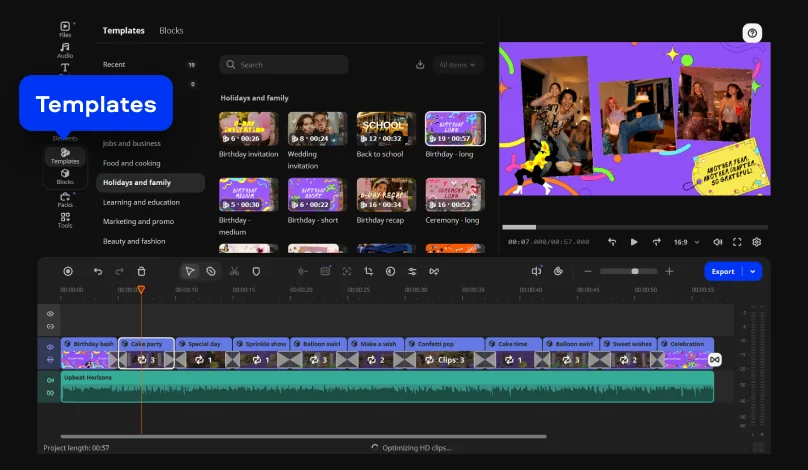
- Open the Templates tab. Choose a template with an animated collage Block. Drop the template onto the timeline.
- Double-click the animated collage Block on the timeline. Replace the placeholders with your B-roll clips and photos.
Tip 6. Add on-screen text
Viewers read and listen at the same time, so a short line of on-screen text repeats your point and marks each new section. The text style comes pre-set in a template, so titles match from the first frame to the last. The video template keeps that look consistent.
- Click Add Files. Select the clips that need titles.
- Open the Templates tab. Choose a template and drop it onto the timeline.
- Double-click a Block on the timeline. Replace the placeholder with your clip or photo. Retype the Block text with your title.
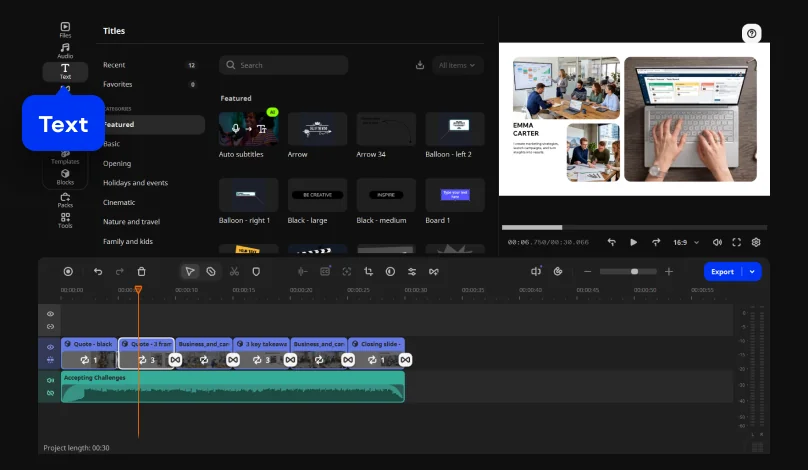
- To add new titles, open the Text tab and select a suitable style.
Tip 7. Use one transition style
One transition style across a whole video helps to stitch all clips together. The video template carries its transitions pre-set, so there is nothing to match by hand between your clips.
- Click Add Files. Select the clips you want to join.
- Open the Templates tab. Choose a template you want to use and drop it onto the timeline.
- Double-click a Block on the timeline. Replace the placeholder with your own clip. Repeat for each Block in the sequence.
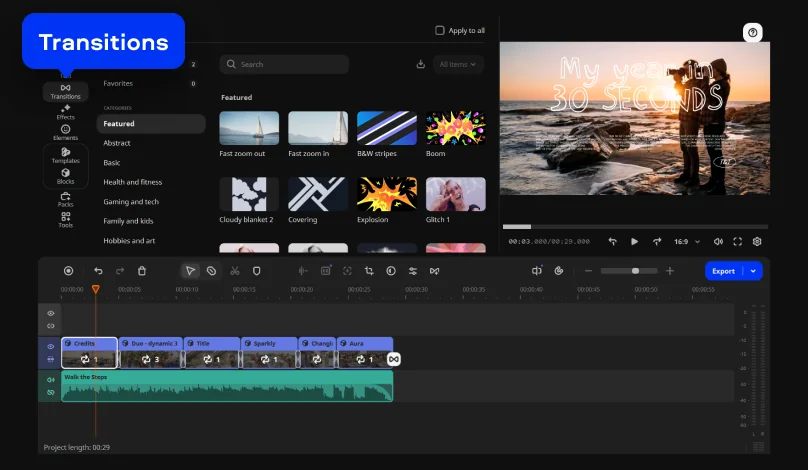
- You can use transitions that are already in the template or swap them to different ones from the Transitions tab. Simply drag and drop a transition you like between the clips on the timeline.
Tip 8. Pair the music with clean audio
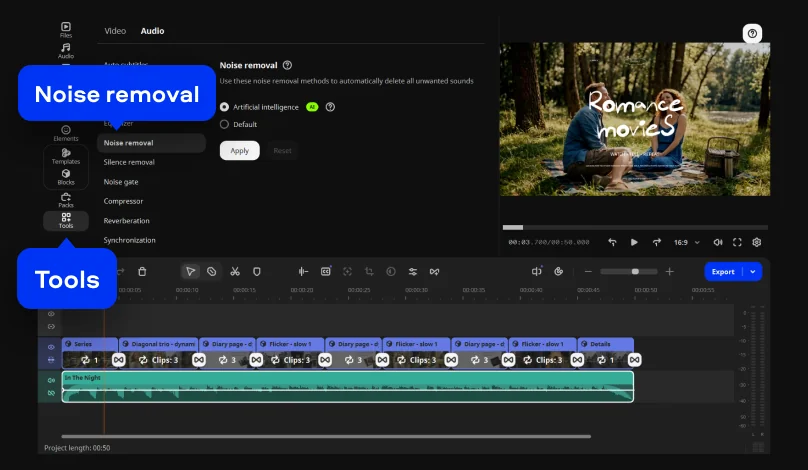
The template’s music is pre-set, so you can keep it or swap it. Your voice needs the clearest track. AI audio noise removal clears traffic, wind, and steady hums in one click while keeping the voice sharp, with 95% noise reduction. For sound effects on a text pop-up or a transition, Movavi Video Editor includes copyright-free music tracks and sounds.
- Click Add Files. Select the clips with your voice.
- Open the Templates tab. Choose a template that fits the mood of your video. Drop the template onto the timeline.
- Double-click a Block on the timeline. Replace the placeholder with your clip.
- Select the voice clip on the timeline. Open Tools > Audio and select the AI Noise removal tool and apply it with one click.
Tip 9. Add subtitles
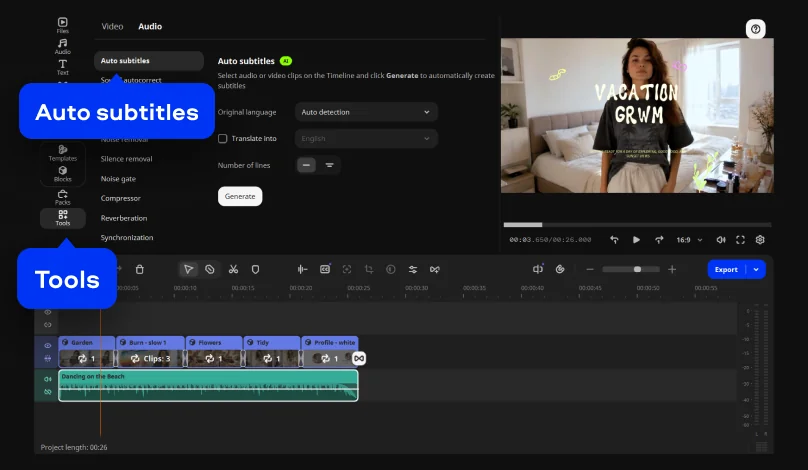
AI subtitles turn speech into text in 100+ languages, with 60+ designs and real-time word highlighting that follows your voice. A family channel can caption a toast so relatives who watch without sound can follow it. A standalone SRT file can be exported if you would rather upload captions to YouTube separately.
- Click Add Files. Select the clip with speech.
- Open the Templates tab. Choose a template for the video. Drop the template onto the timeline.
- Double-click a Block on the timeline. Replace the placeholder with your clip.
- To add captions, use the Auto subtitles tool in the Tools > Audio tab to create subtitles automatically. Pick a subtitle design.
Tip 10. Close with an outro that asks for the subscribe
An end screen is YouTube’s panel of clickable elements at the close of a video. It can occupy the last 5 to 20 seconds, so the outro needs room for it. The YouTube outro video template gives those closing seconds a set shape. YouTube Help says an end screen holds up to four elements and the video must run at least 25 seconds. A call to action, a short line asking viewers to subscribe or watch next can also sit mid-video, right after you have delivered something useful.
- Click Add Files. Select the clips for your video.
- Open the Templates tab. Choose a video template for your outro and drop it onto the timeline.
- Double-click the outro Block on the timeline. Retype the Block text with your call to action.
- To add additional titles, select a suitable style in the Text tab.
- After you upload, open YouTube Studio, select Content, open the video, choose Editor, then select End screen.
Export for YouTube
YouTube recommends the MP4 container with the H.264 video codec, and Movavi Video Editor handles MP4. Export last, once every Block is filled.
Click Export, choose the MP4 format, and click Start. You can also upload your video right from the program to YouTube from the Upload to YouTube tab in the Export menu.
Quick comparison: where each tip helps retention
Tips 1 to 3 pay off before the first minute. Tip 4 matters most for talking-head videos, and tip 5 needs extra footage, which is why its setup takes longer.
Final recommendation: a video built from all ten tips
Movavi Video Editor is the pick when you want to make YouTube videos better without learning a pro suite. Editing, transitions, text styles, and music arrive pre-set, so your time goes into your own clips. Reordering, adding, or removing Blocks turns one template into a different video each time.
The AI tools in this guide handle the hard parts in one click: silence removal, audio noise removal, and subtitles. They are part of the full version, and there is no AI credit system, so you don’t need to count credits.
Every channel has its own look, and the effects follow it. Hundreds of built-in drag-and-drop effects cover transitions, titles, filters, and stickers. If a project needs more, Movavi Effects is an optional subscription with 10,000+ effects and 1,500+ music tracks, and you can preview any of them on your own footage before buying.
Movavi software has 70M+ users in 190+ countries and fits different budgets. You can start with the free version to test the core editing tools, auto subtitles, auto crop, and silence removal. Exports from the free version carry a watermark and a 60-second limit. Movavi Video Editor Lite and the full version are the next steps. Several templates come with the full version at no extra charge, and the whole collection needs a Movavi Templates subscription, so you add only what a project calls for.
Picture a family channel filming a birthday. The video opens on a quick-cut Block of the best moments, then a short intro carries the family name. A countdown Block leads to the cake, and an animated collage shows the party photos next to the footage. Titles name the guests, one transition style joins the scenes, the template’s music sits under a cleaned-up voice, subtitles carry the toast, and an outro points to the next video.
Your next video is a good place to start. Build it on one template, then try auto-tracked cropping to turn the finished video into a YouTube Short, or browse Movavi Ideas for this week’s editing idea.
Movavi Video Editor
Create awesome videos easily
*The free version of Movavi Video Editor may have the following restrictions depending on the build: watermark on exported clips, 60-second video or 1/2 audio length limit, and/or some advanced features unavailable when exporting videos.
Frequently asked questions
How do I hold viewers in the first seconds?
How do I hold viewers in the first seconds?
Show the payoff the title promised, right away. A quick-cut Block can open on your best moments, and it’s suggested placing the first pattern interrupt around 25 to 35 seconds in. Skip the greeting and long backstory, and put your channel name in a short intro Block instead.
How long should a YouTube intro be?
How long should a YouTube intro be?
It should be no longer than five seconds. The Intro video template gives you a short opener you can fill with your channel name, and you can delete the Block entirely if a video works better without one.
Do I need subtitles?
Do I need subtitles?
They help viewers who cannot turn the sound on, and they make a spoken video easier to follow. Movavi Video Editor’s AI subtitles recognize speech in 100+ languages, and active word highlighting follows your voice. Edit the lines before you export, since speech recognition can still miss a name.
How do I keep template-based videos from looking alike?
How do I keep template-based videos from looking alike?
Change the order of the Blocks, add or delete some, and swap the template’s music for your own. Retype the Block text for every video, and pick a different template for a different mood: a birthday and a travel vlog should not share one.
Have questions?
If you can’t find the answer to your question, please feel free to contact our Support Team.
Join us for discounts, editing tips, and content ideas


1.5M+ users already subscribed to our newsletter