How to Make a YouTube Travel Video Intro with Movavi Video Editor

  1. Add the video to the timeline, duplicate it, and apply a blur effect to the top track.

  2. Add text and a fade effect.

  3. Save the video and enjoy the result!

By clicking the download button, you're downloading a trial version of the program.*

Edited by
Ben Jacklin
10,938

A good intro video for a travel blog is essential for establishing the channel's image and building its brand recognition; it's a key element in the success of a travel channel. Whether you're just figuring out how to start a travel YouTube channel or you're already deep into travel vlogging, a strong intro sets the tone for everything that follows. In addition to the standard elements – footage, graphics, and text – that are consistent across all videos, the intro can include a brief summary of that specific video to grab the viewer's attention and encourage them to watch your video.

A blur effect, where a sharp image emerges from a blurred picture, and the channel name or your video's title appears and disappears against this backdrop, is an interesting opening sequence option that's also quick and easy to create. Travel video production doesn't have to be complicated, and this technique is a great example of that. For instance, see how you can create an opening sequence for a travel blog in Movavi Video Editor, whether you're working on a PC, a Mac, or any other device.

Step-by-step: How to create a beautiful intro for a travel vlog

Step 1. Install Movavi Video Editor

Click the download button below for your operating system and download the program. Movavi Video Editor is available as a desktop app on PC and Mac, so no matter what device you're on, you can get started right away. Open the downloaded installation file and follow the on-screen instructions. In just a couple of minutes, the video editor will be ready to use.

Step 2. Import a video into the program

Click Add Files and import the background video for your intro into the program.

Step 3. Prepare the video sequence

Drag and drop the uploaded video onto the timeline.

To create a blur effect that fades out by the end of the clip, you need to duplicate the video track. To do this, right-click on the video on the timeline and select Clone from the menu that appears.

Step 4. Apply a blur effect

In the left-hand side menu, open the Effects tab, then the Filters section.

To avoid scrolling through the entire filter collection, use the search function and start typing the name of the effect, Blur - intense, to find the filter you need. Then drag this effect onto the top video track. You'll see that the image has become blurred.


Step 5. Add text

Open the Text tab in the left-hand menu and select the Simple Text title option, as shown in our example. Drag it onto the title track, which is located above the video tracks. You can also experiment with other title options including 3D text effects from the extensive collection in Movavi Video Editor.

To edit the text, click on the title on the timeline and enter your text in the window that opens. Now you need to set how long the text stays on screen, in our example, this is about 2/3 of the clip's total duration. Place the cursor on the right edge of the title and drag it to the desired length. Adjust the top blurred video to match this duration: you'll need to shorten it by dragging its right edge to the left, toward the beginning.

Step 6. Add animation to the intro

Click Tools to access advanced editing features, then open the Animation tab.

From the many options, select Fade out and drag the effect onto both the top video track and the title you created on the text track. Adjust the position and duration of the fade. Set the start point 2-3 seconds before the end, and the end point should coincide with the media boundary.

Step 7. Export the finished intro

The intro creation process is complete.
Check that everything turned out as intended:  play the video from the beginning and make adjustments if you need to. Now everything is ready.
To save the video, click Export. In the window that opens, specify the folder and file name. Select the desired quality level – preferably High and the format – preferably MP4, as it's best suited for uploading travel videos for YouTube and other platforms.
Click Start and wait a minute.

The video has been saved, and you now have a finished intro for your travel blog. With the right tools and a bit of practice, travel video production, travel vlogging, and knowing how to start a travel YouTube channel all become much more approachable – whether you're a seasoned content creator or a first-time travel vlogger.

Movavi Video Editor
Create awesome videos easily

*The free version of Movavi Video Editor may have the following restrictions depending on the build: watermark on exported clips, 60-second video or 1/2 audio length limit, and/or some advanced features unavailable when exporting videos.

Frequently asked questions

How to start a vlog intro?

Begin with a strong hook – say something surprising, ask a bold question, or jump straight into action. Don't waste the first seconds on "Hey guys, welcome back."
Introduce yourself briefly if it's a new audience: your name and what your channel is about in one sentence. Then tease what's coming in this video – make viewers feel they'd miss out by clicking away.
Keep energy high from the very first frame. Smile, speak with confidence, and match your tone to your niche. End the intro quickly – under 30 seconds – and get straight to the content. Viewers stay for value, not formalities. Need ideas? Watch the top travel vloggers in your niche and note what makes their openers memorable.

What Is a good introduction for a vlog?

A good vlog intro is short, energetic, and instantly engaging. It grabs attention within the first three seconds before the viewer scrolls away.
Start with a compelling moment – a funny clip, a shocking statement, or a relatable question your audience is already asking. Then briefly tell viewers who you are and what value this video brings them. Use natural, conversational language – vlogs are personal, not scripted.
Good lighting, clear audio, and genuine enthusiasm matter more than fancy editing. Your personality is the intro. Be authentic, be direct, and respect your viewer's time – then dive straight into the story.

How to begin a travel vlog?

Start your travel vlog in the middle of the action – at the airport, packing your bag, or arriving somewhere stunning. Skip the boring setup and drop viewers straight into the adventure.
Open with a visually exciting shot: a busy street, a sweeping landscape, or an unexpected local moment. Add your voice-over or speak directly to camera with genuine excitement – your enthusiasm is contagious.
Tell viewers where you're going and why it matters in one or two sentences. Tease the highlights ahead so they keep watching. Good travel vlogs feel like an invitation – make your audience wish they were standing right beside you. Whether you film on an iPhone, an Android device, or a professional camera, what matters most is your story.

Can AI make me a YouTube intro?

Yes – AI can absolutely help you create a YouTube intro. Several tools handle different parts of the process beautifully, and many offer free plans to get you started.

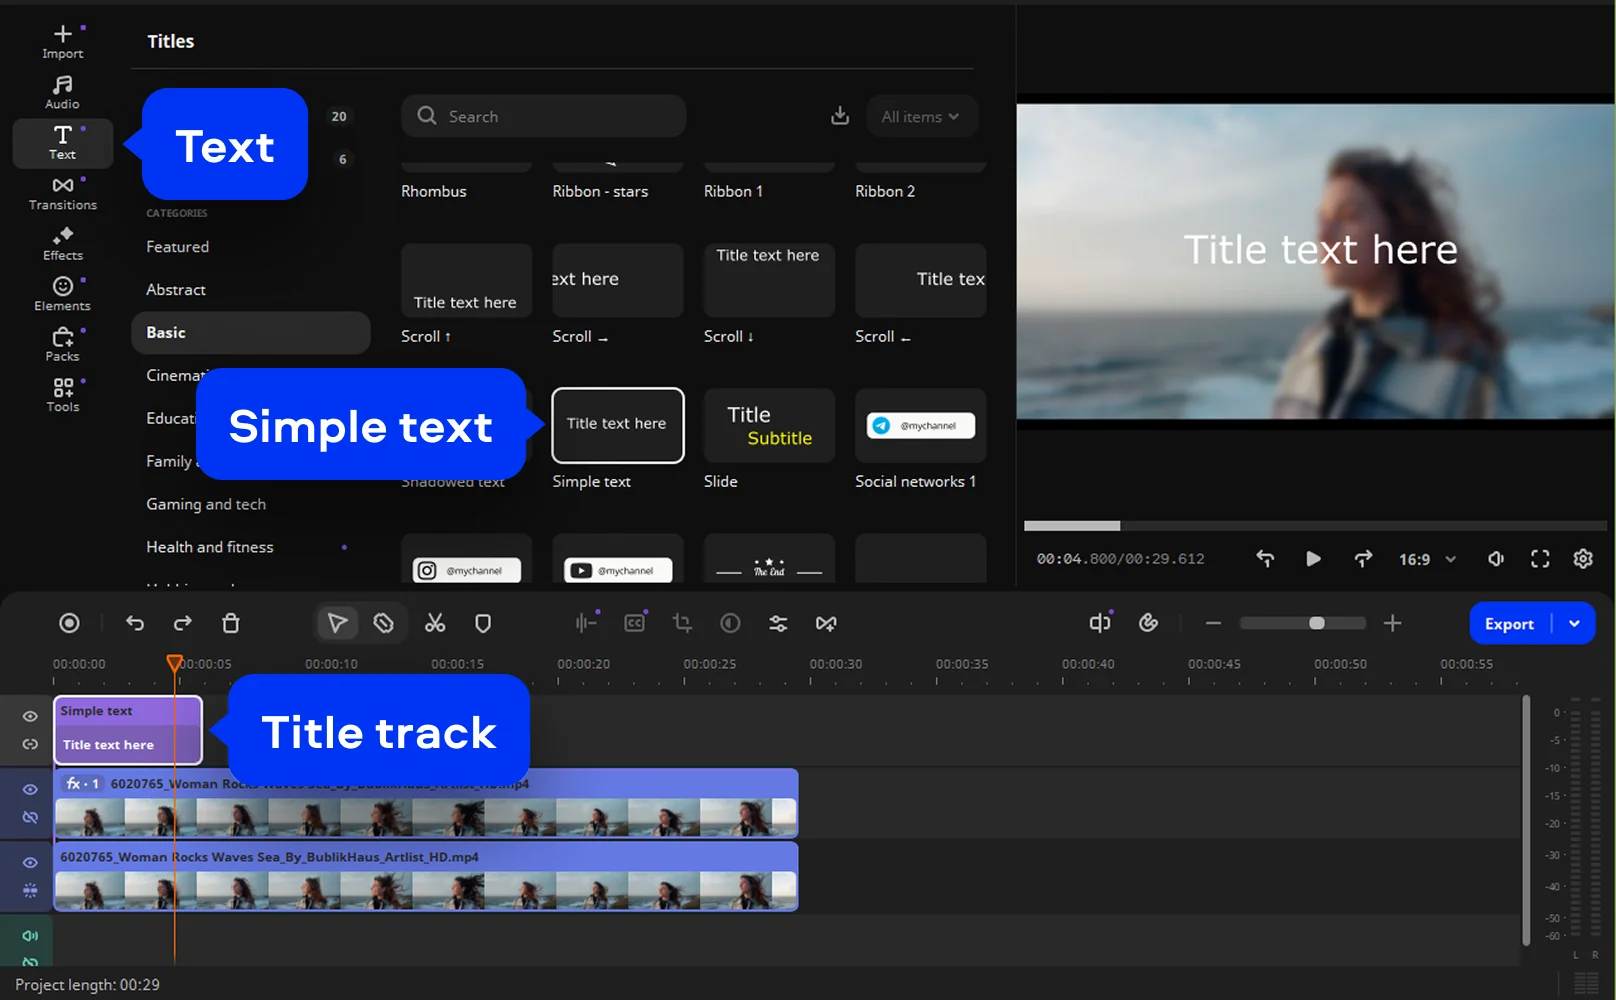
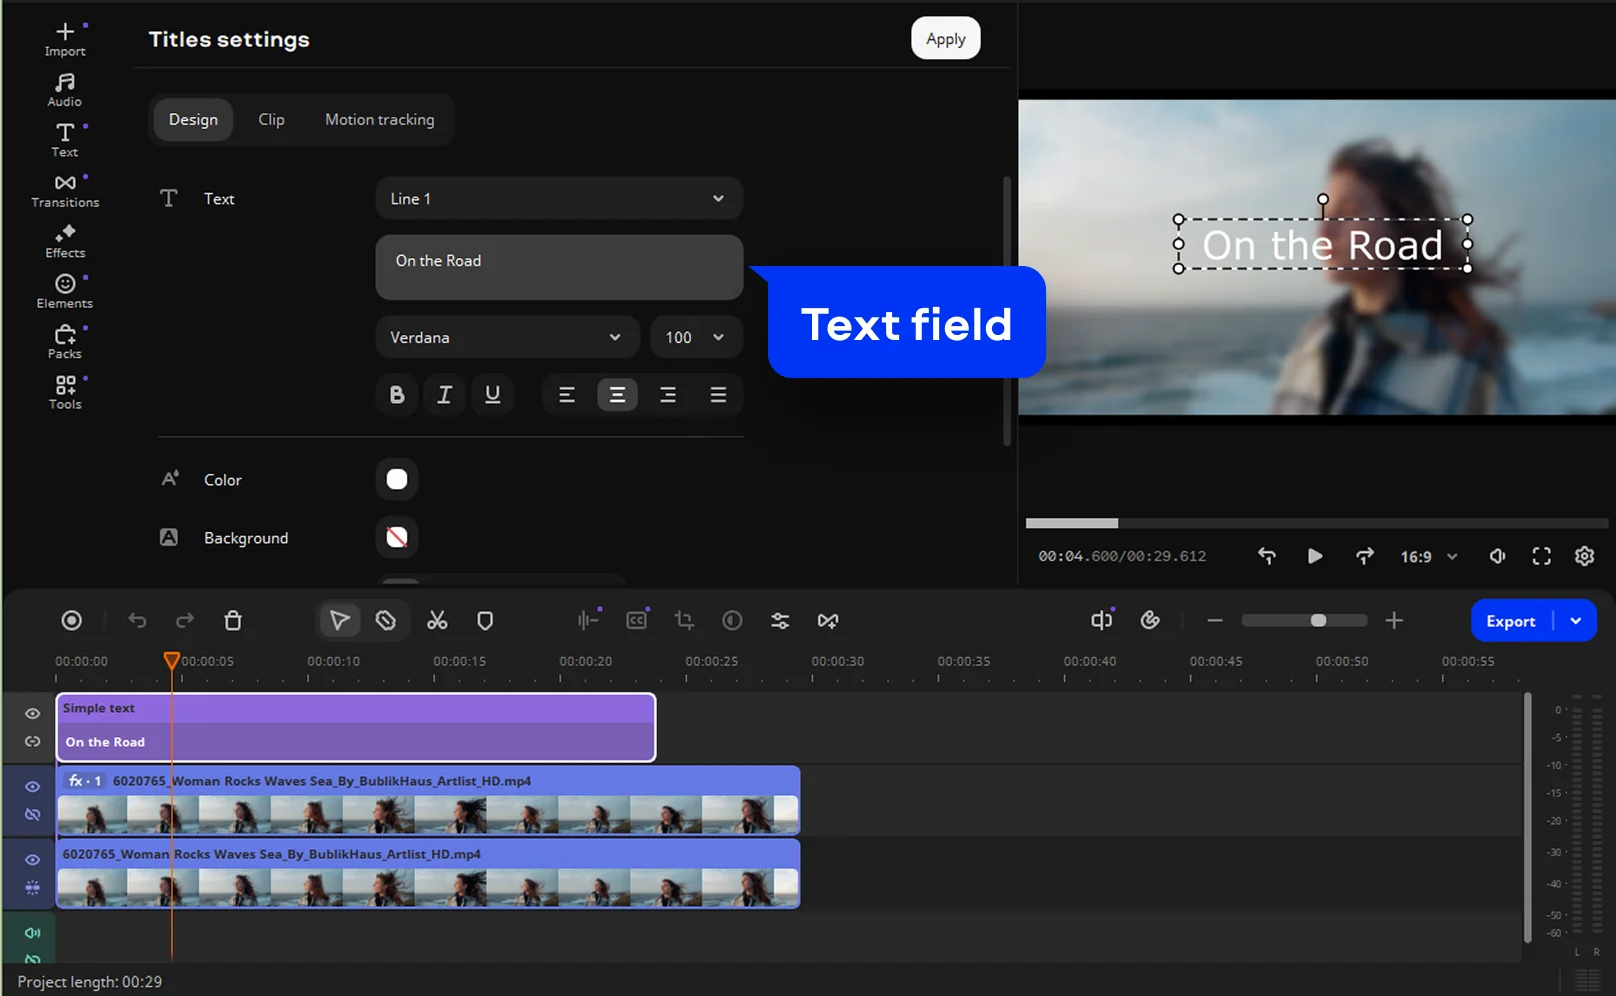
For scripts, ChatGPT or Claude can write punchy, engaging intro lines tailored to your niche in seconds. For voiceovers, tools like ElevenLabs generate natural-sounding AI voices. For visuals, Runway, Pika, or Canva's AI features create animated graphics – including 3D motion elements – without any design skills, straight from your browser app or desktop.

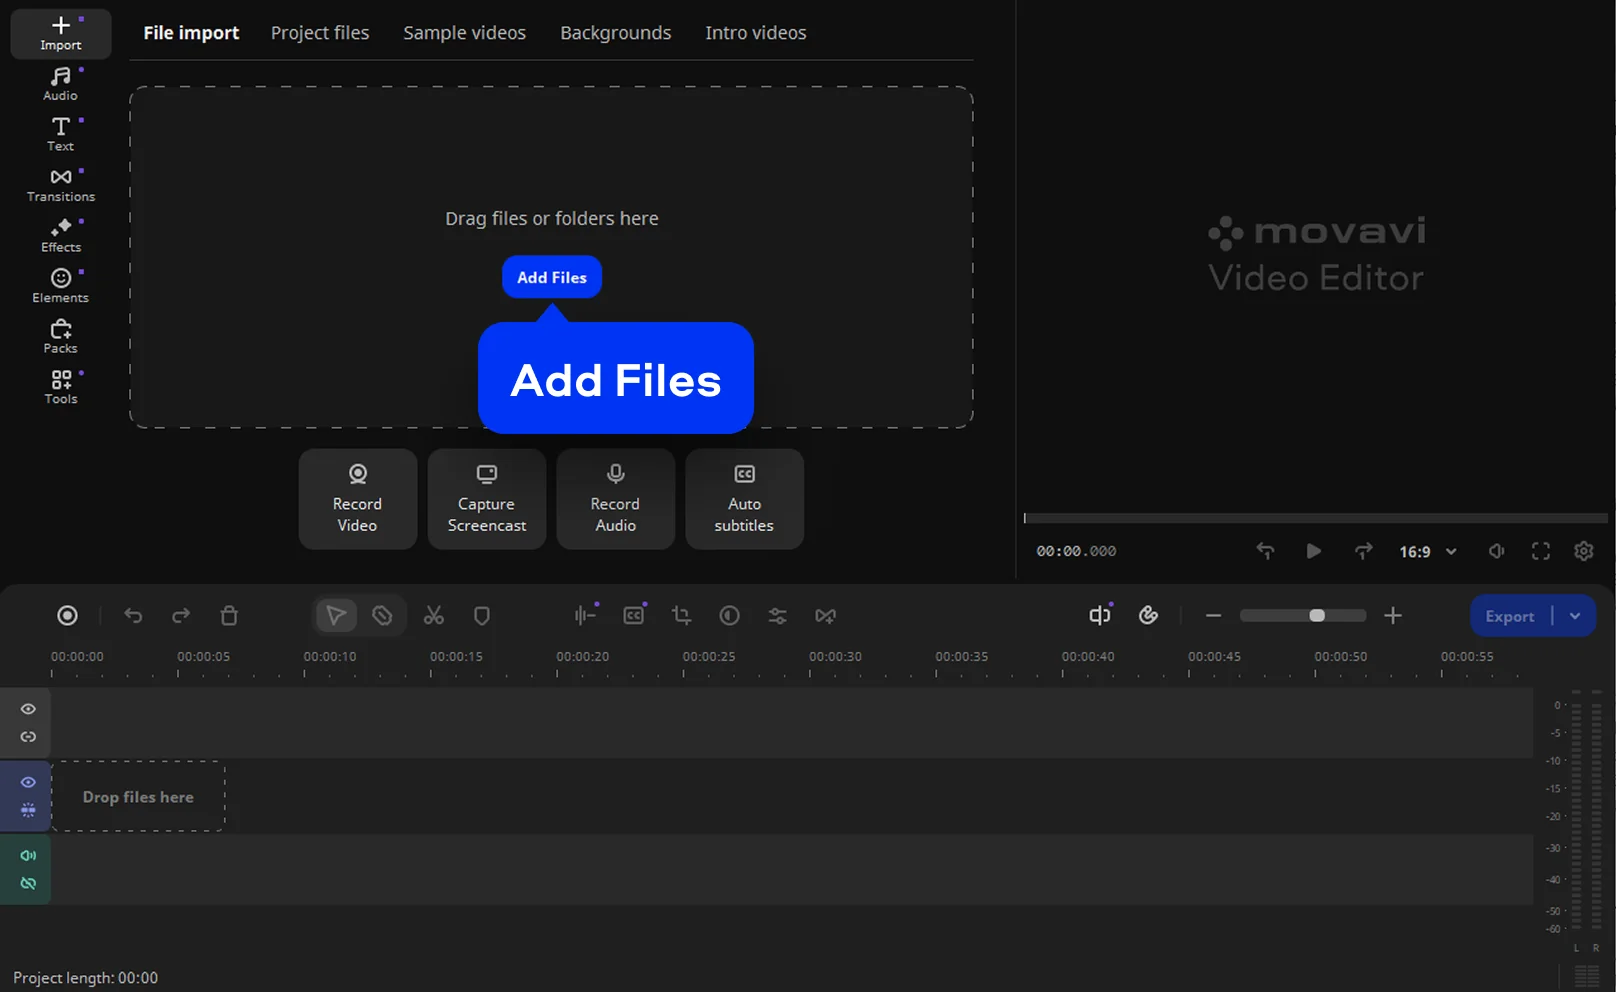
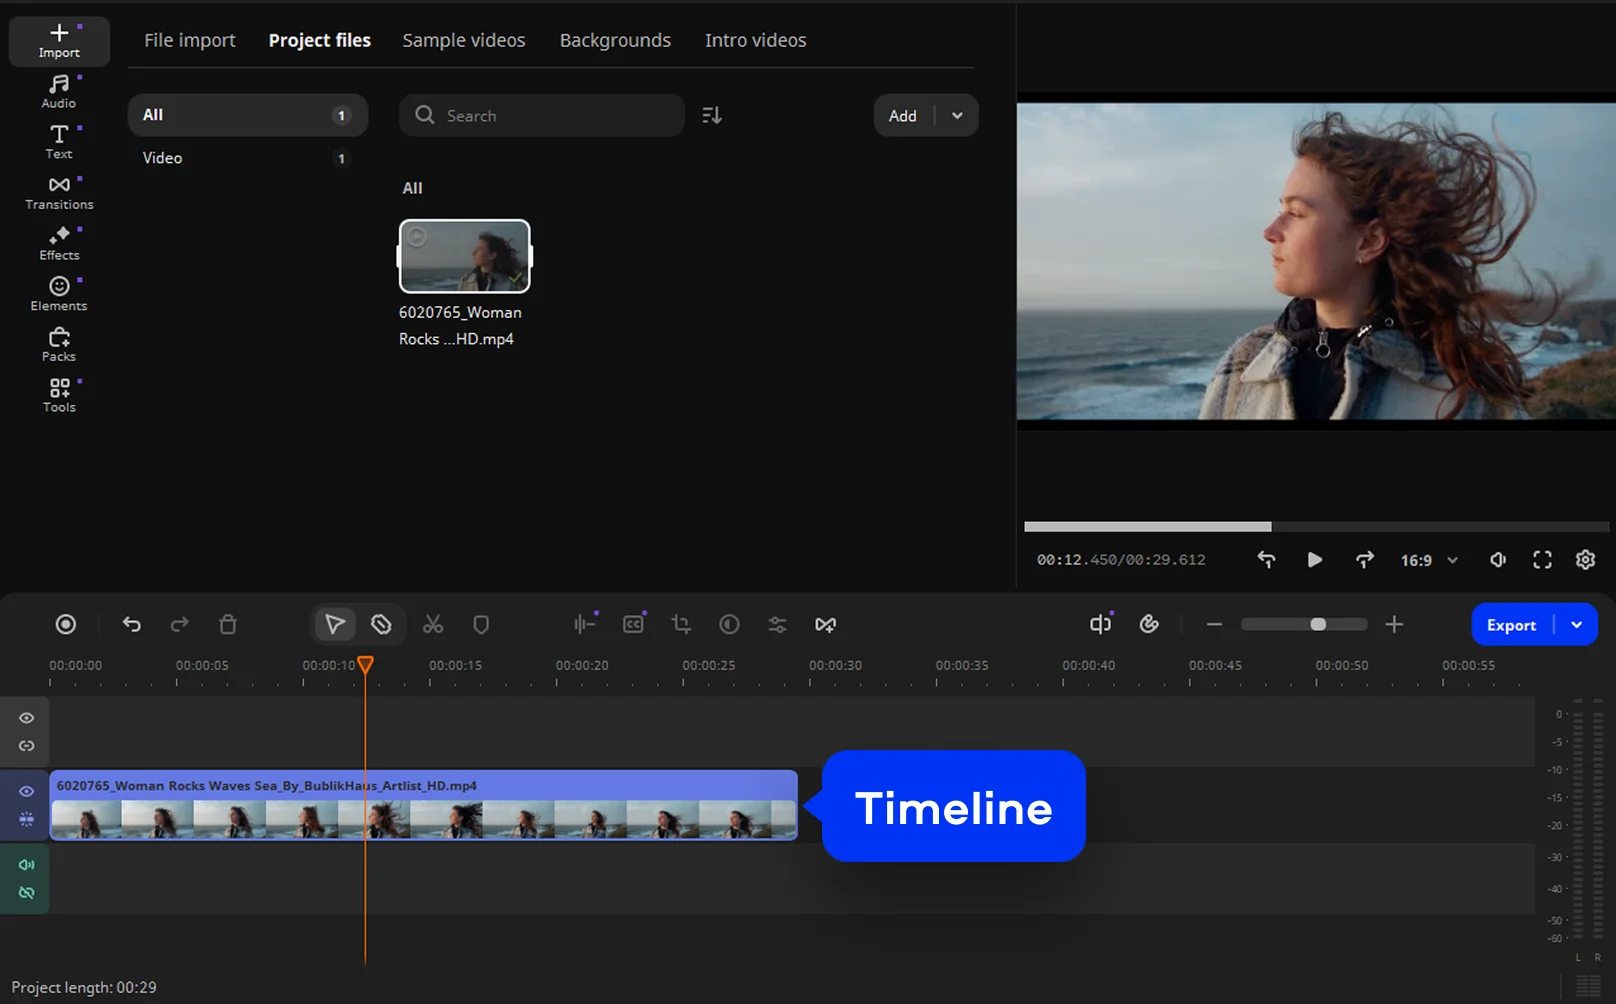
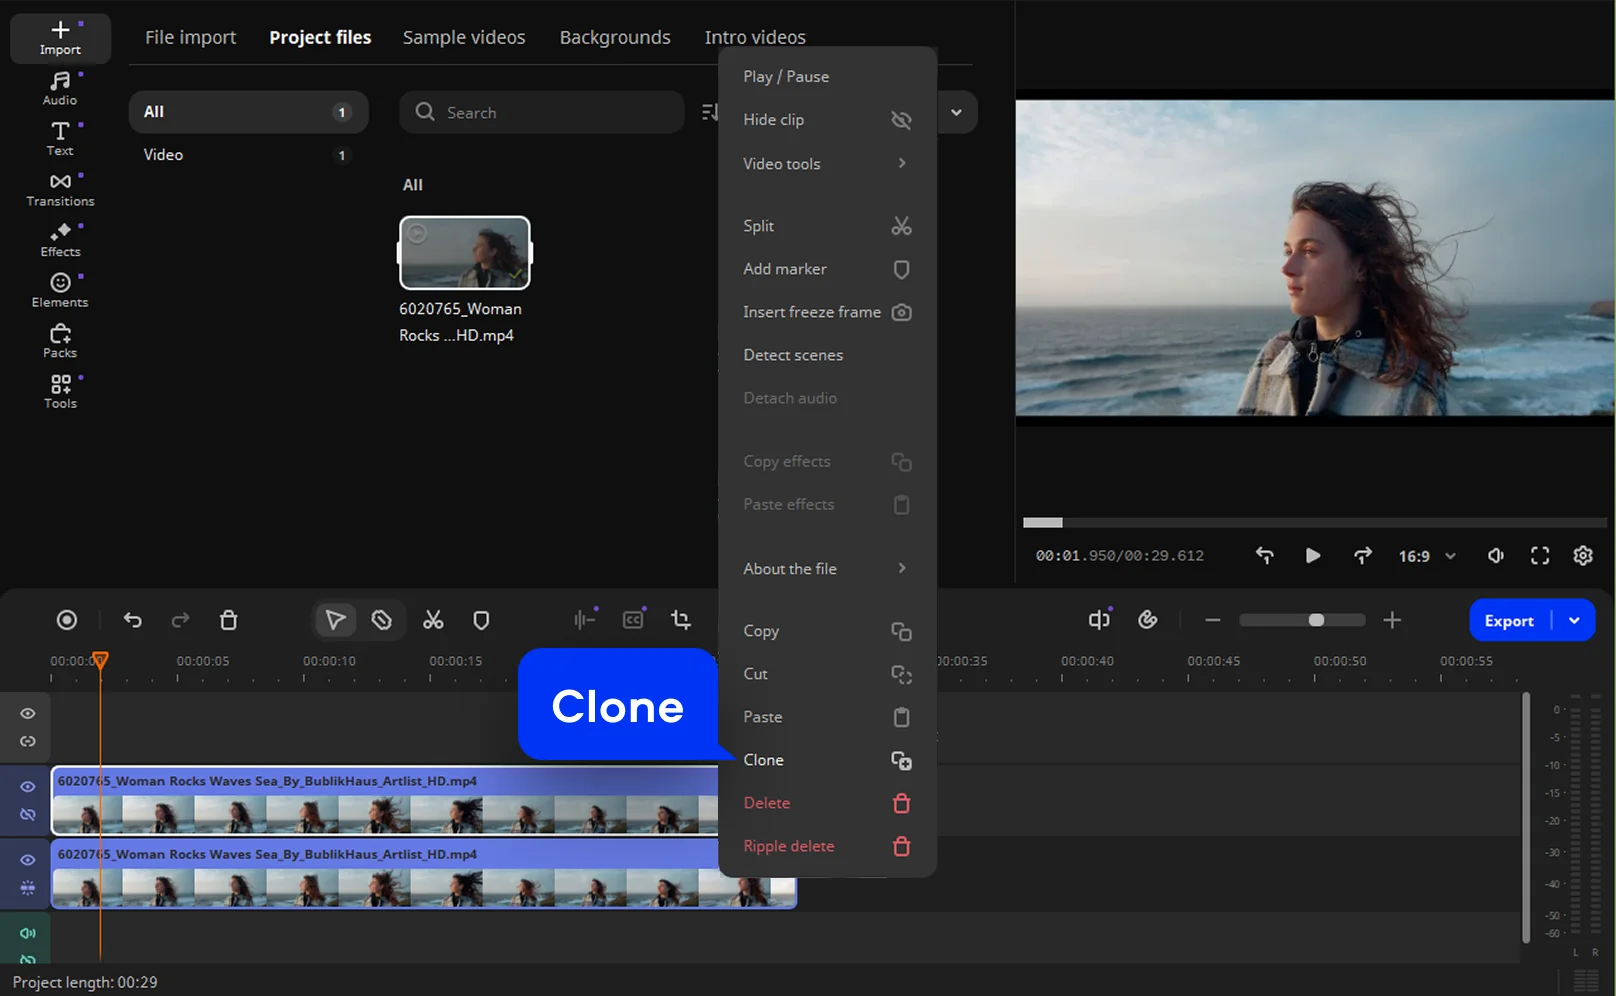
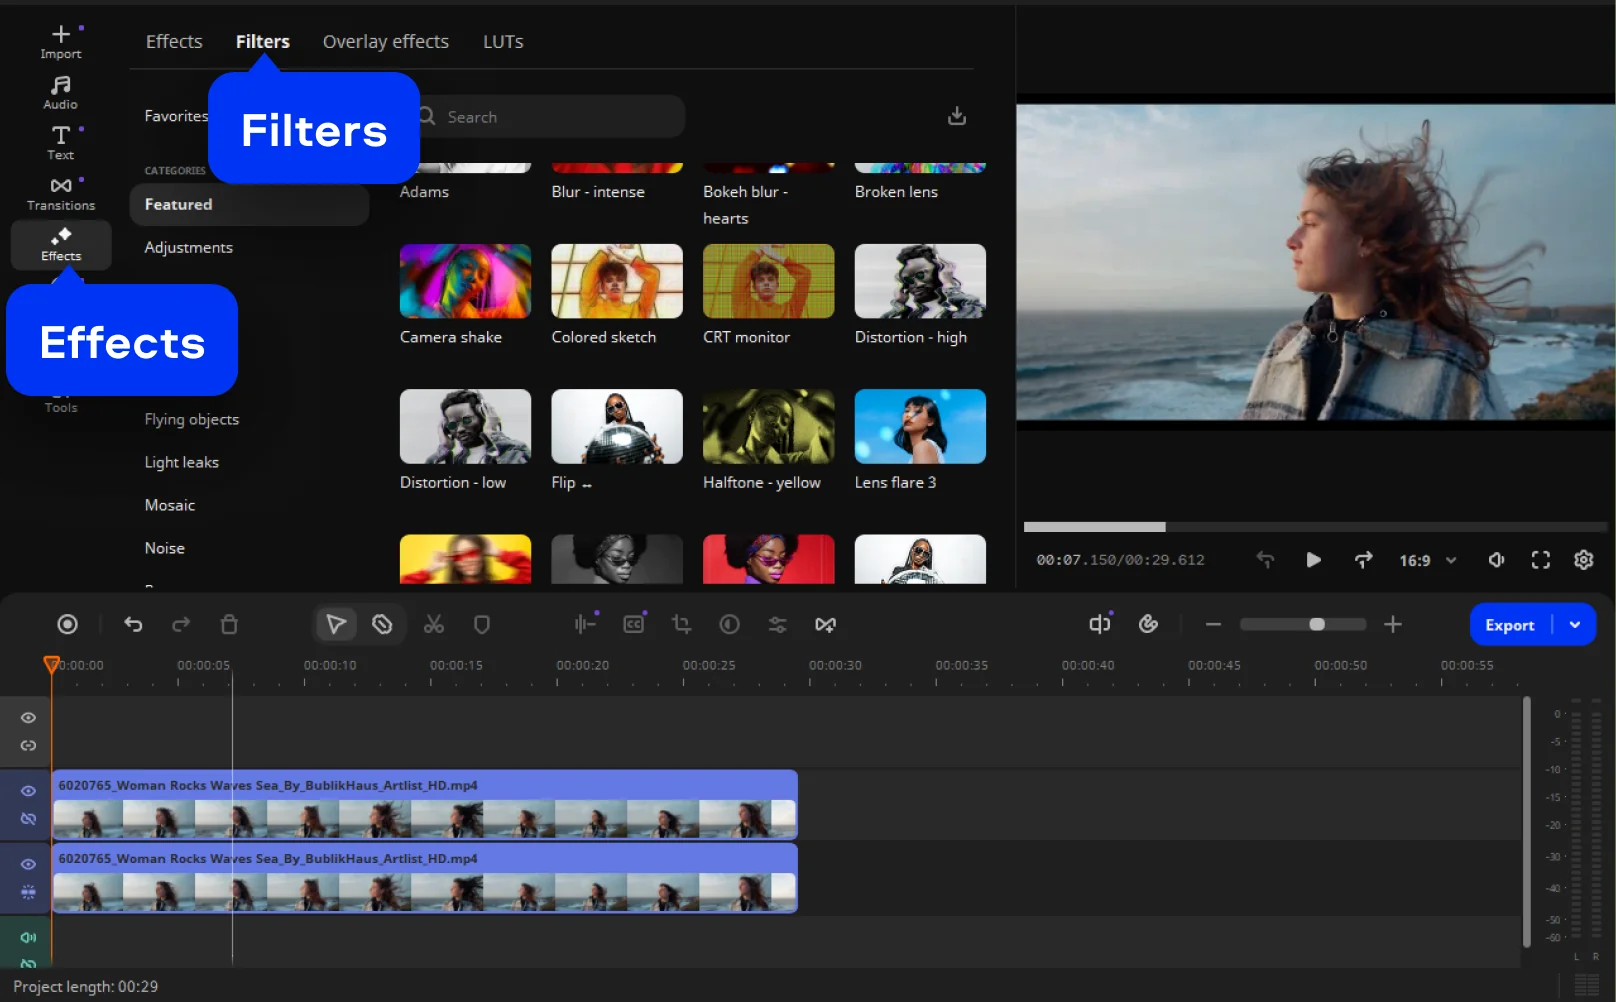
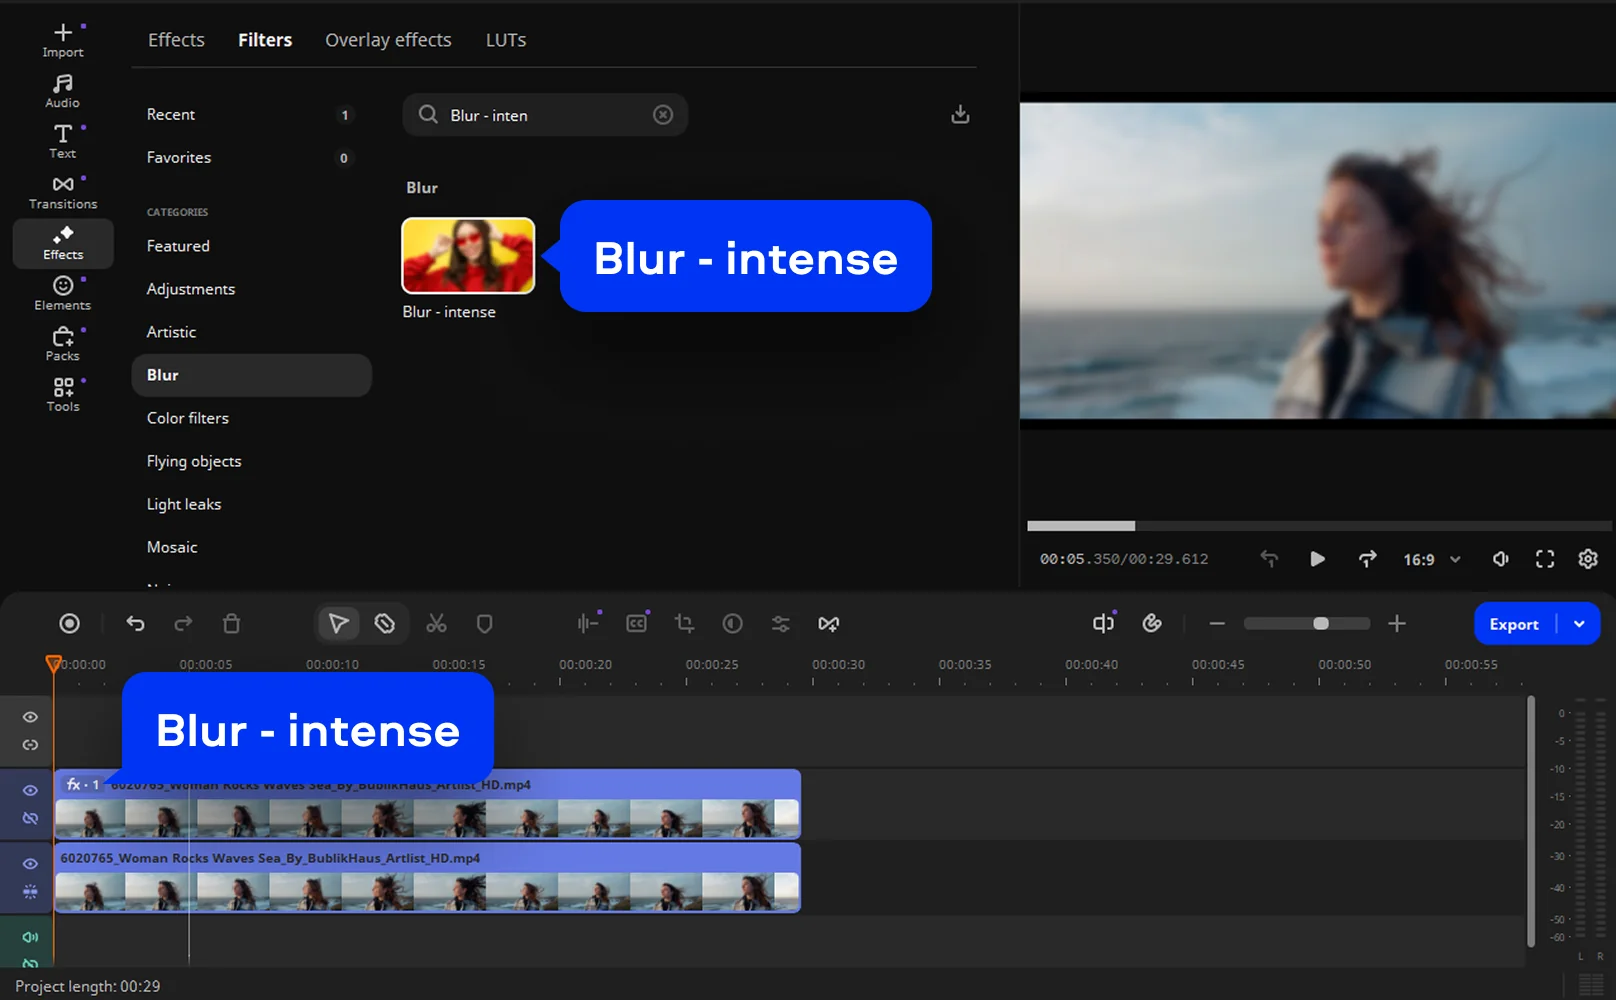
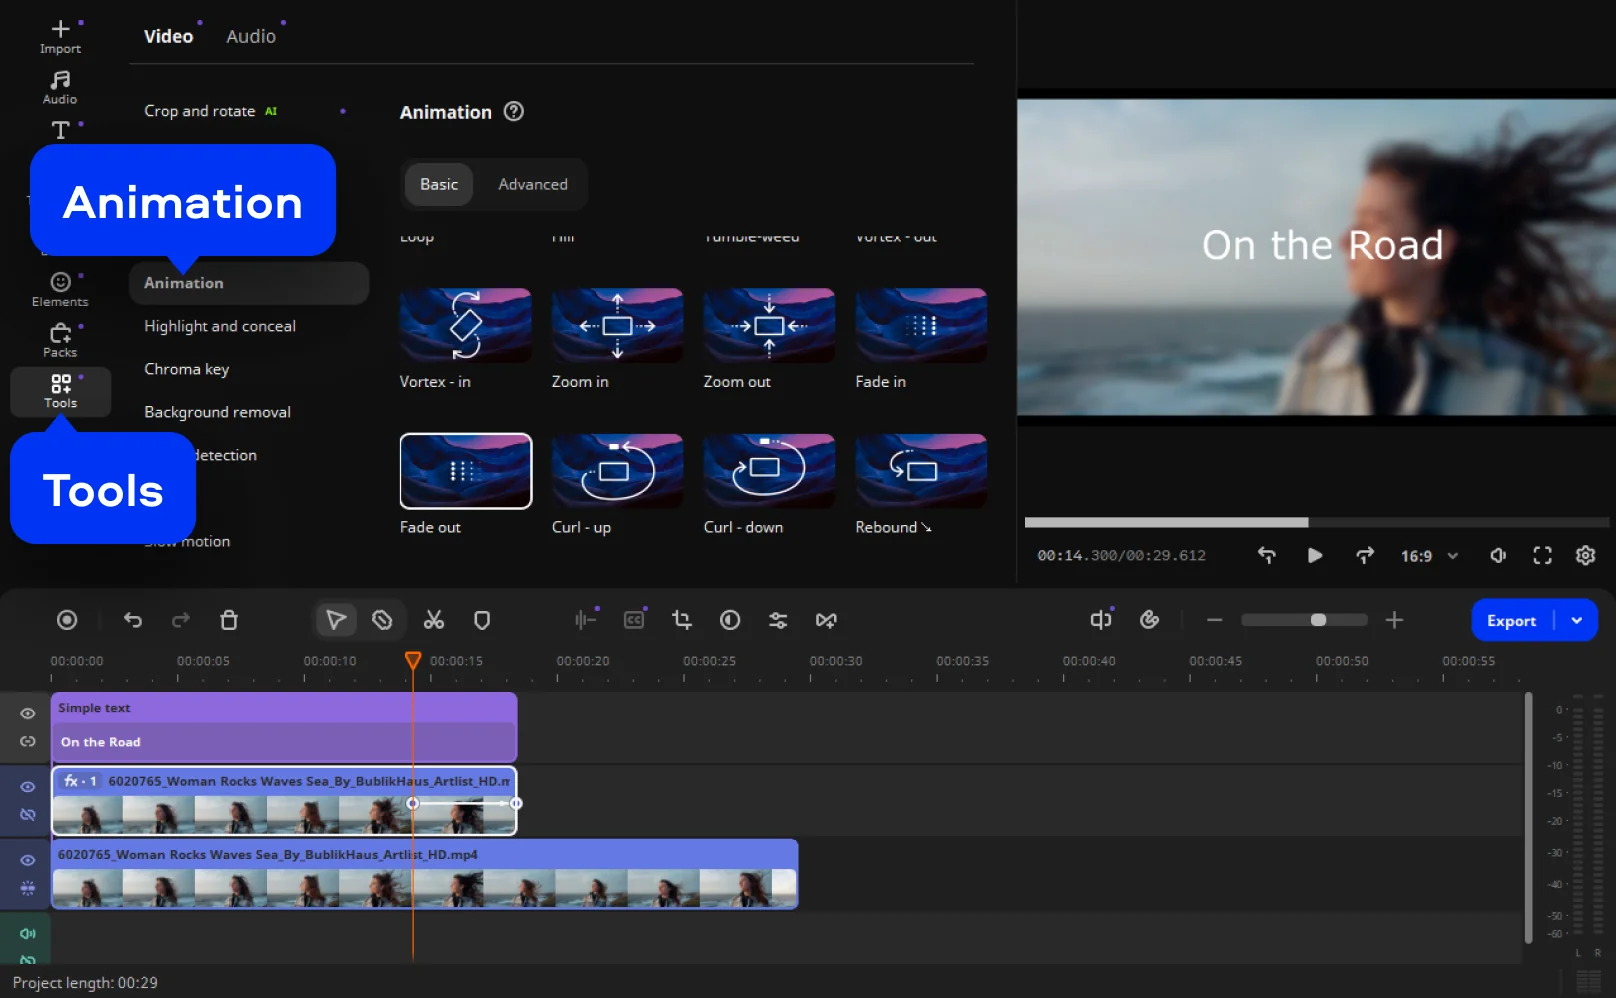
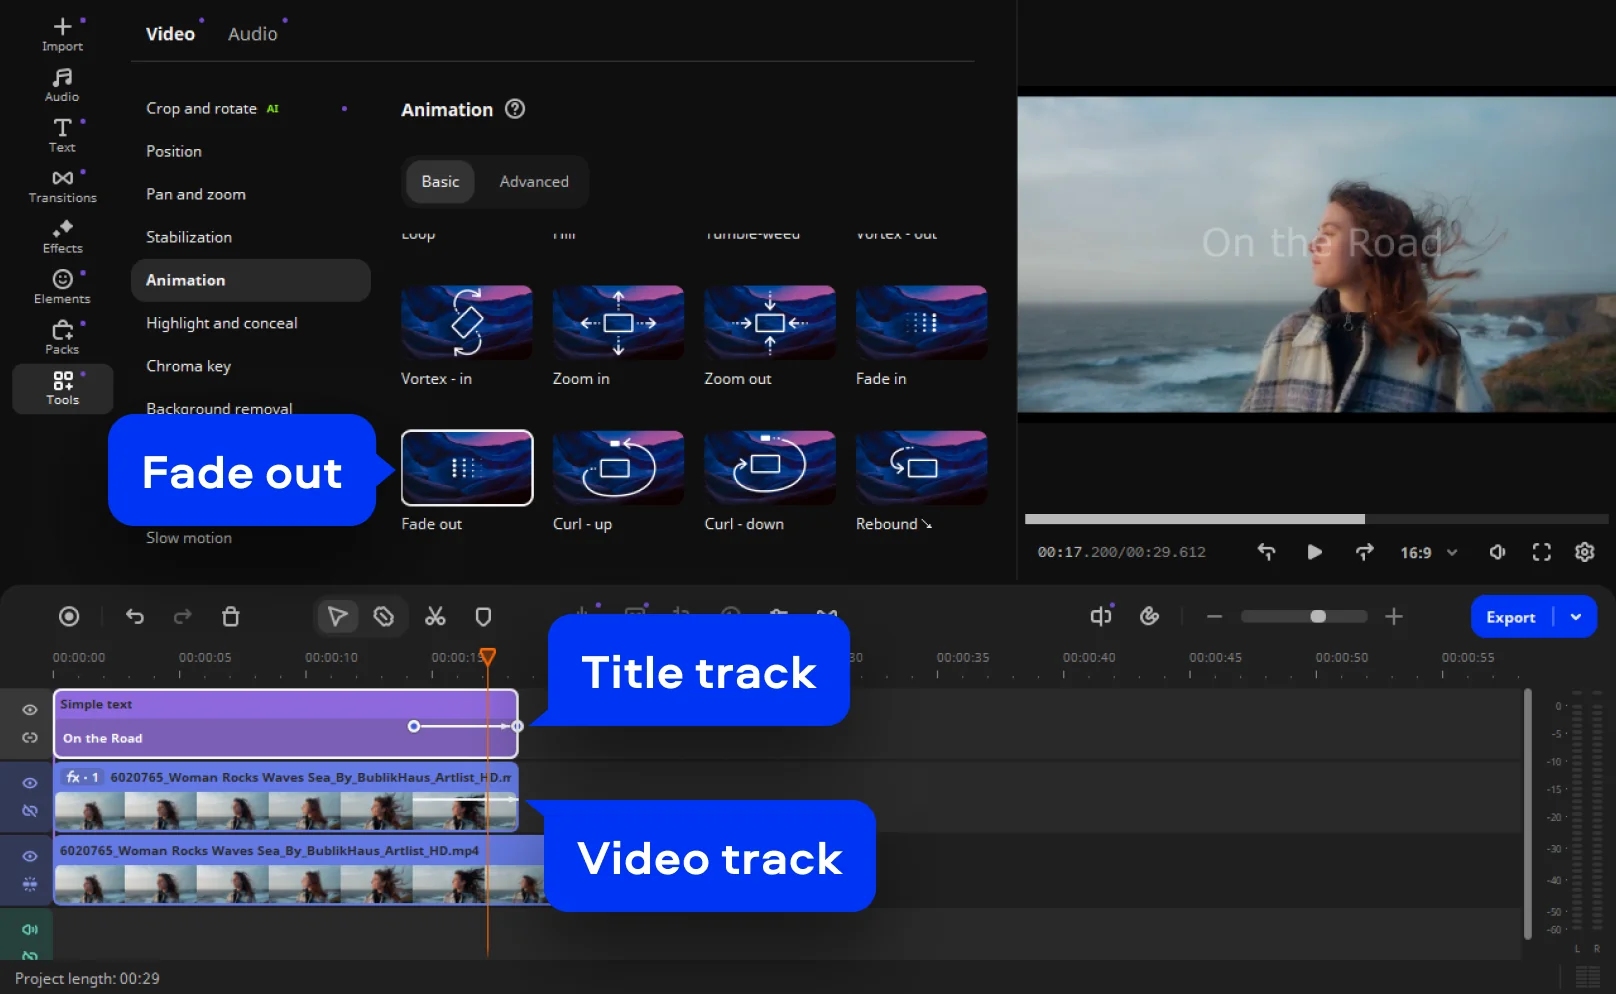
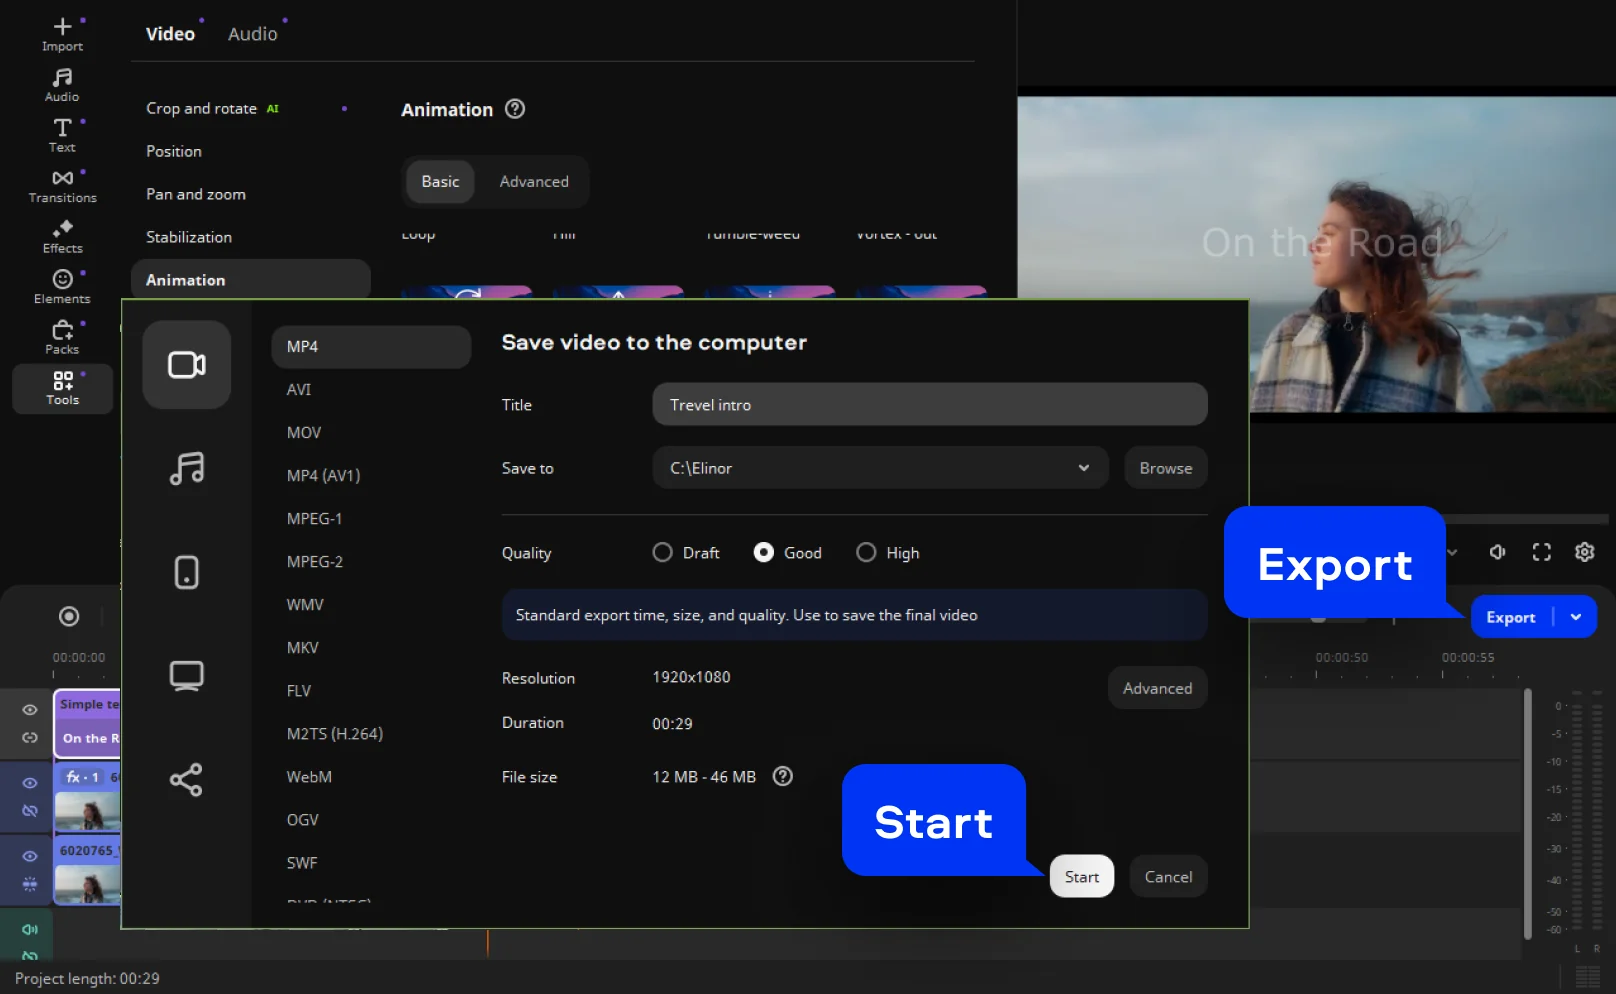
Music can be generated royalty-free via Suno or Udio. Then combine everything in CapCut or Adobe Premiere on your PC or whichever device you prefer.

AI won't replace your personality – but it dramatically speeds up production. As a content creator making travel videos for YouTube, the best ideas still come from you – AI just helps bring them to life faster. The best intros still need your authentic voice at the center.

Have questions?
If you can’t find the answer to your question, please feel free to contact our Support Team.
Join us for discounts, editing tips, and content ideas

1.5M+ users already subscribed to our newsletter

By signing up, I agree to receive marketing emails from Movavi and agree to Movavi's Privacy Policy.