Step 1. Install Movavi’s bitrate converter
Download and run the installation file for Movavi Video Converter. Follow the instructions on your computer screen to install the software.
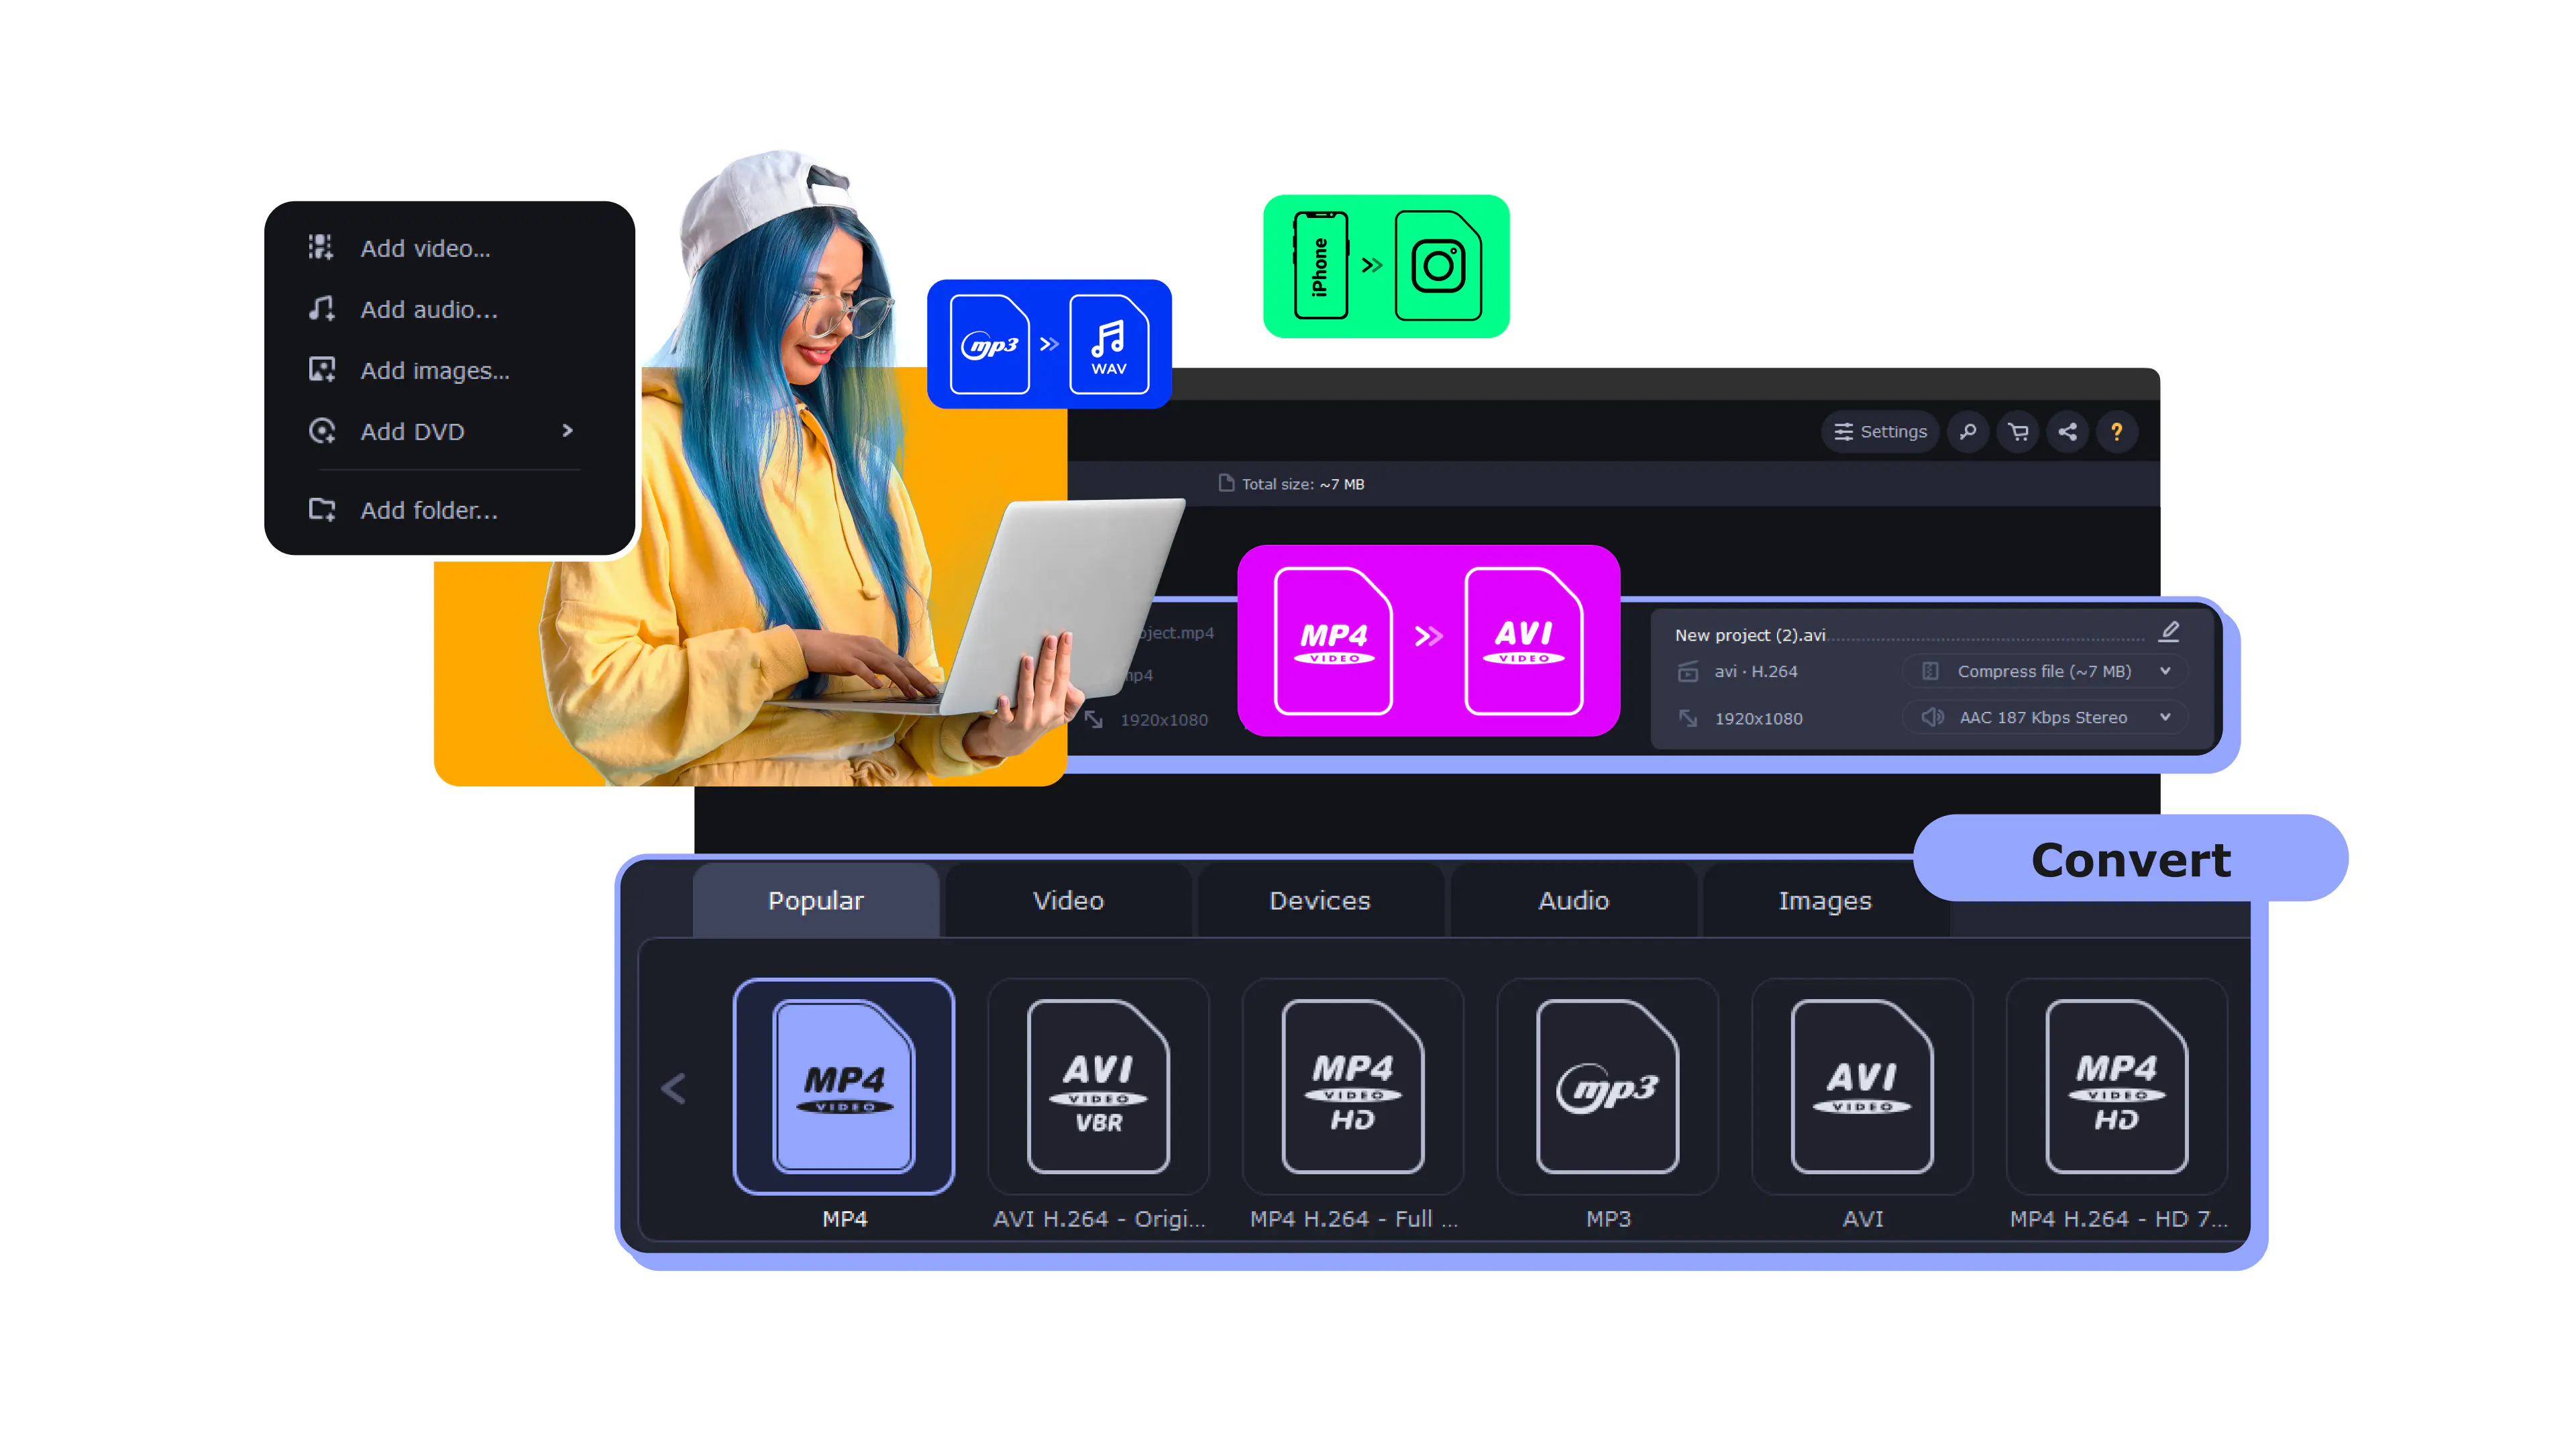
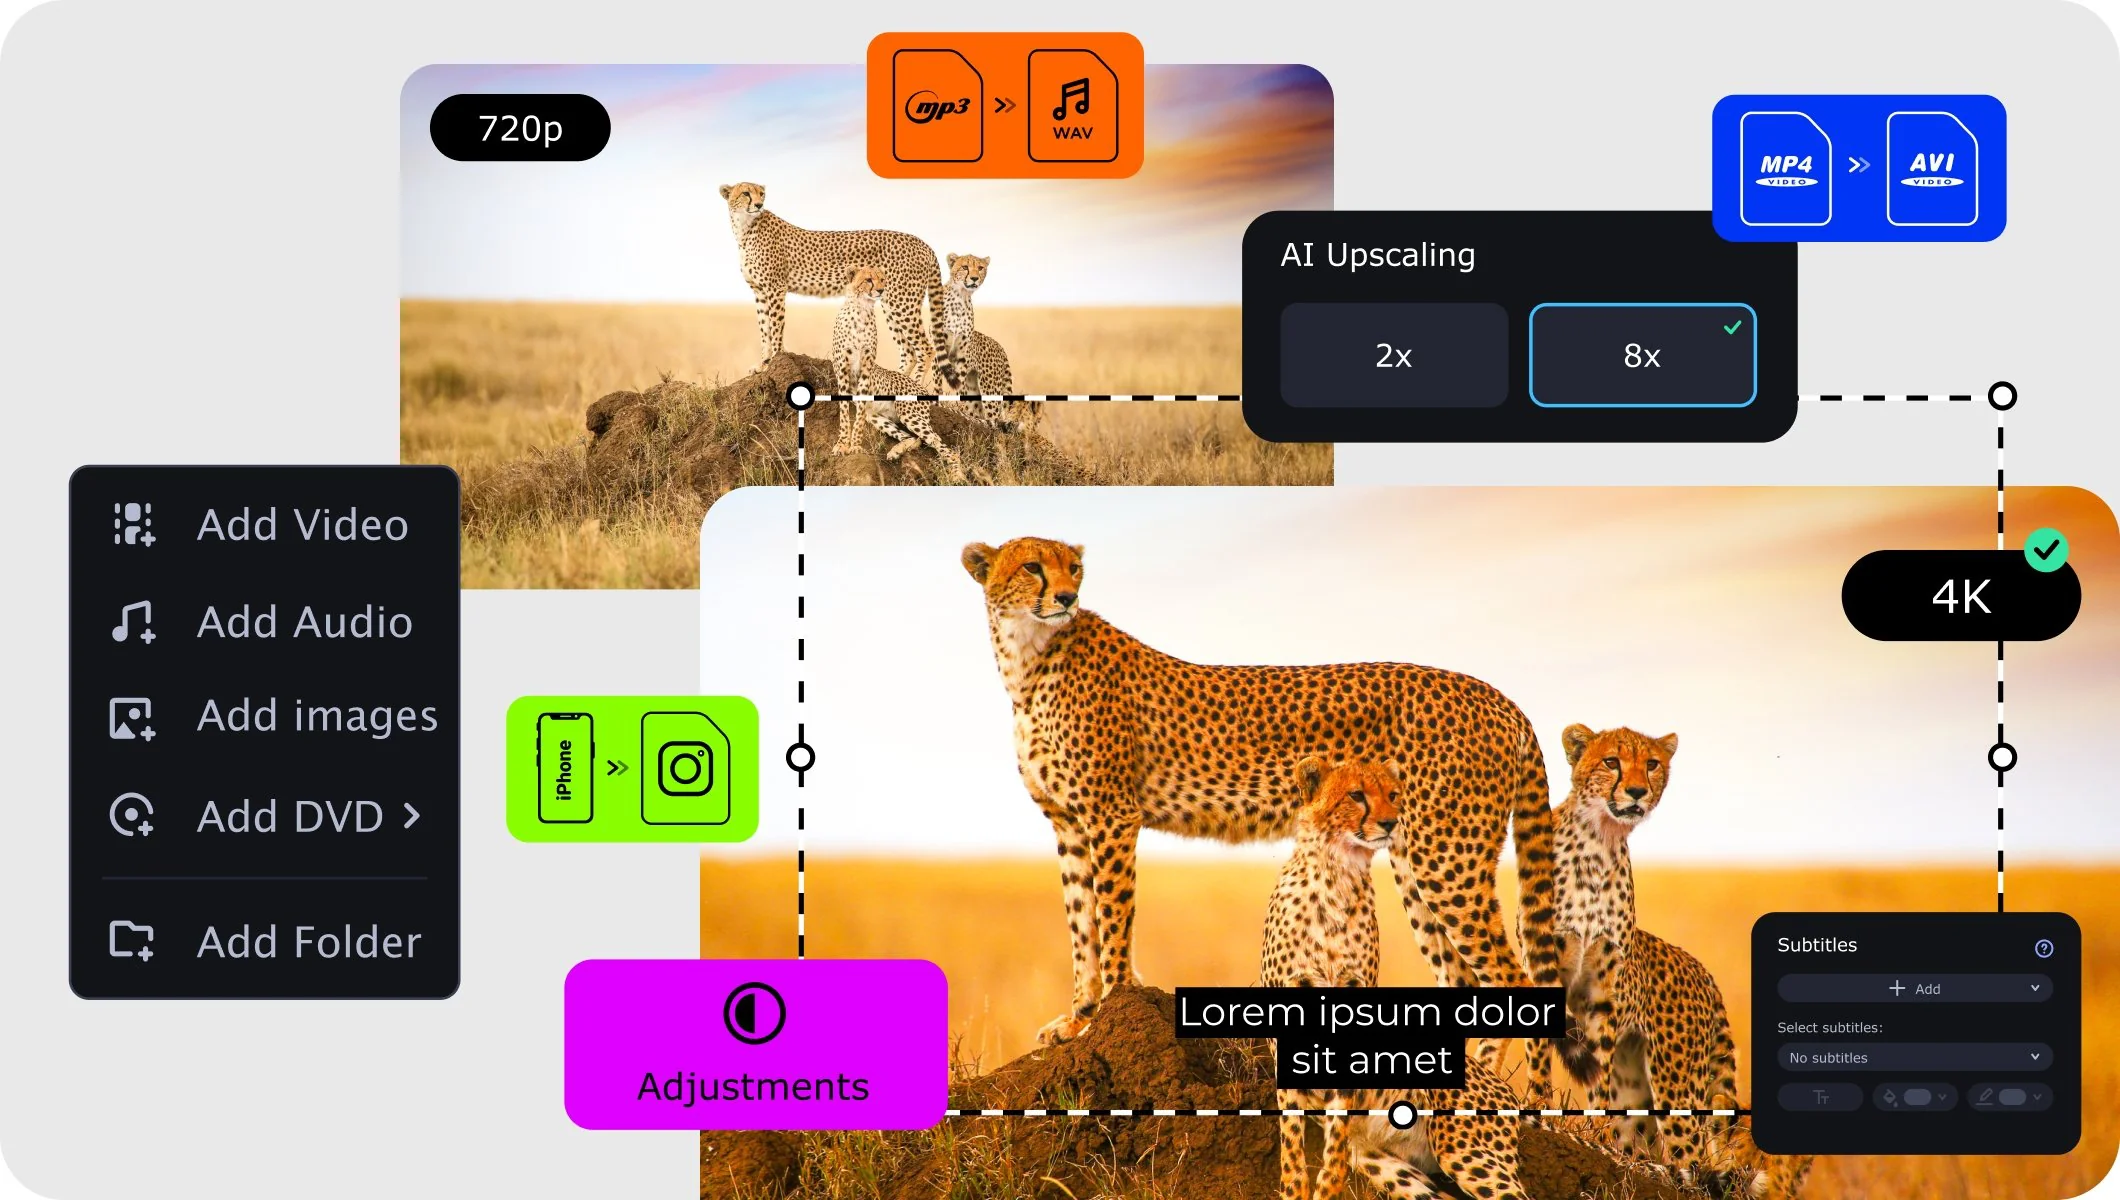
Movavi Video Converter lets you change the bitrate of any MP3, WAV, AAC, FLAC, or Ogg file to any target value in a straightforward workflow with full batch support.
Whether you need to crank your MP3s up for audiophile-level playback, dial them down to save storage space, or switch audio formats while tweaking sample rate and channel count, Movavi takes care of all those settings in a single export.
Millions


Everything you need to change audio bitrate, convert between formats, and dial in every output setting – all inside one desktop app.
Custom bitrate settings – Any value from 32 to 320 kbps
The settings in Movavi Video Converter gives you direct access to the bitrate type control. Pick Custom, then type whatever value you need in the Bitrate field – 128, 192, 256, or 320 kbps – and that becomes your exact output quality. This is the go-to tool for changing audio bitrate: it works with MP3 and most other lossy formats, and the new value kicks in on the very next conversion run.
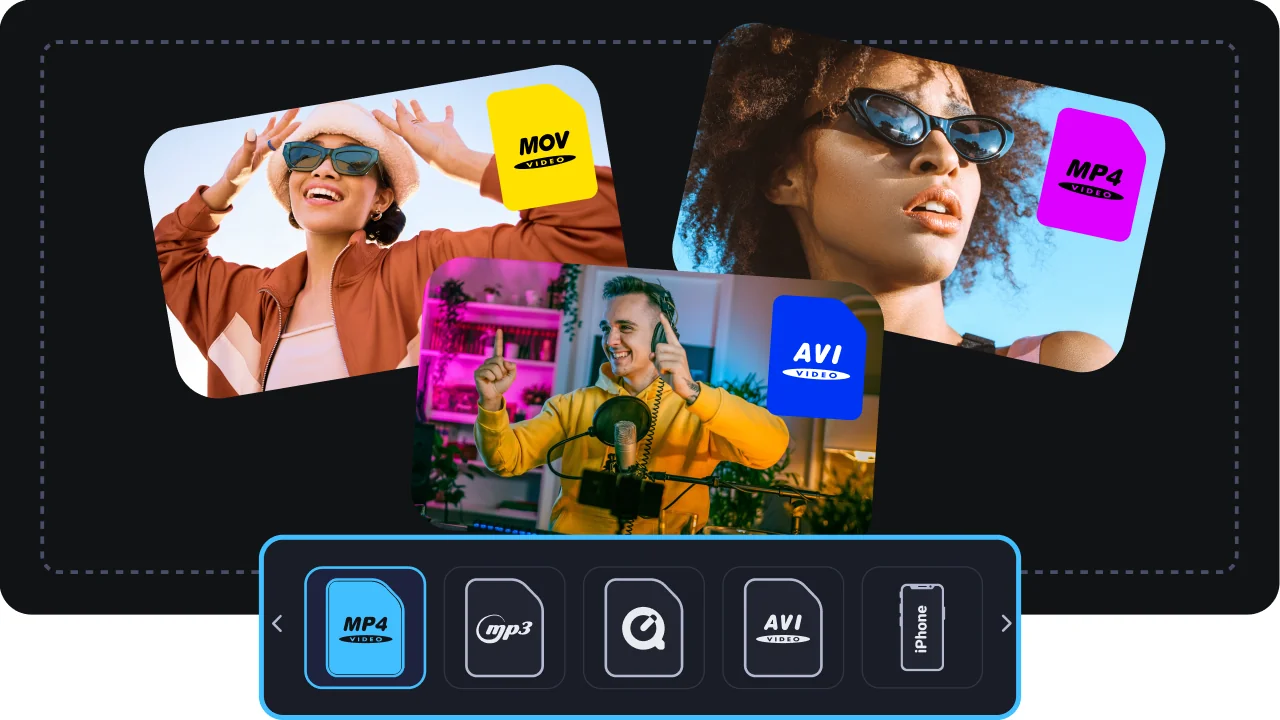
Batch conversion – Update bitrate across multiple files at once
Movavi Video Converter runs every file in the queue through the same output settings in a single pass. Just drop in a folder of MP3s, set your target bitrate once, hit Convert, and every file gets processed without any extra clicks. This is the most efficient way to boost MP3 bitrate across a large audio library – no more updating files one at a time.
Sample rate, channels, and format – All in one export
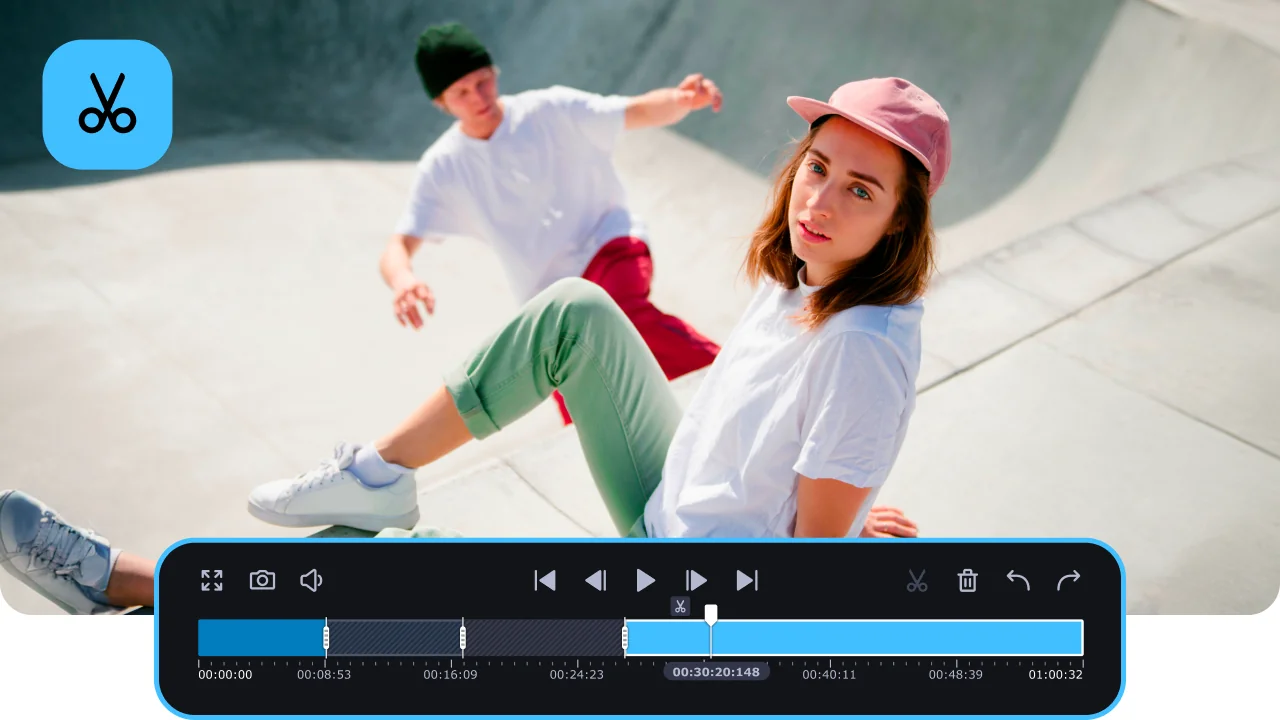
The settings panel goes beyond bitrate: you also get direct control over Sample rate (44,100 Hz is the standard for music) and Channels (stereo or mono). All three settings – bitrate, sample rate, and channels – determine audio quality and device compatibility. Nailing all three in a single conversion pass means you avoid stacking multiple re-encodes, which would chip away at quality with every extra pass.
SuperSpeed conversion – fast format-to-format transfer
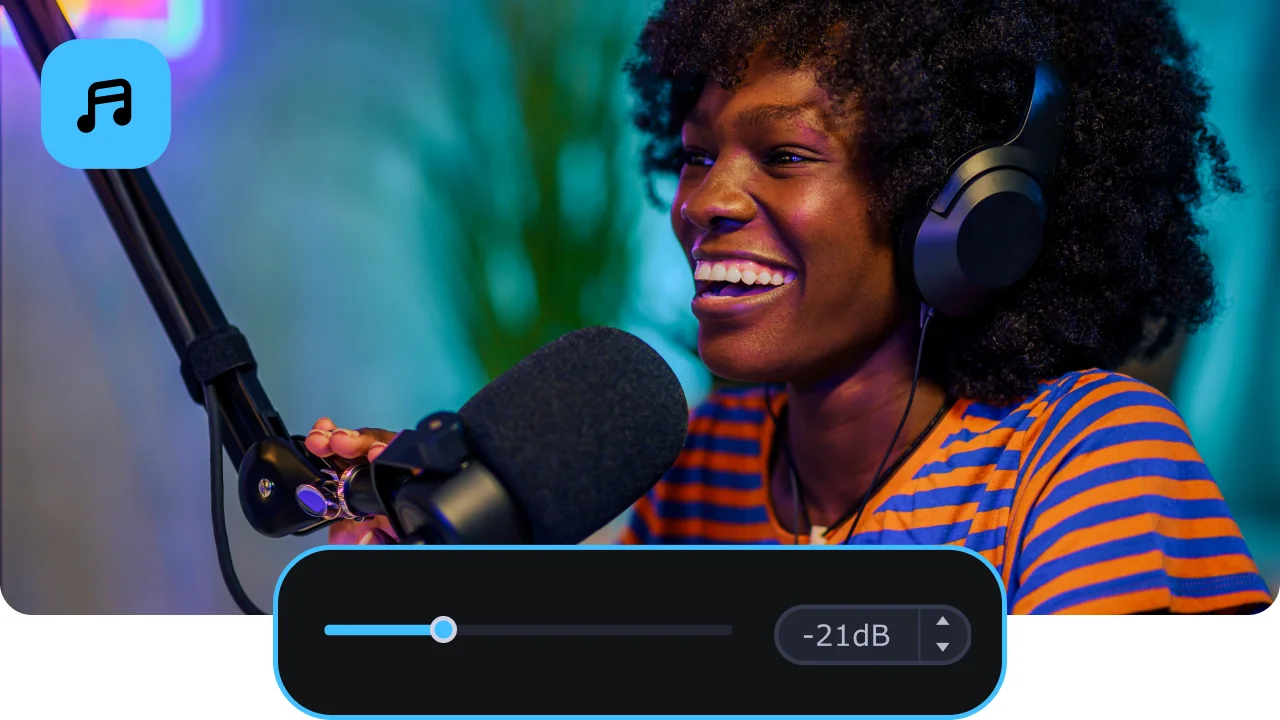
When switching between similar formats, Movavi’s SuperSpeed mode remuxes the audio without a full re-encode – so you get the fastest possible turnaround while keeping the original quality intact. For conversions that actually require re-encoding, the standard engine handles up to 180 codecs with GPU acceleration on compatible hardware, keeping things snappy even with large files.
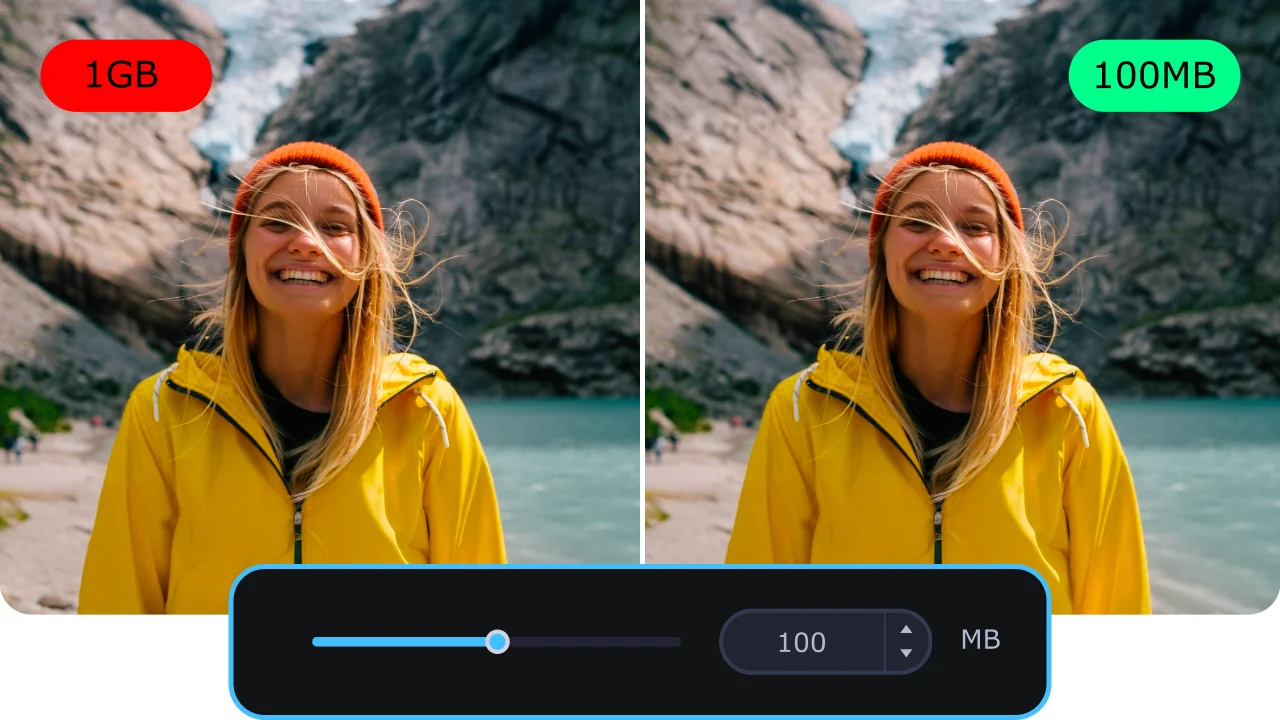
Three reasons Movavi Video Converter is the top-rated pick for audio bitrate conversion.
From any audio file to a converted output at exactly the bitrate you need – done in minutes.
Download and run the installation file for Movavi Video Converter. Follow the instructions on your computer screen to install the software.
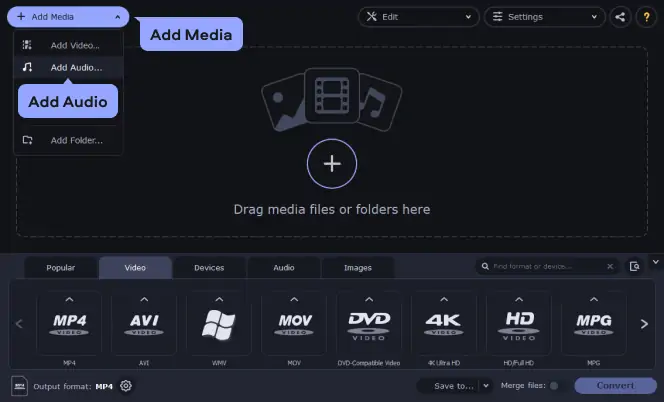
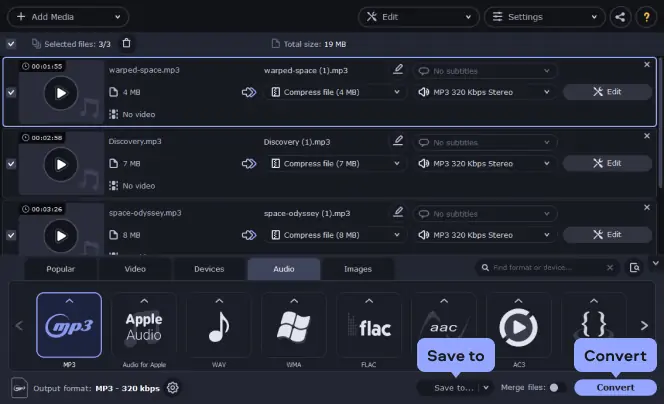
To add audio files to the program, click the Add Media button and choose the Add Audio option. Locate the file(s) you want to convert on your computer and click Open. You can also drag and drop the files into Movavi Video Converter right from the folder they're stored in.
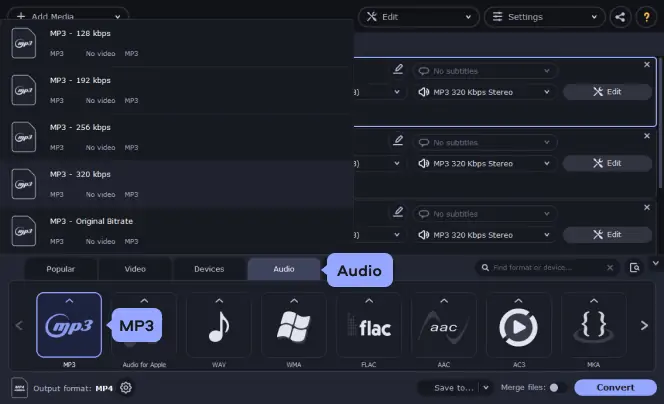
Open the Audio tab and click on your desired audio format. Now select the preset with the desired bitrate from the list (this option is not available for FLAC, OGG, WAV, and M4A files). If you chose a preset with a specific bitrate and don't want to customize it, you can skip the next step and proceed to the conversion (Step 5) right away.
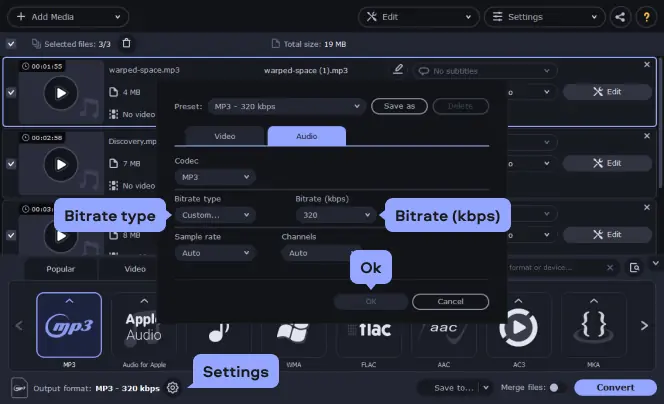
Click the Cogwheel button next to the Output format field. In the window that opens, you have the option to change audio parameters such as sample rate, number of channels, and bitrate (settings vary depending on the format you choose). Here we describe how to change bitrate for an MP3 file.
To set a specific bitrate, select the Custom option under Bitrate type. Then specify the bitrate in the Bitrate (kbps) box and click OK to confirm the changes.
Before launching the conversion, specify the folder where your converted files should be saved. Click the Save to button and choose an existing folder on your computer or create a new one. You can also stay with the default destination folder.
Changing audio bitrate is a specific technical need that shows up across a wide range of creative and professional workflows.
Common questions about audio bitrate – what it is, how to change it, and what settings to use.
Yes, you can boost MP3 bitrate from 128 kbps to 320 kbps using an audio conversion tool like Movavi Video Converter – but there’s an important technical caveat. Bumping the bitrate doesn’t bring back audio data that was thrown out during the original 128 kbps encode. A 128 kbps MP3 converted to 320 kbps will be a bigger file, but it won’t sound any better than the original 128 kbps version – the compression that happened during the first encode is permanent. The output is technically a 320 kbps file (which can be useful when a platform requires that exact setting), but the actual audio quality ceiling stays at whatever was in the 128 kbps source. To genuinely get 320 kbps quality, you need to start with a lossless source – WAV or FLAC – and encode to 320 kbps MP3 for the first time.
To increase MP3 bitrate or update any audio file using Movavi Video Converter, just follow the guide above:
Key settings to double-check: bitrate value (kbps), sample rate (44,100 Hz is standard for music), and channel count (stereo for most use cases).
The right audio bitrate depends on what you’re making and who’s listening. Here’s a quick breakdown:
Before you change bitrate settings, always check whether your target platform has a recommended or maximum bitrate – YouTube and Spotify both re-encode everything you upload, so going in at 320 kbps just ensures your source is as clean as possible before their own conversion kicks in.
To convert any audio file to 320 kbps in Movavi Video Converter:
This works for single files and batch queues alike. For the best results, start with a lossless source – WAV or FLAC – if you have one. Converting from lossless to 320 kbps MP3 gives you genuinely high-quality output. If your source is already a lower-bitrate MP3, the output will technically be 320 kbps but the audio quality will be capped by the original. Alternative tools include Audacity – a free open-source tool and browser-based CloudConvert.


1.5M+ users already subscribed to our newsletter