Tüm düzenleme yazılımı
Video ve fotoğraf araçlarımıza göz atın – size tam uygun olanı bizde bulabilirsiniz
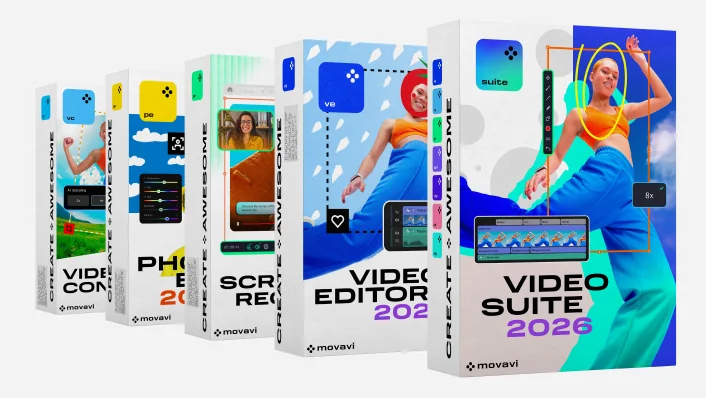
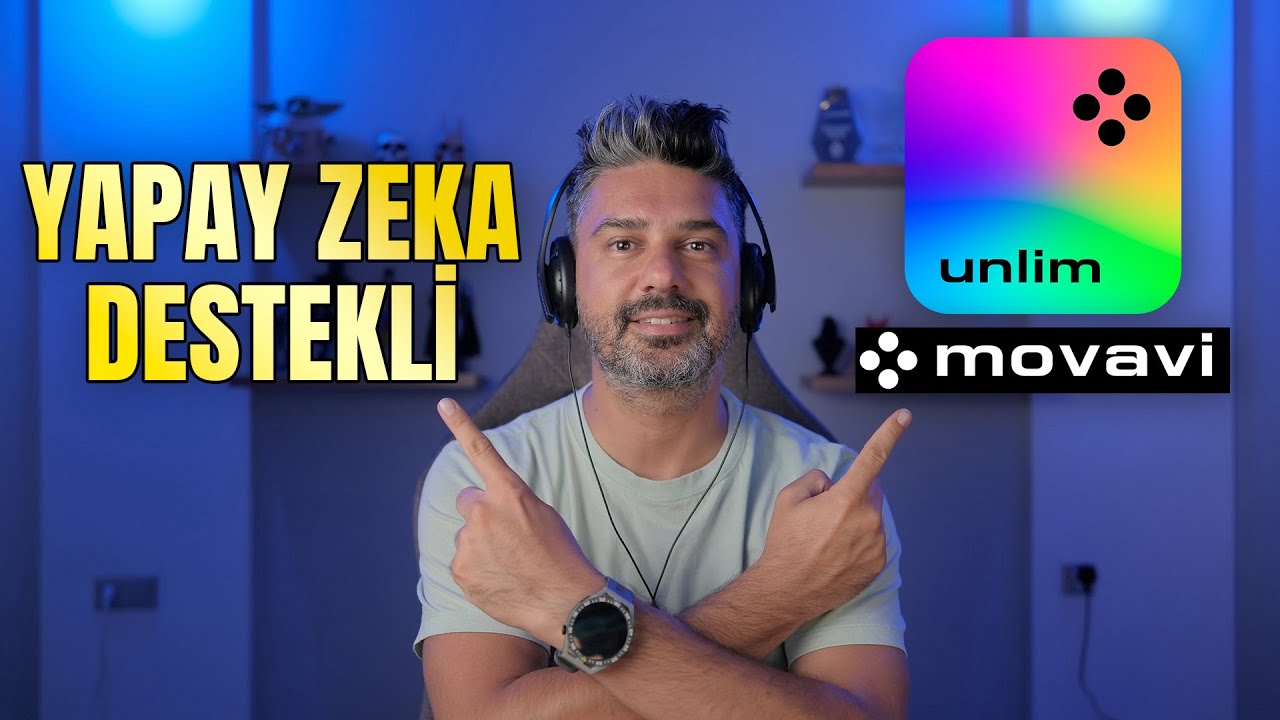
Yepyeni̇ Movavi Video Suite 2026'i̇ alin
3'ü 1 arada video paketi - otomatik araçlar, hızlı bir dönüştürücü ve ekran kaydedici içeren bir video düzenleyici
Yepyeni̇ Movavi Video Suite 2026'i̇ alin
3'ü 1 arada video paketi - otomatik araçlar, hızlı bir dönüştürücü ve ekran kaydedici içeren bir video düzenleyici
Tüm Movavi programlarını deneyin
Harika videolar oluşturmak için basit ama güçlü editörünüz
Harika resimler oluşturmak için akıllı ve basit fotoğraf editörünüz
Video, resim ve ses formatlarını saniyeler içinde değiştirmek için başvurulacak dönüştürücünüz
Daha verimli projeler için sorunsuz ekran yakalama aracınız
Muhteşem videolar ve fotoğraflar oluşturmak için tüm Movavi programları ve 10.000 efekt tek pakette
Tüm düzenleme yazılımı
Video ve fotoğraf araçlarımıza göz atın – size tam uygun olanı bizde bulabilirsiniz
Kesin
Kırpın
Trimleyin
Döndürün
Yeniden boyutlandırın
Ters çevirin
Dengeleyin
Renkleri ayarlayın
Başlıkları yerleştirin
Filtreler ve geçişler ekleyin
LUT'ları ve kaplamaları kullanın
Kullanıma hazır girişler ekleyin
Renk anahtarı uygulayın
Ses kalitesini geliştirin
Seyahat videoları yapın
Aile anılarınızı kaydedin
Vloglarınızı bir üst seviyeye taşıyın
İzleyicilerinizi şaşırtın
Bir sürü beğeni alın
Daha fazla takipçi kazanın
Herkesin seveceği videolar oluşturun
70 milyon+


10.000'den fazla efekt ve 1.500 müzik parçası
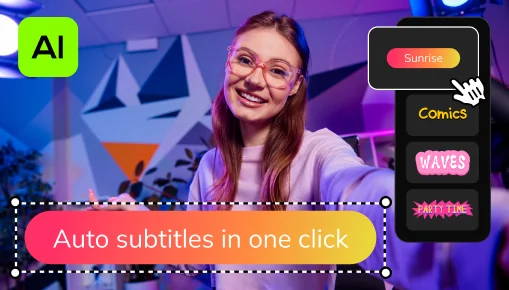
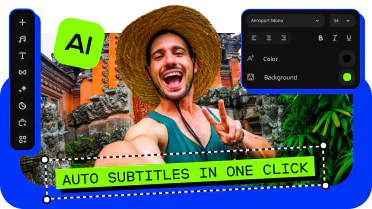
Tek tıklamayla otomatik alt yazı
Yapay zeka ile konuşmanızı metne dönüştürüp videolarınız için neredeyse her dilde alt yazıyı otomatik olarak oluşturun. En sevdiğiniz yazı tipini, metin rengini ve konumunu seçin, artık tamamen hazırsınız!
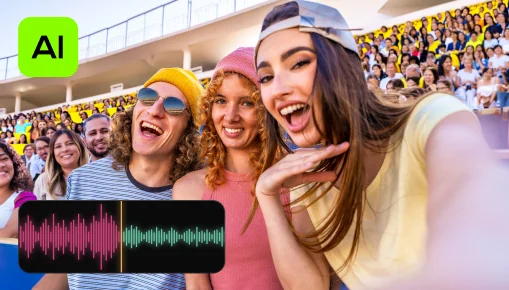
Akıllı parazit kaldırma
Kliplerinizden araba, rüzgâr ve diğer istenmeyen sesleri yapay zeka güdümlü gürültü gidericimizle otomatik olarak kaldırın. İzleyicilerin kesinlikle takdir edeceği, net ve temiz sesli videolar oluşturun.
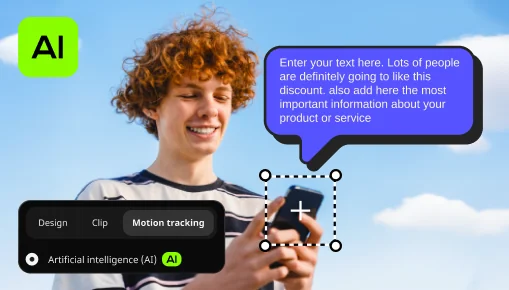
Yapay zekayla hareket izleme
Hareket eden ek grafiklerle videolarınızın gerçekliğini artırın. YZ, sadece bir tıkla herhangi bir fotoğrafı, videoyu, emojiyi veya internet şakasını hızlıca videonuzdaki herhangi bir nesneye ekleyebilir.
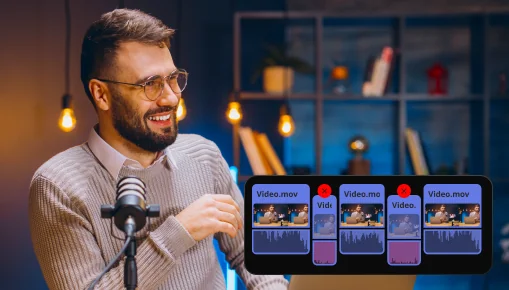
Sessizlik kaldırma
İstenmeyen duraklamaları otomatik olarak kesebilir veya duraklama uzunluğunu ve ses eşiğini kendiniz ayarlayabilirsiniz. Böylece sıkıcı temizleme işlemleriyle uğraşmayıp zamandan tasarruf edersiniz ve eğlenceli kısımlara daha çok vakit ayırabilirsiniz.
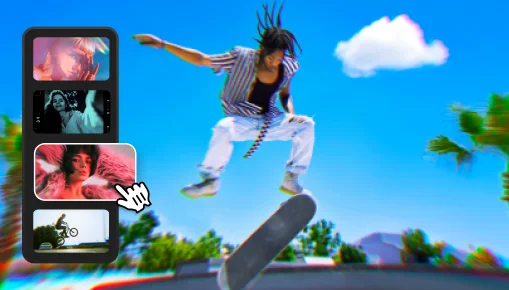
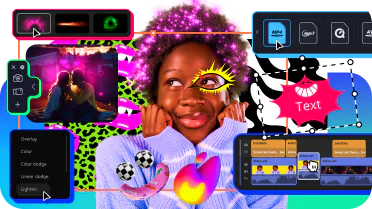
Ayarlanabilir efektler
Toz parçacıklarından retro stile kadar yeni efektlerle videolarınızı geliştirin. Özelleştirilebilen bu efektler her kliple uyumludur ve düzenlemelerinizin daha çarpıcı olmasını sağlar.
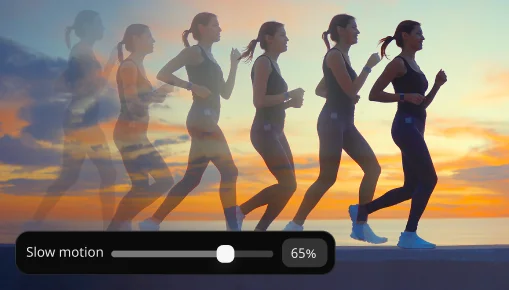
Ağır çekim
Görüntülerinizi yavaşlatarak hareketleri daha net hale getirin, önemli ayrıntılara odaklanın ve her sahnede hız ile ritmi kontrol edin.
İnternette birçok ücretsiz video düzenleyici olsa da tamamen ücretsiz olan üçüncü taraf yazılımlar, kişisel verilerinizi ve finansal bilgilerinizi çalabilecek kötü amaçlı kodlar içerebilir.
İşte Movavi Video Editor'ı oluşturma sebebimiz tam olarak bu. %100 güvenli ve kolay bir kullanıma sahip! Ücretsiz sürümü şu kısıtlamalarla deneyebilirsiniz: Movavi filigranının eklenmesi, 60 saniyelik video veya yarım ses uzunluğu ve dosyaları dışa aktarırken bazı gelişmiş özelliklerin kilitlenmesi. Yazılım hoşunuza giderse tam sürüm için ömür boyu lisans veya yıllık abonelik alıp videoları kısıtlamalar olmadan ve tüm özelliklere erişerek düzenleyebilirsiniz.
Yazılımımızı olabildiğince kolay ve sezgisel hâle getirmek için çok çalışıyoruz. Hatta bazen büyükannelerimiz ve büyükbabalarımız üzerinde test ediyoruz! Bu nedenle Movavi Video Editor'ın yeni başlayanlar için mevcut en iyi video düzenleyicilerden biri olduğunu kesinlikle söyleyebiliriz.
Daha önce hiç video düzenlememiş olsanız bile, anlaşılması kolay arayüzü, yardımcı ipuçları ve her zaman yardım etmeye ve yaratıcılığınızı teşvik etmeye hazır destek ekibimiz sayesinde Movavi Düzenleyici'de 20 dakikadan daha kısa bir sürede ustalaşacaksınız.
YouTube için ilgi çekici içerikler oluşturmak ister misiniz? Özgün girişler ve geçişlerle kitlenizi etkilemek? Ya da daha fazla beğeni almak ve abone kazanmak? O hâlde Movavi Video Editor, YouTube için mükemmel video düzenleme yazılımınız olabilir! Harika giriş ön ayarlarının, çok sayıda göz alıcı efektin ve geçişin yanı sıra karmaşık kılavuzları okumak yerine oluşturmaya odaklanmanızı sağlayan sezgisel bir arayüze sahiptir.
Ama hepsi bu değil! Gözünüzü YouTube'u fethetmeye diktiyseniz tam size göre harika bir bonusumuz var: Özellikle yeni YouTuber'lar için tasarlanmış iki efekt paketi. Aşağıdaki bağlantıları izleyin ve bu efektlerin videolarınızı nasıl geliştireceğini hayal edin.
YouTube İçin Benim Kanalım Paketi
YouTube İçin Benim Kanalım Paketi 2
Profesyonel video düzenleme yazılımlarıyla çalışıyorsanız en basit bir video geçişini eklemek bile yanlış düğmelere basmak ve ipuçlarını aramak nedeniyle saatler alabilir. Bu ise hoş bir deneyim değildir.
Movavi Video Editor ile bir geçiş eklemek yaklaşık 3 saniye sürer: Tek yapmanız gereken, istediğiniz geçişi klipler arasında sürükleyip bırakmaktır. Evet, bu kadar basit. Farklı geçiş türleri hakkında daha fazla bilgi edinmek için aşağıdaki bağlantıyı izleyin.
Videonuz için geçişleri nasıl seçersiniz
Yukarıdaki yanıtları okuduysanız burada hangi yazılımı önereceğimizi tahmin edebilirsiniz. Ama şaka bir yana, Movavi Video Editor sadece iMovie'ye harika bir alternatif değil. İşlevsellik ve kullanım kolaylığı açısından çok daha iyi. Ne demek istediğimizi anlamak için sadece denemeniz yeterli.
Windows için iMovie alternatifleri hakkında daha fazla bilgi edinmek için aşağıdaki makaleyi okuyun.
Windows İçin iMovie Alternatifleri
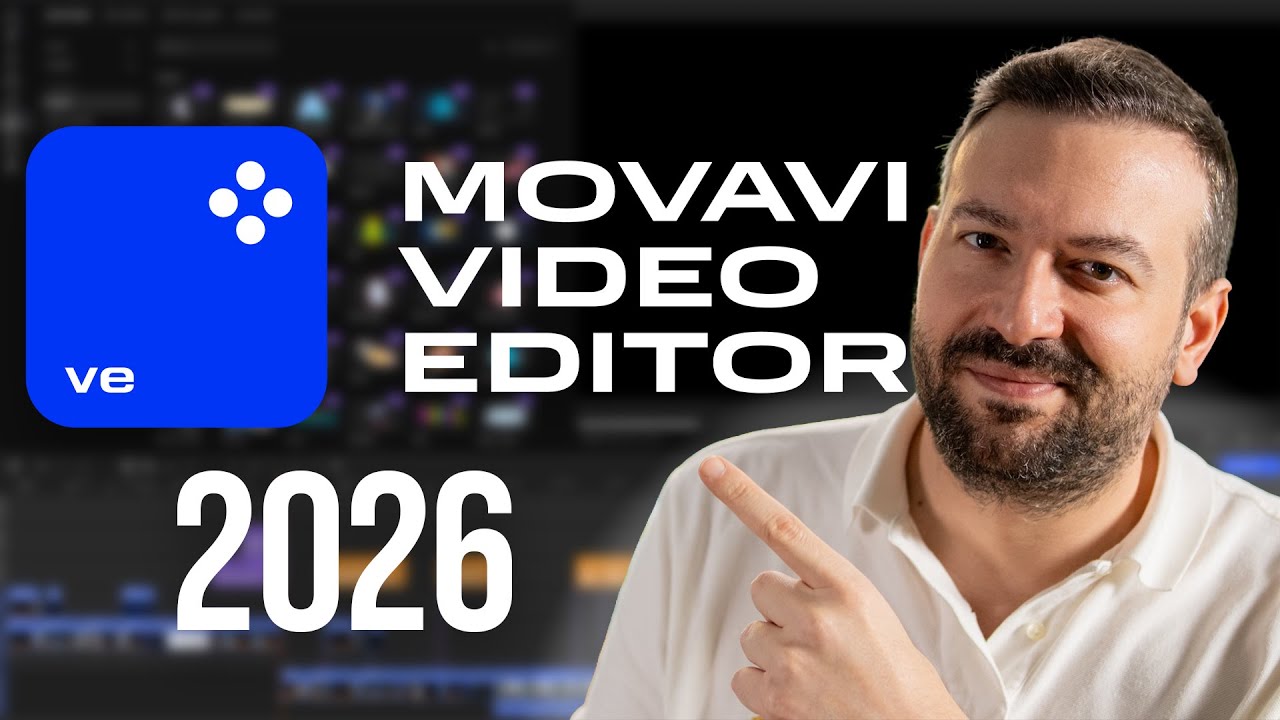
Yeni Movavi Video Editor 2026 ile tanışın – daha hızlı ve efektlerle dolu
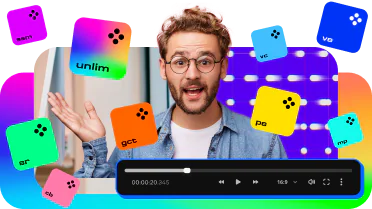
Otomatik araçlarla daha hızlı düzenleyin ve 40'tan fazla yeni ayarlanabilir efekti deneyin - zamandan tasarruf edin ve her videoyu daha çarpıcı hâle getirin. Tüm istenmeyen duraklamaları otomatik olarak kesin, bir klipteki efektleri hızlıca tüm kliplere uygulayın ve 30'dan fazla yeni otomatik alt yazı stilinin keyfini çıkarın
Movavi Video Suite 2026 ile düzenlemek çok kolay
Yeni Movavi Video Suite, video oluşturmayı çok daha kolay hâle getiren birçok özellikle dolu! Güçlü otomatik araçlar sayesinde sıkıcı işlerle uğraşmayın. Yüzlerce efekt, şimşek kadar hızlı dosya dönüştürme ve kullanışlı bir ekran kaydedici ile her projenin kolayca üstesinden gelin.
Movavi Unlimited 2026 ile tüm yeni uygulamaları ve efektleri aynı anda alın
Yeni otomatik araçlar ve geliştirilmiş performans ile video ve fotoğraf düzenleme sürecini kolaylaştırın. İlgi çekici videolar oluşturun, bilgilendirici ekran kayıtları gerçekleştirin, medya dosyalarını herhangi bir biçime dönüştürün ve tonlarca efektle etkileyici görüntüler yaratın.
Video editörümüz 2023'ün en iyilerinden biri!
Movavi Video Editor 2023 Capterra Kısa Listesinde! Movavi Video Editor'ü henüz denemediyseniz, şimdi deneyin ve neden en iyilerden biri olduğunu görün.
64 bit Microsoft® Windows® 10/11 (en güncel yamalar ve hizmet paketleri yüklenmiş)
Intel®, AMD® ya da uyumlu çift çekirdekli işlemci, 1,5 GHz
Intel® HD Graphics 2000, NVIDIA® GeForce® serisi 8 ve 8M, Quadro FX 4800, Quadro FX 5600, AMD Radeon™ R600, Mobility Radeon™ HD 4330, Mobility FirePro™ serisi, Radeon™ R5 M230 ve üstü güncel sürücülü grafik kartları
1280 × 768 ekran çözünürlüğü, 32 bit renk
4 GB
Yükleme için 400 MB boş sabit disk alanı, ilerideki işlemler için 600 MB
Yükleme için yönetici izinleri gereklidir


1.5 milyon üzerinde kullanıcı zaten bültenimize abone oldu.