How to use OpenShot video editor

Use Movavi Video Editor as an alternative!

  • Edit and enhance videos easily

  • Add stylish transitions, titles, and filters

  • Stabilize and reverse video, equalize sound, and more

By clicking the download button, you're downloading a trial version of the program.*

OpenShot is a free, open-source video editor that works on Windows, Mac, and Linux. It's a solid choice if you're just getting started with video editing or if you want a simple tool that doesn't get in the way. You don't need any technical background to use it – just a bit of patience and a willingness to experiment.

Here's a straightforward guide to help you go from a blank project to a finished video.

Step 1. Download and install OpenShot

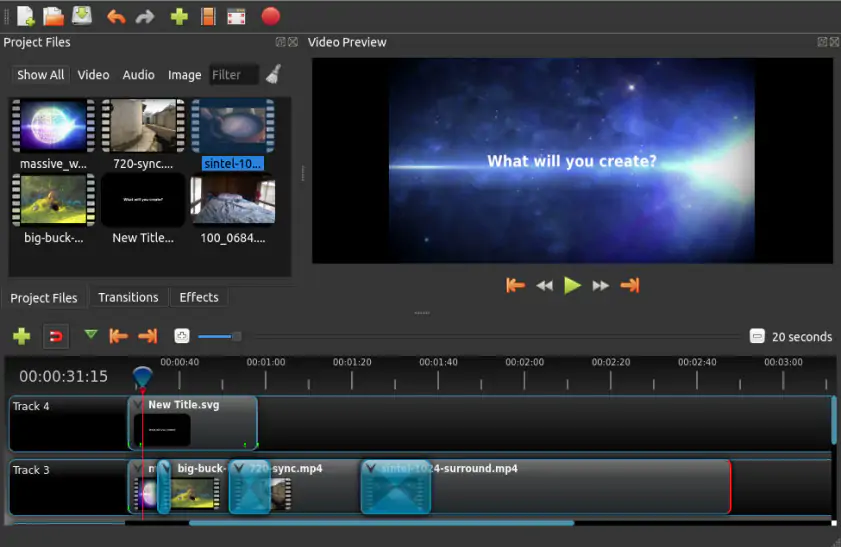
Head over to openshot.org and download the version that matches your operating system. The installation process is simple – just run the installer and follow the on-screen prompts. Once it's done, open the app and you'll be greeted with the main editor window, which has three main areas: the Project Files panel on the left, the Preview window in the center, and the Timeline at the bottom.

Step 2. Import your media files

Before you can edit anything, you need to bring your footage into the project. Go to File > Import Files or simply drag and drop your video clips, photos, and audio files directly into the Project Files panel. OpenShot supports most common formats – MP4, MOV, AVI, MP3, WAV, and many others – so you usually don't need to convert anything beforehand.

Once your files appear in the Project Files panel, they're ready to use. You can double-click any file to preview it before adding it to your edit.

Step 3. Add clips to the timeline

The Timeline is where your video takes shape. Drag your clips from the Project Files panel down onto the Timeline. You can layer multiple tracks – for example, put your main video on Track 1, background music on Track 2, and any overlay footage on Track 3.

To rearrange clips, just drag them left or right on the Timeline. To trim a clip, hover over its left or right edge until you see the resize cursor, then drag inward to cut out the parts you don't want.

Step 4. Add transitions and effects

OpenShot makes it easy to add a polished feel to your video with transitions and effects. To add a transition between two clips, click the Transitions tab in the left panel and drag one onto the Timeline between two clips – a fade or cross-dissolve works well for most situations.

For effects like brightness adjustments, color grading, or blur, click the Effects tab and drag an effect directly onto a clip in the Timeline. You can then double-click the clip to open its properties and fine-tune the effect settings.

Step 5. Add titles and text

To put text on your video – whether it's an intro title, a lower-third name tag, or an end card – go to Title > Add Title from the top menu. A dialog will open where you can choose a title template, type your text, and adjust the font and color. Once you click Create Title, it appears in your Project Files panel and you can drag it onto the Timeline like any other clip.

If you want more control over your text design, OpenShot also has an Advanced Title Editor that opens in Inkscape (a free design tool) – though you'll need to install Inkscape separately for that feature to work.

Step 6. Export your finished video

When you're happy with the edit, it's time to export. Go to File > Export Video (or click the red export button at the top). In the export dialog, you can choose from preset profiles – like "Web" for YouTube or "HD Video" for 1080p output – or set your own resolution, frame rate, and format.

Pick a destination folder, give your file a name, and click Export. Depending on the length of your video and your computer's speed, this can take anywhere from a minute to a half hour or more. Once it's done, your video is ready to share.

How to edit videos with Movavi Video Editor

Movavi Video Editor is the step-up choice when you want more control – cleaner cuts, better pacing, stronger sound, and visuals that feel intentional instead of “assembled,” making it a powerful alternative to mobile video editors for desktop creators. The big advantage is flexibility: multi-track editing, richer effects, precise audio tools, and a workflow that stays comfortable even when your project grows past a few clips. It’s built for creators who want speed without sacrificing polish, and it’s especially handy when you’re editing regularly for YouTube, Instagram, or client work.

Step 1. Get the editor up and running

Install Movavi Video Editor on your desktop and launch it. The process is straightforward, and before you have time to overthink it, a blank timeline is waiting for your first clip.

Step 2. Drop in your footage

Click Add Files and bring in your videos, photos, and audio files, then start cutting things down to size. The tools are laid out logically, so video editing feels more like decision-making than technical problem-solving.

Step 3. Edit your video

This is where titles, transitions, effects, an auto subtitles generator, and even text-to-speech video tools come into play. You can keep things subtle or lean into style, while built-in ai features quietly handle repetitive tweaks and cleanup in the background.

Step 4. Export the final cut

Click Export and pick your format and resolution. With the full version activated, the finished video is saved exactly as intended – clean, complete, and watermark-free.

Movavi Video Editor
Create awesome videos easily

*The free version of Movavi Video Editor may have the following restrictions depending on the build: watermark on exported clips, 60-second video or 1/2 audio length limit, and/or some advanced features unavailable when exporting videos.

Have questions?
If you can’t find the answer to your question, please feel free to contact our Support Team.
Join us for discounts, editing tips, and content ideas

1.5M+ users already subscribed to our newsletter

By signing up, you consent to receive our marketing emails and agree to Movavi using your personal data in accordance with our Privacy Policy. You also confirm that you meet the minimum age requirements.