
Step 1. Download and install the program
Download the installation file and install the program on your PC or Mac.
Scheduled Recording That’s on Time Any Time
Easily make engaging screencasts with Movavi Screen Recorder
Full-screen or custom area recording
Webcam capture and drawing on recordings in real time
Highlighting mouse cursor and keystrokes
How to schedule a screen recording
Record must-see webinars or streams even if you're away from your computer. Just choose the date and time for the video capture to start and finish.
Step 1. Download and install the program
Download the installation file and install the program on your PC or Mac.
Step 2. Go to the scheduler
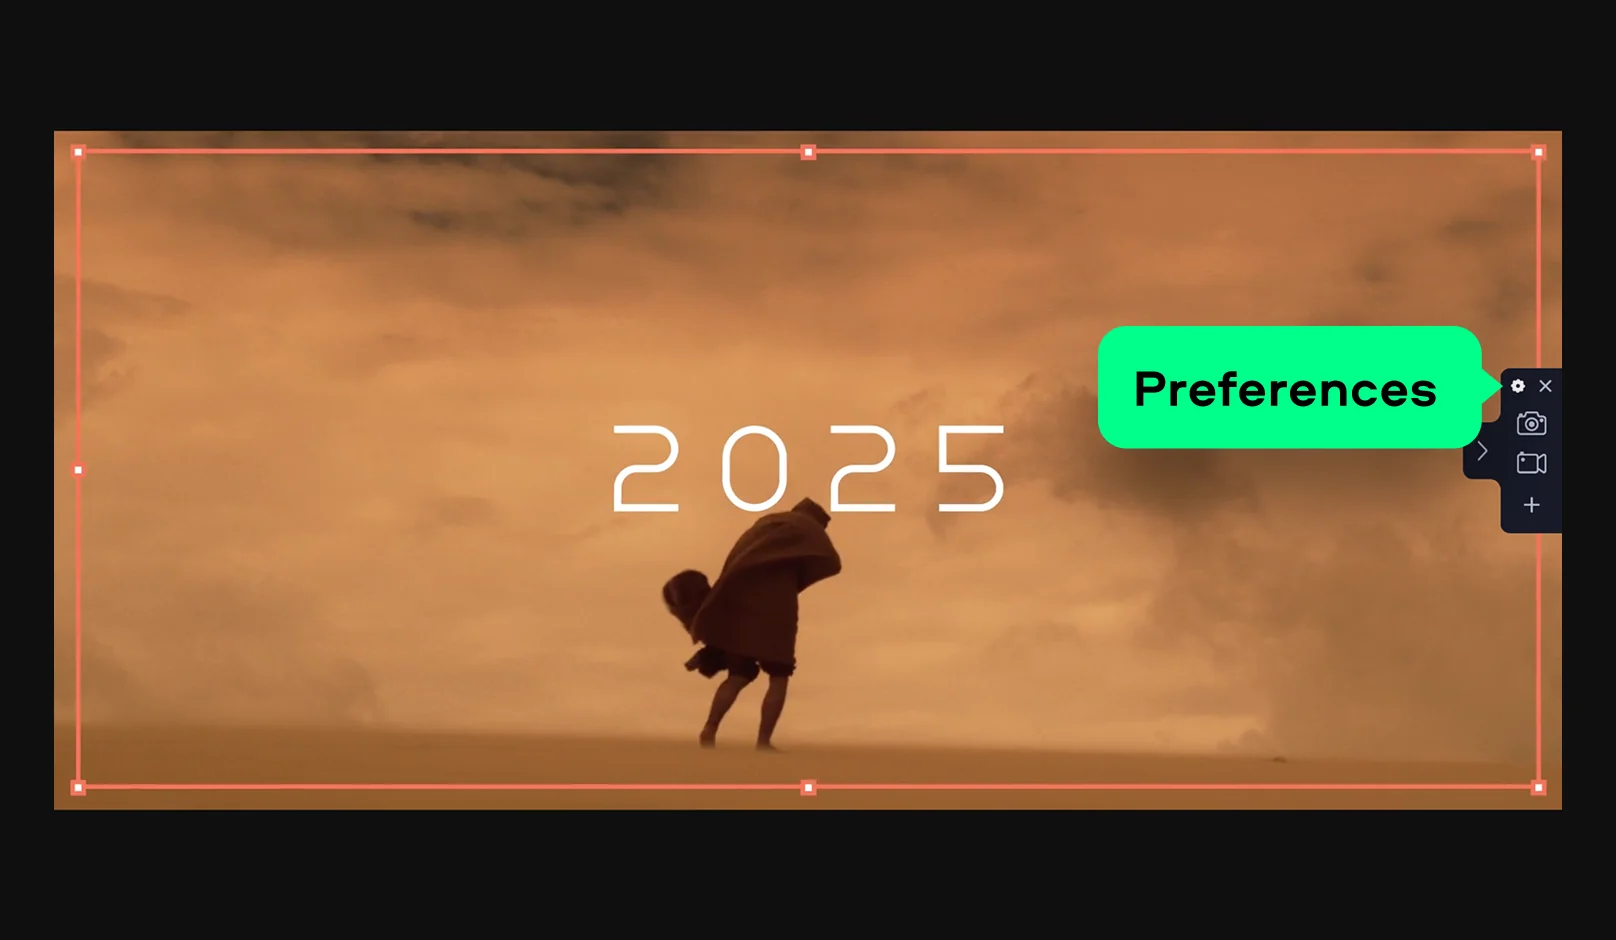
Click the Preferences button on the sidebar.
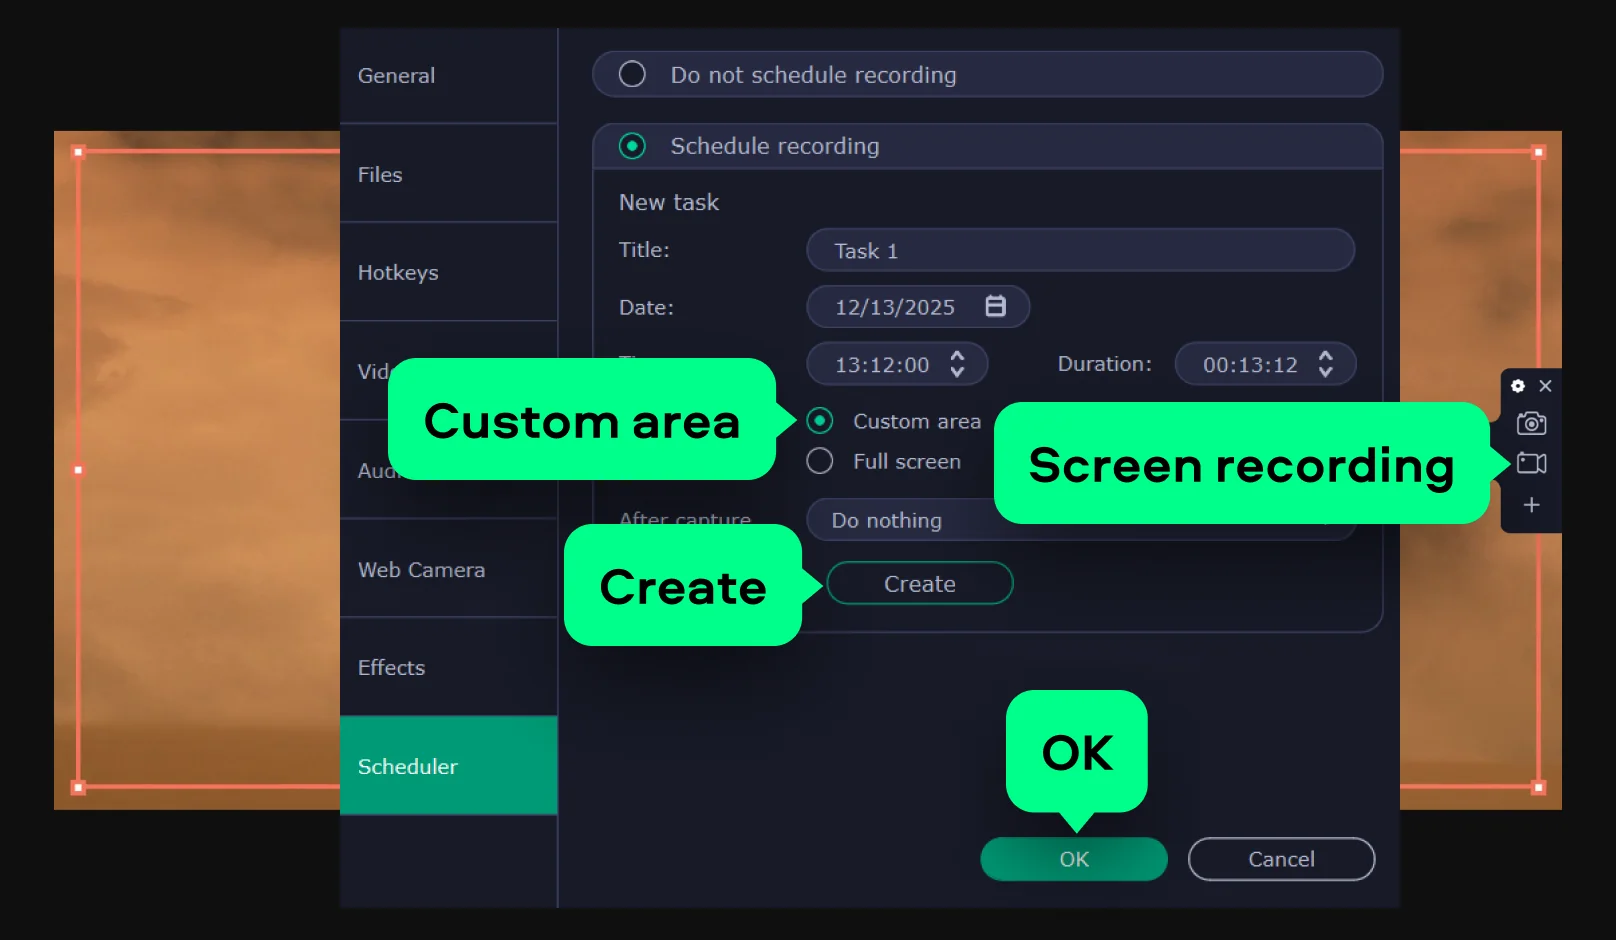
In the Preferences dialog box, open the Scheduler tab and then select Schedule recording.

Step 3. Add a scheduled task
Click on Add Task, and you’ll be given options to set the date, start and end times, and title for your automated recording.

By default, the program records your entire screen. If you want to capture only part of it, select the Custom area option – the recorder will use the last area you selected. Then click Create, followed by OK – your recording will start at the scheduled time.
Want to capture a different part of the screen? Click Screen recording and select a new area. That’s the area the program will record when the timer starts.
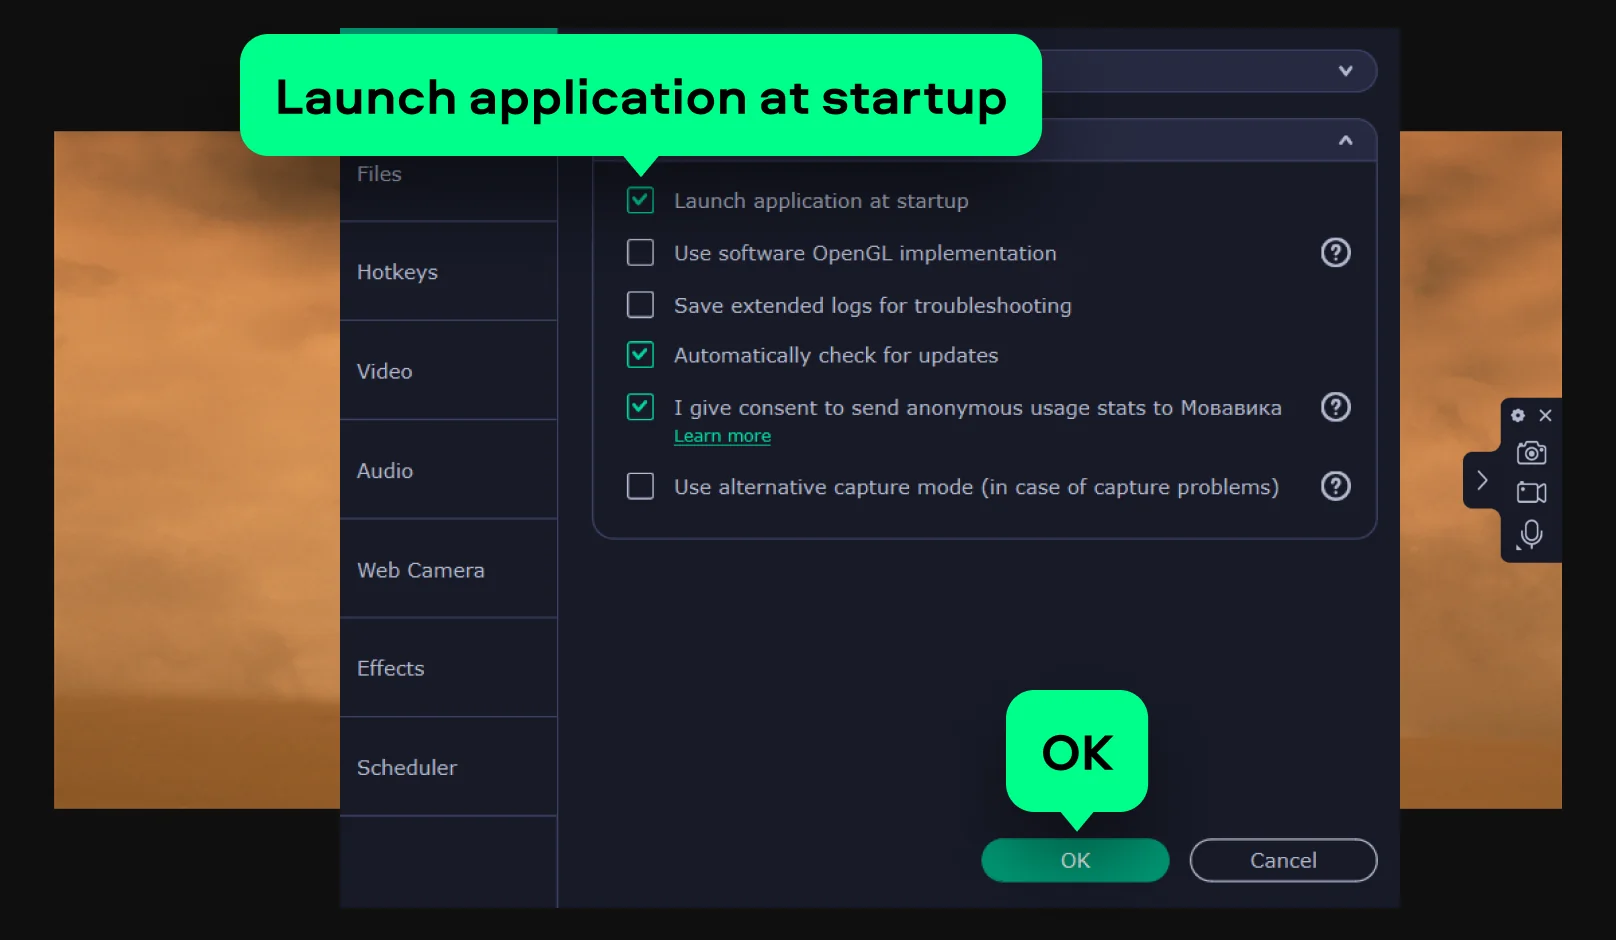
Make sure your computer is on and the screen recorder is running at the scheduled time. To avoid missing the start, enable the app to launch when your computer starts up. Open Preferences, go to General, click More, and check Launch application at startup.
After the recording is finished, the file will be saved in .mkv format in the output folder with your other screen recordings.
Your hassle-free screen capture tool for more efficient projects

Looking for a program to edit video files?


1.5M+ users already subscribed to our newsletter