How to Add Text to a Video in OpenShot: Step-by-Step Guide

Use an OpenShot alternative – Movavi Video Editor to add text!

  • Trim, cut, crop, and rotate videos
  • Add titles, stickers, and transitions
  • Apply visual effects

By clicking the download button, you're downloading a trial version of the program.*

Edited by Ben Jacklin
17,340

Adding text to videos is a really key aspect of video editing, allowing creators to convey messages and give more context. In fact, it has loads of potential uses. OpenShot Video Editor, a free and open-source software, offers various tools to incorporate text into your projects, including titles and subtitles.

This guide will walk you through the different methods of adding text in OpenShot and the numerous methods that people can potentially use.

How to add text in OpenShot

Let’s explore some of the different methods of adding text in OpenShot and the way that the software allows you to add subtitles and other forms of text.

Adding subtitles

Let’s explore how to add text to a video in OpenShot via subtitles first. While OpenShot doesn't have a built-in subtitle tool for importing .srt or .vtt files, you can manually add subtitles using the title editor.

  1. First, download and install OpenShot to add text.
    Download OpenShot
  2. Open the title editor. Navigate to the main menu and select Title > Title or press Ctrl + T.
  3. Choose a template. Select a suitable template for your subtitles. Templates like Bar 1 or Gray Box 1 are often used for subtitles.
  4. Customize text. In the Title Editor, enter your subtitle text. Adjust the font, size, color, and background as needed and as per your preference.
  5. Save the title. Click Save to add the title to your Project Files.
  6. Add to the timeline. Drag the saved title onto a track above your video clip in the timeline. Position it at the appropriate time to match the dialogue or scene.
  7. Repeat these steps for each subtitle segment. While this method is manual, it allows precise control over the appearance and timing of your subtitles.

Adding animated text

OpenShot supports 3D animated titles through Blender integration. This means having to install extra software but it does open up more opportunities for adding different looks to the titles.

  1. Install Blender. Ensure that Blender is installed on your system. OpenShot requires Blender to create animated titles.
    Download Blender
  2. Configure OpenShot. In OpenShot, go to Edit > Preferences > Blender tab. Set the path to the Blender executable so that the software can communicate.
  3. Open the animated title editor. Navigate to Title > Animated Title or press Ctrl + B.
  4. Select a template. Choose from various animated title templates provided.
  5. Customize your text. Enter your desired text and adjust settings like font, size, and animation parameters.
  6. Click Render to generate the animated title. Once completed, it will appear in your Project Files.
  7. Add to the timeline. Drag the animated title onto a track above your video clip in the timeline.

This feature allows you to create dynamic and visually appealing text animations to enhance your videos, and Blender can be downloaded free of charge. However, there is more to go wrong when linking software in this way.

Adding scrolling text

To add scrolling text, such as credits or news tickers (a lot of people will think of the iconic Star Wars scrolling text as an example) but this is popular for a lot of types of films and video projects. Here’s how to do it:

  1. Open the title editor. Go to Title > Title or press Ctrl + T.
  2. Choose a scrolling template. Select a template designed for scrolling text, like Scrolling Credits.
  3. Enter your text. Input your text into the template. For credits, list names and roles accordingly.
  4. Customize the appearance. Adjust font, size, color, and background as desired.
  5. Save and add to the timeline. Save the title and drag it onto the timeline above your video clip.
  6. Adjust the duration. Extend or shorten the title clip on the timeline to control the speed of the scrolling text.

How to add text to a video with Movavi Video Editor – an OpenShot alternative

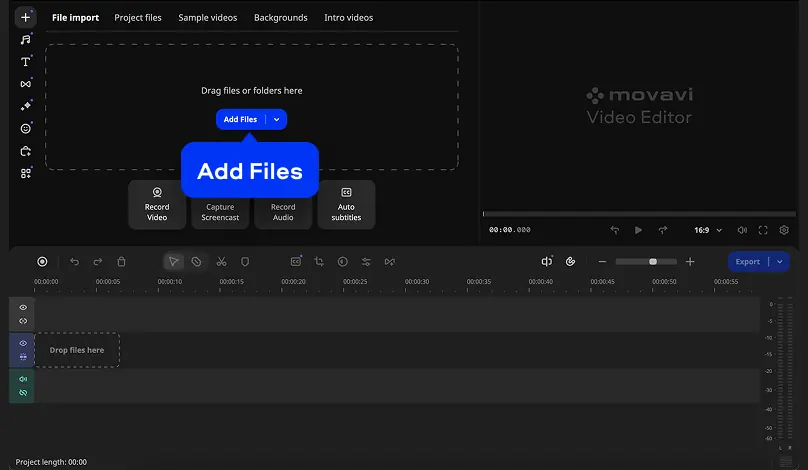
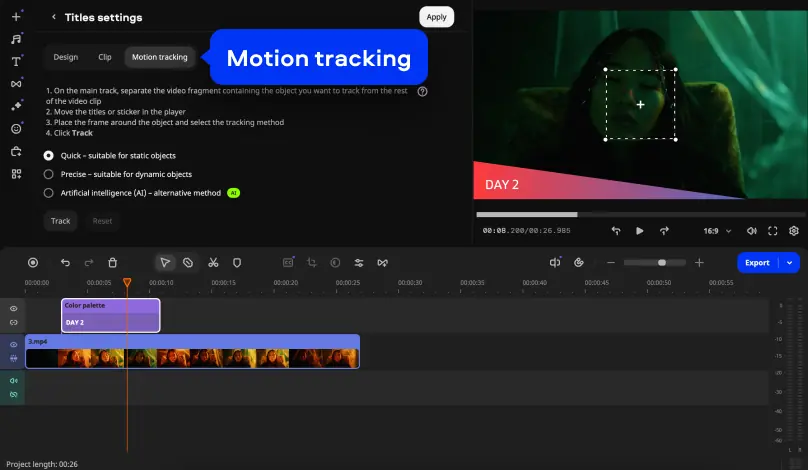
Movavi Video Editor is a user-friendly video-editing software that offers a range of features for both beginners and professionals. Its intuitive interface, combined with powerful tools like AI background removal, motion tracking, and a vast library of effects. All of this makes it a compelling alternative to OpenShot.

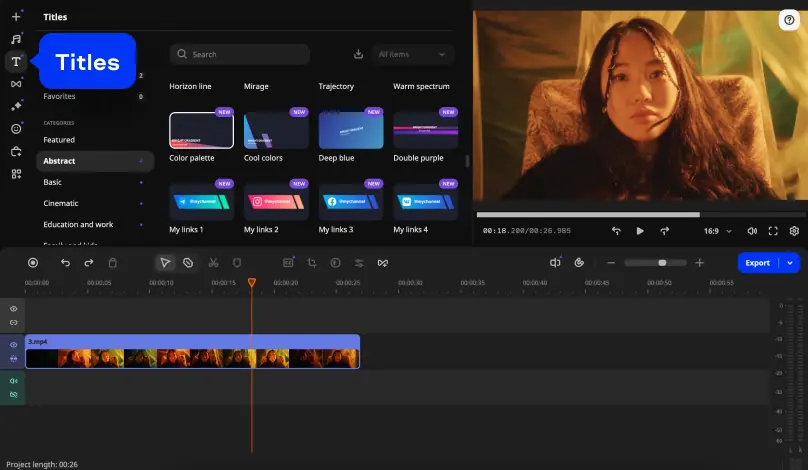
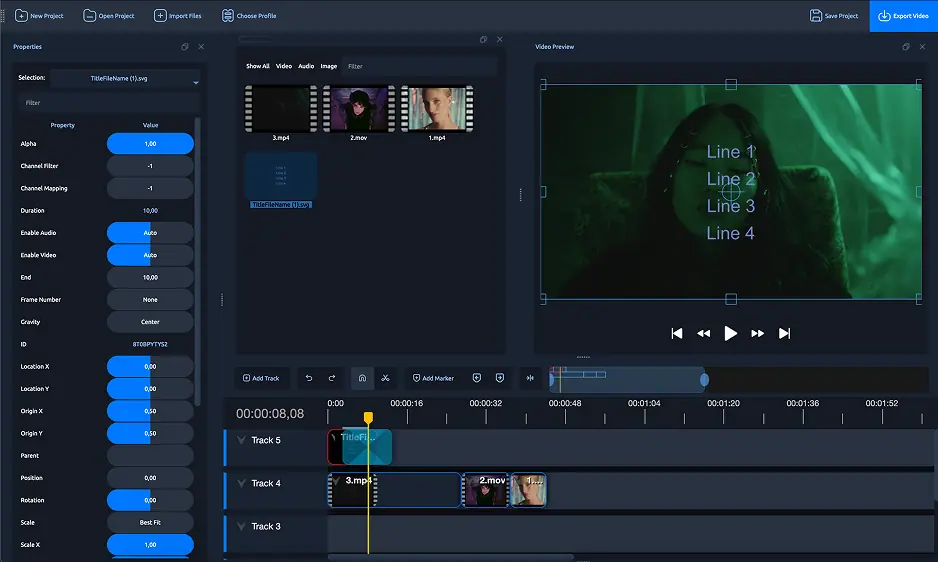
Movavi's extensive library of animated titles and effects allows for creative and professional-looking text additions to your videos. The software helps people to create a professional polish and is an alternative to learning how to add text in OpenShot.

Step 1. Download and install Movavi Video Editor

Download the installation file. Follow the installation instructions to set it up on your system. There are different versions for Mac and Windows.

Step 2. Import your video

Launch Movavi Video Editor and click on Add Files to import your video. Drag the video onto the timeline using the intuitive click and drag functionality.

Step 3. Add titles

Click on the Titles tab on the left panel. Browse through the available title styles and drag your chosen style onto the timeline above your video clip.

Click the title on the timeline to open the editing window. Enter your text and customize the font, size, color, and alignment. There are loads of options for how you want the text to appear.

Use the Clip and Motion tracking tabs to modify the duration, speed, and animation effects of the text.

Step 4. Preview and export the video

Click Export to save your video. Choose the desired format and quality settings, then click Start to render and save your edited video.

Summary

Adding text to videos enhances their informational value and viewer engagement. OpenShot provides various methods to incorporate text, including manual subtitles, animated titles via Blender, and scrolling text. For those seeking a more streamlined experience with additional features, Movavi Video Editor offers an intuitive interface and a rich set of tools for adding and customizing text in videos.

Movavi Video Editor

Create awesome videos easily

*The free version of Movavi Video Editor may have the following restrictions depending on the build: watermark on exported clips, 60-second video or 1/2 audio length limit, and/or some advanced features unavailable when exporting videos.

Movavi Video Editor
Have questions?

Have questions?

If you can’t find the answer to your question, please feel free to contact our Support Team.

Join us for discounts, editing tips, and content ideas

1.5M+ users already subscribed to our newsletter

By signing up, I agree to receive marketing emails from Movavi and agree to Movavi's Privacy Policy.