Step 1. Download the program
Download and install Movavi Video Converter if you haven’t already. Then, launch the app.

How to Compress an Image on a Mac: 3 Easy and Efficient Solutions
Compress photos with the Movavi converter!
Lightning-fast conversion
Batch processing of files – any number, any size
No quality loss, even with 4K videos
Easy editing and compression

High-quality photos are great, but they can quickly fill up storage space and take a long time to upload and download. Compression reduces a picture’s file size, occasionally with a compromise of lowering image quality. Read on to discover how to compress an image on a Mac.
Method 1. Compress photos using right-click
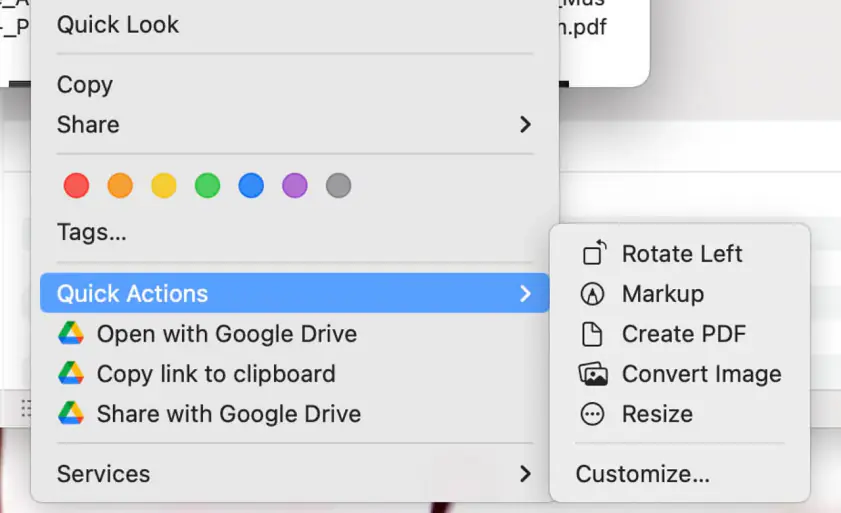
Fortunately, macOS provides users with a quick and easy way to compress images. If your device is updated to at least version 12 – known as macOS Monterey – or later, then you’ll be able to use this simple method. It allows you to compress a photo without using any applications, or even opening the image itself! Here’s how to compress a photo on a Mac.
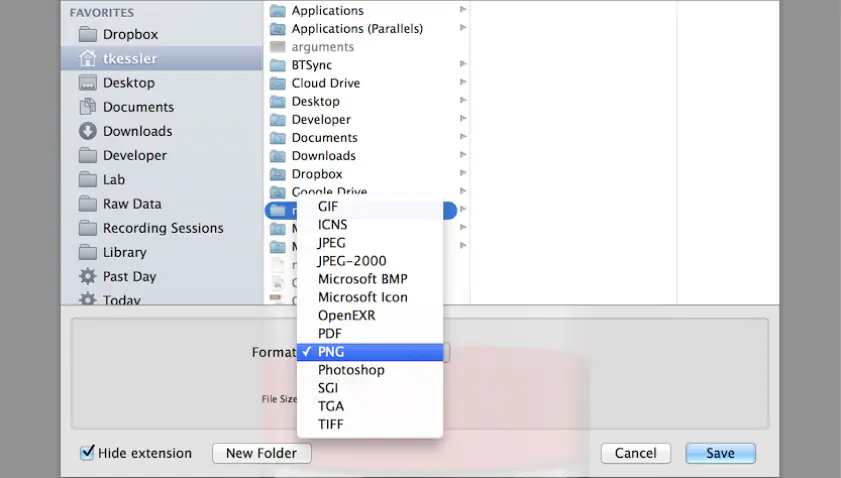
First, select which file format you wish to convert your image to. A good option is JPEG or JPG. These two file types were explicitly created to encode complex images. Unless your picture only contains text, JPG or JPEG is likely your best choice. Either of these file formats will have roughly the same quality as alternative formats like PNG, but the file size will be much smaller. It’s a win-win!
Second, choose how large you want your image to be. You’ll have four options: Actual Size, Large, Medium, or Small. The first option, Actual Size, effectively means no significant change will be made to the size of your image. If you haven’t changed the format of your photo, choosing Actual Size will likely mean a minimal reduction in file size, if any. In that case, you can choose a smaller image size to reduce the file size of your photo. However, if you’ve changed the file format, you can choose Actual Size and still significantly reduce file size. The reduction will come from changing the file format rather than the literal size of the image. Choosing Actual Size will retain the most quality, while Small will result in the most significant loss in quality.
Third, you have the option to preserve the metadata of your image. Metadata means all of the non-visual information associated with a photo. That could include the date and even the precise time the photo was taken. It could also include the specific location at which the photo was taken. To preserve this information, ensure the Preserve Metadata option is selected. If you want to remove this information from the photo, then uncheck the option. Removing metadata can be a good idea for privacy, especially if you plan on publishing the image online or sharing it widely, or if the metadata contains sensitive information you’d rather keep private.
That’s it! Your new, converted image will be saved in the same place as the file you converted. In fact, you might even see the new file pop up in your Finder window. Take a look at the new, smaller file size, and be satisfied in a job well done.
Method 2. Use Preview to compress pictures
Another option for Mac users wanting to reduce a photo’s file size is the Preview application. Preview comes installed on all Macs, so you shouldn’t have to download any new software. If it isn’t on your Mac, for whatever reason, you can download it for free from the Apple Mac App Store.
Note: You can also open a specific photo in Preview from Finder. Preview is often the default application for opening photos, which means that double-clicking on a photo file will usually open it in Preview. If Preview isn’t the default on your Mac, you can manually open a photo in Preview by right-clicking on a file, hovering over Open With, and selecting Preview. This will launch Preview if it isn’t open already.
Once your image is open in Preview, you have two options to reduce the file size. The first option is to export it at a lower quality:
You can use this option to convert multiple photos at once. Select all the images you wish to convert and open them all in Preview. Ensure all the thumbnails are selected by pressing Command + A. Then follow the above instructions as usual. The Export option should be replaced with Export Selected Images.
The second option is to resize your image manually:
Method 3. Compress pictures using Mac’s Photos app
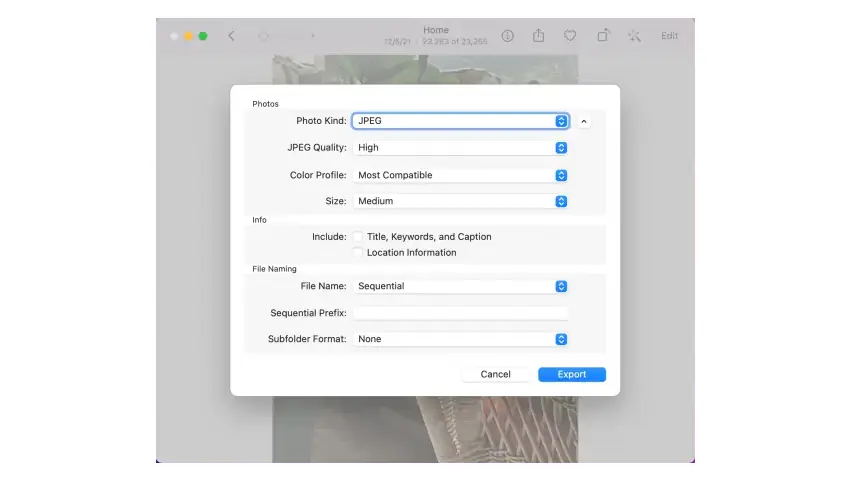
Like Preview, the Photos app comes installed on all Macs, and you can download it for free if you don’t have it. The steps for converting a picture in Photos is similar to Preview:
Method 4. Compress images with Movavi Video Converter
For a more powerful conversion software, try using Movavi Video Converter. Unlike Preview or Photos, Movavi Video Converter can convert different file types, including photos, videos, and audio. It’s just as fast, if not faster, than Mac’s built-in options, and can even convert pictures with no loss in quality.
Step 1. Download the program
Download and install Movavi Video Converter if you haven’t already. Then, launch the app.
Step 2. Add your files to the converter
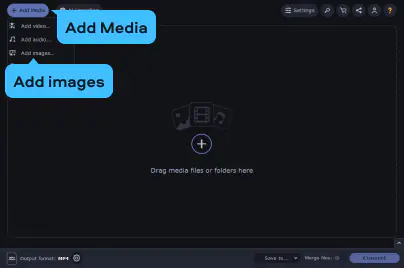
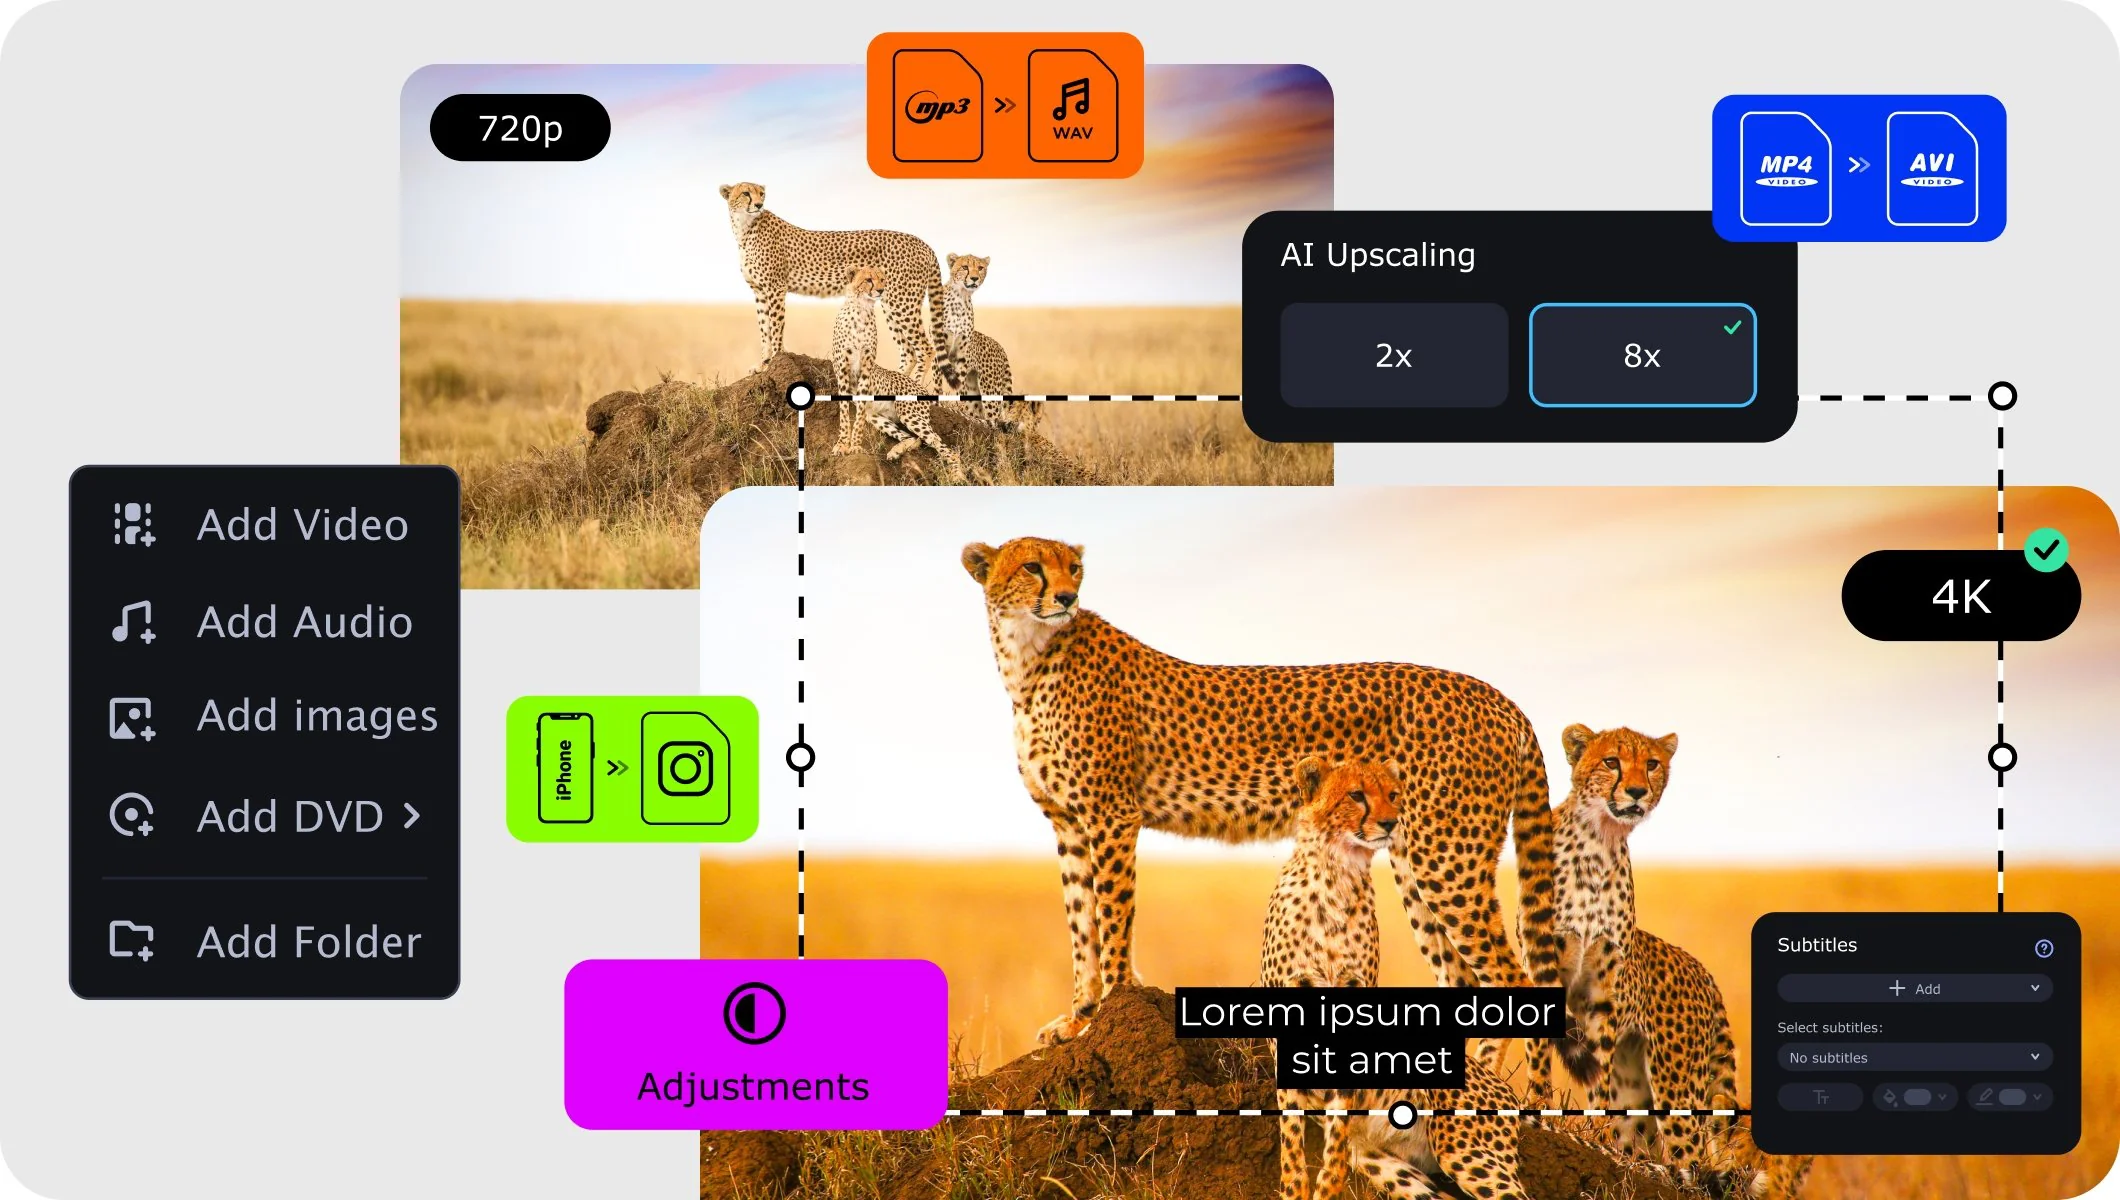
Click on the Add Media option, which should be in the top-left-hand corner of the app’s window. Then select Add images. Choose the image (or images) you wish to compress.
Step 3. Specify the settings
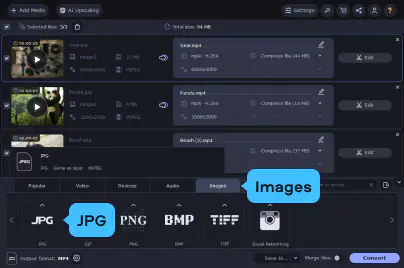
Open the Images tab. You’ll be presented with a slideshow of possible presets. If you don’t see what you’re looking for, try using the search bar.
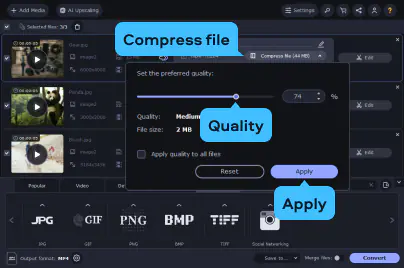
Click Compress file and adjust the Quality slider to the left to reduce the size, or enter a specific size in the text box. Click the Apply button to save changes.
Step 4. Compress your images
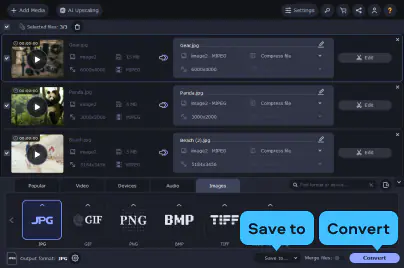
When satisfied, click the Save to option, which is at the bottom of the app window. This will let you choose where the files will be saved. Click Convert to finish.
Summary
When it comes to reducing the file size of a photo, there’s no single perfect option. Consider your specific needs and select the method that works best for you.
Movavi Video Converter

Have questions?
Join us for discounts, editing tips, and content ideas


1.5M+ users already subscribed to our newsletter