How to Export in Final Cut Pro as MP4: Step-by-Step Guide

Use a Final Cut Pro alternative – Movavi Video Editor to edit and export MP4 videos!

  • Trim, cut, crop, and rotate videos
  • Add titles, stickers, and transitions
  • Apply visual effects

By clicking the download button, you're downloading a trial version of the program.*

Edited by Ben Jacklin
10,923

Editing a video is only the first step. Delivering it in the right format is another. With so many formats out there, which one makes the most sense for your project?

If you're working with Final Cut Pro and need to share your project in a more universal format, MP4 remains the go-to standard for online platforms, mobile devices, and general video sharing.

This guide will walk you through how to export in Final Cut Pro as MP4, and discuss a simpler video-editing and publishing solution – Movavi Video Editor.

Final Cut export as MP4

Final Cut Pro projects are saved in the platform’s FCPXML format, so you’ll often need to convert them to a more common and universal format like MP4 for better compatibility across different systems and platforms.

Here's how to export MP4 in Final Cut Pro without getting lost in its menus.

Step 1. Open the Master File export window

Before using Final Cut Pro to export as MP4 videos, make sure no clips or elements are selected in your timeline. Use Shift + Command + A to deselect all. Then go to the top menu bar, click File, hover over Share, and choose Master File from the submenu. This opens a settings box where export options can be customized.

Step 2. Adjust output settings

In the window that appears, head to the Info tab to check video details like duration, format, and resolution. Click on the Settings tab next. From the Format dropdown, choose Computer. Under Video Codec, select Faster Encode if you're prioritizing speed over file size. Pick your desired Resolution from the available options. When done, hit Next.

Step 3. Name your file and select a location

Now it's time to pick where the file will go. In the Save As field, give your project a name. Choose a folder from the directory to the left or browse to your preferred destination. Then click Save. Final Cut Pro will begin the export process and generate an MP4 file based on your selected settings.

The workflow of getting a Final Cut export as MP4 can feel a bit procedural, especially if you’re not familiar with all the terms and settings.

If you find this process overwhelming or just want something simpler, Movavi Video Editor provides a more beginner-friendly interface with quicker access to common export options.

How to edit and export MP4 videos with Movavi Video Editor – a Final Cut Pro alternative

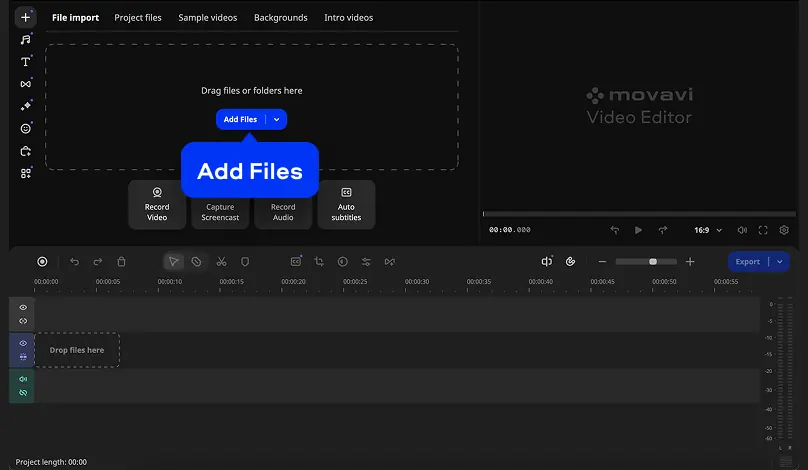
Movavi Video Editor is worth a closer look for those looking for a faster and more accessible way to edit and export their videos without sacrificing functionality.

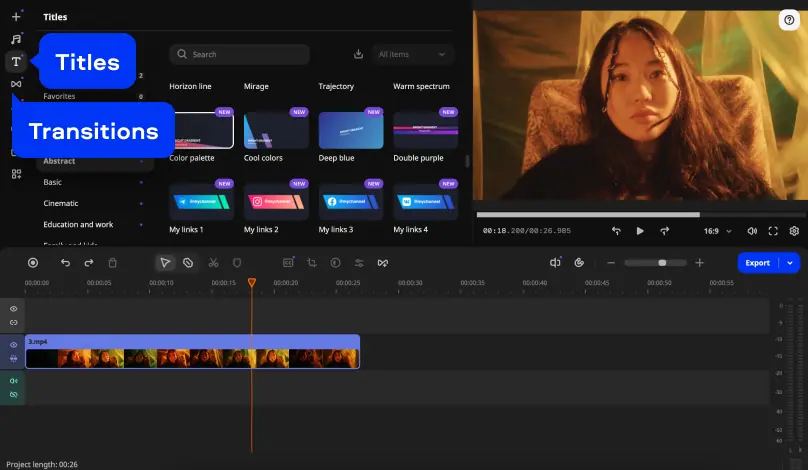
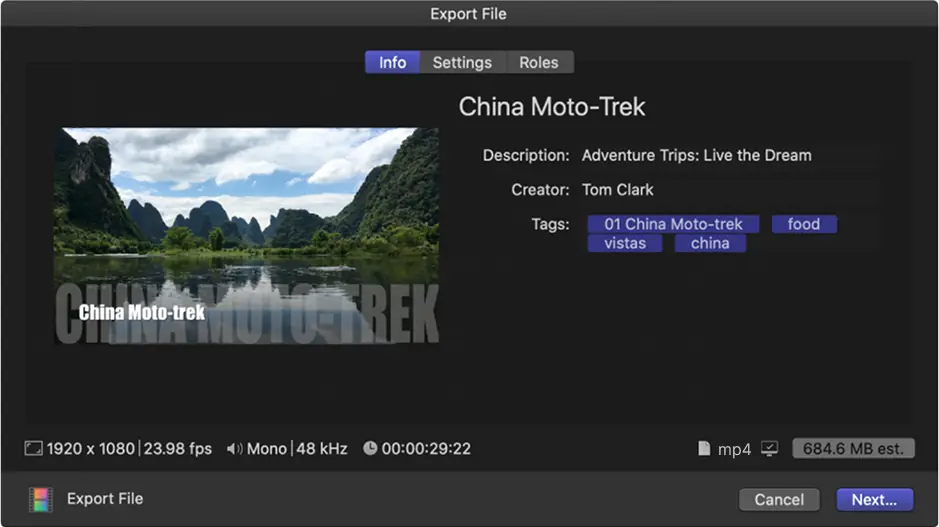
Unlike Final Cut Pro, which is built for professional post-production workflows, Movavi Video Editor focuses on user-friendly tools and straightforward navigation. It’s ideal for users who want great results without having to navigate through layers of menus.

Movavi Video Editor is built with casual creators and efficiency-focused professionals in mind. Its interface is clean and easy to follow, which makes it possible to edit a video from start to finish in far less time than most traditional editing suites.

Step 1. Download and install Movavi Video Editor

Download Movavi Video Editor. The installation process is straightforward. For those on either Windows or macOS, you’ll be up and running in just a few minutes.

Step 2. Add your video files

Once installed, launch the editor and click Add Files. You can bring in videos from your desktop, flash drive, or even import directly from a connected camera. Drag the files into the timeline to start editing.

Step 3. Edit your video

Movavi Video Editor makes editing approachable, even for beginners. Once your clips are in the timeline, you can trim, split, and rearrange them with just a few clicks.

Want to cut out a section? Place the playhead where you want to split the clip and click the scissors icon. Need to reorder scenes? Just drag and drop them into position.

You can also enhance your footage with:

  • Filters and color grading: choose from artistic presets or manually adjust brightness, contrast, and saturation.
  • Transitions: add smooth fades, wipes, or dynamic transitions between clips with drag-and-drop ease.
  • Titles and overlays: add stylish text or visual elements by simply dragging them from the media library into your project.

Audio editing: detach audio, mute background noise, and add royalty-free music or sound effects from the built-in collection.

Step 4. Export your MP4 video

When your project is ready, click the Export button. In the Format dropdown, choose MP4. Set your desired resolution and quality. Click Start to begin the export.

Summary

Knowing how to export MP4 in Final Cut Pro is helpful if you’re working in Apple’s editing environment, but it’s not always the most straightforward route.

If you prefer an easier experience with powerful tools at your fingertips, Movavi Video Editor stands out as a simpler, faster alternative, especially when the goal is to export MP4 without spending extra time adjusting settings.

Movavi Video Editor

Create awesome videos easily

*The free version of Movavi Video Editor may have the following restrictions depending on the build: watermark on exported clips, 60-second video or 1/2 audio length limit, and/or some advanced features unavailable when exporting videos.

Movavi Video Editor
Have questions?

Have questions?

If you can’t find the answer to your question, please feel free to contact our Support Team.

Join us for discounts, editing tips, and content ideas

1.5M+ users already subscribed to our newsletter

By signing up, I agree to receive marketing emails from Movavi and agree to Movavi's Privacy Policy.