Movavi Photo Editor
Easily enhance images and get professional-grade results in a snap.
*The trial version of Movavi Photo Editor has the following restrictions: you can save up to 10 images with added watermark, screenshots are disabled.
[Solved] How to Make a Collage on an iPhone [2 Best Ways]
Edit photos on your computer with Movavi Photo Editor!
By clicking the download button, you're downloading a trial version of the program.*

Immortalizing your photos by adding them into one conglomerate is a great way to get your creative juices flowing! Whereas this pastime used to be done manually, today there are countless apps that allow you to do so digitally. We’ve compiled a list of iPhone apps designed to give your photo collage that professional look, while incorporating as many of your individual photos as possible. Read on to learn how to make a collage on your iPhone in two different ways!
How to use Shortcuts to make your photo collage
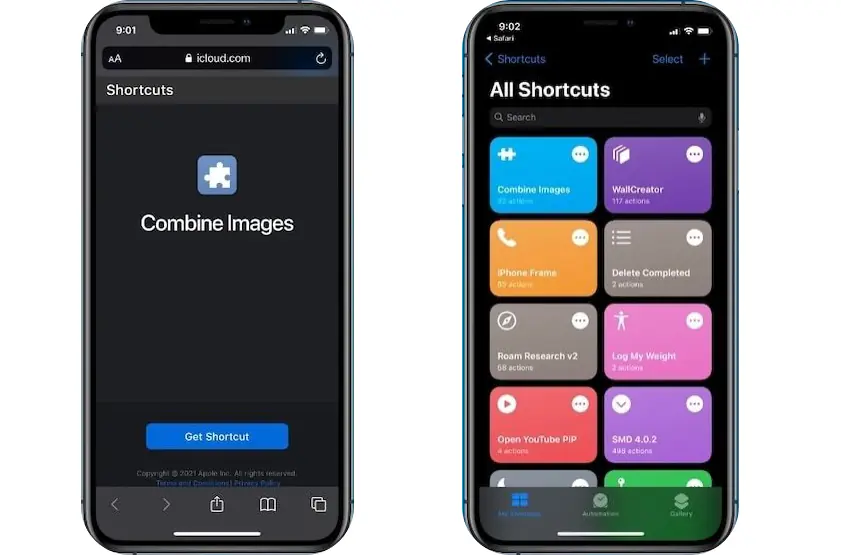
Shortcuts is a user-friendly iPhone app developed by Apple that gives you a bunch of options for creating personal shortcuts on your device. You can also use it for photo editing, including collage making projects. Even though it lacks advanced editing capabilities, it still delivers the basics for pre-edits on collage photos. If you want to make a collage like a pro, consider using a photo editor beforehand.
To learn how to make a photo collage on your iPhone using the Shortcuts app, just follow the steps below.
Pros:
Access to all in-device photos
Slideshow creation
Auto creates collages for quick editing
Cons:
Doesn’t access social media photos
No image enhancement ability
How to make a photo collage with Google Photos
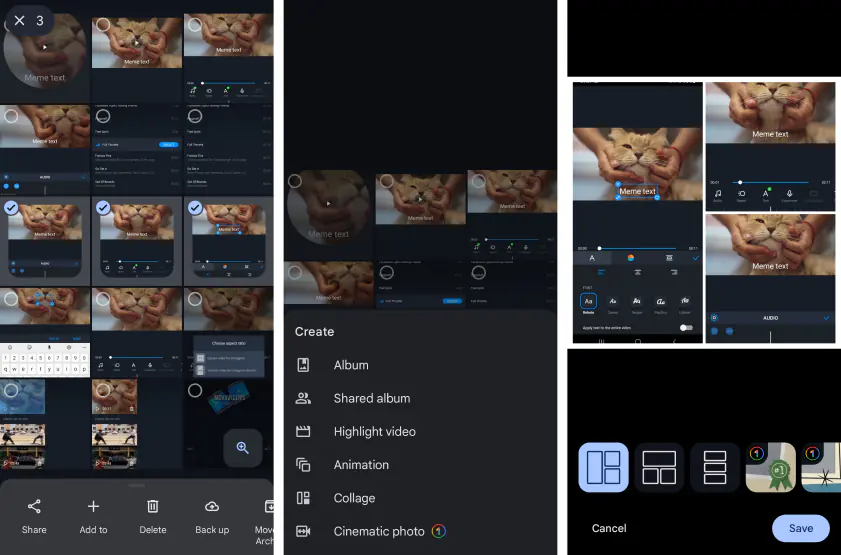
The Google Photos app for an iPhone is one of the best collage making apps available, because it provides you with an extensive toolbar of features for editing and placement. This app also lets you enhance or filter your images to improve their quality.
Although this app is more of a workflow app that helps you manage your device’s images, it can be used to make a collage. You may want to edit your photos more in-depth before using them to make a collage on Google Photos, but this app does allow you to do some minor edits.
Follow the instructions provided below to learn how to do a collage on your iPhone with Google Photos:
Pros:
Access to social media images
Image enhancement ability
Auto creates collages for subsequent editing
Making a collage is simpler than most photo apps
Has face recognition for easy locating of photos of a particular person
Cons:
Not a lot of editing tools
Slow retrieval of photos from external sites
Your collage will be compressed to save space, which may affect the quality
There are no tools for removing unwanted objects
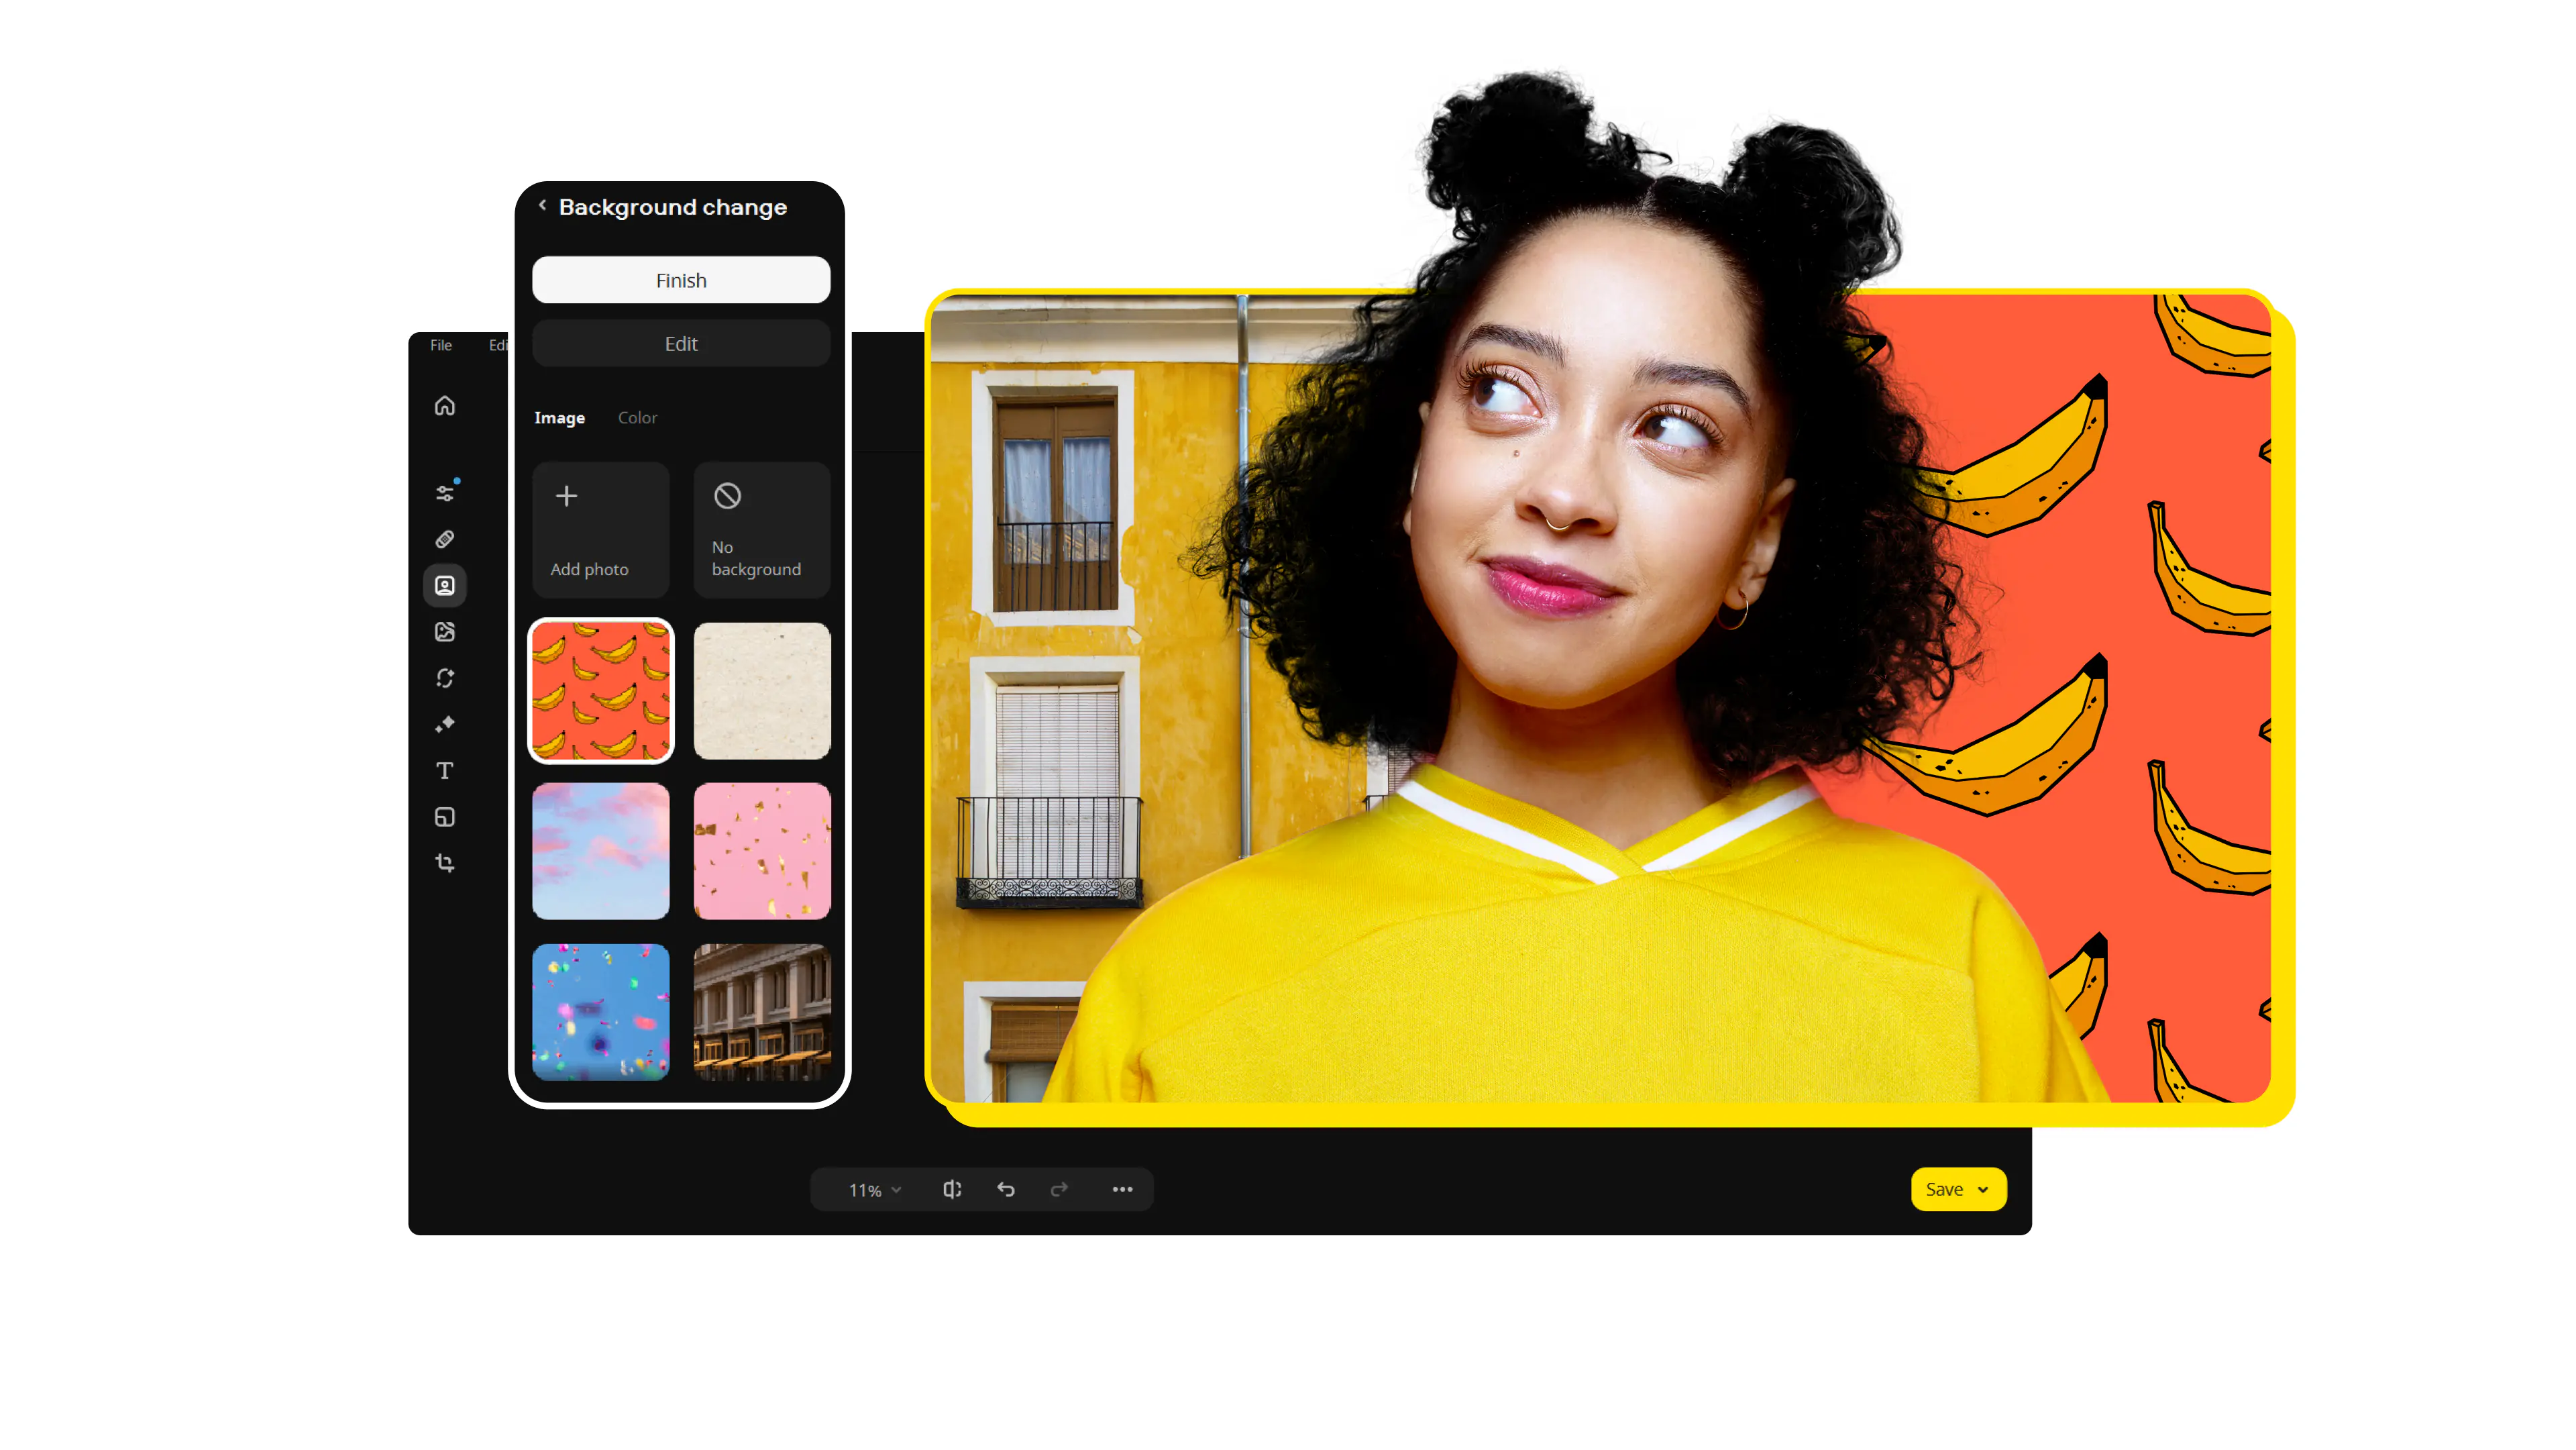
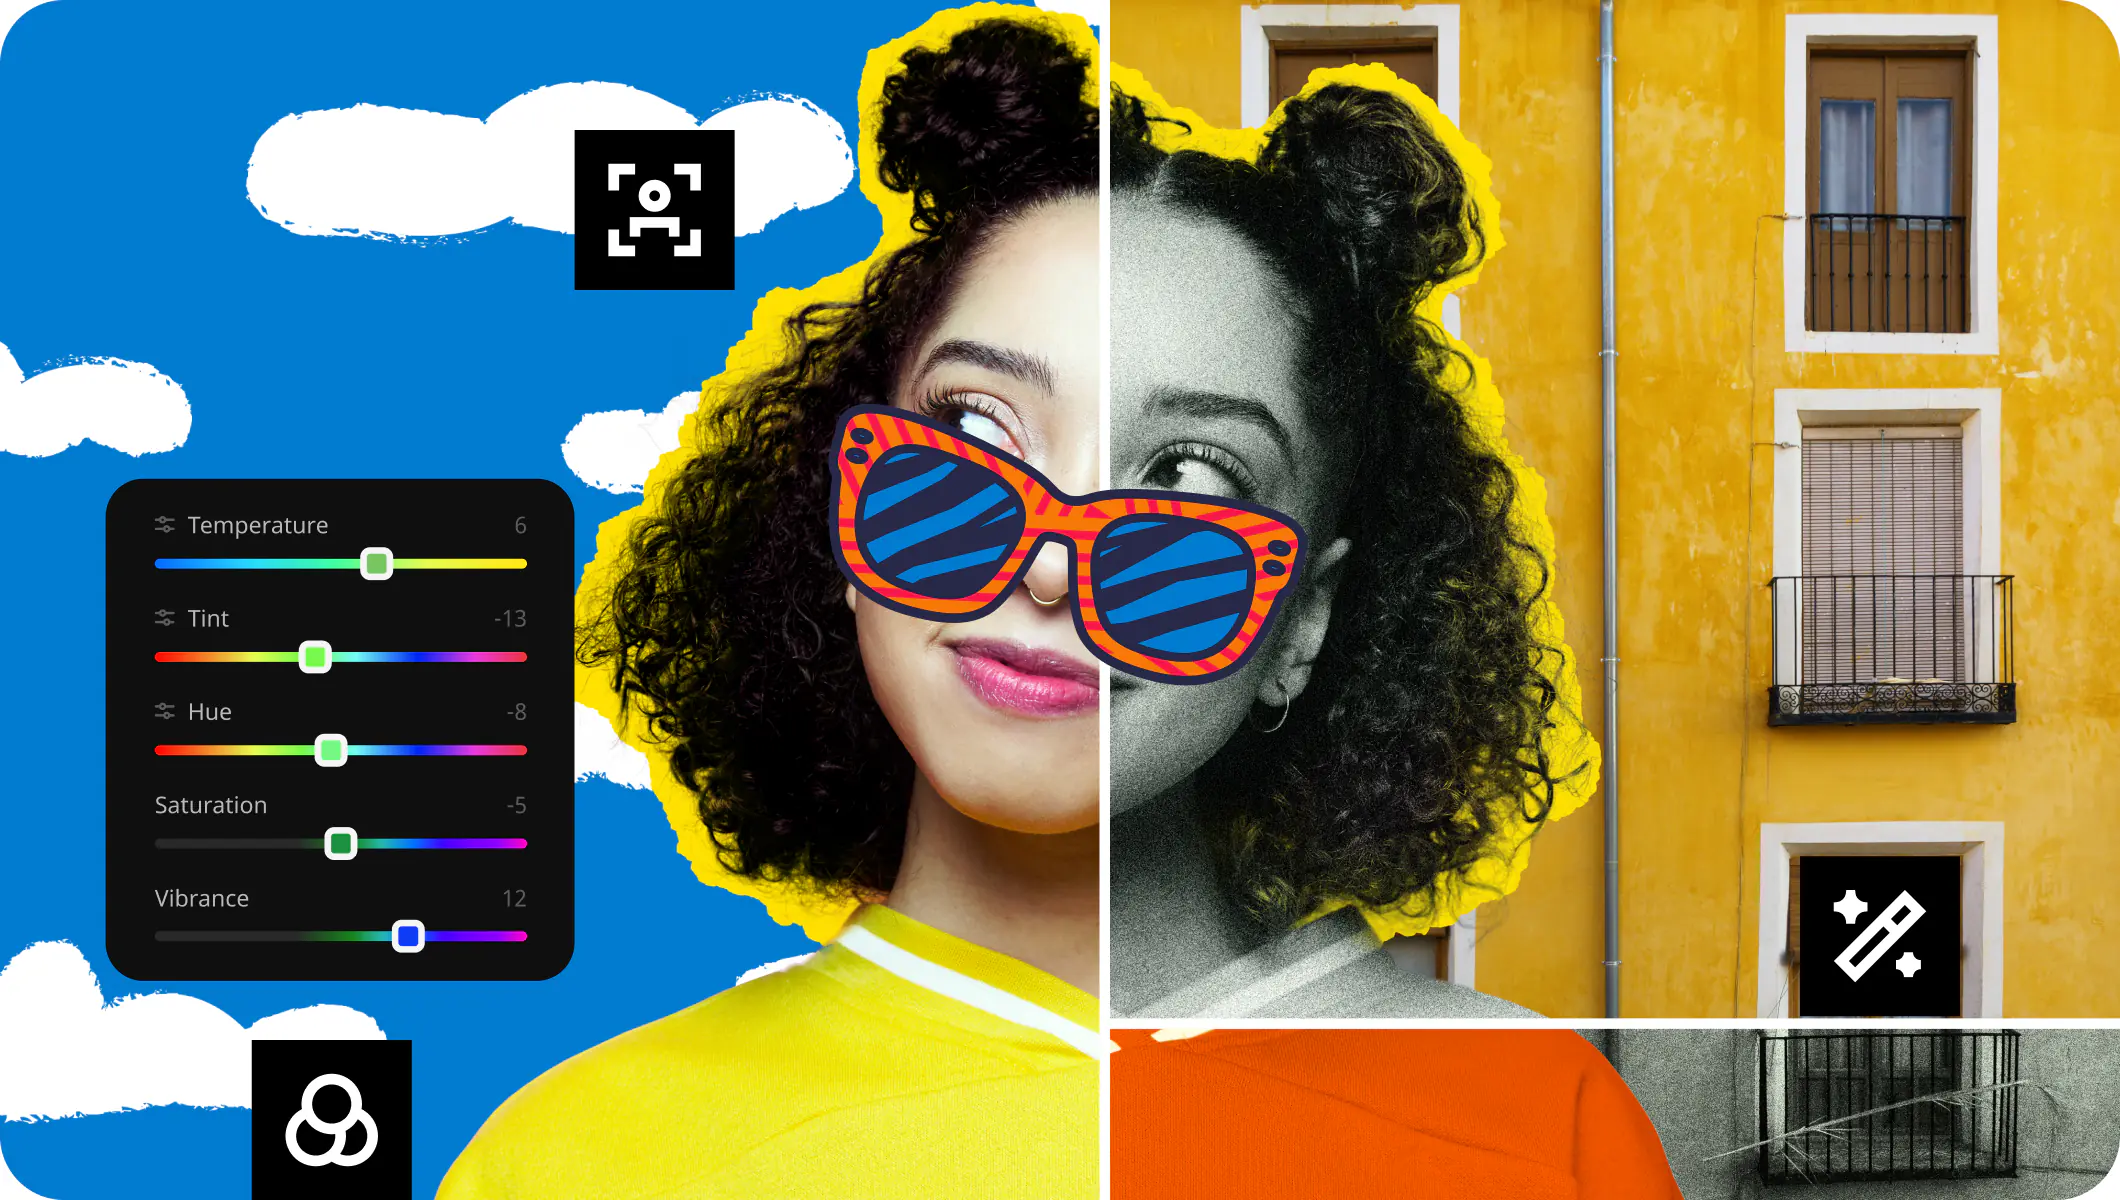
Edit photos on your computer with Movavi Photo Editor

If you’re looking for a straightforward, comprehensive photo-editing tool for your desktop, you can try Movavi Photo Editor. With this easy-to-use program, you can easily edit photos on your PC or Mac and even create photo overlays in a few clicks. Movavi Photo Editor also gives you advanced editing options, such as object removal, background settings, and easy resizing. There are dozens of filter options that give your photos stylish transformations to fit the theme you’re going for.
Summary
Creating photo collages is a wonderful way to preserve your digital memories in a creative and interesting way. If you’re serious about digital scrapbooking, these photo collage apps will give your collages that touch of professionalism that will create forever memories to cherish. And if you’re looking for more professional results, try a desktop photo-editing app, like Movavi Photo Editor.
Movavi Photo Editor
*The trial version of Movavi Photo Editor has the following restrictions: you can save up to 10 images with added watermark, screenshots are disabled.
For creating stunning photo collages on your iPhone, Movavi Photo Editor is the best choice. It offers a user-friendly interface, a vast library of templates, and powerful editing tools for achieving professional results. This app is perfect for anyone who wants to create eye-catching collages for social media, personal projects, or business purposes.

Have questions?
Join us for discounts, editing tips, and content ideas


1.5M+ users already subscribed to our newsletter