How to Save a Live Photo as a Video Easily

Edit videos on your computer with Movavi Video Editor!

  • Trim, cut, crop, and rotate videos

  • Add titles, stickers, and transitions

  • Apply visual effects

By clicking the download button, you're downloading a trial version of the program.*

10,217

The Live Photo feature on iOS devices is a perfect option to upgrade your usual photos and show off selfies. Read this article to learn how to save a Live Photo as a video, transform photos into GIFs, and also how to combine multiple Live Photos into one video.

What is a Live Photo?

A Live Photo is a super short capturing of your camera images in video format. Many iPhone cameras automatically record a 1.5-second video before and after you hit the button to take a photo, giving you a quick video that captured the moment you took the picture. Live Photos are especially popular for selfies, since they showcase your pose. Group photos that are captured as Live Photos also immortalize moments you’ve shared with loved ones.

These Live Photos can be posted on social media as a video for the full effect to be displayed, which is why many are wondering how to turn a Live Photo into a video. Whether you’re using Live Photos for your dating app, your social media status page, or simply want to keep them in your gallery, let’s dive into how these dynamic photos can be saved in their animated form.

How to save a Live Photo as a video

If you want to turn a Live Photo into a video, follow our simple step-by-step instructions below.

  1. Find the photo you want to convert by going to your Photos app on your iPhone or iPad. From your album, you’ll notice Media Types, which is where you’ll find the Live Photos option and a selection of your Live Photos.

    Remember that the Live Photo option must be activated on your Apple device in order for you to take photos as Live Photos in the first place. If this setting is deactivated, you probably won’t find any Live Photos in your Photos app.

  2. If you swipe the photo upwards, it will reveal an Effects menu. From here, you can choose the Loop option.
  3. You can also opt to turn the Live Photo into a Long Exposure looping video, which will add the 1.5 seconds before and after the picture was taken. 
  4. This will give you various effects that you can tweak. Follow your creative instincts and settle on the final effect for your Live Photo. 
  5. At the bottom-left corner, you’ll see the Share button. Select the Save Video option to save your photo as a live video snapshot version of the photo. 
  6. This video will now be saved in your Camera Roll folder on your device.

This will allow you to send the video to friends, or upload it to your social media account. Live Photo videos also make excellent WhatsApp status updates, giving your audience a feel for the moment before and after you captured your photo. 

Many iPhone and iPad users also use these videos for their dating profiles, giving prospects a better idea of what you look like “in motion” when you take your selfies. In this format, your Live Photo videos will also be playable by friends and family who don’t have Apple devices, making the file universal for all to view. There’s a really great impact given when you choose to post these videos over static images, so give it a try!

How to combine multiple Live Photos into a single video

But what if you want to create a montage of your Live Photos by saving a bunch of them as one video? Follow these steps to combine your Live Photos into a video file that can be saved, shared, and posted as you please:

  1. Find the Media Types in your Photos app album menu. 
  2. Select the Live Photos you want to merge into one video by tapping Select on the top right menu. From here, you can tap the desired Live Photos you want to combine, or deselect ones that you want to exclude. 
  3. With these Live Photos selected, you can now tap the More button on the bottom-right corner of your screen and select Save as Video from the Options menu. 
  4. This may take a while to save, so be patient. If you’ve selected a lot of photos, your device may take several minutes to combine them all into one video. If you only chose a few, it shouldn’t take longer than half a minute or so. 

Now that you have a video format that includes all of your desired Live Photos, you can send these over your chat app, or post the video wherever you choose. Instagram will also accept shortish videos if you choose to give your audience a conglomerate of photos in one easy-to-view format.

How to convert a Live Photo to a video on a Mac

If your Live Photos are already sitting on your Mac computer, you can still convert them from there rather than from your iPhone. Here are the steps to follow:

  1. Your Live Photos should be stored within your Photo app on your Mac device. Access the one you want there and select it by right-clicking.
  2. From the options, choose Export and then select Export Unmodified Original.
  3. This will prompt you to choose a file format. Pick the one that’s most compatible with what you can play on your device, and it will export the photo once you click on Export.
  4. You will now find the Live Photo video in your video folder or on the desktop.

How to convert Live Photos to animated GIFs

The GIPHY application allows you to turn your Live Photos into GIFs, where you can add funny or memorable captions to further customize your GIFs or upload them. There’s no default application on your iPhone for making GIFs, but you can install GIPHY on your device to make them. Here are the simple steps for making GIFs with GIPHY:

  1. Download GIPHY from your App Store and create an account by filling in the short form.

    Download GIPHY

  2. Go to Create within the GIPHY app and select the photo you want to use to create a GIF from the Live Photos gallery. Remember that you can also choose any of the Live Photo videos you’ve already converted, including the ones to which you’ve added effects like loops, long-exposure, and bounce. 
  3. From here you can add extra edits to your Live Photo. You can choose to add stickers for extra effect, or you can trim the video down to a desired length. There’s also a crop option if you wish to remove backgrounds or zoom in on a particular part of the Live Photo. 
  4. Tap the right arrow at the bottom of the screen once you’ve made all your edits, and watch the GIF preview. If you’re happy with the end result, you can select Share GIF. Another option is to simply save the GIF on your device by copying it and pasting it to wherever you want to save it. Sharing will allow you to post it on social media, WhatsApp, or other social applications. Saving it will store it for later use.

Add extra effects to your Live Photos

There are a few optional extras you can perform on your Live Photos that add to their effect. You can loop, bounce, or add long-exposure to your Live Photos as filters that change the effect to something a little more artistic. Try these three options to make them even more impactful.

  • Adding a loop. By looping your videos, you turn them into GIG-like, repetitive videos that play over and over again in short bursts of action. This is great for showing a particular action again and again, especially a funny event that you caught on camera.
  • Adding the bounce effect. A bounce effect on your Live Photo videos reminds and forwards the video continuously, showing the loop backwards and forwards in a repetitive motion. This gives your videos an effect that shows something happening, rewinding it, and showing it again for extra impact.
  • Opting for long exposure. Long exposure is an effect that blurs the motion of the movements within your video. It’s an artistic filter that adds more impact to your Live Photo videos, especially selfies that you’re super proud of.

Why are Live Photo videos becoming more popular?

There are many reasons people choose to show off their Live Photos as short videos instead of just regular images. Here are some reasons and creative ideas for getting the most out of the Live Photo setting on your iPhone.

Moments have more of an impact with Live Photo

As mentioned, the Live Photo feature on your images animates your regular photos to deliver a feeling of the moment you experienced. This is not only great for your own memories, but also conveys more to those who view your Live Photo videos.

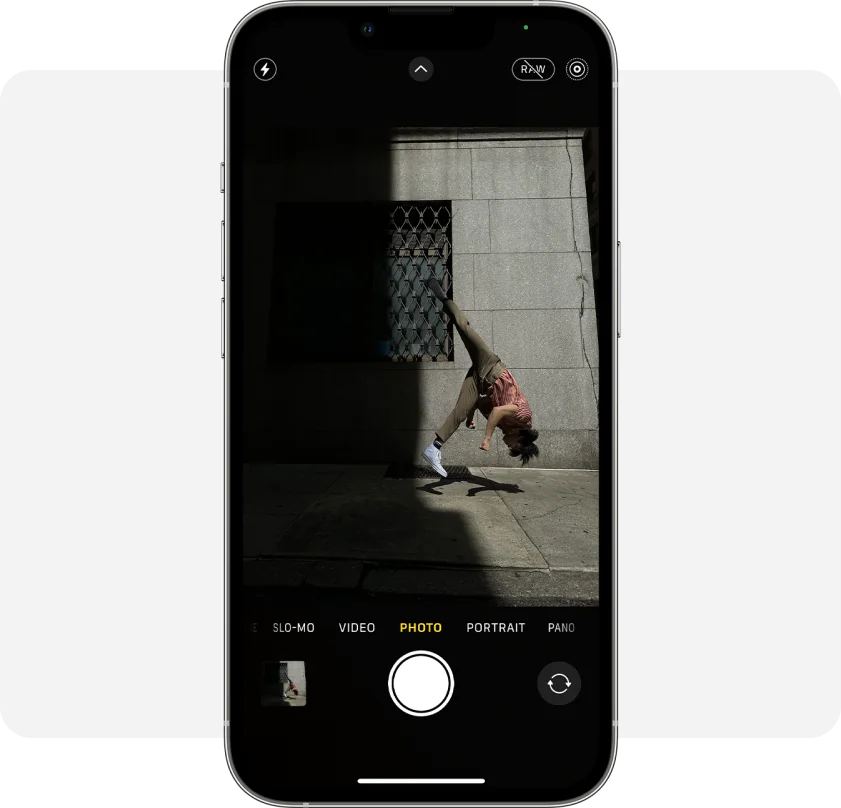
Live Photo capture in-motion funny moments so much better

Photos of funny moments simply don’t do the moment justice. Instead of creating “you had to be there” memories of really funny moments, accurately relay people’s reactions, animal antics, and unexpected mishaps by activating the Live Photo setting on your iPhone. Now get ready to snap that photo!

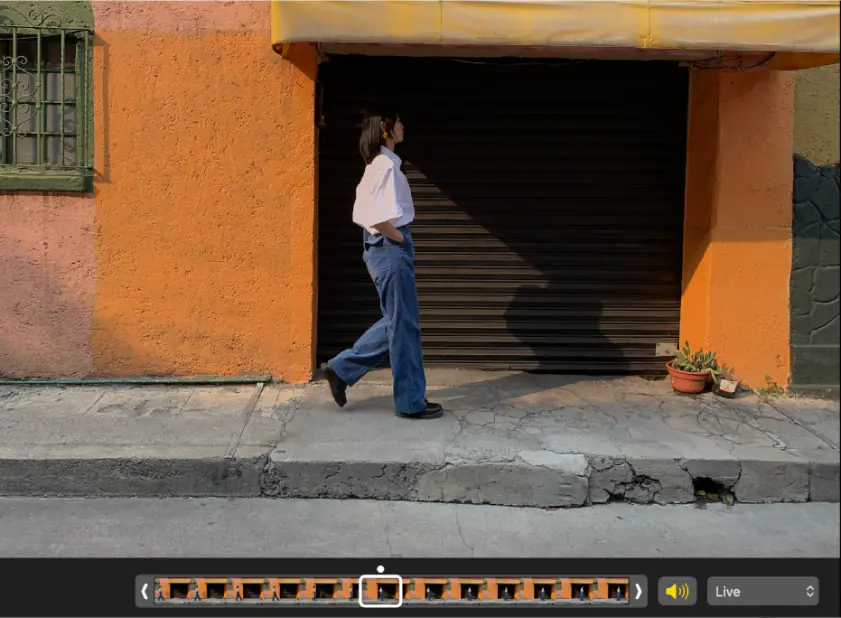
Live Photos are perfect for taking flowing pictures

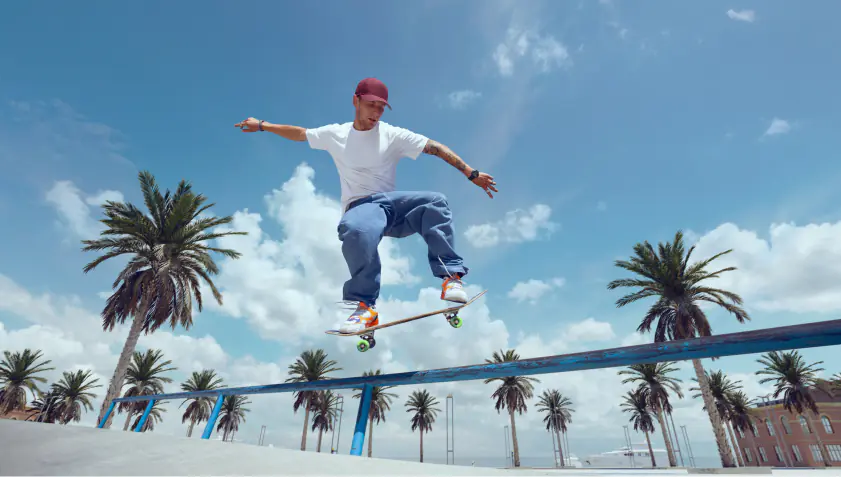
Live Photos are an excellent way to capture the flow of your subject. This is especially true for waterfalls, rivers, ocean waves, an animal that’s moving, or the wind blowing through the trees. There are so many nature pics that can be improved if the movement is included.

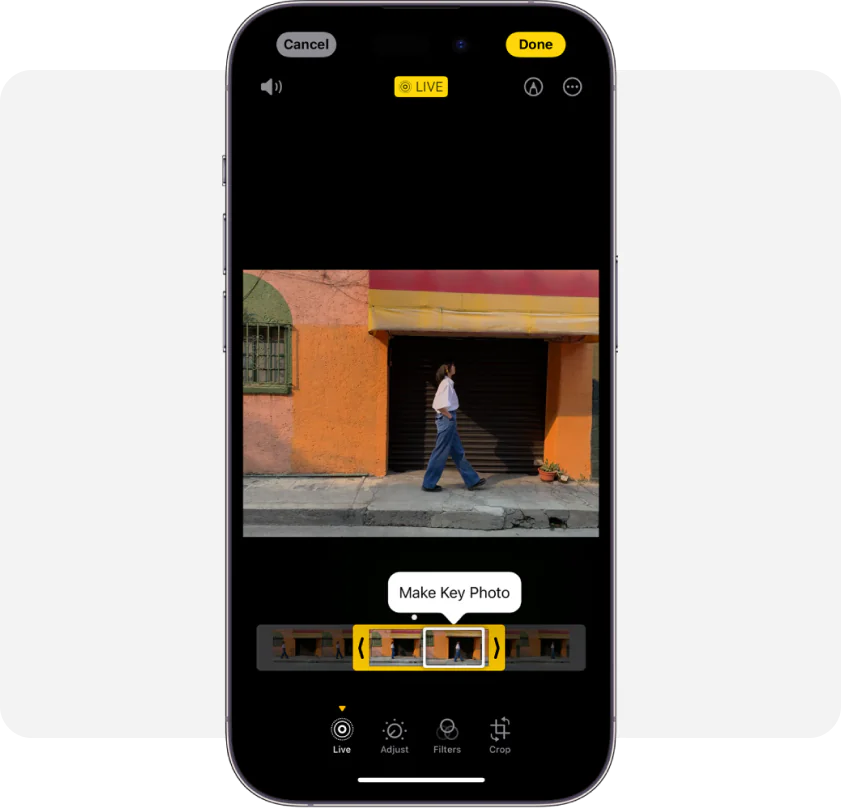
Live Photos let you take “boomerang” shots of special moments

Weddings and other special events are memories you and your loved ones will want to cherish. The boomerang setting on your Live Photos moves the video from back to front constantly, showing you glistening smiles of your subjects in perpetual motion as a reminder of their happiness.

Edit your videos with Movavi Video Editor

Once you have the ideal Live Photo video, you can further enhance it by editing it with Movavi Video Editor on your PC or Mac. This is where you can add captions, subtitles, or even just the date to help you remember it better. 

Movavi Video Editor also gives you features like video enhancements, filters, and audio adjustments to customize the sound of your new videos, allowing you to make them as unique as you want. It uses AI to fix visual flaws, edit your backgrounds, and refine the video quality as much as possible before you publish it or send it to your friends. So if you’re serious about making awesome Live Photo videos, be sure to include Movavi Video Editor in your creative toolbox!

Summary

Live Photos would be used more often, as they add so much to the feeling of every moment you’ve captured on your iPhone. As an Apple user, you can enjoy this exclusive feature and show off in ways others can’t, so take full advantage of the fun that comes with Live Photos when you take selfies or flowing pictures. With a little editing together with these Live Photo tutorials, you’ll soon be showing off more than just regular images with your iPhone.

Movavi Video Editor

Сreate awesome videos easily

*The free version of Movavi Video Editor may have the following restrictions depending on the build: watermark on exported clips, 60-second video or 1/2 audio length limit, and/or some advanced features unavailable when exporting videos.

Movavi Video Editor
Have questions?

Have questions?

If you can’t find the answer to your question, please feel free to contact our Support Team.

Join for how-to guides, speсial offers, and app tips!