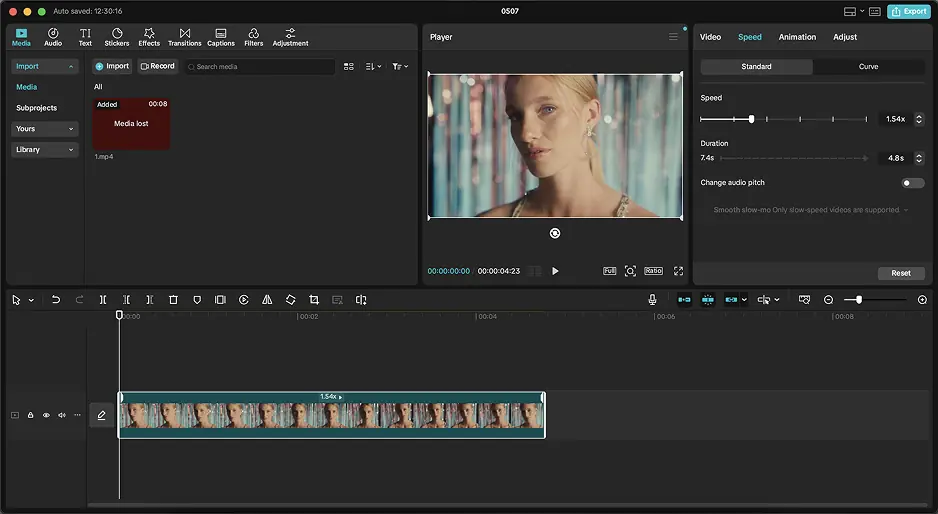
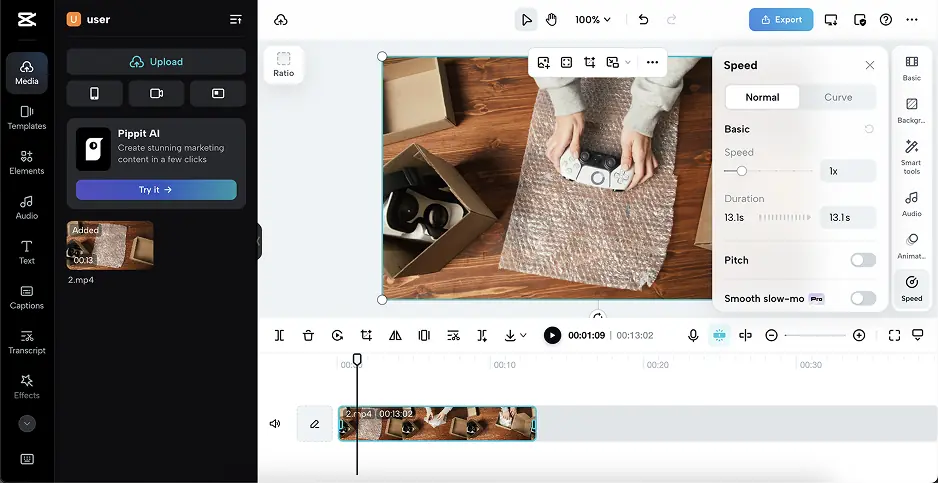
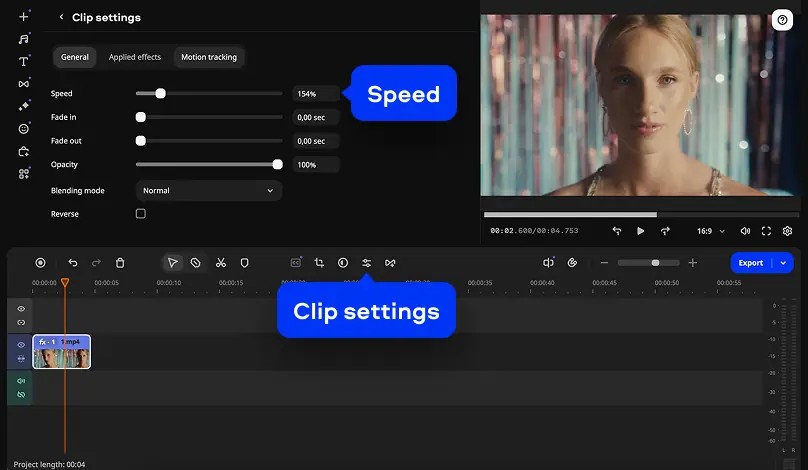
When you drag the slider, CapCut will speed up your video clip. You can see how much faster the clip is to the right of the slider. Alternatively, you can apply a certain speed multiplier directly to the clip by changing this number. If you want your clip to be twice as fast, for example, change the number to 2.
CapCut will also display the new duration of your sped-up video clip. You can also select a specific duration, and CapCut will adjust the speed of the video clip to make it last for the desired length of time.
Adjusting the speed of a video clip will naturally change the pitch of the audio attached to the clip. If you’re going to mute the clip anyway, that’s no problem. You can add a voiceover or music later, or leave the clip silent. However, CapCut does offer a tool that will automatically maintain the pitch of your audio. To activate that, select the Keep pitch option.
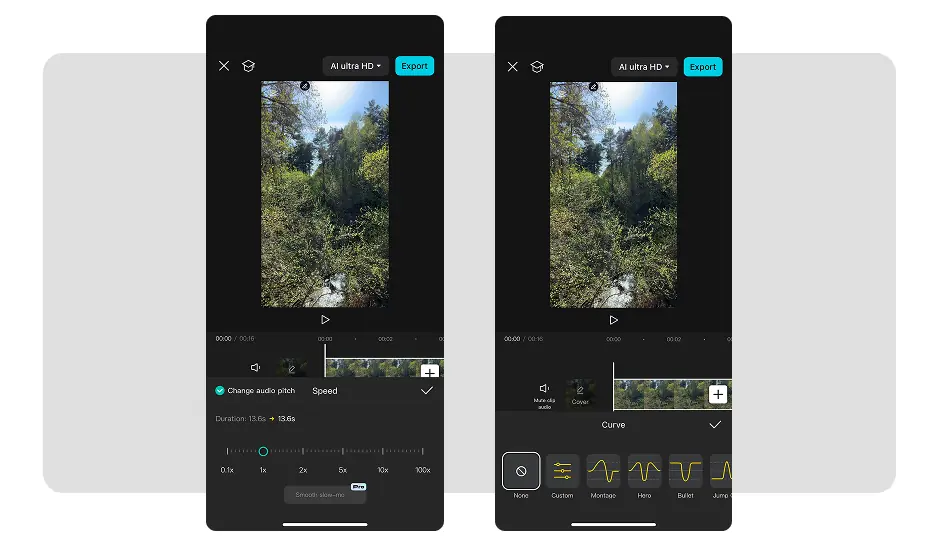
CapCut also offers an interesting tool for adding changes in speed to your video clip. You can find this under the Curve tab, which should be next to the Standard tab you were working in. Here, you can select one of a few presets. The curve represents how the speed of your video clip will change. If the line goes up, the speed goes up, and vice versa.
There’s also the option to create a manual speed curve. Drag and drop the nodes in the editor to adjust the shape of the speed curve.