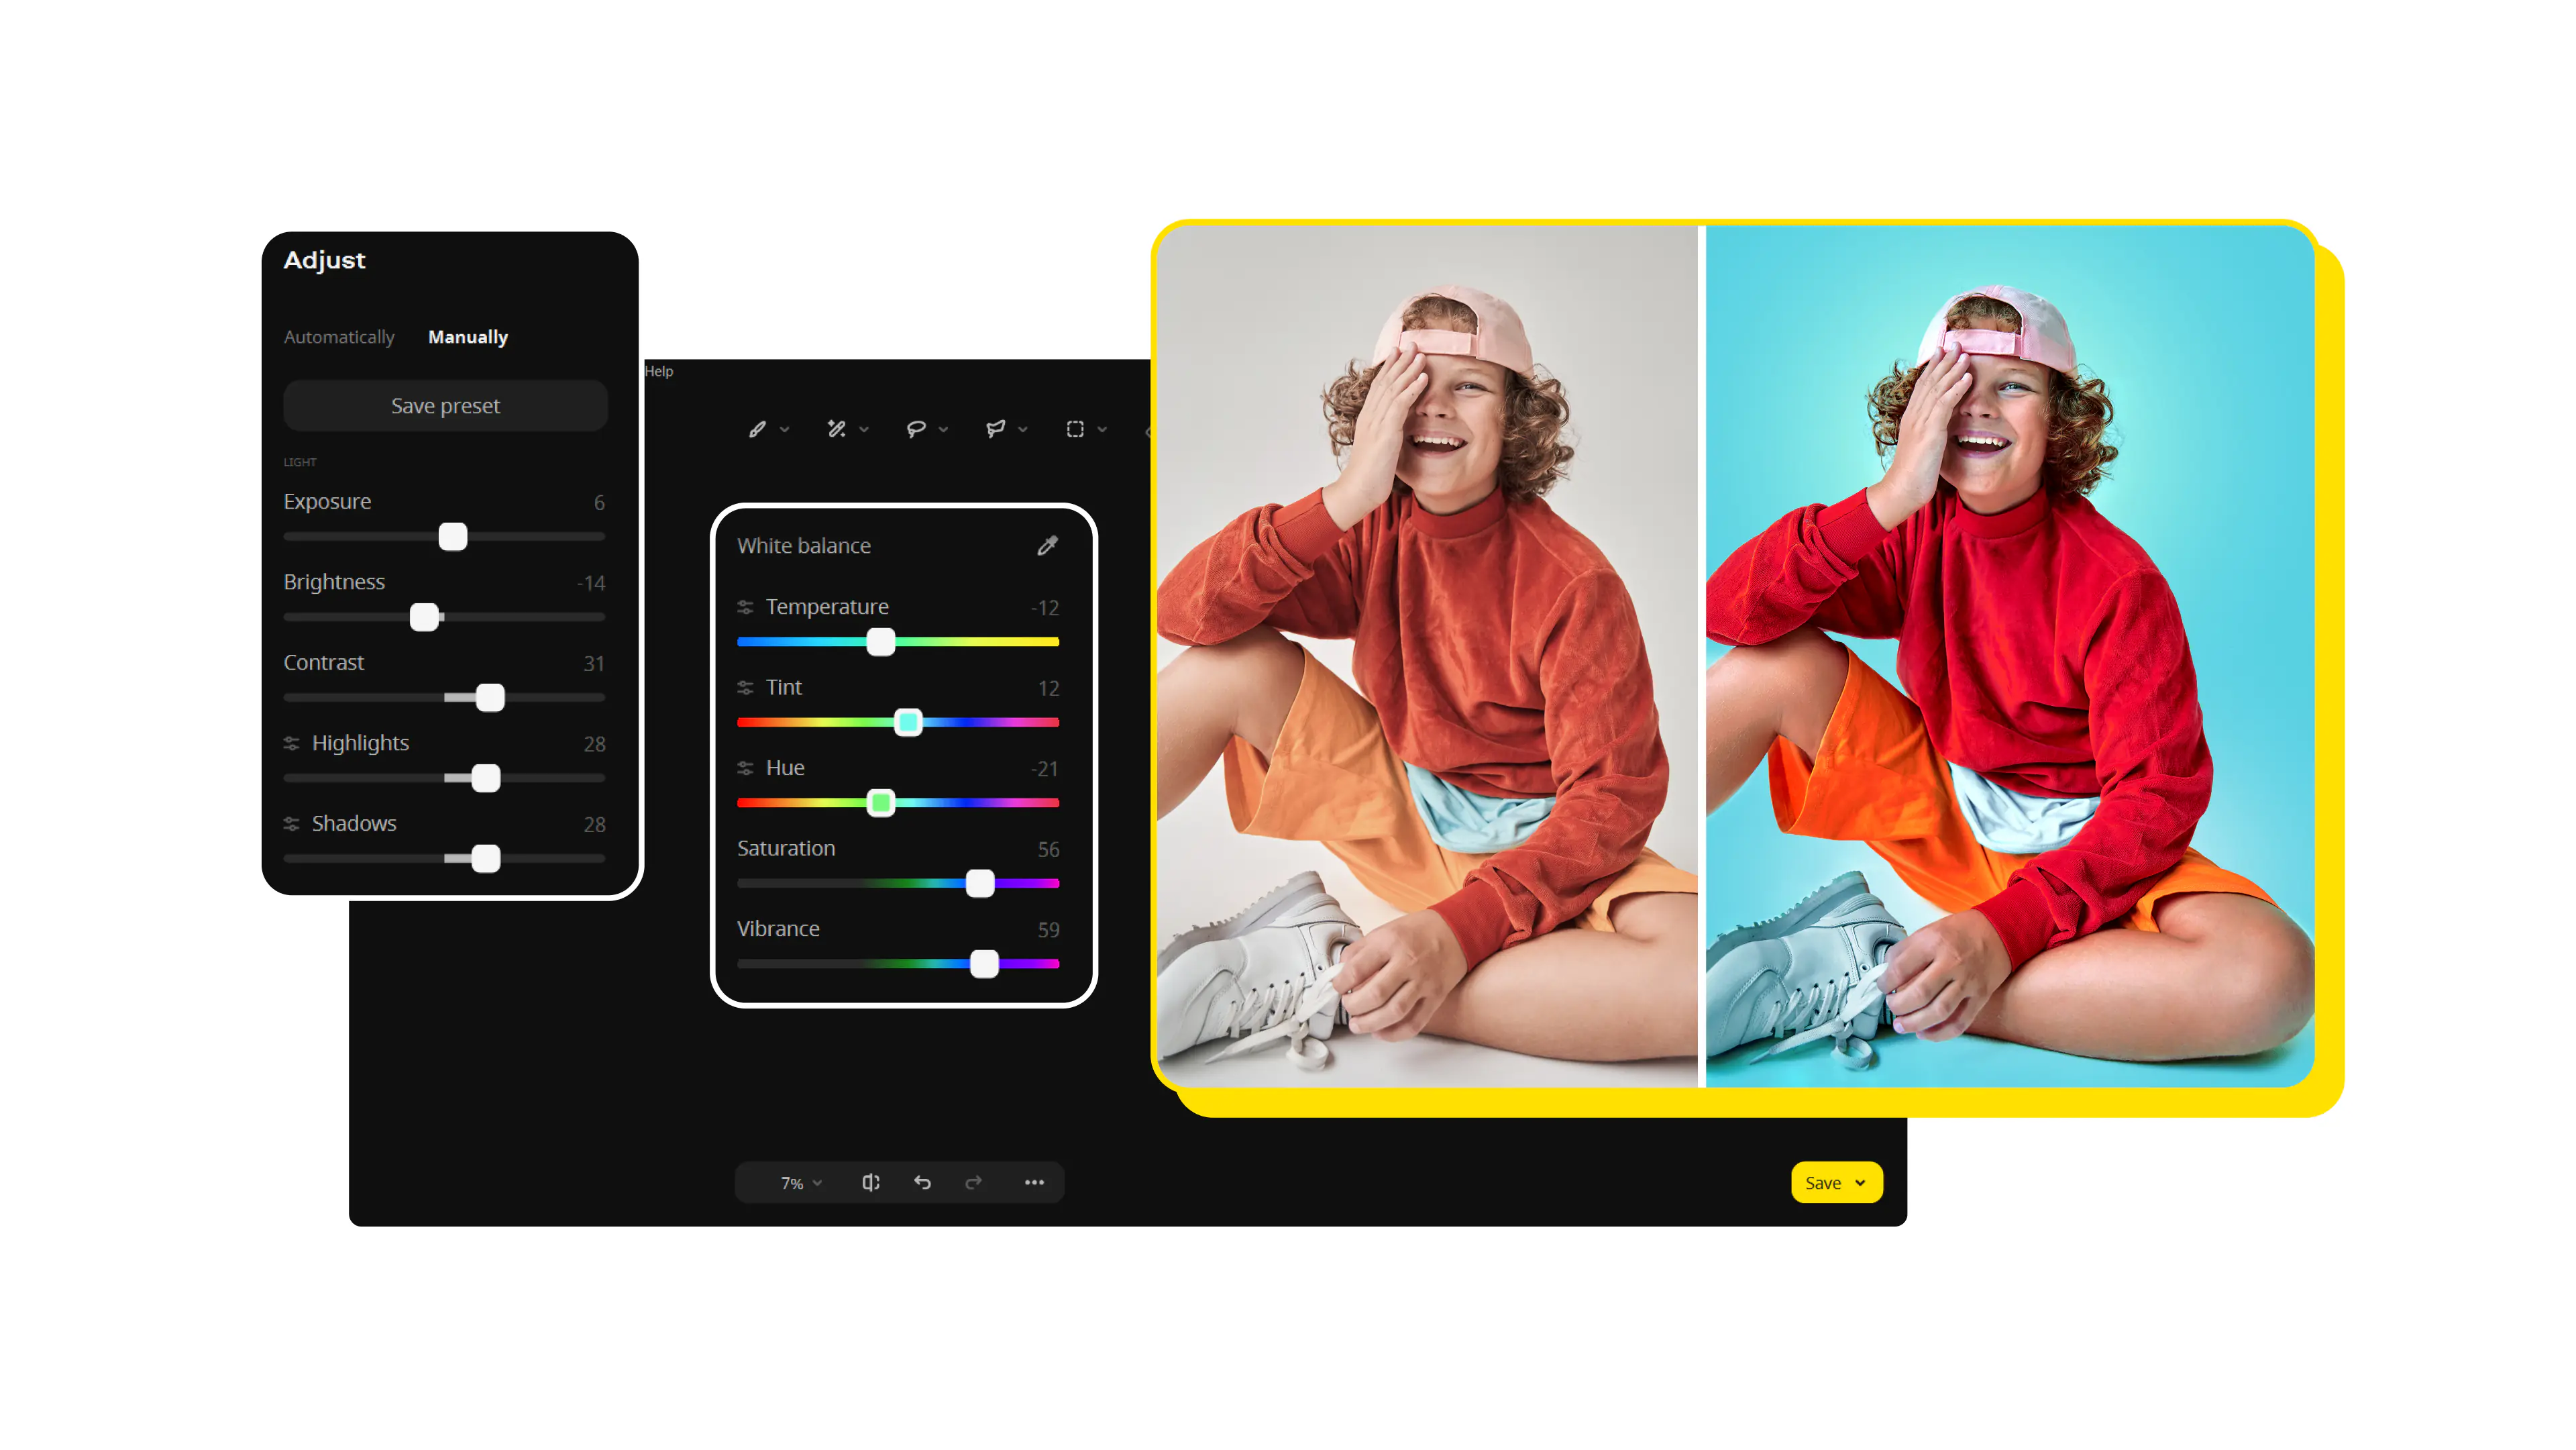
Movavi Photo Editor
Easily enhance images and get professional-grade results in a snap.
*The trial version of Movavi Photo Editor has the following restrictions: you can save up to 10 images with added watermark, screenshots are disabled.
Top 15 Amazing Photo Collage Ideas
Edit your photos with Movavi Photo Editor!
User-friendly interface with tips
Automatic photo enhancement in one click
Effective object and background removal
Image restoration with neural networks
By clicking the download button, you're downloading a trial version of the program.*

Looking for a fun and unique way to showcase your favorite photos? Look no further than the amazing world of photo collages! Whether you're commemorating a special occasion, capturing a season's memories, or simply want to add a touch of personality to your decor, photo collages are a fantastic way to express yourself visually.
This article is bursting with inspiration to help you create cute, cool, and unique photo collages. We'll explore a variety of photo collage ideas using both classic and modern approaches, all guaranteed to make your photos truly shine.
From heartwarming family moments to unforgettable travel adventures, get ready to transform your pictures with these picture collage ideas to leave a lasting impression.
Top 15 picture collage ideas

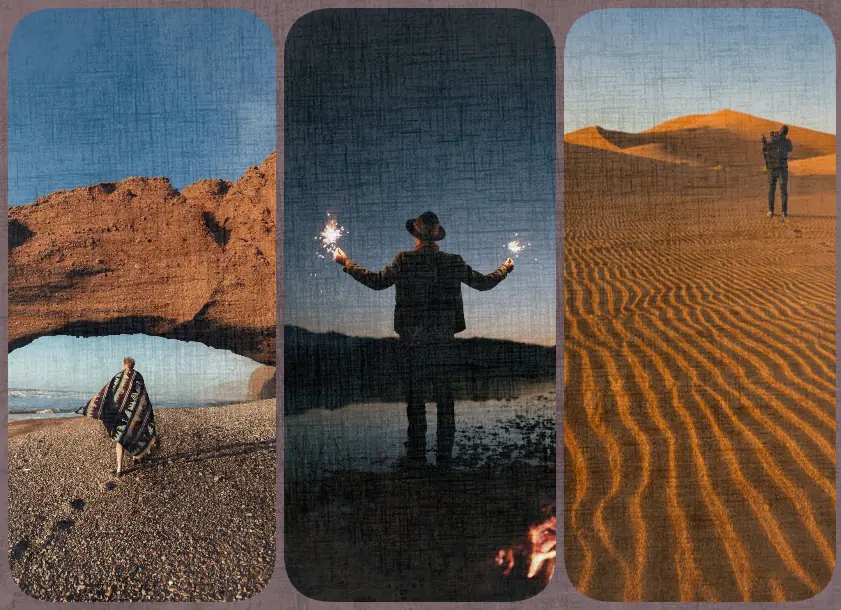
1. The chronological path
Imagine a collage that celebrates the passage of time, like a visual autobiography. Perfect for showcasing a special occasion like a child's growth, a relationship milestone, or a family vacation series.
For this collage, envision a clean and minimalist layout. You can use similar frames or a grid format for a cohesive look. Consider black and white photos for a timeless feel. As you arrange the photos chronologically, starting from the earliest memory to the most recent, you'll be creating a visual journey that tells a story.

Here's how you can personalize it:
Childhood memories: start with a baby picture in the center, surrounded by photos from different stages of your child's life. Include school milestones, achievements, and family outings.
Love story collage: begin with your first encounter, followed by dates, proposals, and wedding photos. Add captions like "First Date – 2020" or "Happily Ever After" to enhance the narrative.
Vacation memories: begin with travel preparations like packing photos, followed by arrival pictures, scenic shots, and fun activities. Include a small map or souvenir ticket as an embellishment to bring the experience to life.
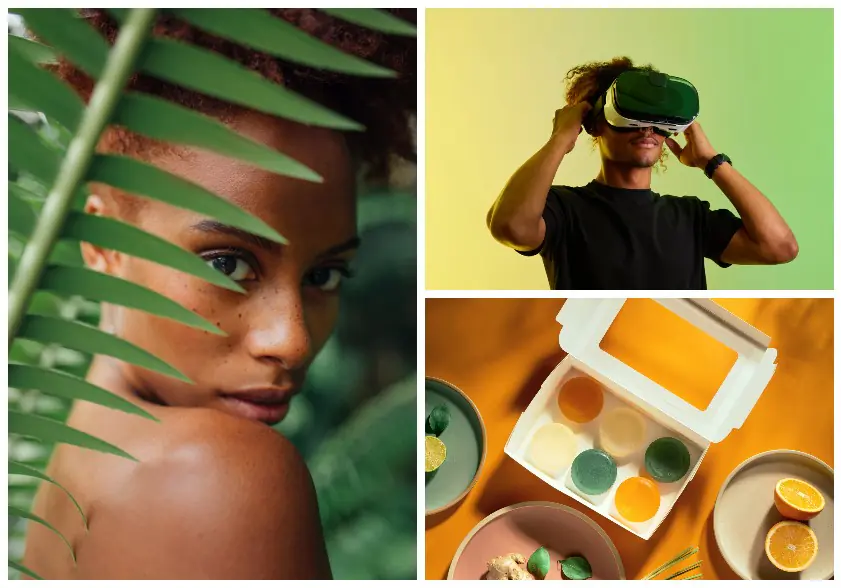
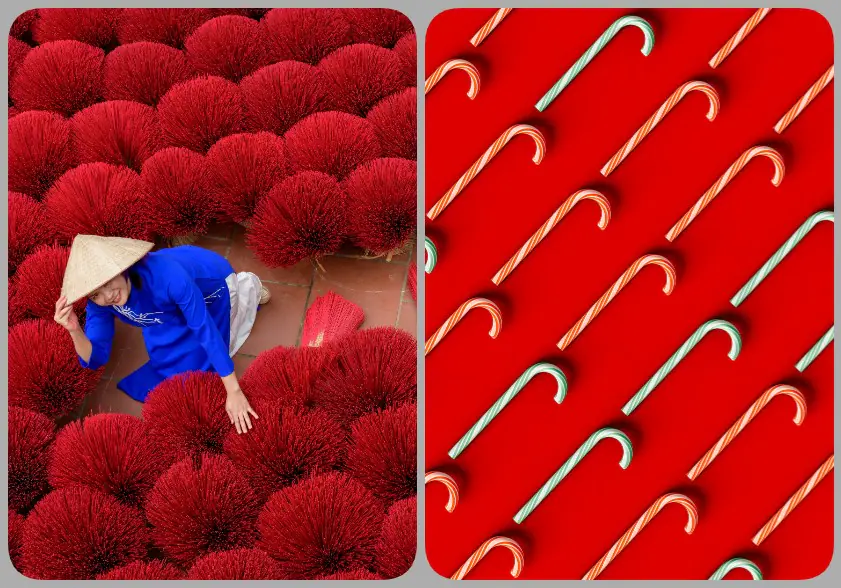
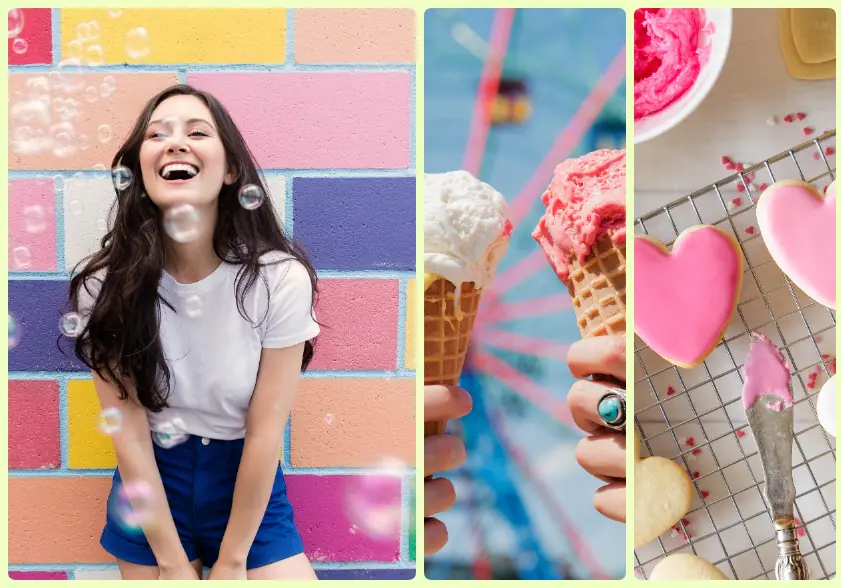
2. The themed collage
Embrace vibrant colors and playful patterns to create a collage that bursts with energy, reflecting a specific theme.
Use photos with bright colors like beach scenes, pool parties, and ice cream cones. This theme practically begs for colorful frames in various sizes. You can even create a background with patterned scrapbook paper to further amplify the playful mood. Play with different photo sizes and shapes to add visual interest.

Here are some personalization ideas to get you started:
3. Story collage
This photo collage goes beyond just pictures; it tells a story through a carefully curated sequence.
Start with pictures of decorating, followed by guests arriving, cake cutting, and happy moments. You can add a journaling card at the bottom with a birthday message to personalize the experience.

Here are some examples to inspire you:
A first hike: begin with photos of packing your backpack, reaching the trailhead, scenic views during the hike, and a final picture at the top with a sense of accomplishment.
A culinary creation: showcase the process of making a favorite dish. Start with gathering ingredients, chopping vegetables, cooking, and finally, the finished product with a journaling card listing the recipe to not only capture the visual aspect but also preserve the delicious memory.
4. Mother nature
Embrace the beauty of nature by incorporating natural textures and earthy tones into your collage.
You can use wooden frames (stained or natural) for a rustic touch. Decorate with pine cones and small twigs to further connect the collage to the natural world. Consider using canvas or burlap fabric as the background material instead of traditional mounting paper for an added touch of texture.
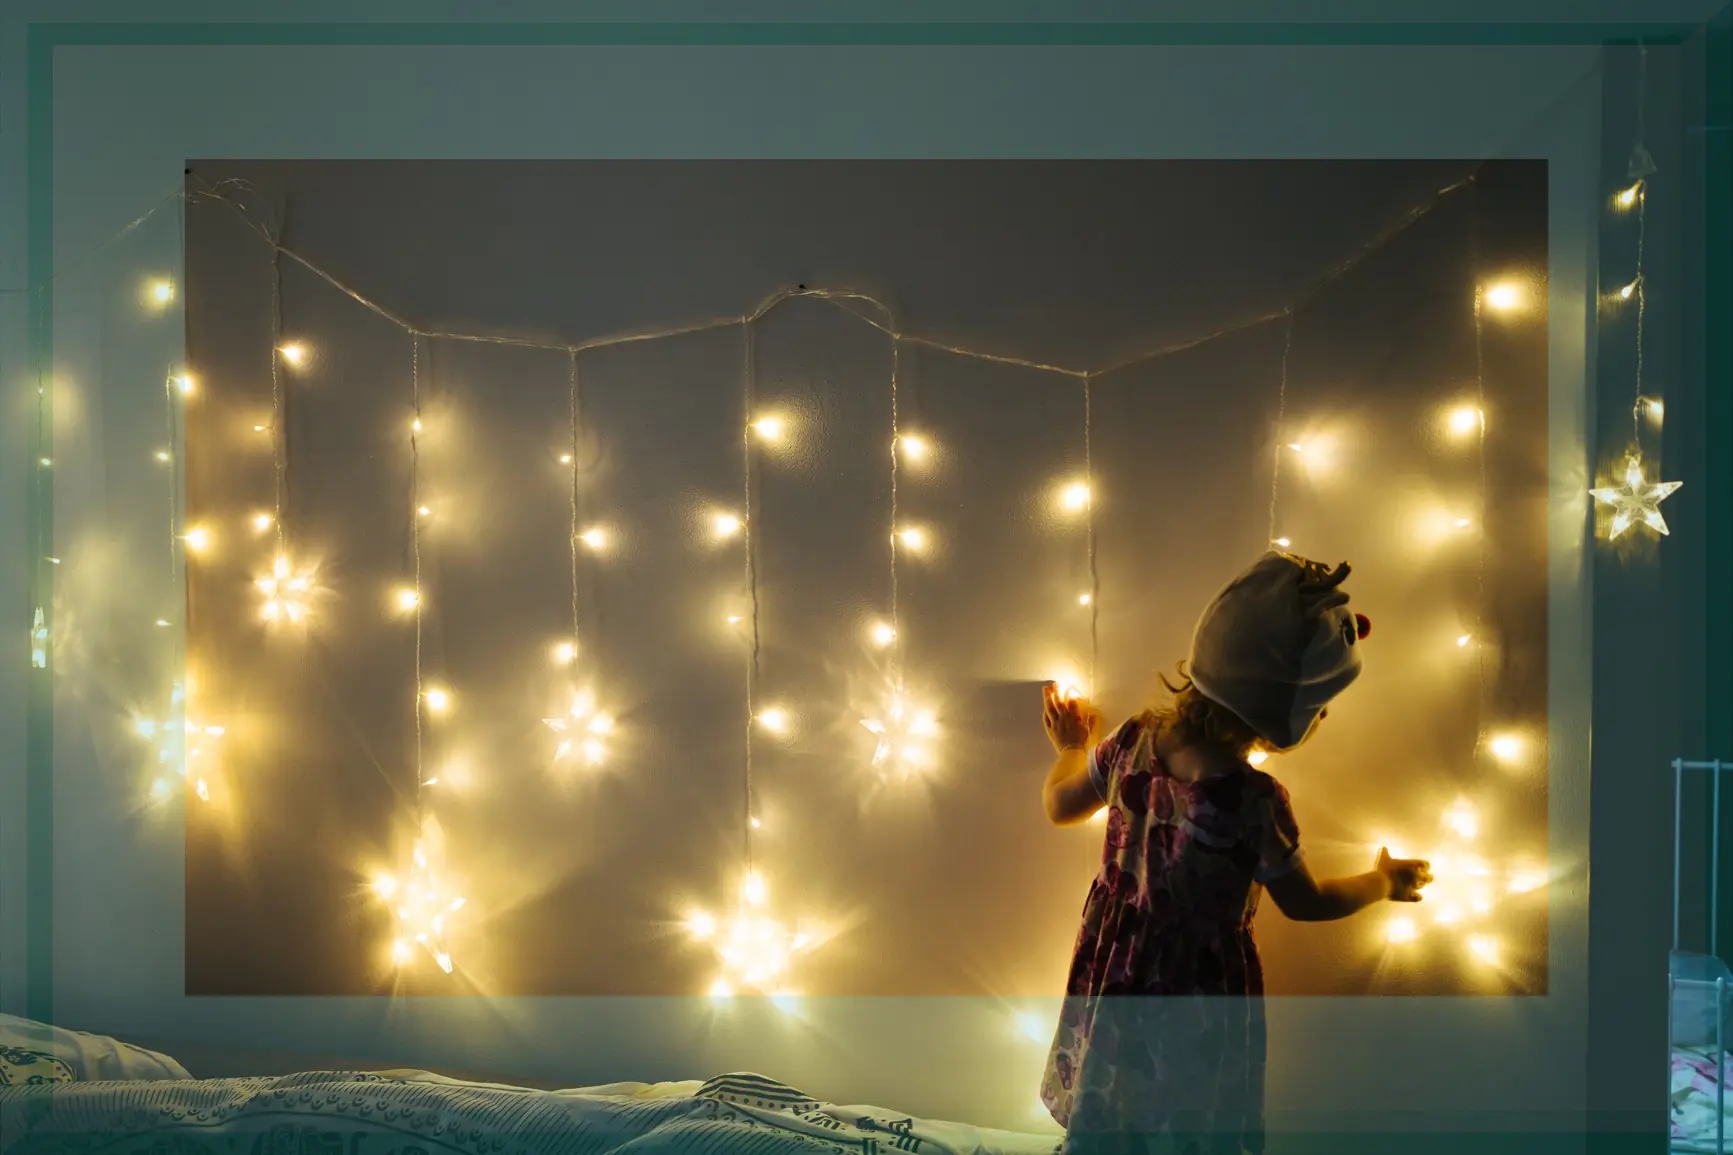
5. The whimsical one
For the whimsical spirit, let's create a collage that defies expectations and embraces the fantastical.
Imagine a world where reality bends, and imagination takes flight. Here, photos can be manipulated, embellished, and combined to create a scene straight out of a fairytale. Think Alice in Wonderland meets your favorite memories.
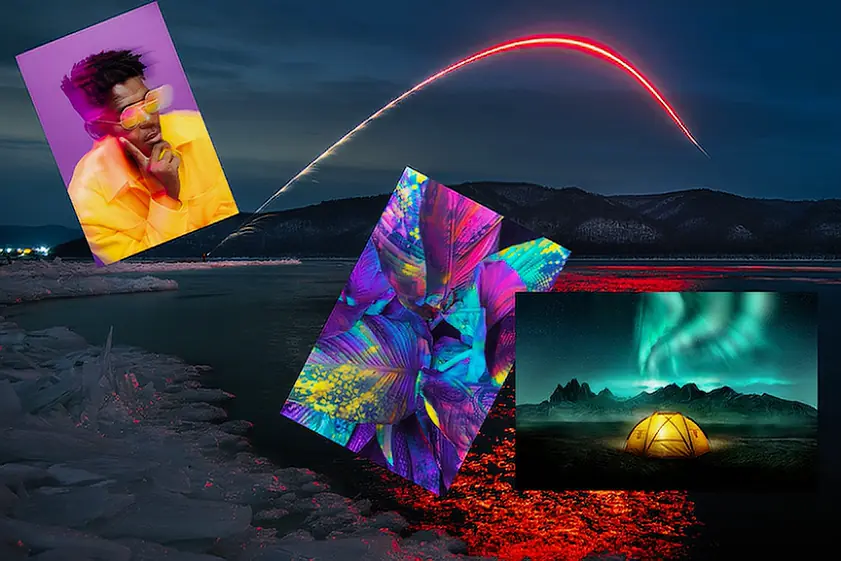
Start by gathering photos that lend themselves to a touch of whimsy. This could be anything from playful portraits with silly expressions to everyday objects captured from an unusual angle.
Next comes the transformation. Use photo editing tools or good old-fashioned crafting techniques to add a touch of magic. Perhaps a mischievous grin is added to a normally stoic cat in your picture, or maybe a hot air balloon floats serenely above your childhood home.
For the collage itself, consider a free-flowing, organic layout. Ditch the conventional grid and let your photos dance across the background. The background itself can be a canvas for your whimsy. Paint splatters, stardust glitter, or even hand-drawn illustrations can provide the perfect backdrop for your fantastical scene.
Finally, the embellishments! Buttons, feathers, sequins, or even miniature figurines can add a delightful 3D element and further enhance the whimsical narrative.
6. The minimalist masterpiece
Embrace the power of simplicity with a photo collage that celebrates a single color palette. This approach creates a sense of sophistication and allows the photos themselves to truly shine.
Concept: choose a dominant color, like black and white, sepia tones, or a specific pastel shade. Select photos that predominantly feature that color or can be edited to seamlessly blend into the chosen palette.
Style: opt for a clean and uncluttered layout. Depending on the desired effect, arrange the photos in a symmetrical or asymmetrical pattern. Consider using square or rectangular frames in the same color or material for a cohesive look. For a minimalist touch, mount the collage on a background of the same color.
Here are some more ideas to make it personal:
Black and white cityscapes: capture the architectural grandeur of a city with black and white photos of iconic buildings, bustling streets, and historical landmarks.
A sepia-toned childhood: showcase nostalgic memories from your childhood with sepia-toned photos of family outings, birthday parties, or first days of school.
Pastel delights: celebrate the joy of spring or summer with a pastel-themed collage. Include photos of blooming flowers, refreshing drinks, and vibrant sunsets.
7. A celebration of textures
Engage multiple senses by incorporating various textures into your photo collage. This adds depth and dimension, making the artwork more interactive and engaging.
Select photos that showcase interesting textures, such as cobblestone streets, soft fabrics, or the rough bark of a tree. You can also integrate non-photographic elements like fabric scraps, sandpaper, or dried leaves.
Depending on the textures you choose, experiment with a free-flowing layout or a grid format. A grid could be ideal for showcasing diverse textures in a balanced way, while a free-flowing layout could work well for natural textures like leaves or pebbles. A neutral background, like white or black, can make the textures stand out.
You can tell a number of stories, like:
A culinary adventure: capture the textures of your favorite meals in your collage. Include photos of flaky pastries, fluffy pancakes, or glistening fruits combined with actual fabric scraps resembling napkins or textured paper resembling parchment.
A day at the beach: combine photos of the smooth sand, the rough texture of seashells, and the woven texture of a beach towel to bring the coastal experience to life. Include small pieces of real sand or crushed seashells for a truly tactile experience.
A walk in the woods: showcase the different textures encountered on a forest walk. Include photos of smooth stones, rough bark, and soft moss alongside actual dried leaves and twigs for a multisensory experience.
8. The photo and text collage
Combine the visual power of photographs with the emotional impact of words to create a narrative-rich collage.
Choose photos that tell a story or evoke a certain emotion. Pair them with handwritten snippets, quotes, song lyrics, or short poems that enhance their meaning and create a personal connection.

Experiment with layout and presentation. You can integrate the text directly onto the photos using photo editing software or handwrite them on separate pieces of paper before mounting them alongside the pictures. Consider using a variety of fonts and colors to add emphasis and visual interest.
A travel journal collage: combine photos from your travels with short descriptions of each location, funny anecdotes, or reflections on the experience.
A love story in words and images: tell the story of your relationship through photos and handwritten quotes or song lyrics that capture significant moments.
A day in the life collage: document a typical day in your life with photos and corresponding descriptions or short phrases to showcase your daily routine.
9. The single photo collage
Sometimes, a single powerful image deserves its own dedicated space. In this collage, the focus is entirely on one photograph, allowing it to tell a story or evoke an emotion with maximum impact.
Choose a photo that holds significant meaning or captures a moment of pure beauty. It could be a landscape shot, a portrait, or a still life with a hidden depth of detail.
Here, the key is to elevate the chosen photograph. Consider using a large frame or mounting it on a textured background like canvas or wood. You can also incorporate subtle embellishments that complement the image, like dried flowers for a nature photo or miniature gears for a picture of a clock.
10. Beyond the frame
Break free from the confines of a flat surface and create a multidimensional collage that pops out from the wall.
This is where imagination takes center stage. Use various materials and techniques to add depth and dimension to your collage. Experiment with layering photos, using boxes or small shelves to create mini-displays for specific pictures.
You can also incorporate found objects, ribbons, and other embellishments to enhance the narrative.
A childhood treehouse: create a miniature treehouse using cardboard boxes or wooden shelves. Decorate it with photos of your childhood adventures and add miniature furniture like tiny swings or ladders.
A family recipe box: craft a decorative box from cardboard or wood and adorn it with photos of family members enjoying meals together. Inside the box, include handwritten recipe cards, adding a touch of practicality to the sentimental collage.
A travel souvenir display: gather mementos from your travels like postcards, ticket stubs, or small trinkets. Arrange them on a mounted piece of wood or canvas, incorporating photos of the locations visited. This creates a personalized travel memory board that goes beyond the typical photo collage.
11. The silhouette story
This photo collage uses the power of silhouettes to create a dramatic and evocative narrative. Utilize photos with strong backlighting or strategically edit photos to create clear silhouettes. Play with the contrast between light and shadow to tell a story or evoke an emotion.
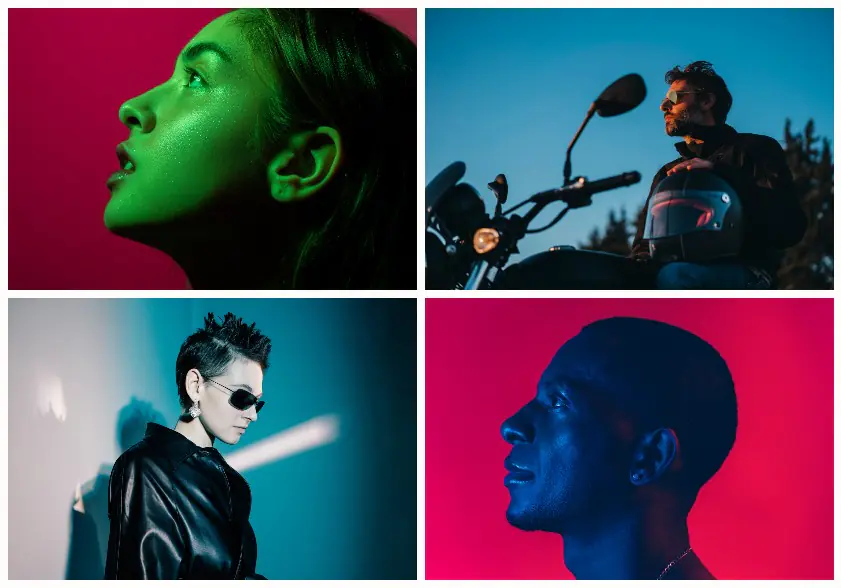
Try layering silhouettes on a colored background. You can use a single color or create a gradient effect for added visual interest. Consider incorporating negative space (the empty space around the silhouettes) as part of the storytelling.
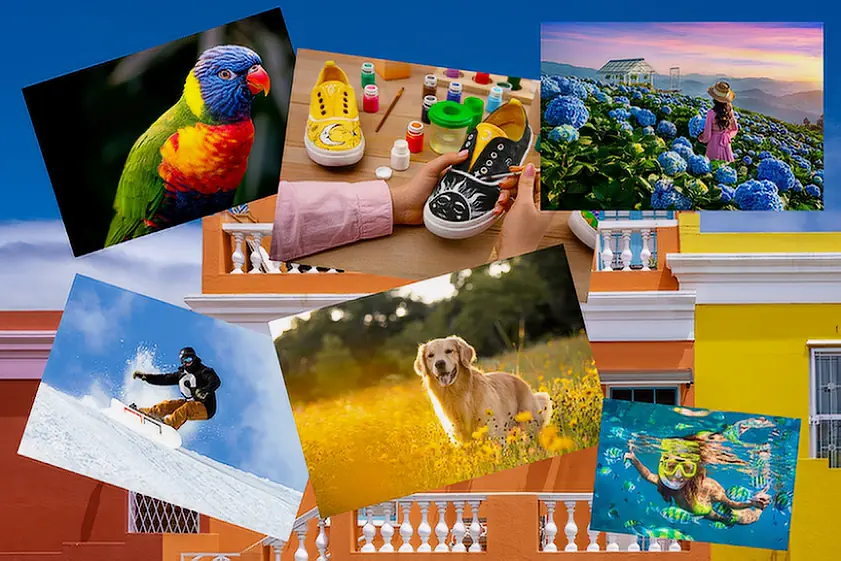
12. The crowdsourced collection
Create a unique and sentimental collage by gathering photos from multiple contributors. This might involve a physical collage or a digital one, depending on your preference. Experiment with different layout styles to showcase all the contributed photos cohesively.

A birthday celebration: ask friends and family to send you photos of their favorite moments from a birthday party and create a collage showcasing the shared experience.
A graduation milestone: gather photos from classmates, professors, and family members to capture the collective memories of a graduation ceremony.
A team project: compile photos from team members documenting different stages of a project, creating a collaborative collage that celebrates the journey and the final outcome.
13. The accordion collage
Make a unique photo story with printed photos on sturdy paper, scissors, glue or strong double-sided tape, and optional decorative embellishments. This format unfolds the story or theme one photo at a time.
Print your chosen photos on cardstock or sturdy paper. Experiment with photo sizes and shapes – squares, rectangles, or even triangles. Fold each photo accordion-style, creating a series of connected panels. You can then glue or attach the folded photos side-by-side to a larger backing board.
This format is great for telling a story chronologically, like a travel adventure or a growing child. Additionally, you can showcase a single location from different angles, such as a historical building or a city street. If you're looking for an artistic approach, try experimenting with black-and-white photos or other creative techniques.
14. Going retro
To create a vintage collage of Polaroid photos, you will need photos printed in a square format, preferably with a white border. You will also need scissors or a craft paper cutter, as well as glue or strong double-sided tape. Decorative embellishments like twine, clothespins, or mini washi tape can add extra charm, but these are optional.
Print your chosen photos in a square format with a white border, mimicking the classic Polaroid look. Alternatively, you can use existing Polaroid photos if you have them. Cut out the photos and arrange them on a flat surface. Consider using a grid layout or a more whimsical, overlapping arrangement.

Here are some tips for hanging your photos:
Use twine and clothespins to attach the photos to a backing board for a hanging display.
To add a personal touch without damaging the photos, use mini washi tape or stickers.
This format is ideal for showcasing a specific event, a group of friends, or a collection of travel mementos.
15. The mood board collage
This collage does not depict any particular event or person. It aims to capture a specific mood or feeling. The main focus is on choosing photos and imagery that can evoke a particular emotion, such as "joy," "adventure," "calmness," or "inspiration."
Embrace diversity in your collage-making by not limiting yourself to personal photos. You can cut out images from magazines, travel brochures, or even greeting cards that resonate with the chosen mood.
Play with color and texture to set the tone for your collage. For instance, incorporate vibrant, joyful yellows, calming blues, serene greens, or black-and-white photos for a nostalgic or mysterious feel. Additionally, you can add textured elements like fabric scraps or dried flowers to further enhance the mood.

Let your intuition guide you in the process of creating a balanced composition. This collage format allows for a freestyle approach, so experiment with different layouts, layering photos, and creating negative space for a harmonious composition.
To achieve this, you will need a mix of personal photos, magazine clippings, or printed images. You'll also need scissors or a craft paper cutter, glue or strong double-sided tape, and a large backing board made of cardboard, canvas, or foam board. If you wish to decorate the backing board, you can use paint or decorative paper.
This type of collage has a dual purpose. It can be used as a vision board to help you set and achieve personal goals or as a mood board to inspire creative projects. You can use it to capture a specific season, a favorite book, or a song that evokes strong emotions. Creating a collage is a great way to explore your creativity and experiment with various design styles.
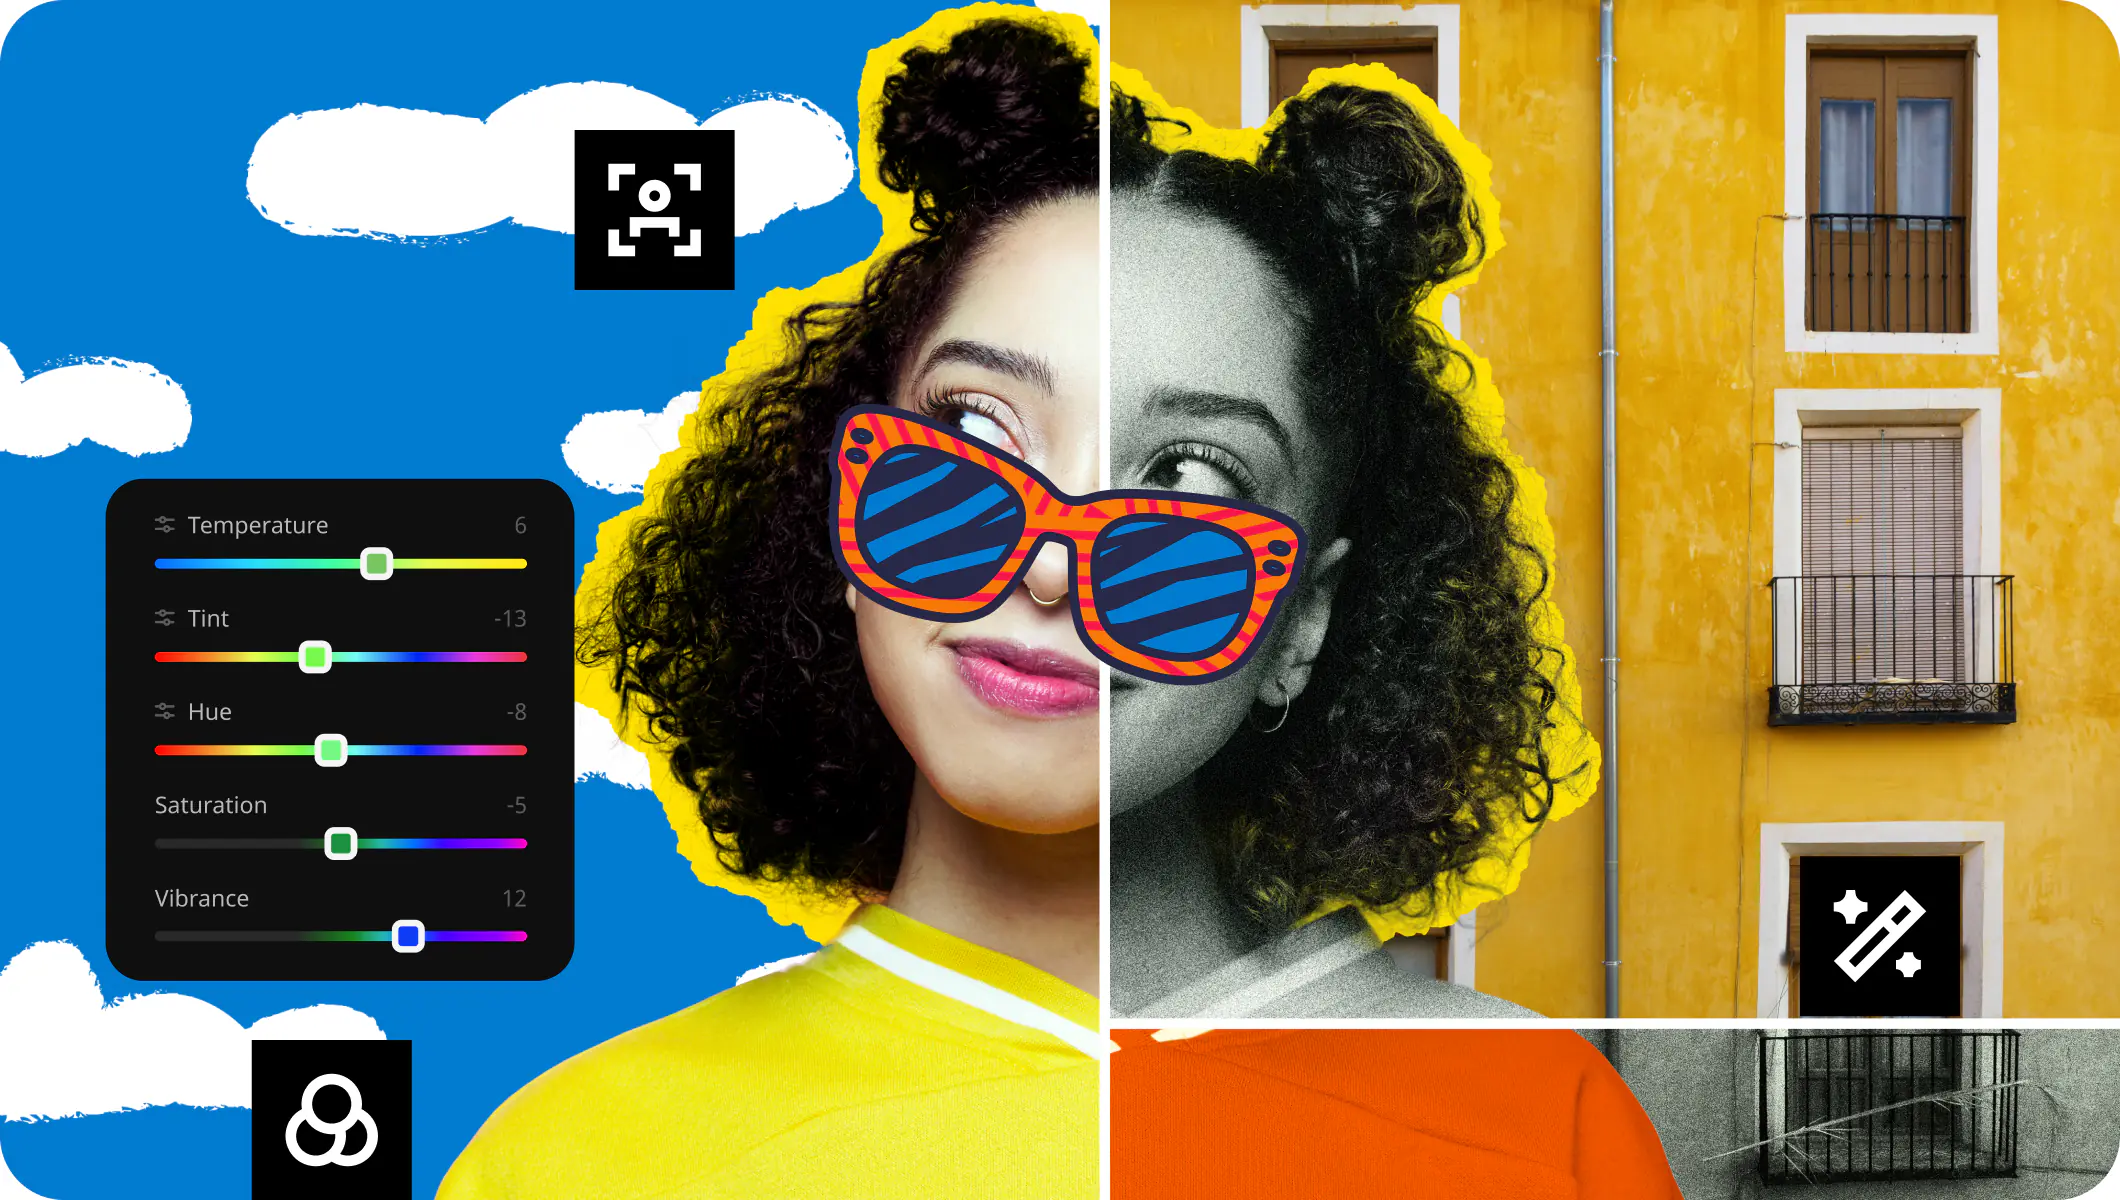
Edit your photos with Movavi Photo Editor

Ready to bring your photo ideas to life? Look no further than Movavi Photo Editor. Movavi Photo Editor isn’t limited by pre-made templates. Enhance and overlay your pictures, experiment with photo sizes, and personalize your creations with text overlays to tell your unique story. With effortless background and object removal tools, you can unleash your inner artist. Integrate your photos into stunning backdrops, ensuring your pictures showcase only the best memories.
Summary
Remember, the key lies in letting your creativity flow. Don't be afraid to experiment, mix and match styles, and personalize the collages to truly reflect your story.
Want to enhance your photos even further? Look no further than Movavi Photo Editor! This user-friendly software offers all the tools you need for photo editing.
Movavi Photo Editor
*The trial version of Movavi Photo Editor has the following restrictions: you can save up to 10 images with added watermark, screenshots are disabled.
For capturing the best college ideas, Movavi Video Editor is your go-to tool. Its user-friendly interface and vast array of features allow anyone to create professional-looking videos for showcasing their college aspirations. The software caters to students, educators, and anyone looking to present their ideas effectively, whether it's for presentations, portfolios, or social media.
Finding the best college for you requires research and careful consideration. Movavi Video Converter helps you streamline this process by converting video formats for easy sharing and collaboration. With its high-speed conversion and support for multiple formats, you can effortlessly share college videos, brochures, and testimonials with prospective students.
Deciding on a major is a crucial step in your college journey. To help you make an informed choice, Movavi Screen Recorder is your ideal companion. Capture lectures, online courses, and informative videos from experts in various fields to gain insights and understand different careers.
Choosing the right college is a significant decision. Movavi Photo Editor empowers you to create captivating images for your college applications, portfolios, and social media profiles. Through its powerful editing tools and filters, you can present yourself in a professional and engaging manner to enhance your chances of getting accepted into your desired institution.
When choosing a college, factors like location, academic programs, and student life matter. With Movavi Screen Recorder, you can capture virtual campus tours, interviews with current students, and presentations on specific majors to make informed decisions.

Have questions?
Join us for discounts, editing tips, and content ideas


1.5M+ users already subscribed to our newsletter