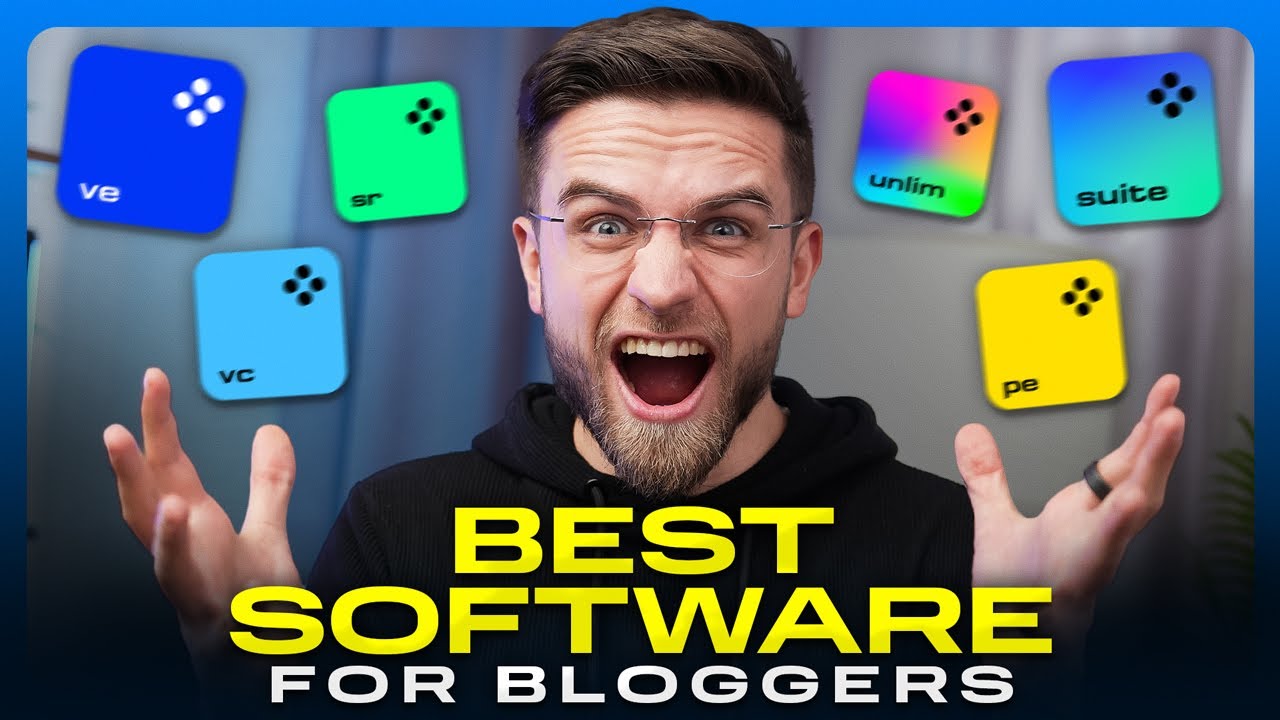
Alla redigeringsprogram
Utforska våra video- och fotoverktyg – vi har något som passar dig perfekt.
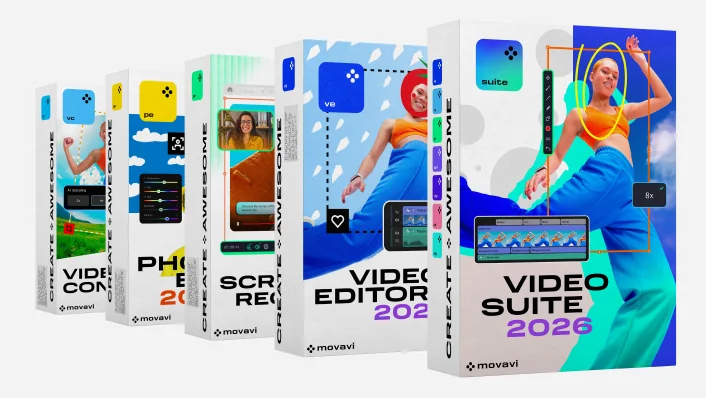
Movavi Video Suite 2026
Ditt paket som gör allt inom videoproduktion: En videoredigerare, mediakonverterare, skärminspelare och mer
Movavi Video Suite 2026
Ditt paket som gör allt inom videoproduktion: En videoredigerare, mediakonverterare, skärminspelare och mer
Prova alla Movavi-program
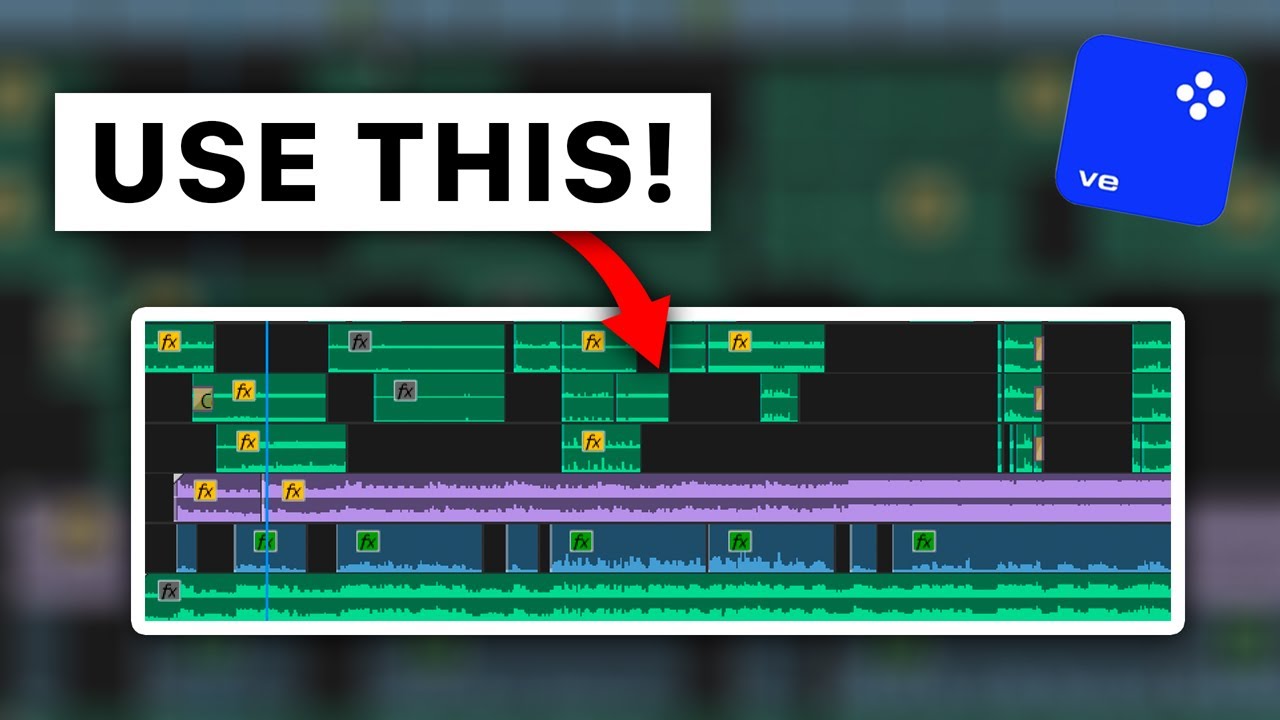
Din enkla men kraftfulla redigerare för att skapa wow-videor
Din smarta och enkla fotoredigerare för att skapa wow-bilder
Din självklara konverterare för att ändra video-, bild- och ljudformat på några sekunder
Ditt problemfria skärmdumpsverktyg för effektivare projekt
Alla Movavi-program och 10 000 effekter i ett paket för att skapa imponerande videor och foton
Alla redigeringsprogram
Utforska våra video- och fotoverktyg – vi har något som passar dig perfekt.
Klipp
Beskär
Trimma
Rotera
Ändra storlek
Baklänges
Stabilisera
Justera färger
Överläggstitlar
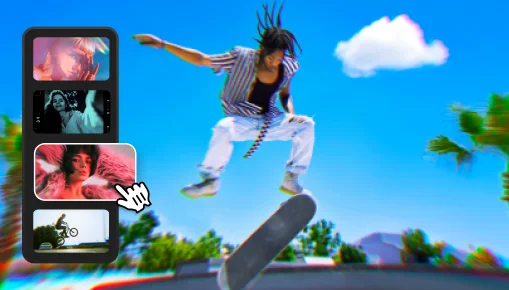
Lägg till filter och övergångar
Använd LUT:ar och överlägg
Infoga färdiga intron
Använd Chroma Key
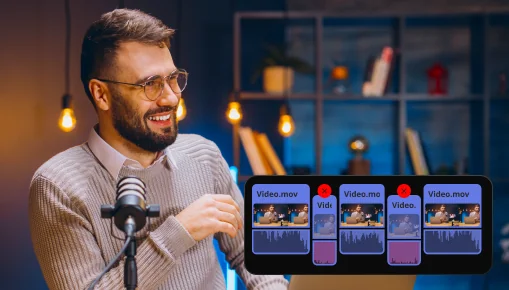
Förbättra ljudkvaliteten
Skapa resevideor
Spara familjeminnen
Ta din vlogg till nästa nivå
Imponera på dina tittare
Få mängder med gilla-markeringar
Få fler följare
Skapa videor som de älskar
70 miljoner+


Över 10 000 effekter och 1 500 musikspår
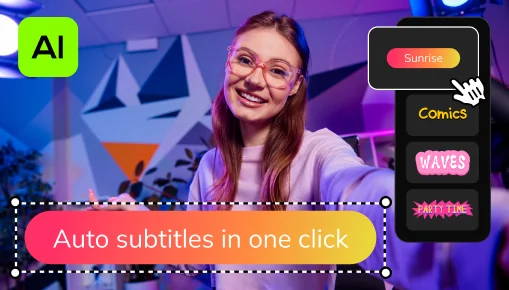
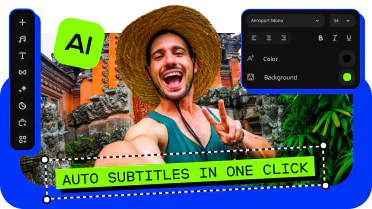
Automatiska undertexter med ett klick
Gör om tal till text automatiskt med AI och skapa undertexter för dina videor på nästan alla språk. Välj teckensnitt, textfärg och position så är du redo!
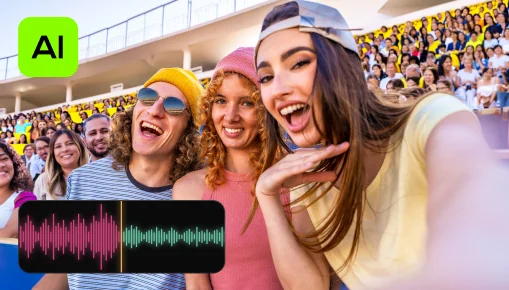
AI-brusborttagning
Ta bort ljud från bilar, vind och andra störande ljud automatiskt från dina klipp med vår AI-brusreducering. Skapa videor med kristallklart ljud som tittarna garanterat kommer att uppskatta.
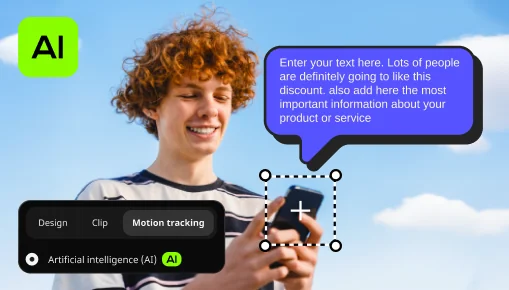
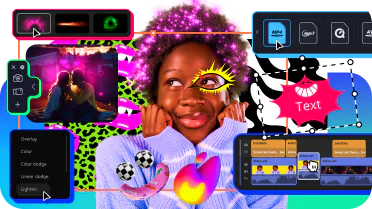
AI-rörelsespårning
Förbättra verkligheten i dina videor med extra rörelsegrafik. Klicka bara så lägger AI snabbt till foton, videor, emojis eller mem till objekt i dina bilder.
Ta bort oönskad paus
Klipp ut oönskade pauser automatiskt eller finjustera pauslängden och volymen själv. Spara tid och hoppa över tråkig städning så att du kan fokusera på det roliga.
Justerbara effekter
Förbättra dina videor med realistiska effekter med ett klick – från dammpartiklar och ljusläckage till retrostil och VHS. Alla effekter är fullt anpassningsbara, passar perfekt i varje klipp och ger en extra gnista till dina redigeringar.
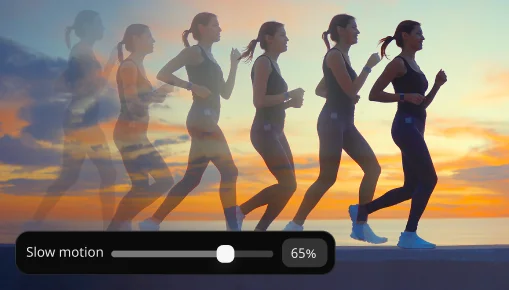
Slow motion
Sakta ner ditt material för att göra rörelser tydligare, rikta uppmärksamheten mot viktiga detaljer och kontrollera hastighet och rytm i varje scen.
Det finns många gratis videoredigeringsprogram tillgängliga på internet. Men helt gratis tredjepartsprogram kan innehålla skadlig kod som kan stjäla dina personuppgifter och finansiell information.
Därför skapade vi Movavi Video Editor – den är 100 % säker och enkel att använda! Du kan prova gratisversionen med dessa begränsningar: Movavi-vattenstämpel, 60 sekunders video eller halva ljudlängden, och vissa avancerade funktioner är låsta vid export. Om du gillar programmet kan du köpa en livstidslicens eller årsprenumeration på den fullständiga versionen och redigera videor utan begränsningar och med alla funktioner tillgängliga.
Vi jobbar hårt för att göra vårt program så enkelt och intuitivt som möjligt. Ibland testar vi det till och med på våra mor- och farföräldrar! Så vi kan utan tvekan säga att Movavi Video Editor är ett av de bästa videoredigeringsprogrammen för nybörjare.
Även om du aldrig testat att redigera videor förut kommer du att bemästra Movavi på mindre än 20 minuter. Detta beror på vårt användargränssnitt som är enkelt att följa, de praktiska verktygstipsen och vårt supportteam som alltid finns redo att hjälpa dig och uppmuntra din kreativitet.
Vill du skapa engagerande innehåll för YouTube? Imponera på din publik med signaturintron och signaturoutron? Få fler gilla-markeringar och följare? I så fall kan Movavi Video Editor vara det perfekta videoredigeringsprogrammet för YouTube! Programmet har fantastiska förinställningar för intron, mängder med häpnadsväckande effekter och övergångar samt ett intuitivt användargränssnitt så att du kan fokusera på att skapa istället för att läsa komplicerade instruktionsböcker.
Men vänta, det är inte allt! Om du planerar att ta YouTube med storm har vi en fantastisk bonus för dig: ett par effektpaket som utformats särskilt för framtidens YouTube-användare. Följ länkarna nedan och föreställ dig hur dessa effekter kommer att förbättra dina videor.
Mitt kanalpaket för YouTube
Mitt kanalpaket för YouTube #2
Om du arbetar med ett professionellt videoredigeringsprogram kan till och med den enklaste videoövergången ta flera timmar eftersom du råkar trycka på fel knappar och letar efter lösningar. Det är ingen trevlig upplevelse.
Det tar ungefär tre sekunder att lägga till en övergång med Movavi Video Editor. Du behöver bara dra och släppa den önskade övergången mellan klippen. Ja, så enkelt är det. Om du vill lära dig mer om olika typer av övergångar kan du klicka på länken nedan.
Om du har läst svaren ovan kan du kanske lista ut vilket program vi kommer att rekommendera. Men skämt åsido, Movavi Video Editor är inte bara ett bra alternativ till iMovie. Det har mycket funktioner och användarvänlighet. Prova så kommer du att förstå vad vi pratar om.
Läs artikeln nedan om du vill lära dig mer Windows-program som liknar iMovie.
Alternativ till iMovie för Windows
Prova nya Movavi Video Editor 2026 – snabbare och full av effekter
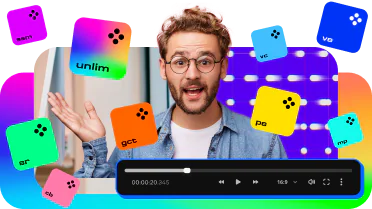
Redigera snabbare med automatiska verktyg och prova fler än 40 nya justerbara effekter – spara tid och gör varje video extra speciell. Klipp ut alla oönskade pauser automatiskt, använd effekter från ett klipp i alla snabbt och få tillgång till fler än 30 nya automatiska undertextstilar
Redigera enkelt med Movavi Video Suite 2026
Nya Movavi Video Suite är fullpackad med funktioner som gör det enkelt att skapa videor! Undvik det tråkiga jobbet med kraftfulla automatiska verktyg. Ta dig enkelt an alla projekt med hundratals effekter, blixtsnabb filkonvertering och en praktisk skärminspelare.
Läs mer
Få de senaste apparna och effekterna på en gång med Movavi Unlimited 2026
Effektivisera video- och fotoredigeringen med nya automatiska verktyg och bättre prestanda. Skapa videor som sticker ut, gör informativa skärminspelningar, konvertera mediefiler till vilket format som helst och underhåll med mängder av effekter.
Läs mer
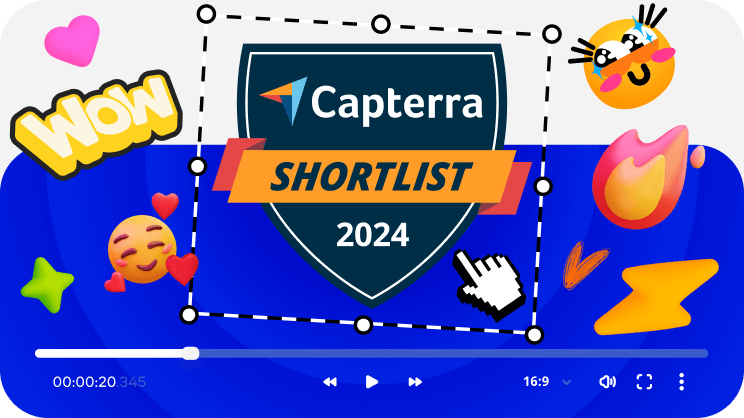
Vår videoredigerare är en av de bästa 2024!
Movavi Video Editor finns med på 2024 års Capterra Shortlist! Om du inte har provat Movavi Video Editor ännu kan du göra det nu och se varför det är ett av de bästa.
64-bitarsversion av Microsoft® Windows® 10/11 med uppdaterad patch och Service Pack installerat
Intel®, AMD® eller kompatibel tvåkärnig processor, 1,5 GHz
Intel® HD Graphics 2000, NVIDIA® GeForce® serie 8 och 8M, Quadro FX 4800, Quadro FX 5600, AMD Radeon™ R600, Mobility Radeon™ HD 4330, Mobility FirePro™ serie, Radeon™ R5 M230 eller senare grafikkort
1280 × 768 skärmupplösning, 32-bit färg
4 GB
400 MB ledigt diskutrymme för installation, 600 MB för pågående drift
Administrationsbehörighet behövs för installationen
Följ med oss för rabatter, redigeringstips och idéer!


1.5M+ användare har redan prenumererat på vårt nyhetsbrev