Step 1. Set up your background & overlay tracks
Import your files into the timeline.

A video collage puts multiple clips on screen at once – like travel shots side-by-side or a reaction window over gameplay. Movavi Video Editor lets you build them instantly using simple drag-and-drop overlays, while one-click AI tools handle the tedious edits so you get polished results on your first try.
This guide breaks down what a video collage is, how to mix photos and video seamlessly using Movavi's overlay features, layout ideas worth stealing, and how to export your finished result straight to Instagram, TikTok, or YouTube without losing quality.

A video collage is any frame that holds more than one piece of footage at the same time. That's a broader idea than a plain split screen video, which usually just means two clips placed edge to edge with a hard line between them. A collage can be that simple, or it can be a video grid of three clips, a picture-in-picture layout, or one clip playing inside the outline of another.
You don't need a separate video collage maker or years of editing experience to pull this off. We built Movavi Video Editor with beginners and casual creators in mind, so the same tools you'd already reach for on a straightforward vlog cut – the timeline, the Blade tool, the built-in effects – apply here too, just arranged into more than one panel.
For bloggers and YouTubers, collages tend to show up in a handful of familiar spots: a before-and-after skincare reveal, a three-way movie reaction cut, a cooking demo with the finished dish playing in a corner window, a get-ready-with-me video where the mirror shot and the camera shot run together, or a tarot pull filmed next to the card spread itself. None of these need a separate collage app – Movavi Video Editor handles the layout, the timing, and the export in one place, so the same program you already use to trim clips and add subtitles builds the collage too.
Cutting back and forth between two angles works, but it makes the viewer choose which shot matters at any given second. A collage lets both play at once, which is exactly why reaction videos, before-and-afters, and split-screen comparisons keep showing up across every platform – the contrast or the pairing is the point, and hiding half of it behind a cut undersells it. A side-by-side pair also reads faster in a feed where most viewers decide whether to keep watching within the first couple of seconds; two shots at once say more than either one alone, and it saves you the editing time of cutting back and forth every few seconds to keep both angles visible.
Movavi Video Editor's clip position and overlay modes are what actually build the layout:
How to make a video collage
Import your files into the timeline.
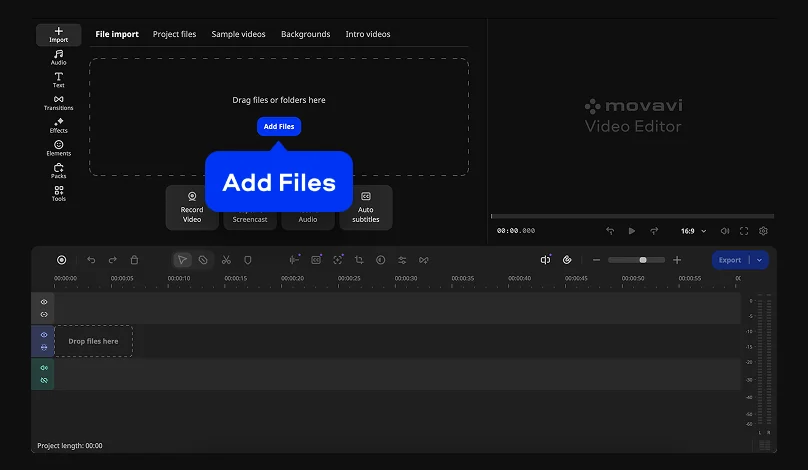
You can select Backgrounds to pick a ready-made background clip and drag the right boundary to set its duration. Then, place your main clip on the primary track and drag additional videos onto overlay tracks above it.
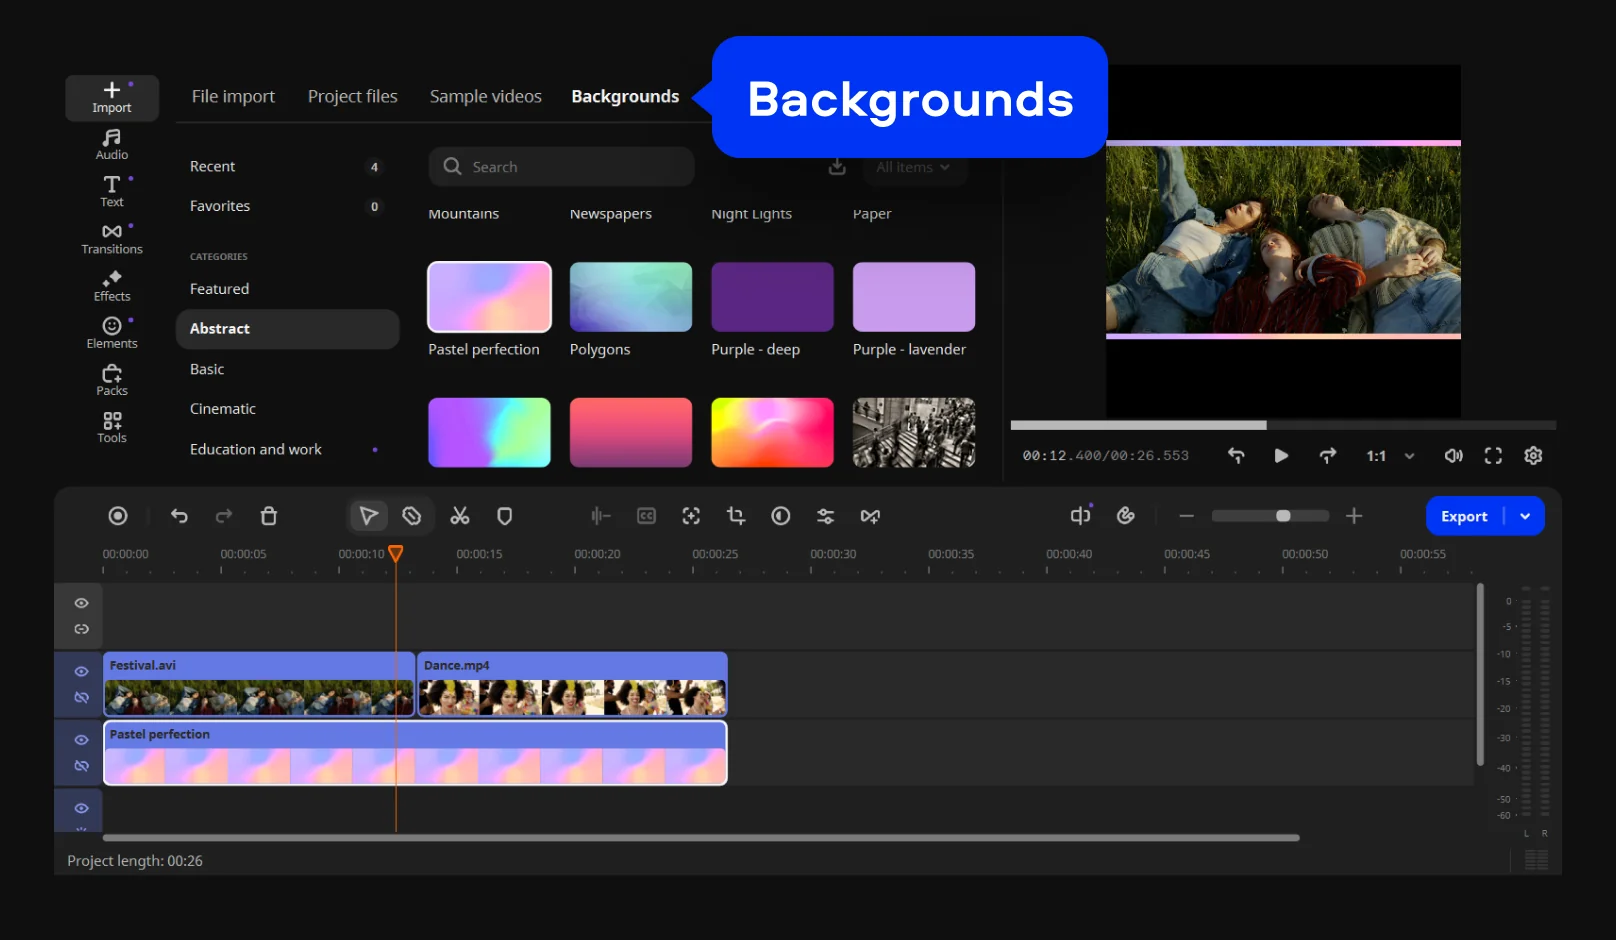
Select a clip, open Tools > Position, and pick a preset layout like Side by-side, Trio, or Picture-in-Picture. Manually resize or reposition panels as needed to get the exact look you want.
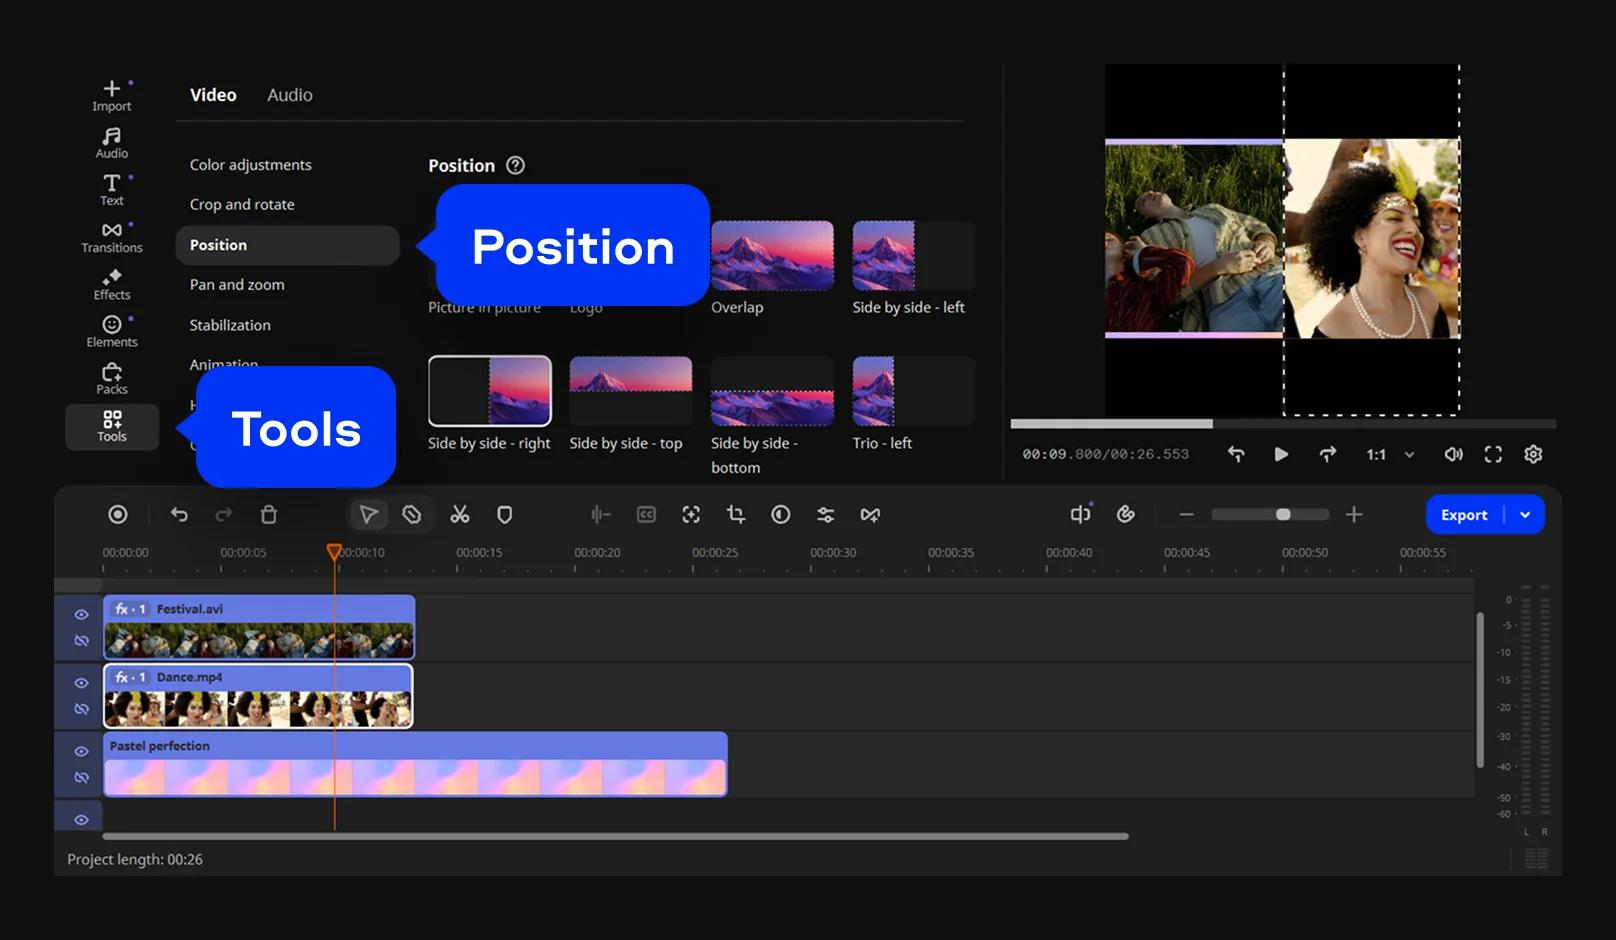
Edit your panels just like any standard project. Add titles, transitions, or background music. You can also apply one-click AI tools – like audio noise removal or auto subtitles – to individual clips (for example, cleaning up a noisy reaction shot without affecting the main audio).
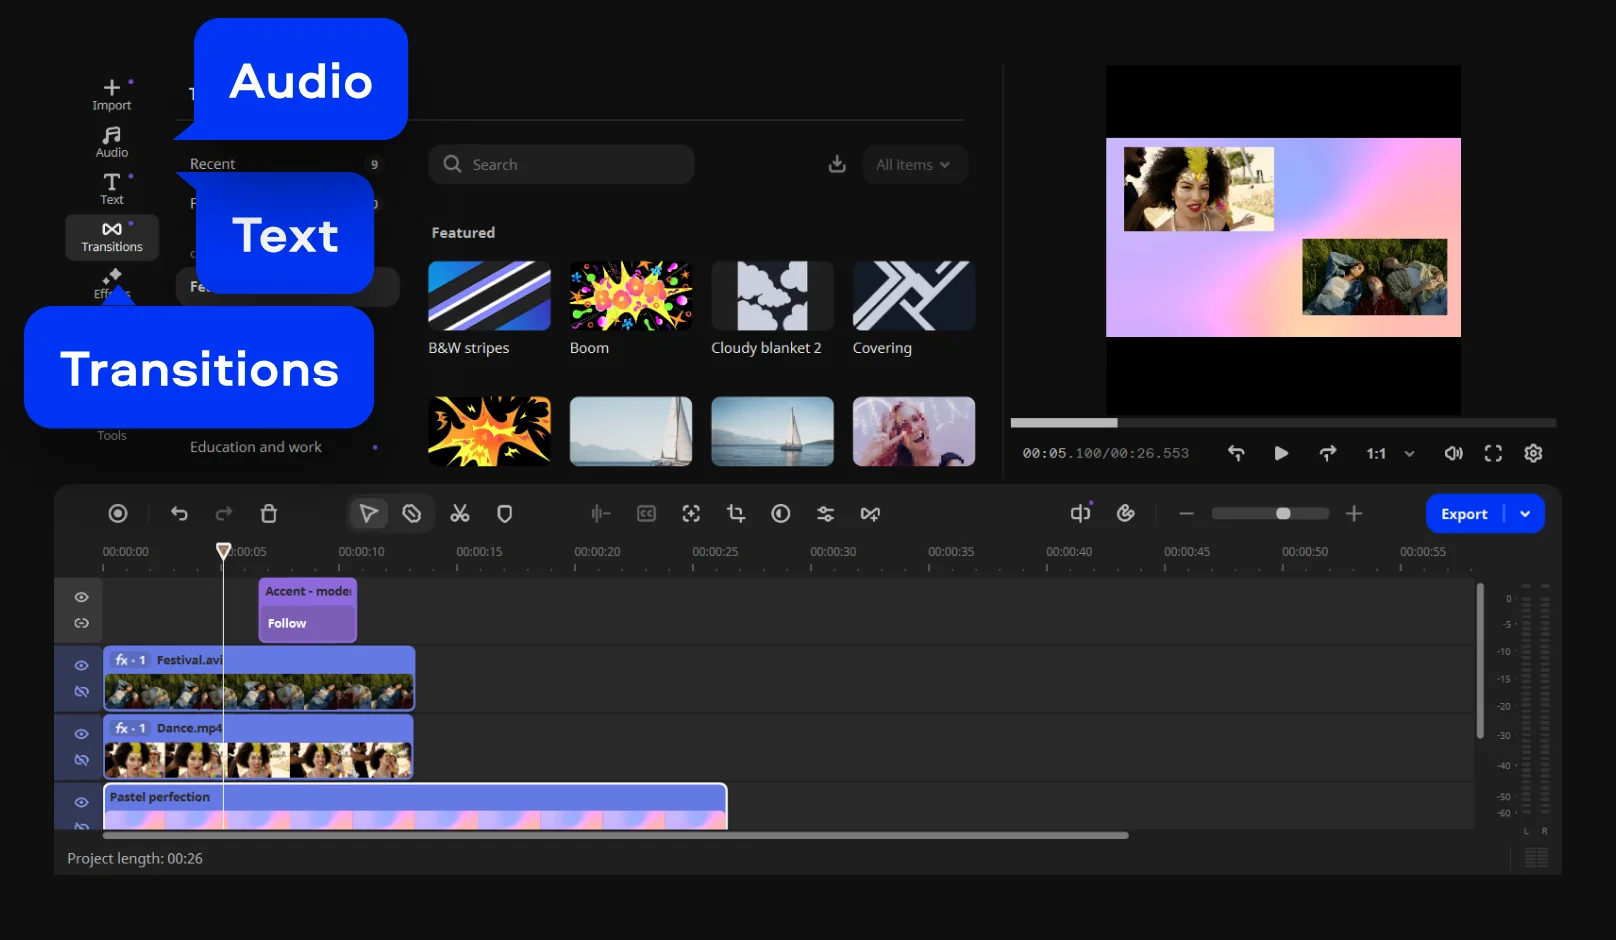
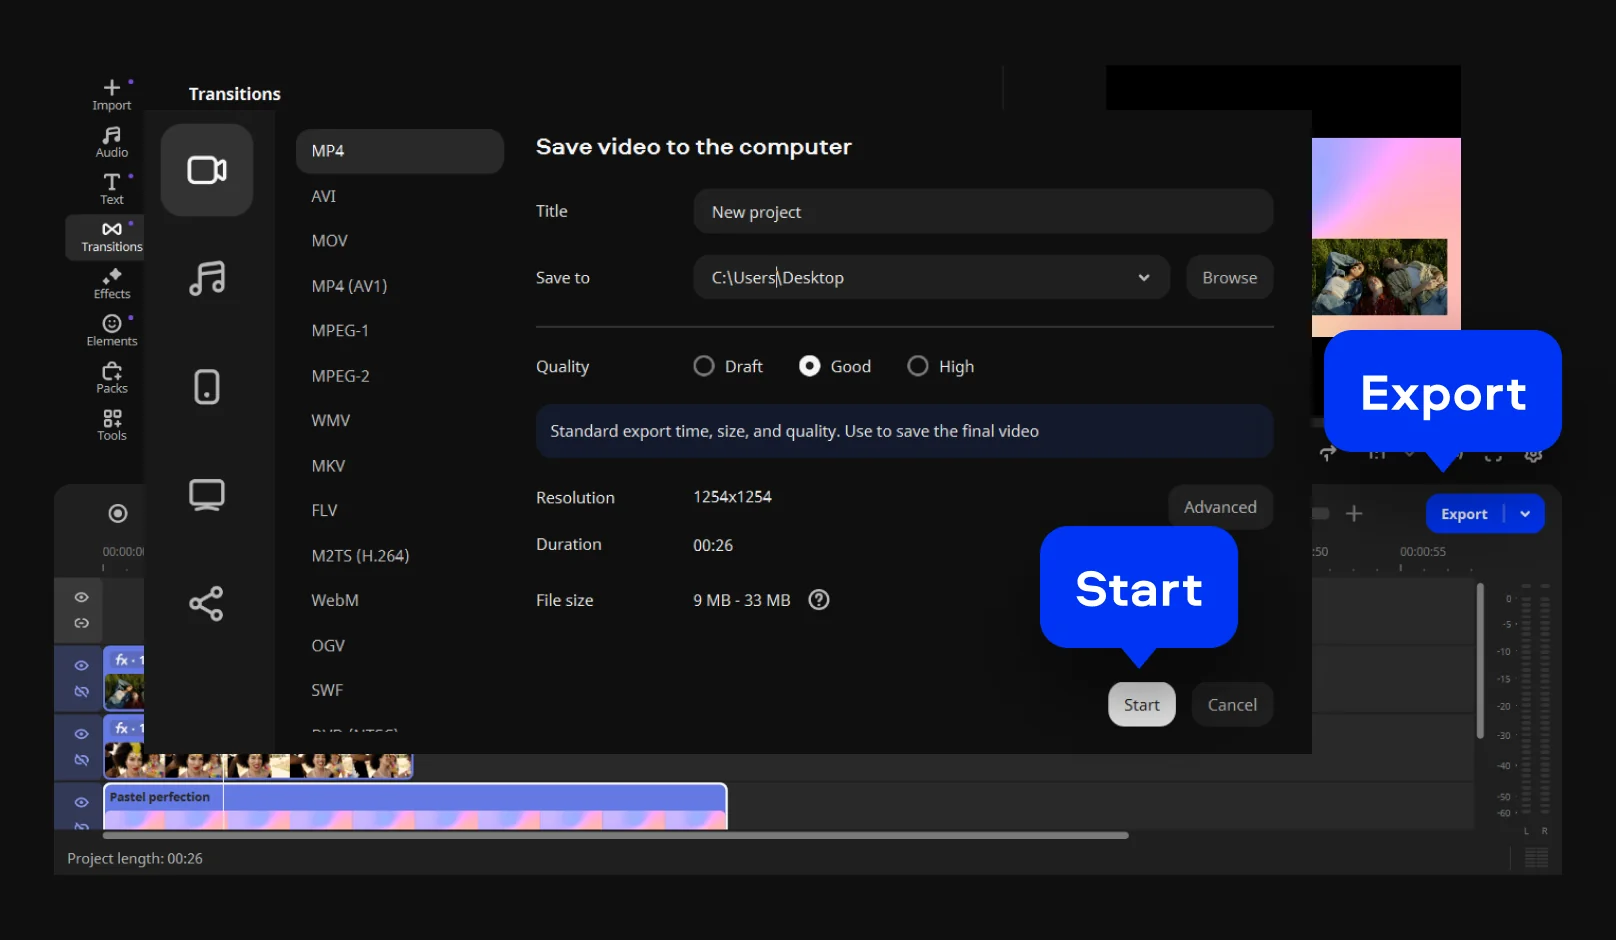
Click Export, choose your preferred format (MP4, MOV, etc.), and save your finished high-quality collage ready for YouTube, TikTok, or Instagram.
A photo and video collage – a few stills next to a moving clip – works the same way, since Movavi treats images and video clips as interchangeable on the timeline. The one thing to watch is duration: video clips play at their recorded length, but photos need a duration set manually. Movavi's image duration control lets you set how long each photo displays, either one at a time or applied to every photo in the project at once, so a five-photo, two-video collage doesn't end up with one panel racing ahead of the others.
A few collage setups come up often enough for bloggers and YouTubers that they're worth calling out by name.
Before-and-after reveals: a Side-by-side layout works well for a skincare transformation, a room makeover, or a start-of-the-trip-versus-end-of-the-trip travel comparison – two clips, one clear contrast, no narration needed to explain what changed.
Reaction cuts: Trio mode fits your reaction alongside two friends', or a movie review alongside the trailer clip itself, all playing at once. It works just as well for a three-way cooking taste test, a fitness form comparison, or group commentary on a live event.
Tutorial-plus-you: Picture-in-Picture keeps your face in a small window while a recipe, a gameplay session, or a software demo runs full-size behind it – useful for cooking content, tech tips, and how-to videos alike, since viewers can still see you react in real time without losing the main footage.
Genre or style breakdowns: a music, art, or cinema review channel can run a film clip or album cover in one panel and commentary in the other, which keeps the source material visible instead of asking viewers to remember what a scene looked like thirty seconds ago.
A collage is just another layout choice – no new skill required – and Movavi's drag-and-drop effects and transitions work the same way here as they do on any single-clip project.
Export works the same way it does for any other Movavi project: pick MP4 for the widest compatibility, or export directly to YouTube, TikTok, or Google Drive from inside the program, with the platform's own title, description, and privacy settings built into the export step. If your collage was shot in landscape but needs to go upright for Stories or Reels, the auto-tracked cropping tool reframes the footage to vertical while keeping the main subject centered, so the layout doesn't need to be rebuilt at a different aspect ratio.
For anything headed to a bigger screen, Movavi's TV export presets go up to 4K. And if all you need is a short, silent loop of the collage to drop into a group chat or a forum post, exporting as a GIF skips the video export settings altogether.

A split screen video is usually the simplest version of a collage – two clips placed side by side with a hard dividing line. A video collage can include that, plus three-clip grids, picture-in-picture layouts, or photos and video mixed together in the same frame.
Trio mode fits up to three videos in a single frame. Side-by-side and Picture-in-Picture work with two clips at a time, and you can layer additional overlay elements – titles, stickers, a logo – on top of any of them.
Yes. Movavi treats photos and video clips the same way on the timeline, so a collage can mix both – just set each photo's duration first, since photos need a manual length while video clips already have one built in.
You can build and preview a collage in the free version. Exporting the finished video without a watermark, a 60-second cap, or reduced quality requires the full version.
Yes. Transitions, titles, filters, and music all apply the same way once a layout is in place – they just get applied to the panel or panels you select, rather than the whole frame at once.
MP4 works everywhere, including Instagram, TikTok, and YouTube. If the collage needs to go vertical for Stories or Reels, use the auto-tracked cropping tool before export rather than rebuilding the layout from scratch.



1.5M+ users already subscribed to our newsletter