Step 1. Install the program
Download the video titles maker, install it on PC or macOS, and open a new project.

Movavi Video Editor is an intuitive video editor with customizable video templates, one-click AI tools, and hundreds of drag-and-drop effects. It's a desktop app for Windows and macOS, built for beginners and everyday creators who want a clean, professional-looking title without a design background. That covers a talking-head review channel just as well as a client demo or a lesson title for an online course.
By clicking the download button, you're downloading a trial version of the program.*

If you're a blogger or YouTuber running a talking-head channel – a quick movie review, a skincare routine, a travel vlog – the footage is usually the easy part. What's harder is the ten seconds at the start that tell people what they clicked into. That's the title of the video, and for a lot of viewers it's the thing that decides whether they keep watching, right after the thumbnail.
This guide covers how to make video titles from the ground up using an intro Block from our software’s Templates, so the design is already set up and you only add your words.
Download the video titles maker, install it on PC or macOS, and open a new project.
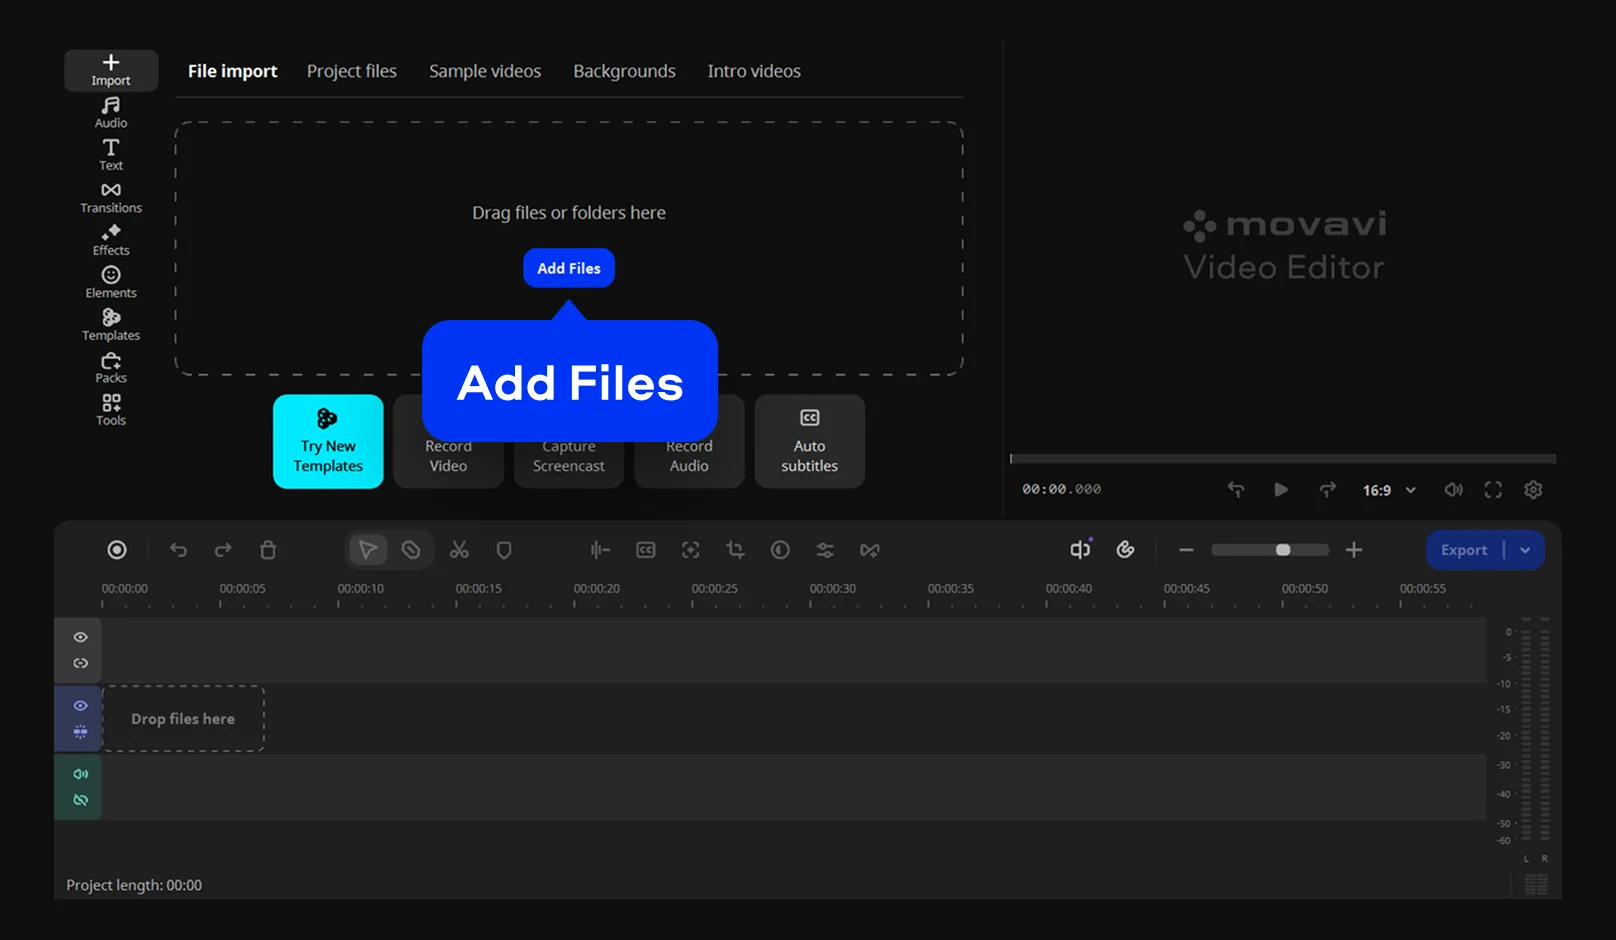
Click Add Files and load your clip onto the timeline.
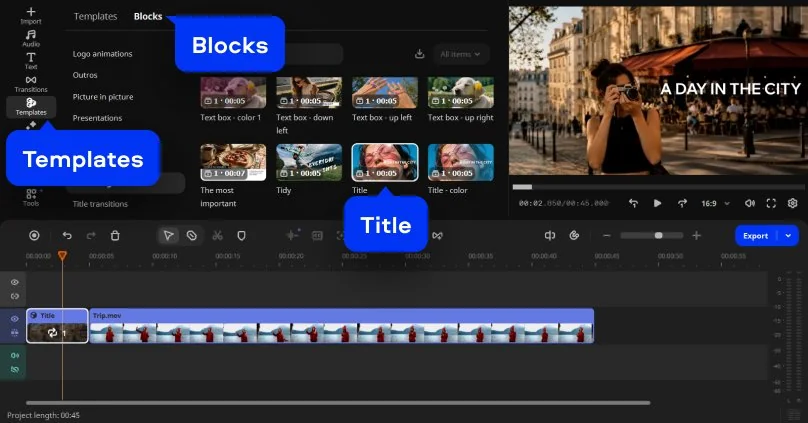
In the Templates menu, go to Blocks, choose a title Block for your videos, and add it to the timeline.
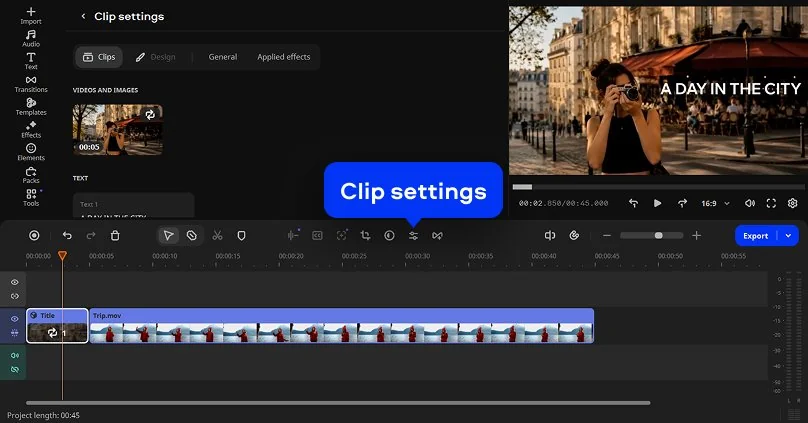
In Clip settings, you can swap in your own words, then set the font, color, outline, and background.
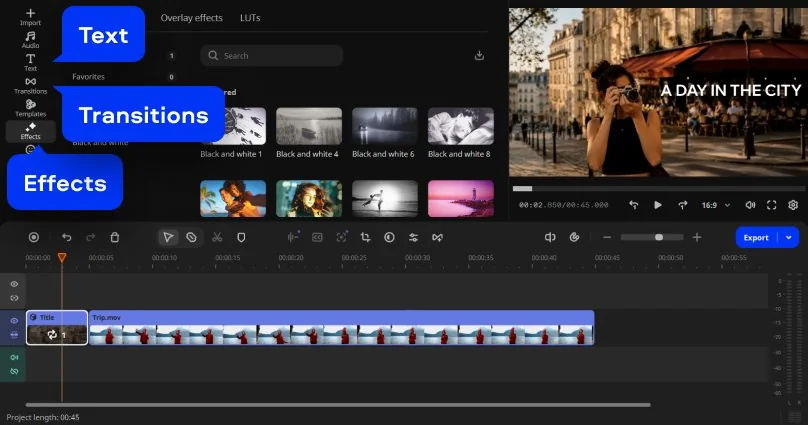
You're not limited to the one title you just placed, either – drop in more title styles, transitions, or filters from the toolbox. Each one you've added keeps its own settings open for tweaking – transitions let you set the duration and pick a fill mode, and most other effects come with their own adjustable intensity, color, or timing – so everything matches the rest of your video before you move on.
Click Export to open the export settings where you can adjust resolution, aspect ratio, and quality. Click Start to save the result.
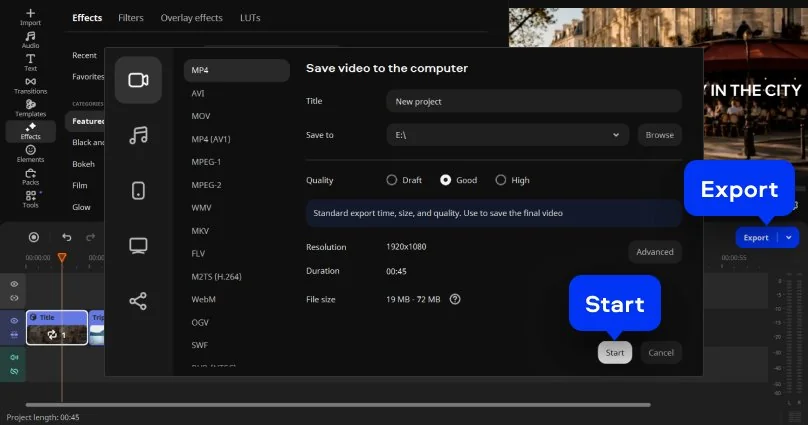
*The free version of Movavi Video Editor may have the following restrictions depending on the build: watermark on exported clips, 60-second video or 1/2 audio length limit, and/or some advanced features unavailable when exporting videos.

Yes, Movavi's partial export lets you select that one fragment of the timeline and export it alone, without rendering the whole project.
Yes. You can download Movavi Video Editor Free from our official website and test every tool in the app. Free exports are capped at 60 seconds, use limited codecs and low output quality, and carry a watermark. Using paid features also restricts export. The full version removes these limits.
No. Pick a style preset and the font, spacing, and color balance are already handled for you. You're just swapping in your own words, which keeps the whole process simple and fast by design.
Once a title is added, it's saved as part of your local project file, so it stays fully editable any time, offline or not.
For an image background, you can use JPEG, PNG, BMP, and static GIF files. For video, MP4, MOV, AVI, MKV, and WMV.



1.5M+ users already subscribed to our newsletter