How to Reverse a Video on an iPhone – Movavi App

Movavi App lets you reverse any video in seconds. Import a clip from your camera roll, apply the reverse effect with one tap, preview the backward playback, and save the result straight back to your photos.

Whether you want to play a clip backward for a creative rewind effect, invert a slow-motion video, or build a boomerang-style loop from any camera roll footage, Movavi App gives you the reverse tool and a full video editor in one lightweight mobile app – no desktop computer required.

Trusted by 70 million creators worldwide

70M+

users

190+

countries

15+

updates per year

10,000+

effects to choose from

Key features for reversing video on your iPhone

One-tap reverse and a full creative toolkit – all in one free mobile app.

One-tap video reverse to play any clip backward

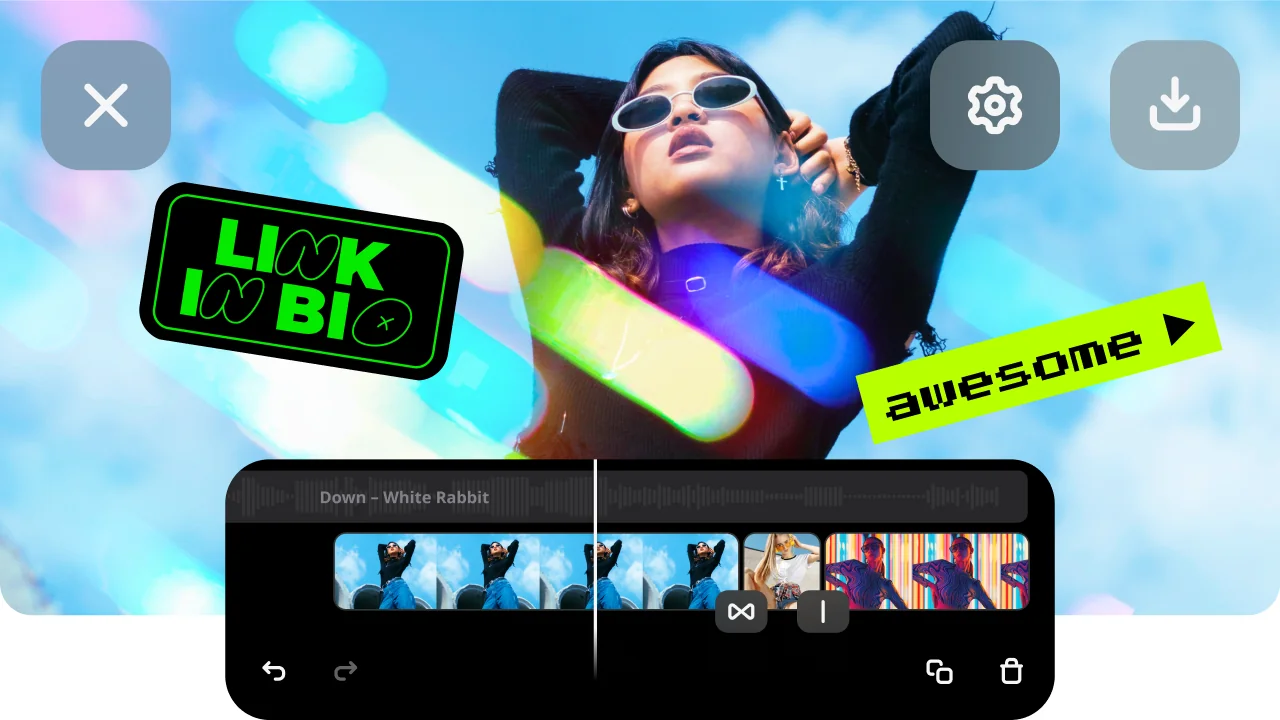
Movavi App’s reverse tool plays any video clip backward with a single tap. Import any clip from your camera roll, select the reverse effect in the editing tools panel, and the app re-renders the footage to play in reverse order. The entire clip – including any audio – plays backward, creating the classic rewind effect used across social media content. Preview the reversed clip before exporting.

Combine reverse with speed control for creative effects

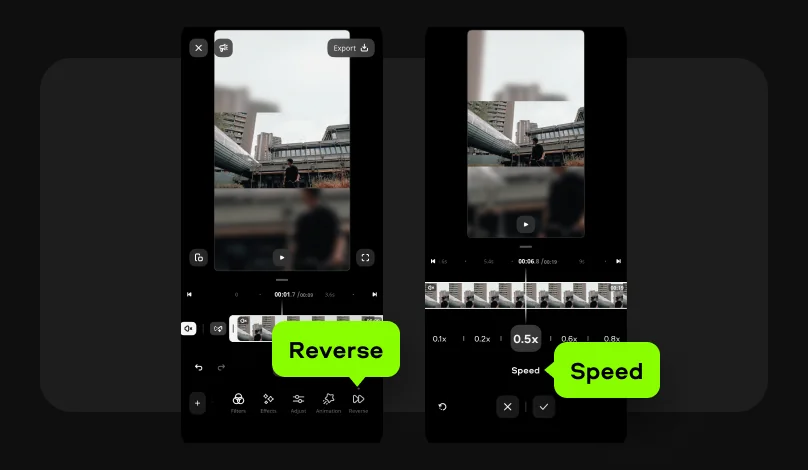
For the most striking reverse effects, pair the reverse tool with the speed slider. Reversing a slow-motion clip (0.5× speed) creates a dramatic, dreamlike backward replay. Reversing at 2× or 4× speed produces a fast rewind that’s popular for comedy and reaction content. Movavi App lets you set speed and apply reverse in the same editing session before exporting.

Trim to the exact segment before applying reverse

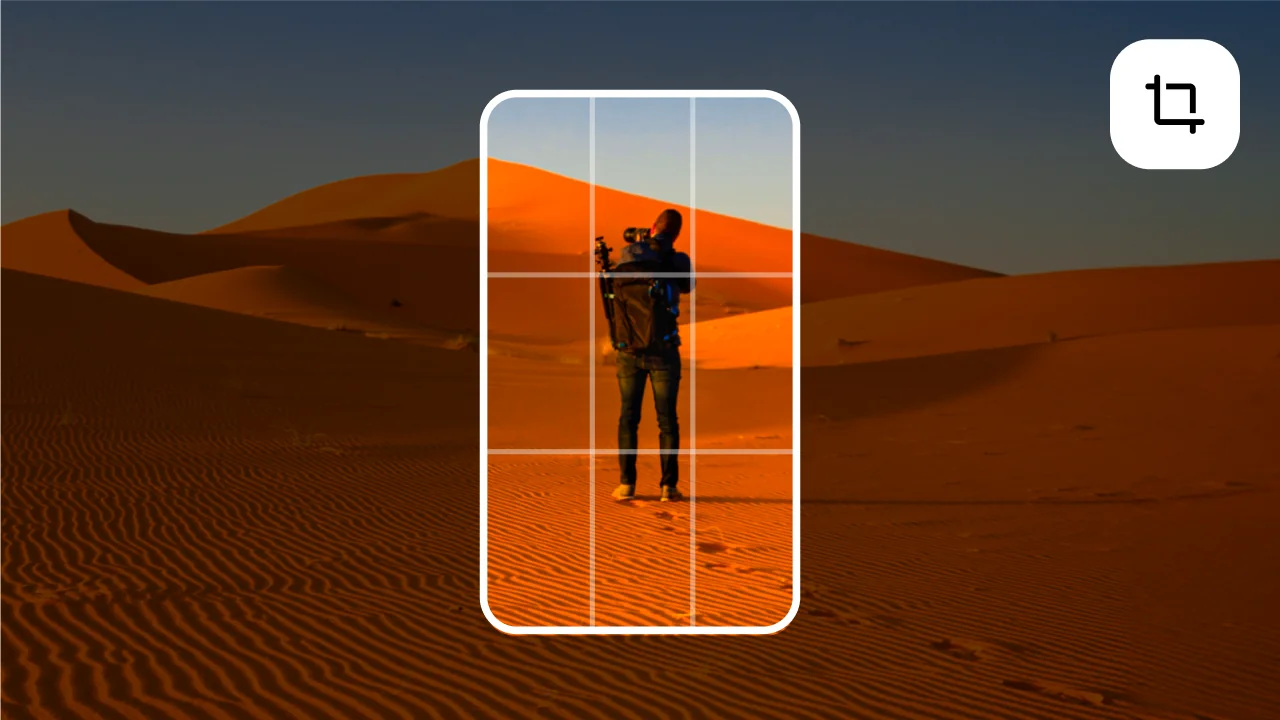
For best results, trim your clip to only the segment you want reversed before applying the effect. Use the trim handles to cut the start and end of the clip down to the precise frames you want. A 3–5 second tightly trimmed clip reversed cleanly looks far more intentional than a long clip with dead time at the start or end.

Add music, filters, and text to your reversed video

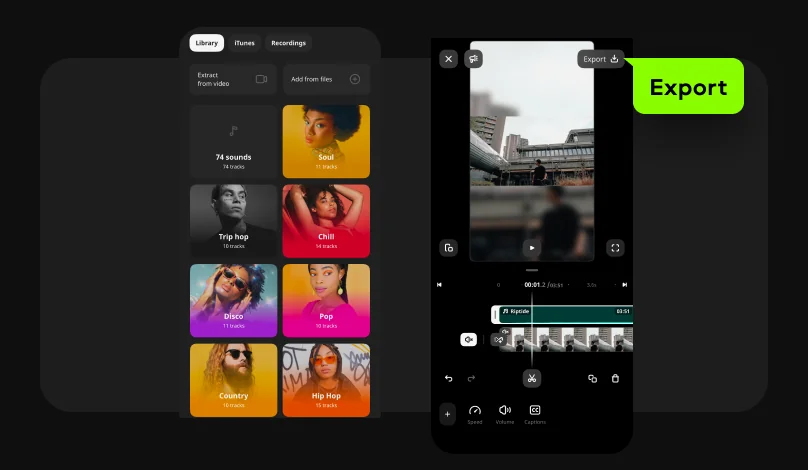
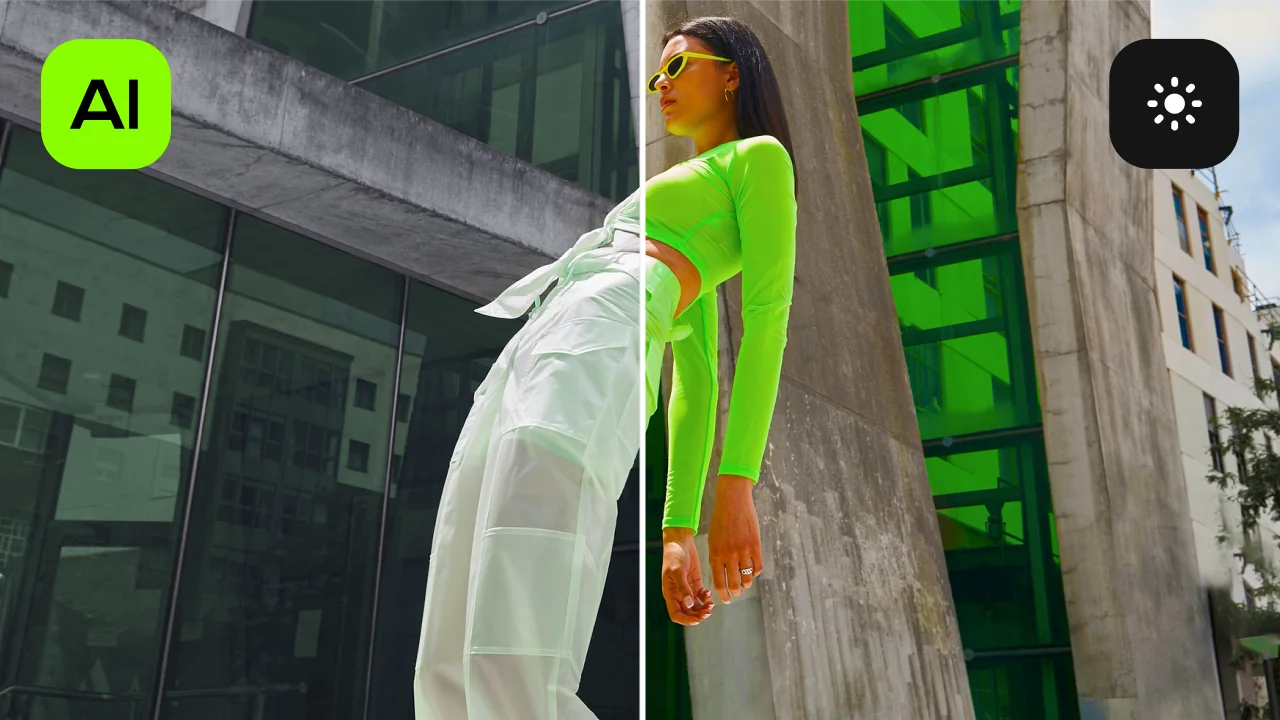
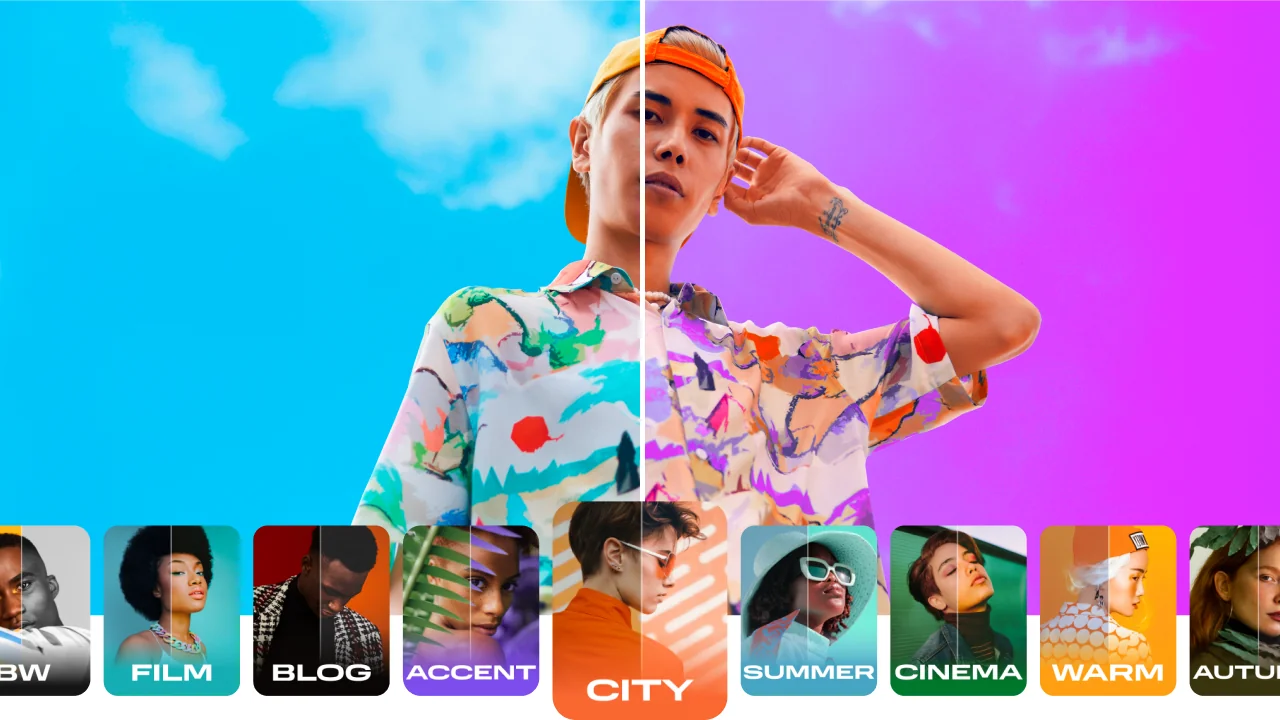
After reversing, you can add background music from the built-in royalty-free library, apply color filters and cinematic grades, overlay text, and adjust brightness and contrast. Export the finished reversed video to your camera roll at full resolution in one tap, ready to post to Instagram Reels, TikTok, or any other platform.

Why use Movavi App to reverse videos on an iPhone

Three reasons Movavi App is a great tool for reversing video on an iPhone.

True reverse – not just backward playback

iOS’s native Photos app does not have a reverse feature – it can play a Live Photo backward as an effect but cannot export a permanently reversed video file to your camera roll. Movavi App actually re-renders the clip in reverse and saves the result as a standard MP4 video that plays backward on any player and any platform, not just inside one app.

Complete editor in one mobile app

Most reverse video apps on the App Store do only one thing: reverse a clip. Movavi App does that and everything else a creator needs – trim, speed control, add music, apply filters, overlay text, and export – all in one tool. You can build a complete, polished reversed video post without switching between multiple apps or transferring files.

Free to download with the core reverse feature included

Movavi App is free to download on the App Store. The reverse tool is available in the free tier, making it accessible to every iPhone user without a subscription. Premium features such as watermark-free export and advanced effects are available with an in-app purchase. No sign-up required – download and reverse your first video in under two minutes.

How to reverse a video on your iPhone with Movavi App – 4 steps

From camera roll to a reversed, exported video – done in four steps.

Step 1. Download the app and open a new project

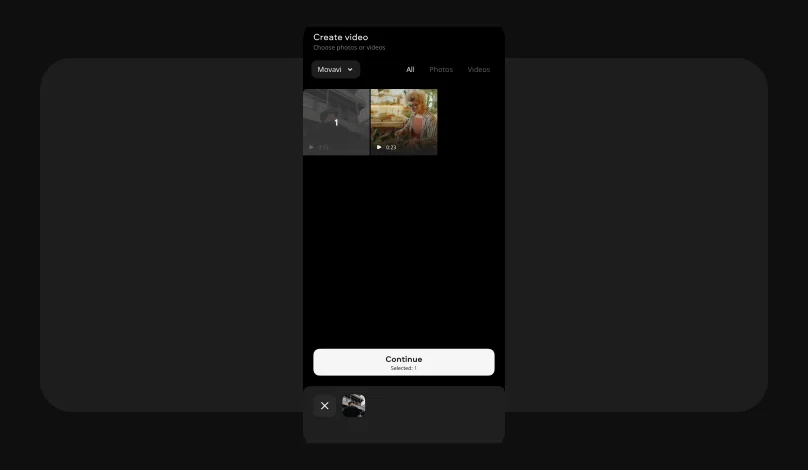
Download Movavi App from the App Store. Open the app and tap the + icon to start a new project. Select the video clip you want to reverse from your camera roll. The clip loads onto the Movavi App timeline.
Step 2. Trim the clip to the segment you want reversed

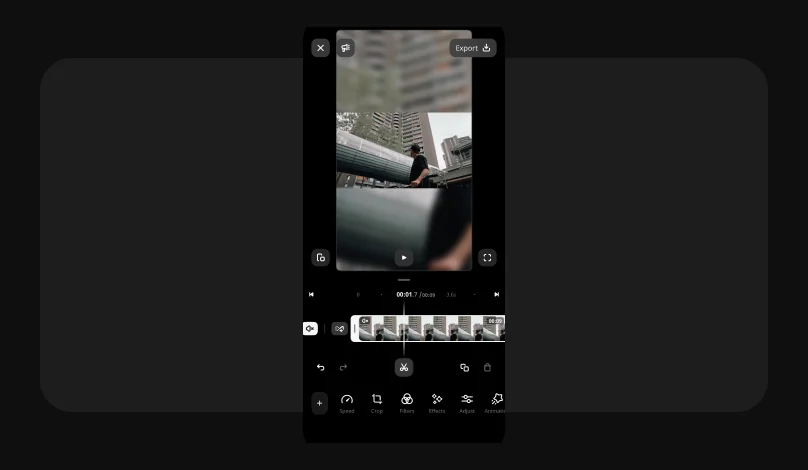
Tap the clip on the timeline to select it. Use the trim handles at the start and end of the clip to cut it down to only the segment you want to reverse. Trimming before reversing ensures the effect is tight and intentional. A 3–8 second clip reversed cleanly will always look better than an untrimmed full-length recording.

Step 3. Flip the clip backward

With the clip selected, scroll through the editing tools at the bottom of the screen and tap Reverse. Movavi App processes the clip and re-renders it to play in backward order. The timeline updates to show the reversed clip. Tap the play button to preview the backward playback. If you want to combine reverse with a speed change, tap the Speed tool and set the multiplier before or after reversing.

Step 4. Add music and export

Optionally, open the Music section and add a royalty-free music track from the built-in library to complement the reversed visual. Trim the audio to match the clip length. When the preview looks right, tap the Export button, select the resolution, and tap Save. Your reversed video saves at full resolution to your camera roll, ready to post to any platform.

Who uses Movavi App to reverse videos

Reversed video is one of the most recognizable creative effects in social media content.

SOCIAL MEDIA

TikTok and Instagram Reels creators

The reverse effect is a TikTok and Reels staple – from reversing someone jumping into a pool so they appear to fly out, to reversing a pour of liquid for a satisfying refill effect, to reversing a makeup wipe for a transformation reveal. Movavi App’s one-tap reverse tool produces a clean backward clip that creators can post immediately or combine with music and effects for a more polished result.

CONTENT CREATION

Video creators and YouTubers making creative edits

YouTubers and independent video creators use reverse clips as transitions, punchlines, and creative cutaways in their content. Reversing a hand gesture, a prop drop, or a text wipe creates a dynamic visual moment that holds viewer attention. Movavi App handles the reverse in seconds, so creators can build these moments on-the-go from footage shot on the same device.

FITNESS / SPORTS

Fitness and sports creators analyzing movement

Fitness coaches and sports content creators use reversed slow-motion clips to demonstrate movement patterns – a golf swing, a jump landing, or a yoga pose transition – played backward to highlight the mechanics from a different angle. Movavi App’s combination of reverse and speed control lets coaches create instructional content that shows both the forward and backward motion from a single recorded clip.

Movavi App

Create scroll-stopping videos for your socials in a few taps

Frequently asked questions

Common questions about how to reverse videos on an iPhone.

How do I reverse a video?

To reverse a video on your iPhone using Movavi App:

  1. Download the app free from the App Store.
  2. Start a new project and import your clip from the camera roll.
  3. Tap the clip to select it, then scroll through the editing tools and tap Reverse.
  4. Movavi App re-renders the clip to play backward.
  5. Preview the reversed clip, optionally add music, and tap Export to save to your camera roll.

The entire process takes under two minutes on any iPhone. The result is a standard MP4 file that plays backward on any player – not just inside the app.

Can you reverse a video on an iPhone without an app for free?

Without any software, the only native option on an iPhone is the Live Photo effect: if you shot a Live Photo, open it in Photos > swipe up > select Loop or BounceBounce plays the Live Photo forward and backward. However, this only works for Live Photos shot in that mode and cannot export a standard reversed video file. For regular video clips from your camera roll, there is no native reverse tool built into iOS – you need a third-party app to reverse a video on an iPhone. Movavi App is free to download and includes the reverse feature.

How do I reverse a video in my gallery?

To reverse a video from your iPhone gallery, use Movavi App:

  1. Open Movavi App and start a new project.
  2. Tap the + button and select the clip from your camera roll gallery.
  3. Tap the clip on the timeline to select it.
  4. Tap the Reverse tool from the editing options at the bottom of the screen.
  5. Movavi App processes the clip and plays it backward on the timeline.
  6. Tap ExportSave to save the reversed video back to your camera roll gallery.

Can I invert a video on my iPhone?

Yes, you can reverse a video on an iPhone using Movavi App. Invert and reverse mean the same thing in this context: playing the video backward instead of forward. iOS’s native Photos app does not include a video reverse tool for standard camera roll clips. Movavi App fills this gap with a one-tap reverse effect that permanently re-renders the clip to play backward and saves it as a standard video file. Note: if you’re looking to color invert a video (flip the colors to their opposites), that’s a different effect. Movavi App’s filter panel includes color and visual effects including invert color, which you can apply in the same editing session as the reverse tool.

Join us for discounts, editing tips, and content ideas

1.5M+ users already subscribed to our newsletter

By signing up, I agree to receive marketing emails from Movavi and agree to Movavi's Privacy Policy.