YouTube Video Editor by Movavi

  • Edit high-quality footage for YouTube

  • Add intros, titles, and transitions

  • Use AI tools: auto subtitles, noise removal, and more

  • Easily save and share your videos

By clicking the download button, you're downloading a trial version of the program.*

Free Online Video Editor

Why the YouTube video editor by Movavi stands out

Beginner-friendly with pro-level features

Beginner-friendly with pro-level features

Movavi balances professional-grade features with an interface that even complete beginners can quickly master.

Tons of built-in effects and music

Tons of built-in effects and music

Movavi comes loaded with 10,000+ creative effects, built-in transitions, titles, overlays, music tracks, sounds, frames, backgrounds, stickers, and more.

One-click AI

One-click AI

Movavi makes it super-easy to create subtitles, remove pauses, clean up noisy audio, track motion, change out backgrounds, and more – all automatically, no technical skills needed.

Smooth performance

Smooth performance

Movavi is lightweight, easy to set up, and runs smoothly – even if your laptop isn’t top-of-the-line.

Features to edit YouTube videos

AI noise removal

Automatically remove car, wind, and other uncool sounds from your clips with our AI-driven audio denoiser. Create videos with crisp sound that viewers are sure to appreciate.

AI motion tracking

Enhance reality in your videos with additional moving graphics. Just click, and AI will quickly attach any photos, videos, emojis, or memes to objects in your footage.

AI background removal

Use the power of the AI to instantly swap backgrounds in your videos with no green screens. Drop in a new vibrant scene and get ready for an avalanche of likes on socials!

Silence removal

Cut out unwanted pauses automatically or fine-tune the pause length and volume threshold yourself. Skip the tedious cleanup and make your videos more dynamic in a flash.

Automatic subtitles

Let AI quickly turn your speech into text and automatically create captions for your videos in almost any language. Just choose the font, text color, position – and you’re all set!

How to edit YouTube videos with the Movavi YouTube video editor

Step 1. Download and install the Movavi YouTube video editor

To edit YouTube videos, get the software version that fits your OS. Run the setup and open the program for beginners and pros alike. You’ll see a simple workspace where all the main tools are already waiting for you to start working.

Step 2. Import your media files

Click Add Files and upload in your clips, pictures, or sound. The files appear in the Project files, drag them into the timeline.

Step 3. Trim and arrange your clips

Use Split to cut parts you don’t need or to rearrange sections. Try moving things around until the rhythm feels natural. Shorter, cleaner scenes often say more than longer ones.

Step 4. Add titles, effects, and audio

Go to Text to add subtitles or a simple intro. Test a few Transitions between clips until they fit the pace of your video. In Audio, drop in music or record a voiceover. Adjust the levels until the balance feels right. Movavi Video Editor offers a lot of effects and built-in content designed specifically for YouTube videos.

Step 5. Export and share to YouTube

When you’re done, click Export. Pick a format like MP4 or MOV and choose the quality you need, up to 4K. Save the file to your computer or send it straight to YouTube. It’s smooth, fast, and designed for YouTube video creation with no watermark on your final work.

More tools for easy video editing

Audio editing

Make your videos sound amazing: add effects, fine-tune with the equalizer, toss in some reverb, drop in smooth transitions with fade-ins and fade-outs. Auto-sync, beat detection, and easy voice-over recording let you perfect your audio in no time.

Hundreds of drag-and-drop cinematic effects

Supercharge your videos with tons of creative, professionally designed effects. Add stickers for cool accents, transitions for smoother stories, overlays for extra style, and there’s even more!

Overlays, stickers, and transitions

Use stickers to add fun and personality, overlays to give extra style, and transitions to keep your storyline flowing smoothly. Make every moment pop and keep your viewers hooked.

Stabilization

Smooth out every clip: video stabilization turns shaky moments into steady footage. Perfect for capturing all the action without all the jitters.

Picture-in-picture

Show multiple clips at once: overlay videos with picture-in-picture to highlight reactions, tutorials, or side-by-side action. Make your content more dynamic and engaging in seconds.

Chroma key

Swap out any background in a flash: use chroma key to place yourself anywhere, from exotic beaches to outer space. Perfect for fun effects, creative scenes, or professional-looking videos.

Slow motion

Make every second count: slow motion lets a fleeting moment last longer and get that cinematic feel. Transform quick scenes into lasting memories on screen.

Video speed controls

Take full control of your video’s pacing: speed up, slow down, or create smooth time-lapses with ease. Perfect for dramatic slow-mos or fast-paced highlights that will grab attention.

Crop, resize, trim, cut, and flip videos

Shape your videos exactly how you want: crop, resize, trim, cut, or flip with ease. Turn raw clips into polished montages your viewers will love.

Filters and LUTs

Use filters and LUTs to instantly change the look and feel of your video. Create a cinematic vibe, fix the lighting, or give your clips a unique style in seconds.

Text and intros

Titles and intros help your videos tell a story from the very first frame. Add your channel name, video topic, or short captions to guide viewers through key moments.

Split and splice videos

Cut, split, and splice your clips with ease. Rearrange sequences and build the perfect flow for your story.

How to choose a YouTube video editor

Picking a video editor for YouTube is about how it feels when you sit down to work. Some programs open and already feel heavy. The good ones feel light. You click, things happen, and before you notice, you’re already cutting, moving, shaping your video. You stop thinking about the software and start thinking about the story.

When you’re choosing, pay attention to how it behaves, not how it’s advertised.

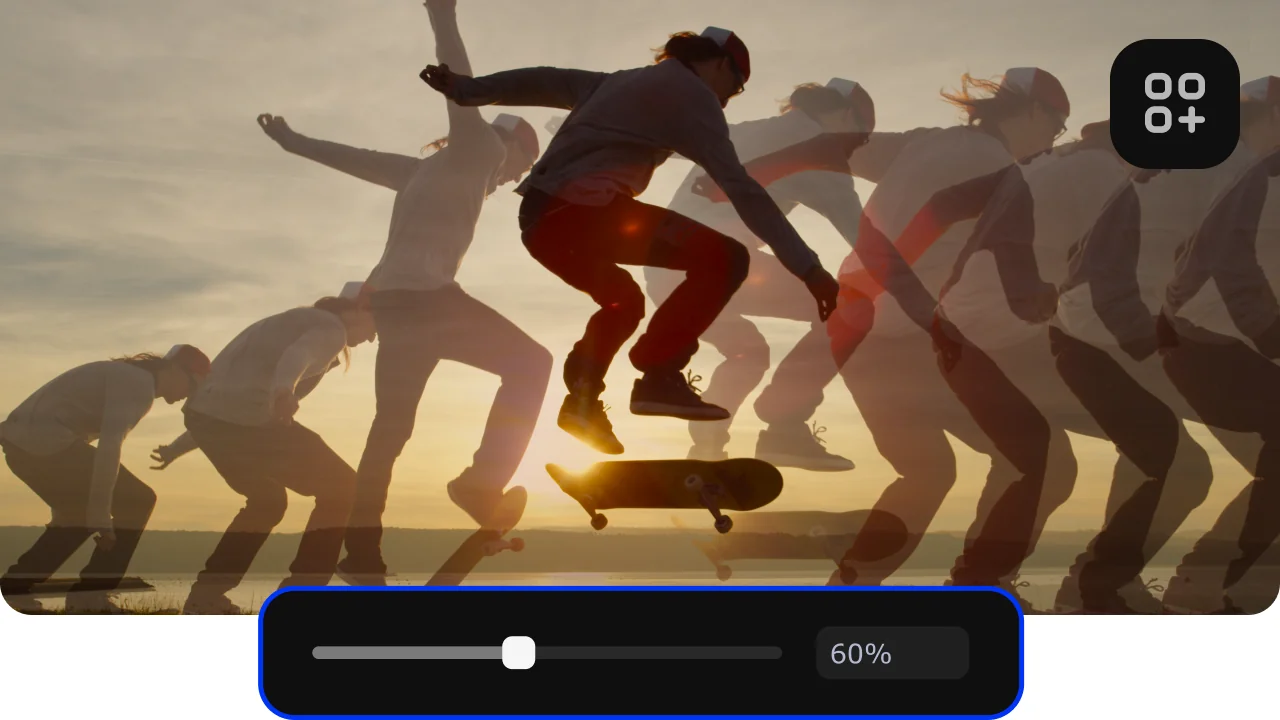
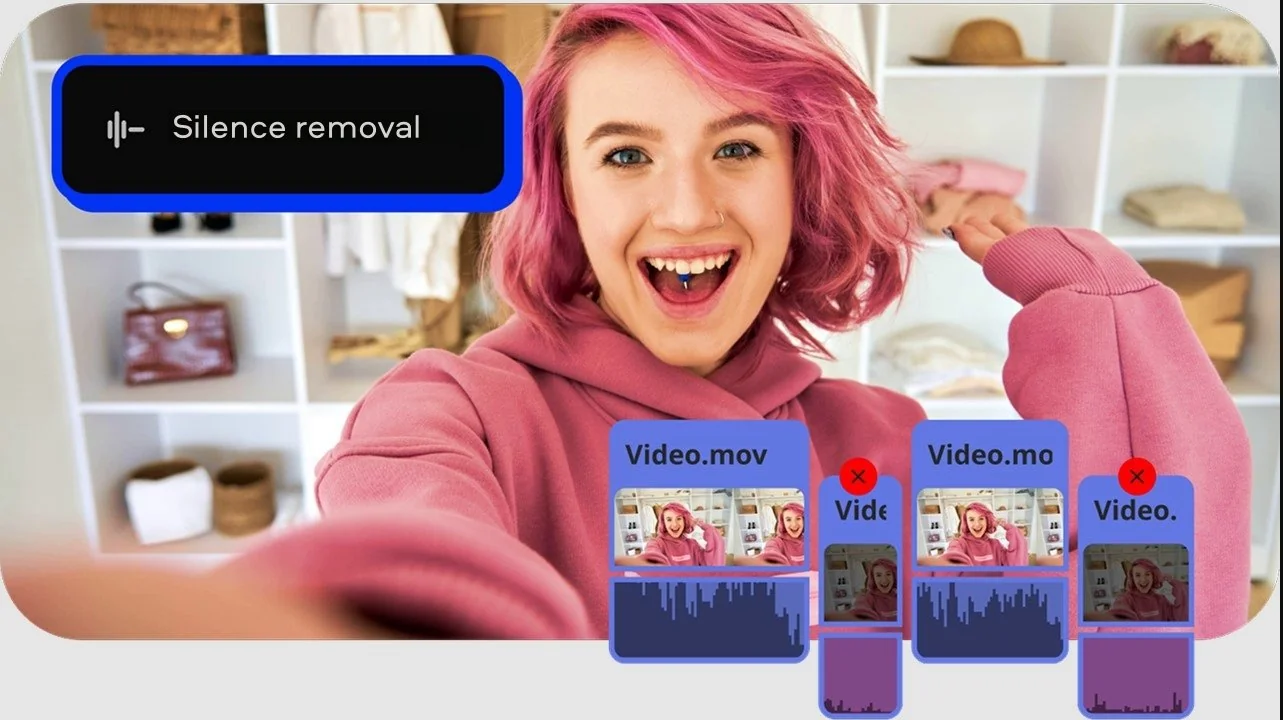
Speed and stability. Open it. Throw a few big clips in. See what happens. If it starts gasping for air or freezing, move on. You want something that feels quick, even under pressure. Editing should flow, not stall.

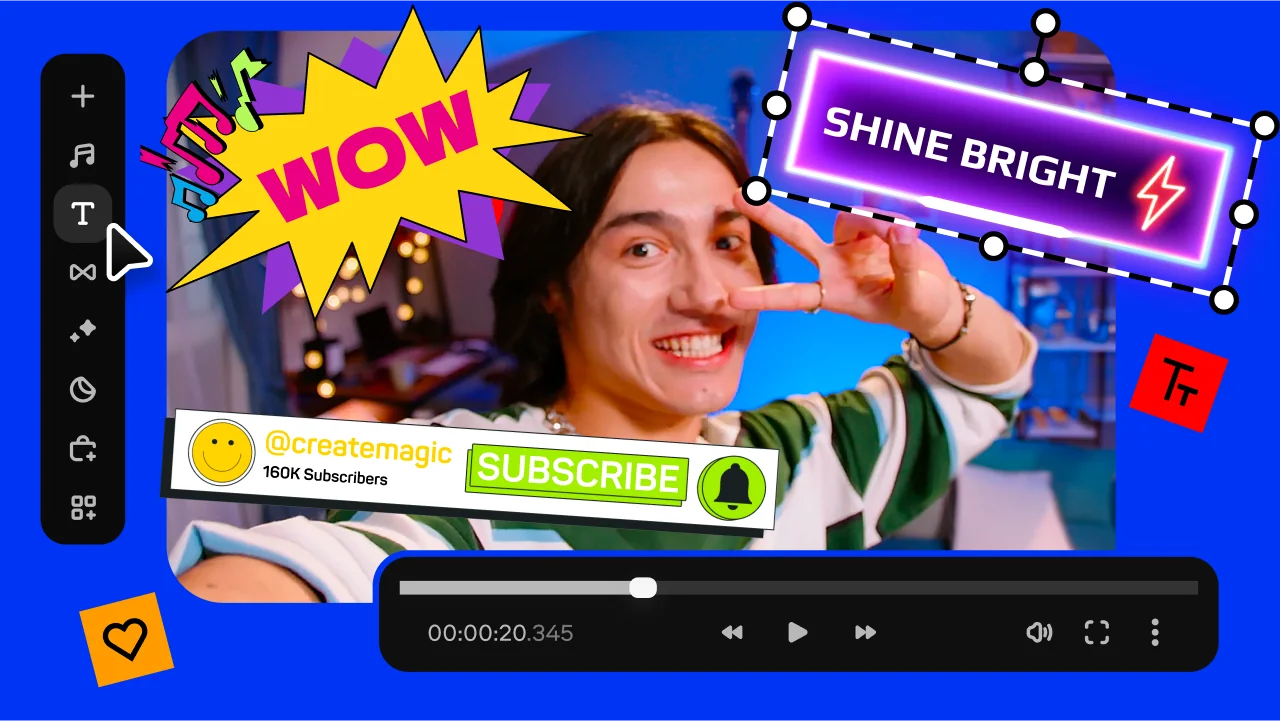
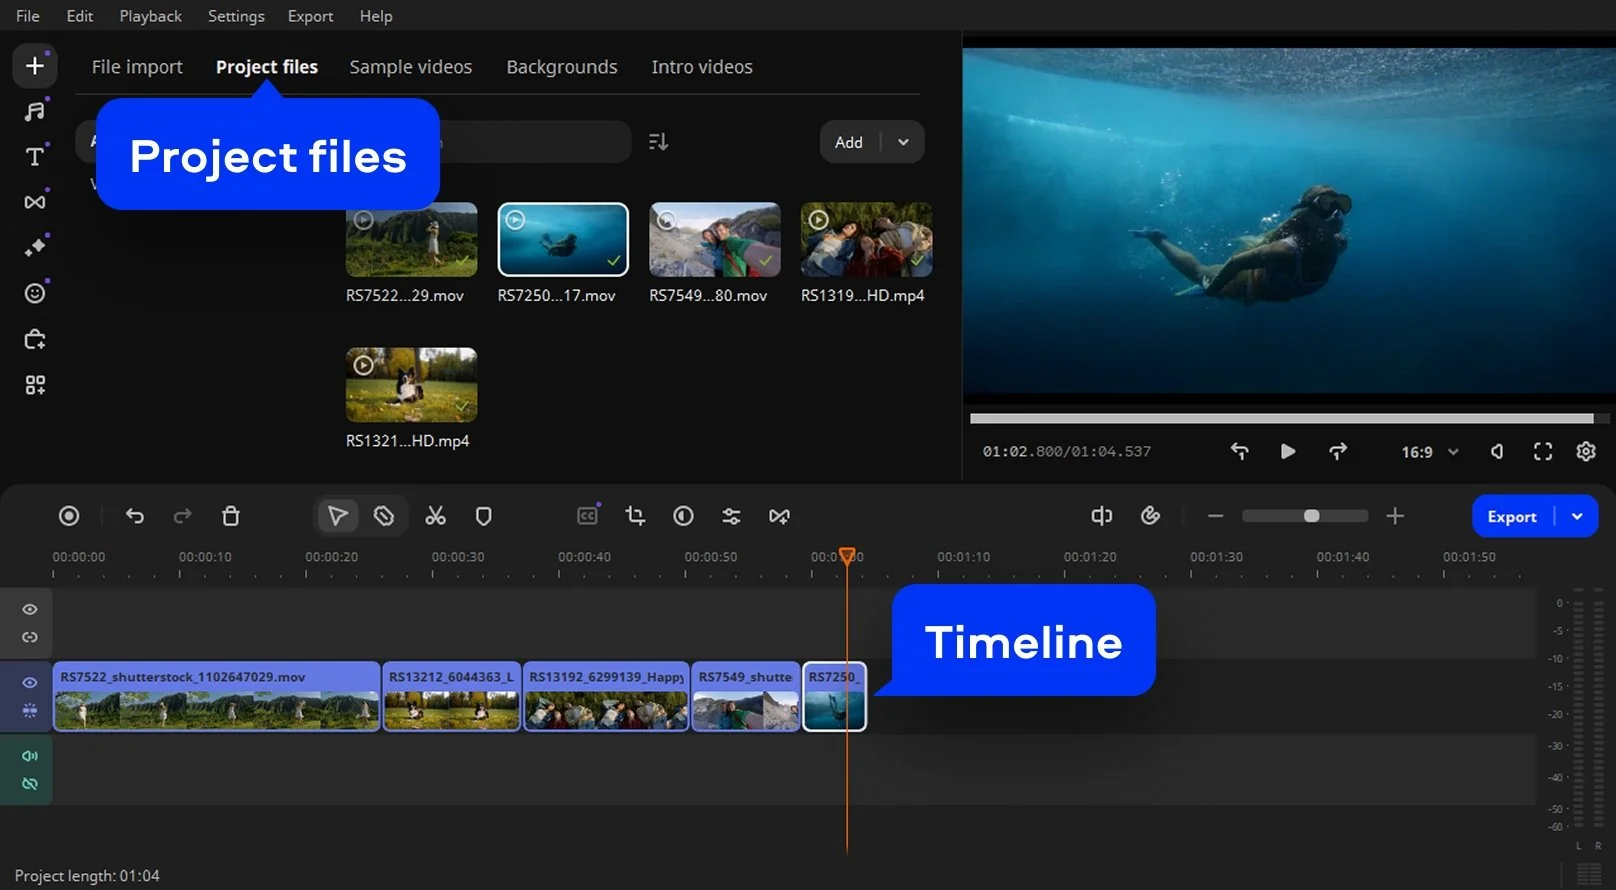
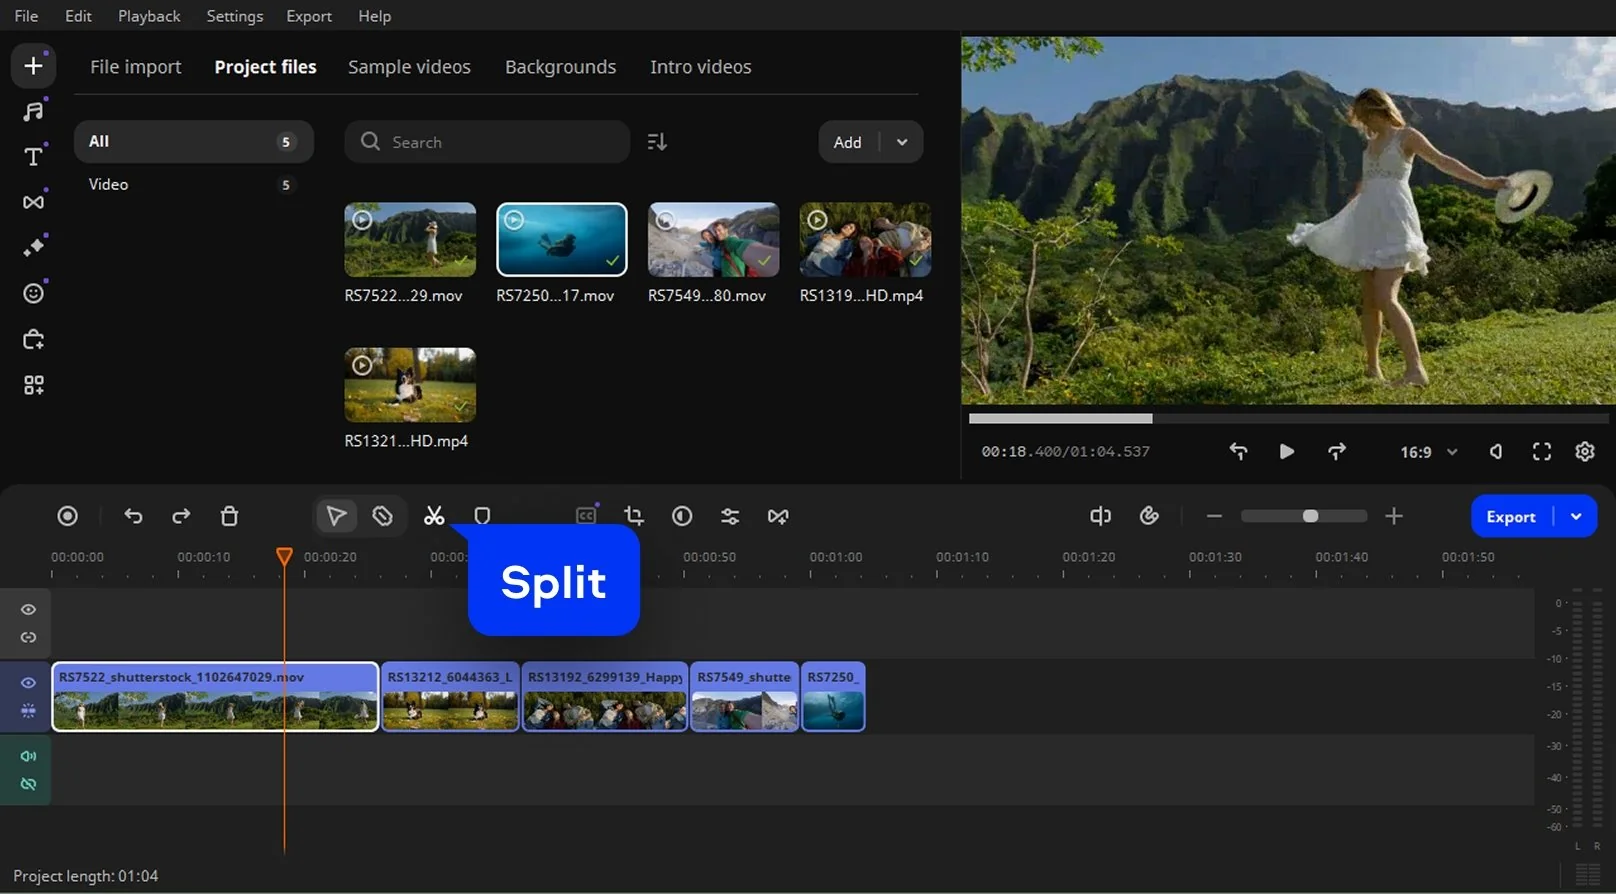
A timeline that speaks your language. You look at it once and know what to do. The clips sit where they belong, waiting for you to move them. Cutting feels like trimming a thread, shifting scenes like sliding photos across a desk. If you have to stop and ask, it’s not your editor.

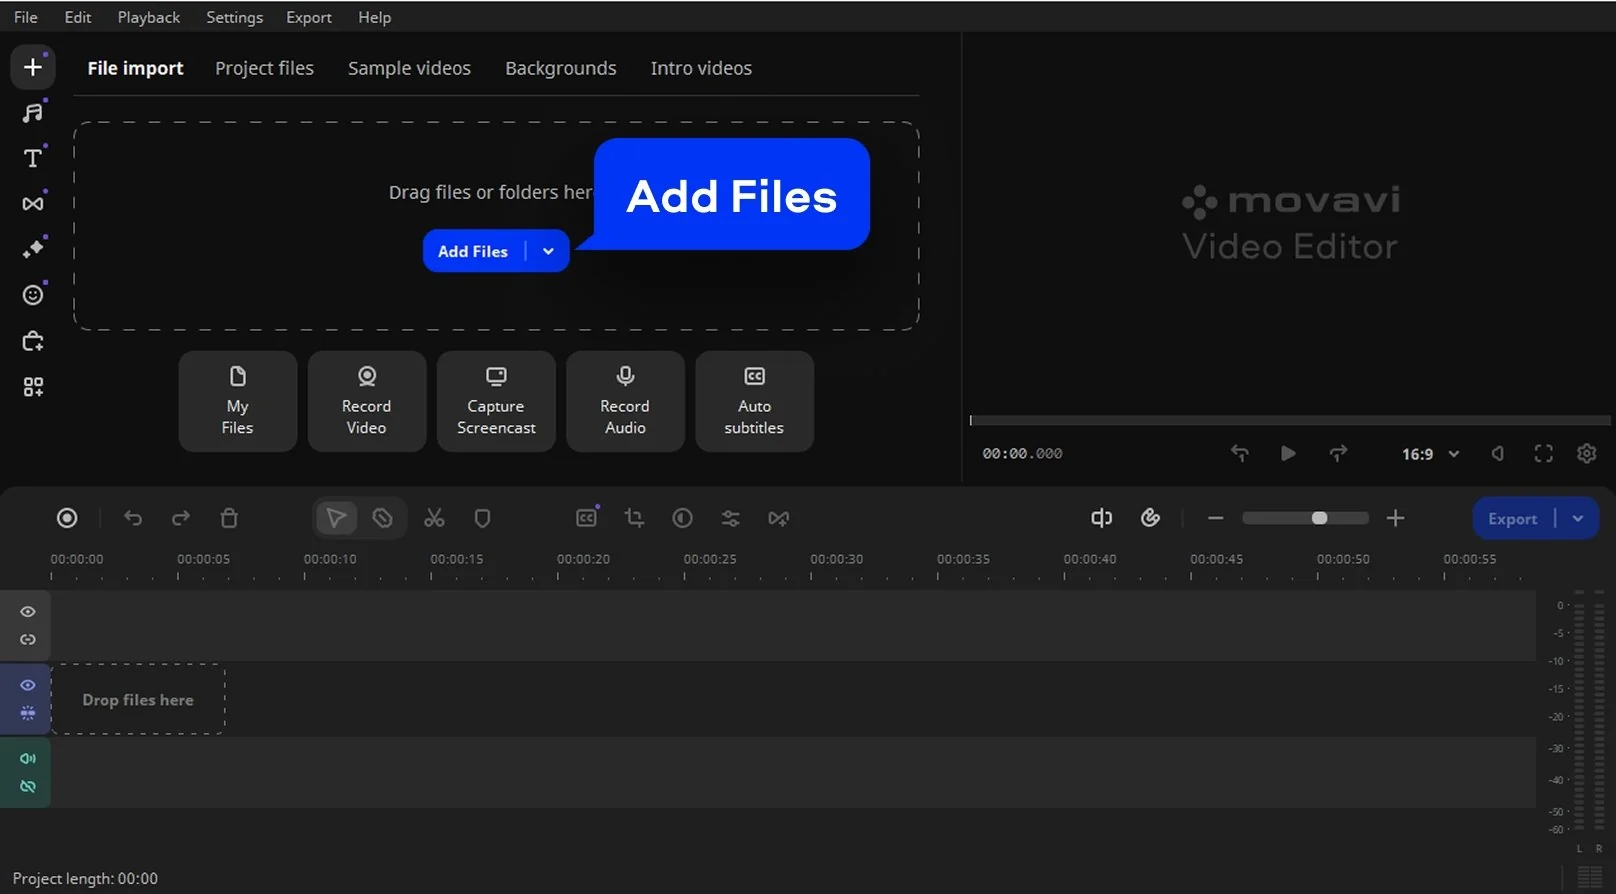
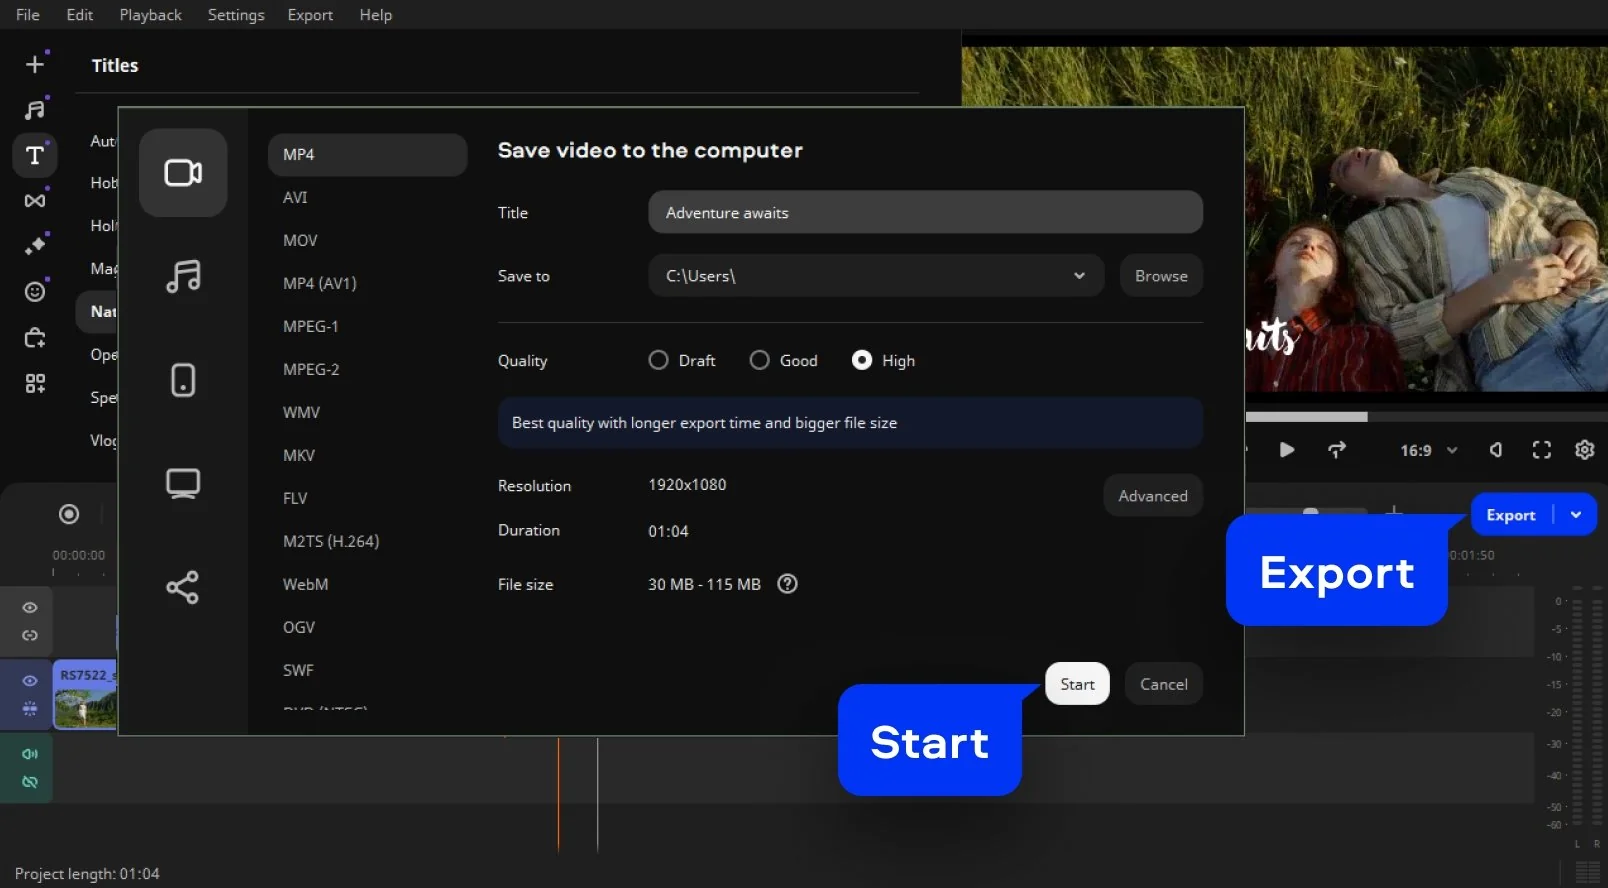
Easy exporting. The finish line should not feel like another project. You just need simple options for 1080p or 4K, small enough files for YouTube, and a few clear buttons. Some editors even let you upload directly. It should feel like wrapping up, not starting over.

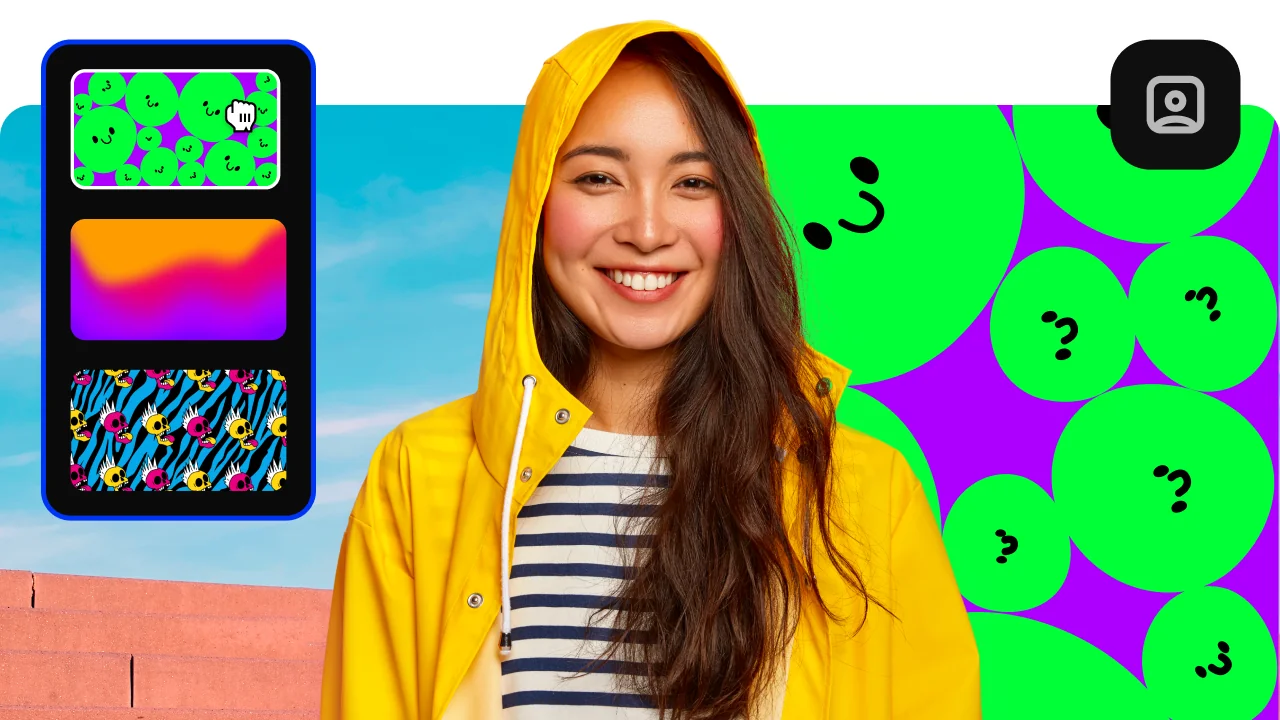
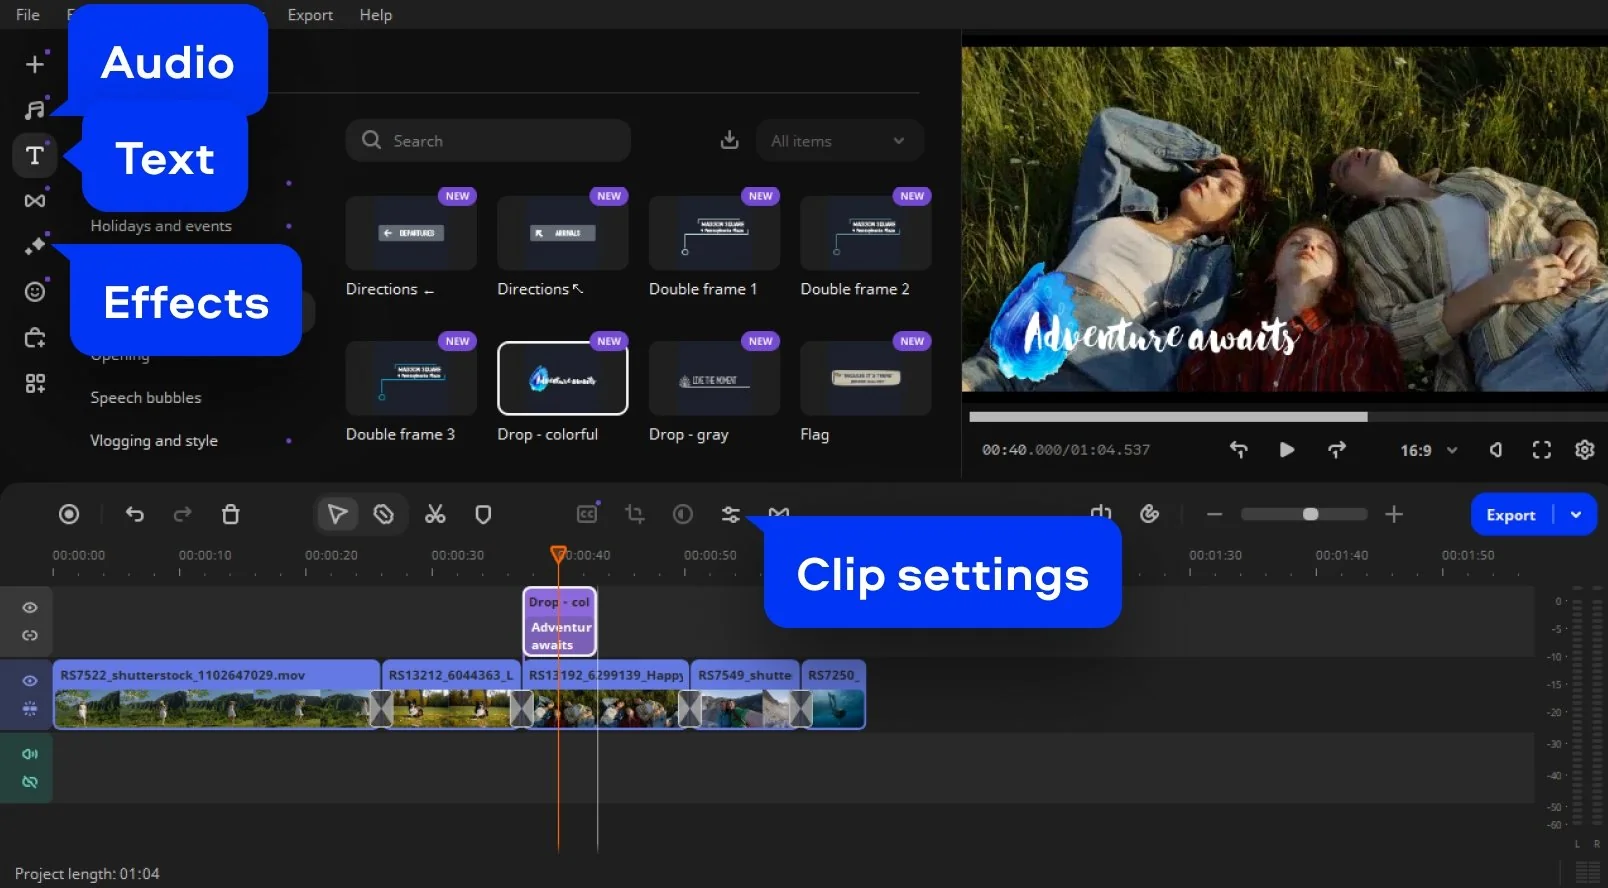
Color and lighting tools. A bit of warmth or contrast can change everything. You don’t need filters or presets that scream “edited.” You just need tools that help your footage look natural, like how it felt when you filmed it.

Ease of learning. If you need a tutorial just to trim a clip, that’s not your tool. The best editors feel friendly from the start. You learn by doing, not by reading a manual on how to edit YouTube videos.

How people use these tools often shows what really matters in an editor.

  • A travel creator might combine short clips of streets, markets, and landscapes, adding soft background music to carry the mood through each scene.
  • A gamer could record long sessions, then cut them into tight highlights with quick transitions and synced commentary. The pacing turns gameplay into a story that feels alive.
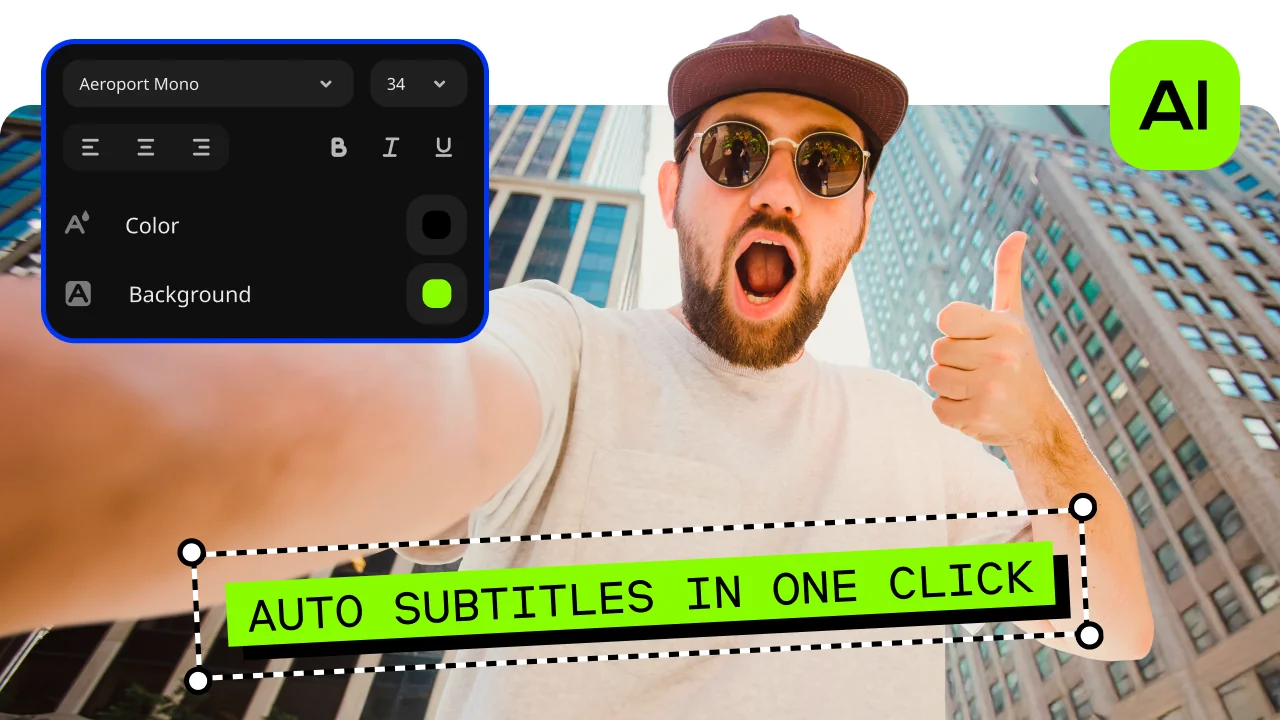
  • A teacher recording tutorials might use screen capture with simple annotations, arrows, and voice explanations. Exporting in 1080p keeps lessons sharp and easy to follow for students.

Every creator works differently, but the goal is shared. The best YouTube video creator stays quiet and reliable. It follows your pace and lets you shape the work freely.

Liven up your video with animated reactions

Just drop in animated stickers like hearts and flames to give your video that fun, social media vibe.

Set a chill mood in your video

Add atmospheric filters to your warm night videos for a nostalgic, cinematic feel that instantly takes your audience inside that moment.

Frequently asked questions

What is the best beginner software for editing videos for YouTube?

If you're just starting out, we recommend using the free version of Lightworks. Although it has a steep learning curve, it can help prepare new editors for more advanced editing. For those on a budget, you can try Shotcut. It is an open-source software with an intimidating interface, but it’s easy to use once you know the ropes.

For the best all-around video-editing software, our choice is Movavi Video Editor. It already offers features that any type of YouTuber can appreciate and has a simple and clean interface that makes learning video editing easy.

What software do YouTubers use to edit videos?

There are many different software programs that YouTubers use to edit their videos. It depends on the content they upload, the editing skills they have, and their budget. 

Some of the more professional ones include Adobe® Premiere® Pro and DaVinci Resolve. Aside from basic editing capabilities, these programs allow you to do advanced things, like adding visual effects and color grading. 

If you're just starting out or are on a tight budget, you may want to use a more user-friendly and well-rounded editing program, like Movavi Video Editor. This is easier to use and has all the features YouTubers need to make their videos look good.

How do you make your videos look professional?

There are a few things you can do to make your videos look more professional. First, invest in a good video camera. This will help ensure that your videos look sharp and clear. Second, use a tripod to stabilize your camera while you're filming. This will prevent your videos from looking shaky and amateurish. 

Finally, edit your videos using a good video-editing software. This will allow you to add special effects, transitions, and titles to your videos, which will make them look more polished and professional. 

Aside from using our recommended choice, Movavi Video Editor, you can also explore more professional filters at our Movavi Effects. 

What is the best software for editing YouTube Gaming videos?

There is no one-size-fits-all answer to this question, as the best software for editing YouTube gaming videos will vary depending on your specific needs and preferences. However, we recommend trying Corel VideoStudio as it has specific capabilities that gaming creators will like.

You can also use Movavi Video Editor , since it is our recommended all-around video-editing program. It’s a great choice for those just starting out their YouTube career.

What is the best video-editing software for Mac and Windows computers?

There are many excellent video editors available for both Mac and Windows, like Movavi Video Editor, Adobe® Premiere® Pro, and DaVinci Resolve. All of these programs offer great features and capabilities that will help you create amazing YouTube videos, whichever OS you have.

If you are looking for a specific program that only works on Windows PCs, we recommend trying Pinnacle Studio. It is a professional-grade video-editing software that is relatively cheap and performs fast.

For Mac users, it’s best to check out Final Cut Pro. Aside from it being easy to use and having powerful editing functions, it is specially optimized to work with Apple products.

What is the best video-editing software for mobile?

There are a number of video-editing apps available for both iOS and Android devices. However, not all of them are created equal. For quick video edits, we recommend using Magisto, since it has an automation feature that speeds up the video creation process. 

You can also try Movavi App, which is a compact editing app specifically designed for use on mobile. It has all the good features you can find in our editor’s choice, Movavi Video Editor.

Get Movavi App for iOS

Get Movavi App for Android

What is the free video editor for a YouTube channel?

There are a few that actually feel good to use. Movavi Video Editor gives you structure and clean tools without crowding the screen. Clipchamp runs right in the browser, simple enough to use while your coffee cools. Both handle trimming, sound, and titles with ease. Movavi’s trial is free; Clipchamp stays free if you don’t mind a few limits. These are made for real work, not for show. They help you start creating before you talk yourself out of it.

How to be a YouTube video editor?

Forget tutorials for a moment. Just open your YouTube video editing software and start cutting. Drop a clip, slice it in half, move it around. Feel where it drags, where it clicks. Play it back, again and again, until you sense the beat inside the noise. Watch what other creators do, then steal the rhythm but not the voice. Change something. Break something. Editing is not math; it is instinct dressed as order. You learn to trust your gut, to see when a second too long feels like forever. Every mistake teaches tempo. Every fix makes the story breathe a little better.

How do you add music to a YouTube video?

Import the track, drop it under your footage, and listen. The song should sit behind the voice, not over it. Lower it until it feels right. Movavi and other editors include small sound libraries that fit most moods. If you prefer online creation, YouTube’s own music library has more than enough to work with. Music changes how a clip feels, sometimes more than visuals do. It can turn a quiet shot into something that breathes or gives a story its pulse.

How do you make a YouTube video with pictures?

Start with photos that already say something. Drop them into your YouTube video maker and line them up on the timeline. Add slow zooms or gentle pans so they move like thoughts drifting by. Keep transitions soft or skip them entirely if the rhythm feels better without. Add a bit of music or record a short voiceover. Tools like Movavi Video Editor or Canva help to create this part easy. In the end, you’re not just showing images. You’re creating a moment that feels stitched together by memory.

Why choose Movavi

We’re the #1 choice for millions of people from all around the world. Join our thriving community and create stunning content with incredible ease.

70M+

users

190+

countries

15+

updates per year

10,000+

effects to choose from

Movavi YouTube video editor

Create awesome videos easily

*The free version of Movavi Video Editor may have the following restrictions depending on the build: watermark on exported clips, 60-second video or 1/2 audio length limit, and/or some advanced features unavailable when exporting videos.

<p>Movavi YouTube video editor</p>
Join us for discounts, editing tips, and content ideas

1.5M+ users already subscribed to our newsletter

By signing up, I agree to receive marketing emails from Movavi and agree to Movavi's Privacy Policy.