Movavi Slideshow Maker is a handy program that enables you to turn your photo albums into stunning movies. It’s a powerful and easy-to-use tool for making and editing your own slideshows in no time. Download the program and follow the simple steps below to learn how to make a picture slideshow with Movavi Slideshow Maker.
Wondering how to make a slideshow from photos?
Use Movavi Slideshow Maker!
Flexible: 150+ filters, 100+ transitions, 40+ titles
Easy: master in 5 minutes, explore your creativity for hours
Personal: use voice-over to tell your unique story
Secure: no need to upload your own photos online

How to create a slideshow
Step 1. Install the application
Open the executable file and install Movavi Slideshow Maker, following the on-screen instructions.
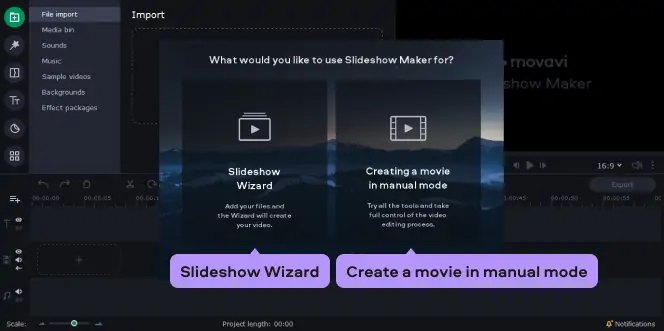
Step 2. Choose your working mode
There are two ways to work with Movavi Slideshow Maker. Choose Slideshow Wizard and the program will guide you through making a photo movie in a few easy steps. Choose Create a movie in manual mode to take control of the creative process with lots of adjustable settings and options. Make your selection and proceed to the next step.
Step 3. Make your slideshow
Easy mode
Step 3.1. Upload photos
In the Files tab, click the Add Files button and choose the images to include in your slideshow. Once you’ve added the images, you can change the order in which they appear by dragging them around; you can also remove slides by clicking the appropriate icon on each image.

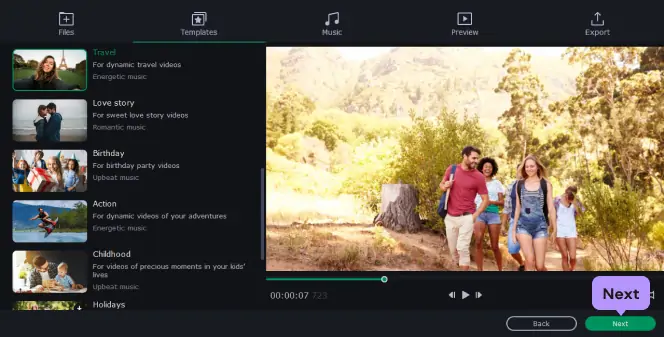
Step 3.2. Choose a theme (optional)
To save time when creating your slideshow, you can choose a ready-made theme (for example, Family, Love Story, etc.). Each theme includes custom transitions, captions and music track – you don’t need to select them manually. You can preview each theme just by clicking on it. To continue on with your chosen theme, click Next аnd move to Step 3.3. To make your own choice of music, caption, and transition style, choose No Theme, click Next, and go to the next step.
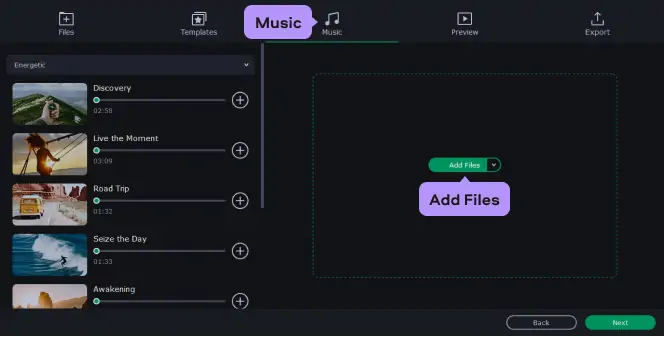
Step 3.3 Add music
Open the Music tab. Click Add Files to upload the music of your choice. You can also use one of the built-in audio files.
Step 3.4. Preview your slideshow
Open the Preview tab. Here, in the corresponding drop-down tabs, you can add opening and end titles, adjust your video to the duration of the music, and remove unwanted black sidebars from your video. Play your slideshow in the preview window by clicking the appropriate icon.
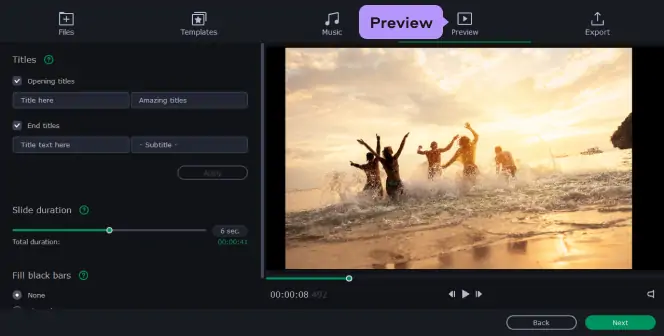
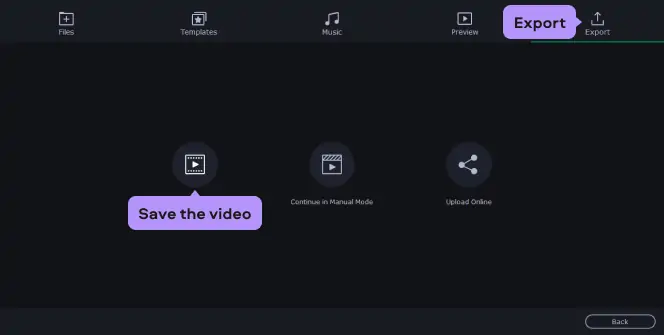
When you're ready to save your photo movie, go to the Export tab, click Save the video and go to step 4 below.
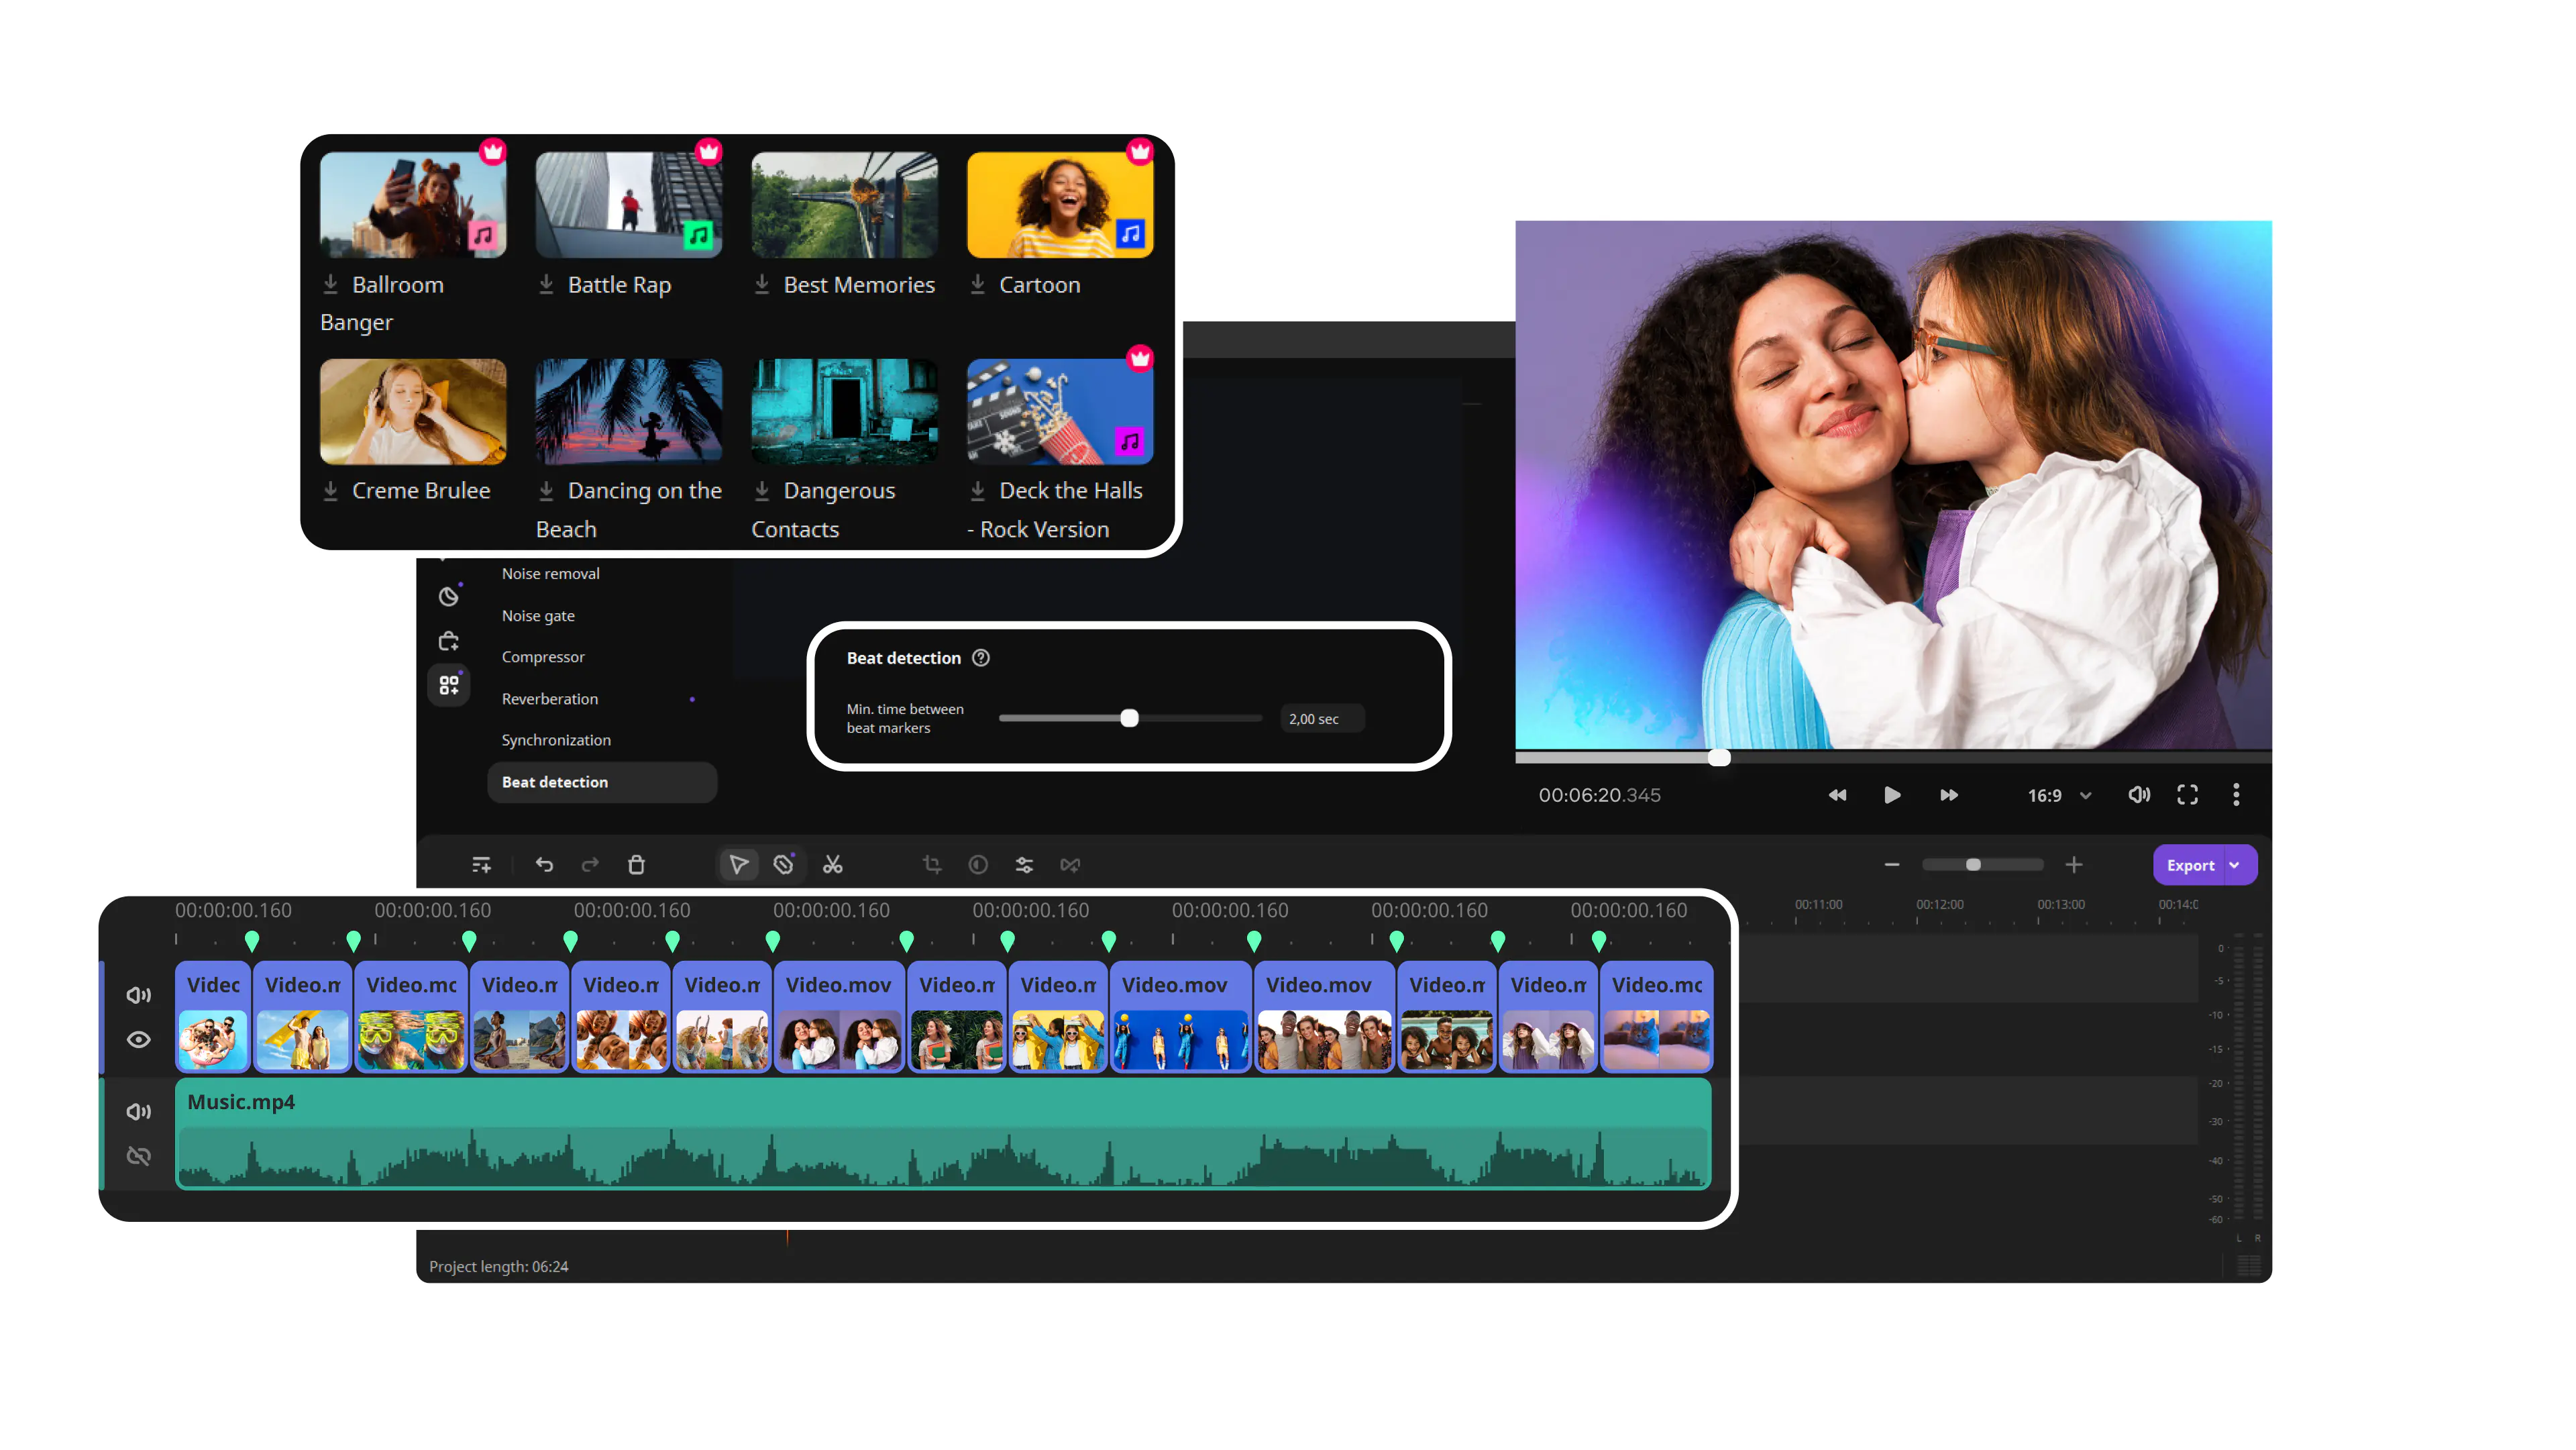
Manual mode
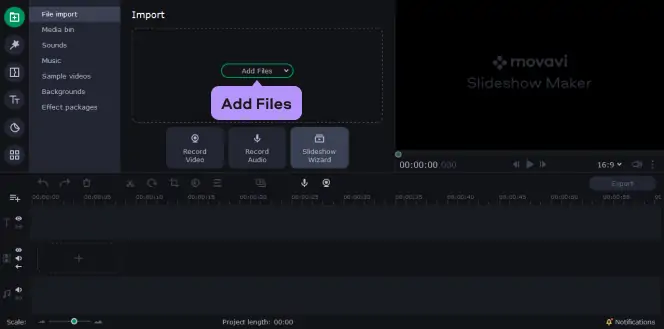
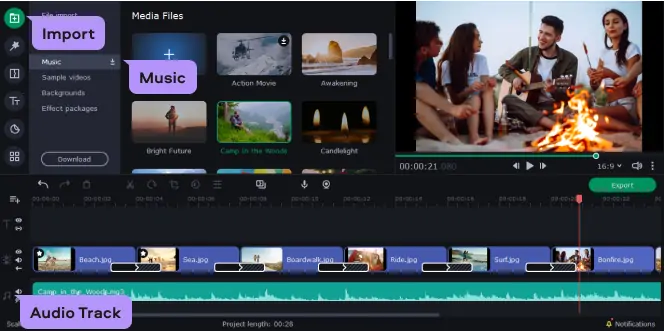
Step 3.1. Import files
Click Add Files and select the pictures you want to use in your slideshow. You can add not only photos, but also any video fragments that you find useful. All the clips you add will be automatically transferred to the timeline. Alternatively, you can simply drag and drop your files into the working area.
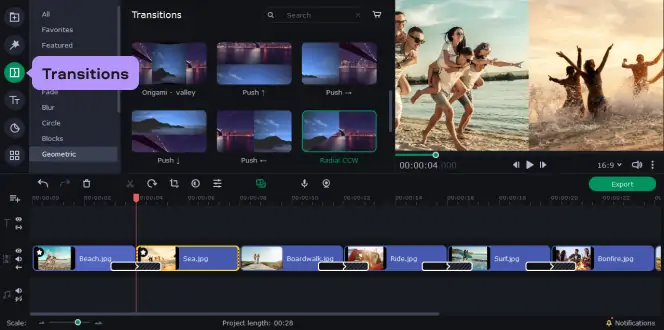
Step 3.2. Add transitions
Continue creating your slideshow by adding stylish transitions between the frames to create a flow for your movie – there are dozens to choose from. Go to the Transitions tab shown in the screen image, find the styles you like, and drag-and-drop them onto the working area between the slides. You can also click on the little icon shown in the screen image to automatically add transitions to all the clips at once.
Step 3.3. Add music and titles
Once you’ve added and adjusted your transitions, it’s time to upload some music. Return to the Import tab, click Add Files, and choose the desired music file. It will be transferred to the Audio Track on the timeline automatically.
Finally, add captions and credits to your movie. Click the Titles tab on the left to open the title collection, then drag and drop the one you want onto the timeline.
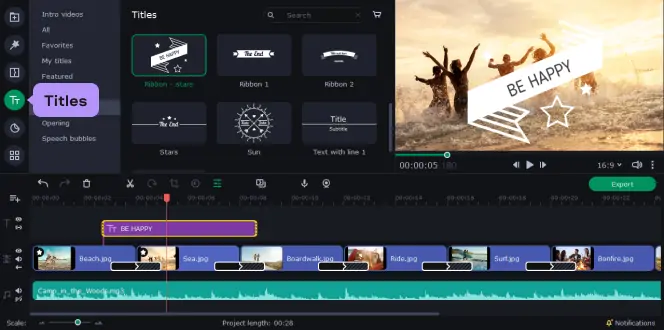
To edit a title, double-click it on the timeline or in the Preview area. Then double-click the text box in the Preview area and enter the text you want to include in your photo slideshow. To change title settings, double-click the title on the timeline and then specify text parameters like font, size, and color in the preview window. To save the changes, click Apply.

То save your movie, click Export and go to the step 4 below.
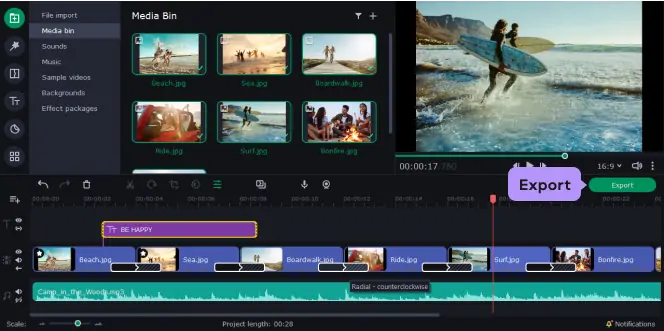
Step 4. Save your slideshow as a video
In the export window, select the appropriate option from the tabs at the top of the window. Choose Save Video File or, for example, Save for Devices, depending on how you plan to use the video. If you want to upload your video to YouTube, click the Upload to YouTube tab. You can also prepare your slideshow for online sharing by saving it as WebM, MP4 or OGV, since these formats are compatible with HTML5. Once you’ve specified the save parameters, click Start.

Movavi Slideshow Maker
An easy-to-use, yet efficient slideshow making program
* The trial version of Movavi Slideshow Maker has the following restrictions: 7-day trial period, watermark on the output slideshows, and an ability to save only half the audio length.


Have questions?
If you can’t find the answer to your question, please feel free to contact our Support Team.
You may also like
Movavi Video Suite
Your all-in-one package for working with multimedia files. Create movies with titles and effects, capture videos from screen, convert media files to any format, burn Blu-rays, DVDs, and CDs.
Movavi Photo Editor
An intuitive photo-editing app that lets you retouch any photo on the fly. Improve quality, add filters and captions, remove unwanted objects, change backgrounds, and more!
Join us for discounts, editing tips, and content ideas


1.5M+ users already subscribed to our newsletter