1. Download Movavi’s software
Install Movavi Slideshow Maker and start creating your movie with pictures, photos and music right away.
Flexible: 150+ filters, 100+ transitions, 40+ titles
Easy: master in 5 minutes, explore your creativity for hours
Personal: use voice-over to tell your unique story
Secure: no need to upload your own photos online

Install Movavi Slideshow Maker and start creating your movie with pictures, photos and music right away.
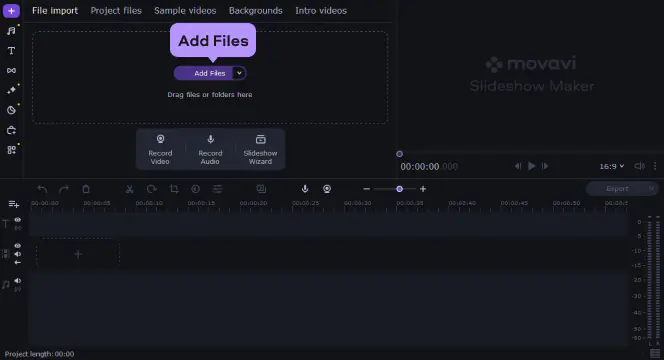
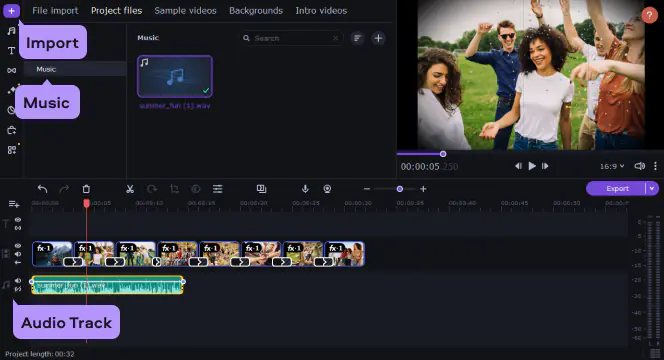
Launch the program and choose Creating a movie in manual mode. Click the Add Media Files button. Now select the files you want to use. The photos will appear on the video track. Alternatively, you can simply drag and drop the files you want to use to the working area right from the folder in which they’re stored. Once you’ve added your media files, place them in the order you want them to appear in the finished video.
To add exciting filters to your photos, just click the Effects tab. Choose the filter you prefer and drag it to the photo you want to use it with. Once you’ve done that, the filter will be automatically applied to the photo. You can apply multiple filters from different categories to one image.
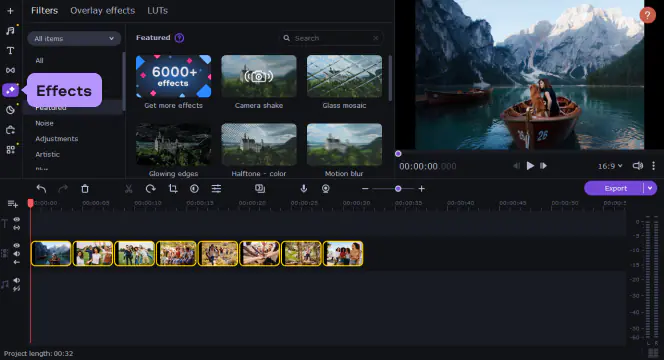
To remove a filter from a photo, click the star button on the photo, choose the filter you want to delete, and press Remove. Now you can apply another filter or leave it as it is.
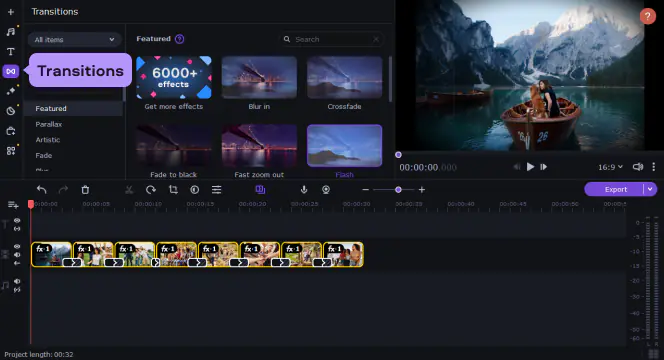
To add transitions between all your clips in one pass, just click the special button with a picture of mountains that’s above the timeline. In the dialogue box that appears, choose the transition style you want to use and set the duration. You can also set the slide duration in the same window.
If you want to review all the available transitions, open the Transitions tab and drag your selections to the appropriate positions on the timeline.
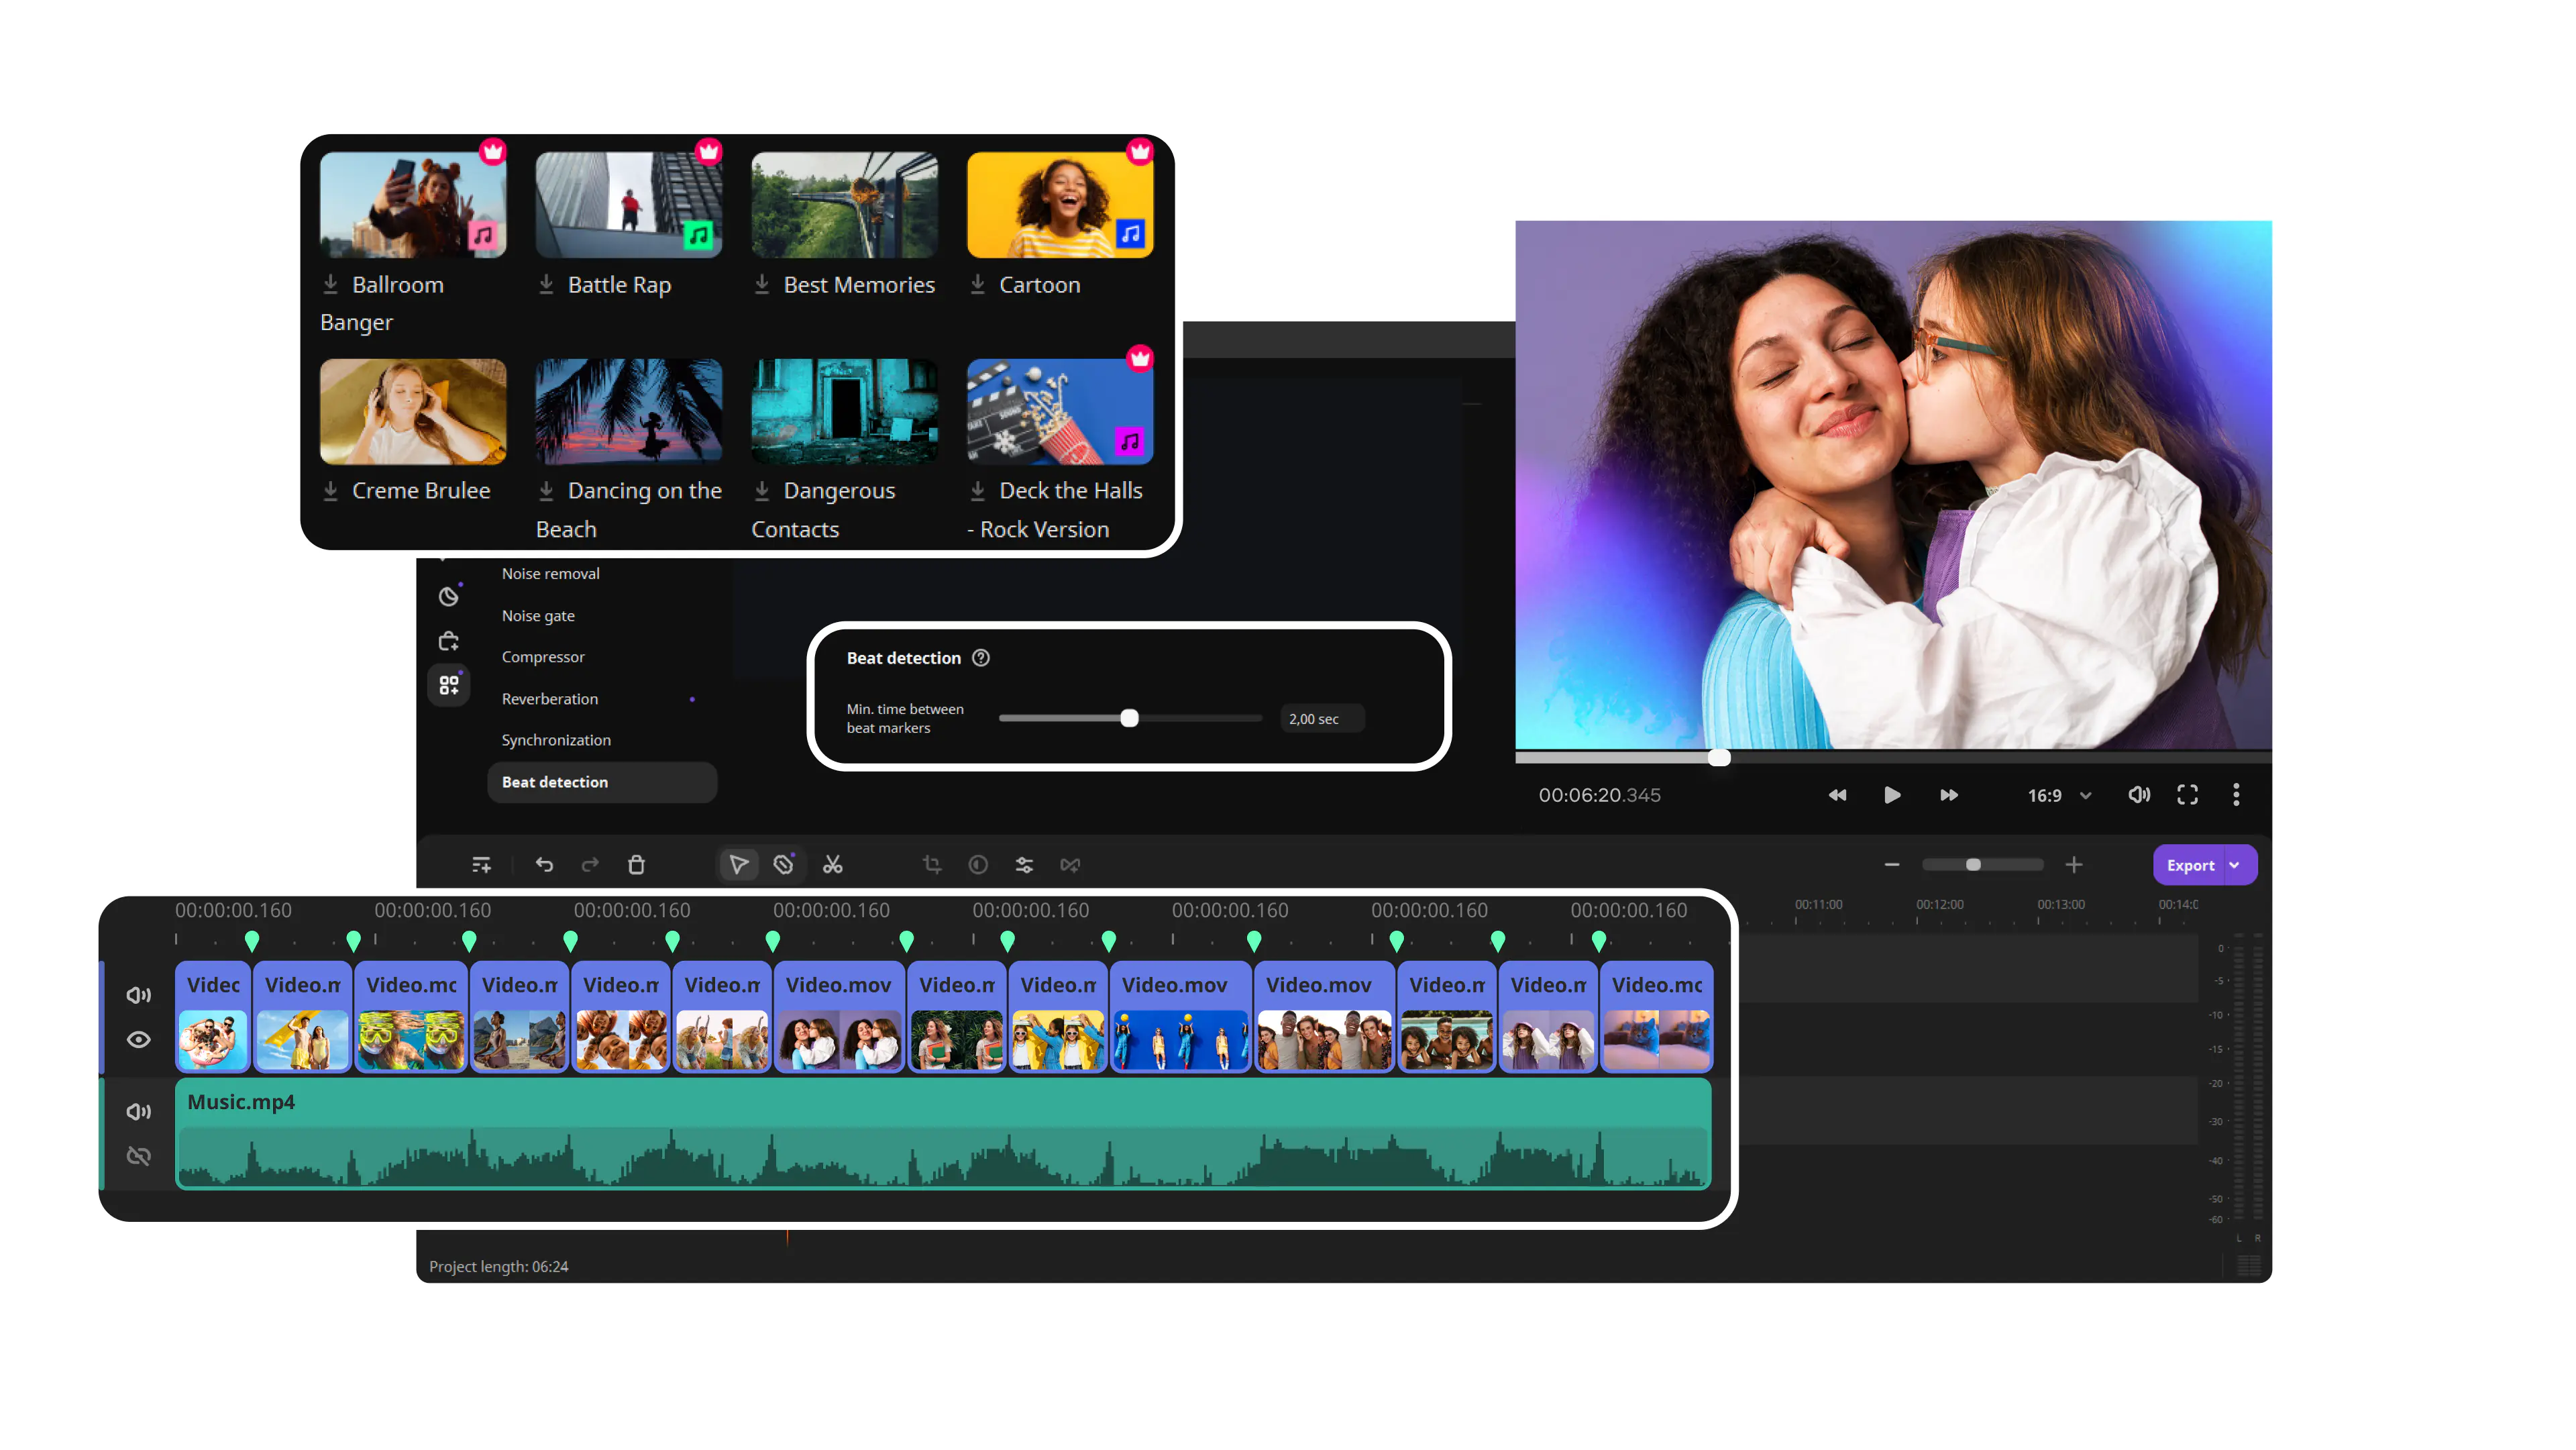
Once you’ve finished adding titles, return to the Import tab and click Add Media Files to select a suitable song or instrumental music for your movie, or drag a sound file from the folder where it's stored onto the Audio Track, which is identified with a musical notation.
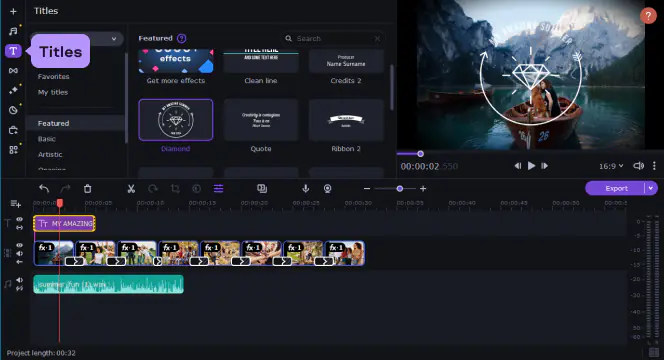
You can also add subtitles to your movie to give some context to the images and show why they’re special for you. Open the Titles tab, choose the title style you want to use, and drag it to the titles track.
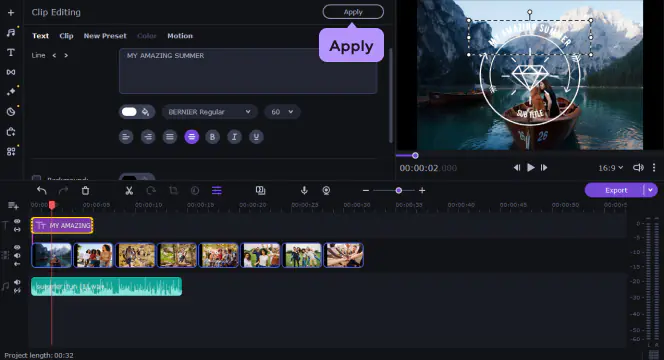
To edit a title, double-click it on the timeline or in the Preview Area. Then double-click the text box in the Preview Area and enter the text you want to include in your photo slideshow. To change title settings, double-click the title on the timeline and then specify text parameters like font, size, and color in the preview window. To save the changes, click Apply.
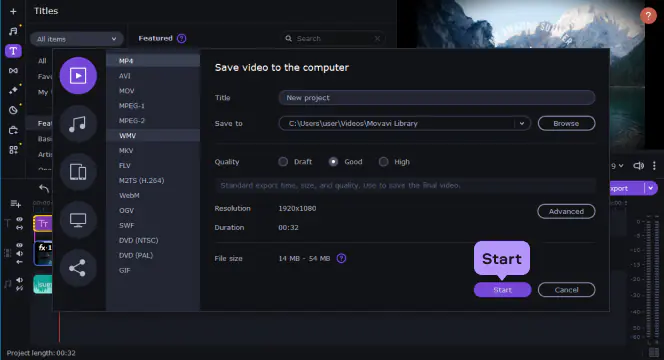
When everything is ready, save your file. Click Export and choose the appropriate option for what you want to do with the video. Select the Save Video File tab if you’re planning to watch your video on a computer. If you want to transfer the file to a mobile device, open the appropriate tab to save for Apple, Android, or other device. You can also upload your video directly to YouTube or Google Drive – to do this, click Upload online. Now choose the required video preset or an output format, and specify the filename and folder. Finally, click Start. That’s all there is to it – creating a video from pictures has never been easier!
Now you know how to create videos from photos in no time. Have a go and see how fast this powerful picture-to-video maker is! Create video from pictures and share the best moments of your life with your friends in your blog or on Facebook and other social networks.
* The trial version of Movavi Slideshow Maker has the following restrictions: 7-day trial period, watermark on the output slideshows, and an ability to save only half the audio length.


1.5M+ users already subscribed to our newsletter