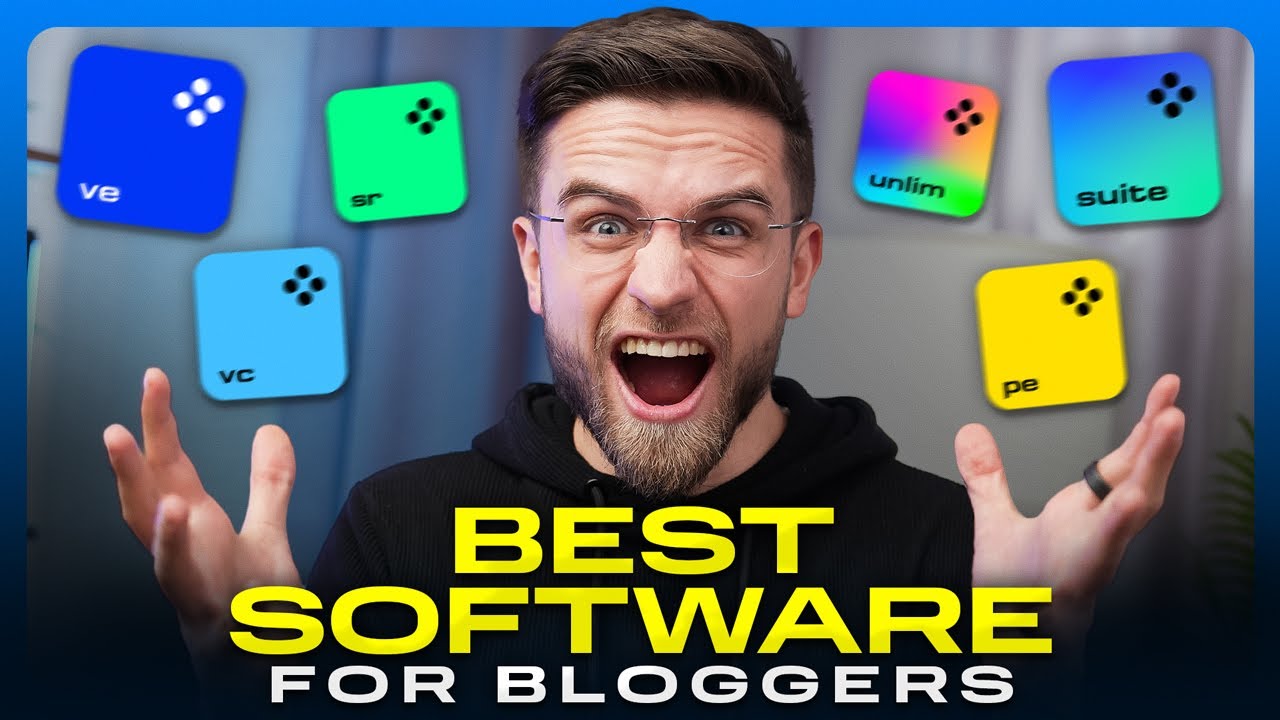
Alt vores video-software
Udforsk vores video- og fotoværktøjer – vi har lige det, du behøver.
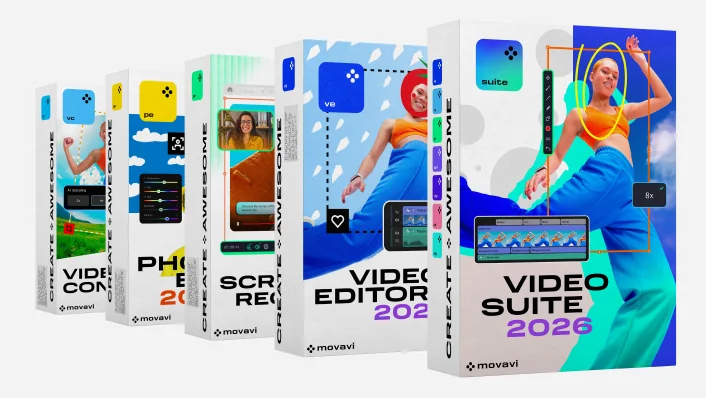
Movavi Video Suite 2026
Din gør-det-alt-videoproduktionspakke: Et videoredigeringsværktøj, mediekonvertering, skærmoptager og meget mere
Movavi Video Suite 2026
Din gør-det-alt-videoproduktionspakke: Et videoredigeringsværktøj, mediekonvertering, skærmoptager og meget mere
Prøv alle Movavi-programmer
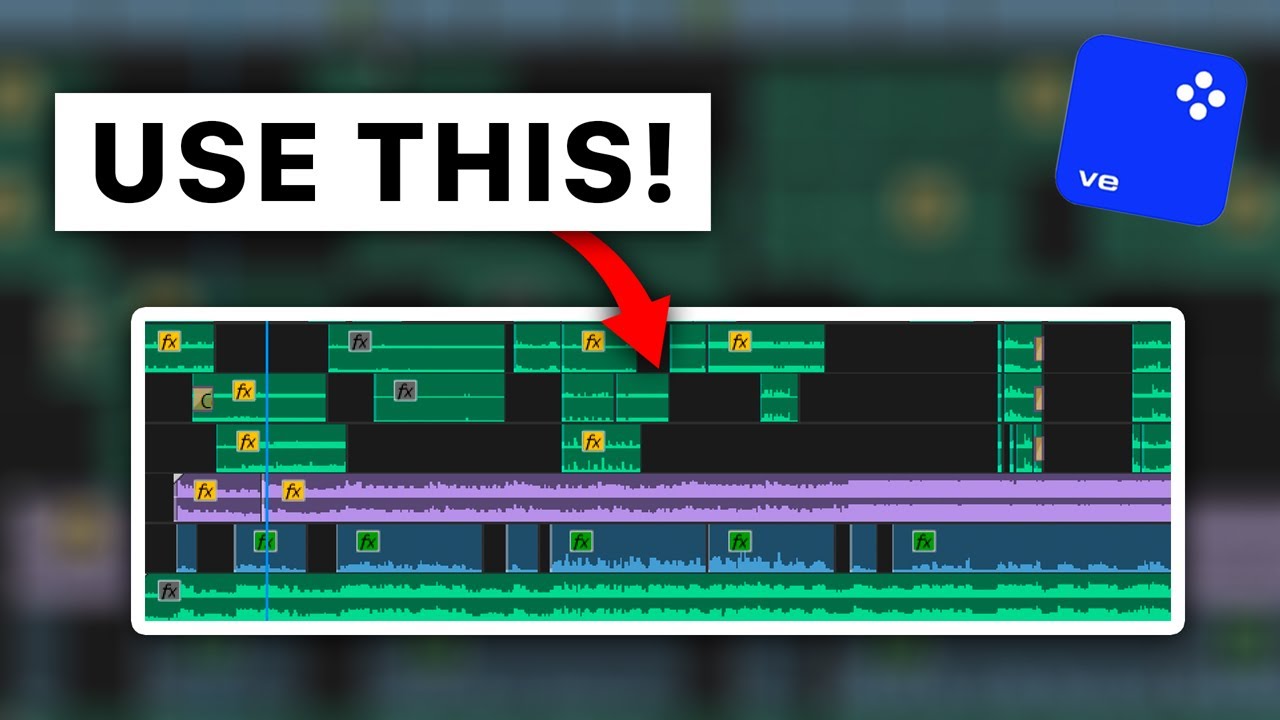
Dit enkle, men kraftfulde redigeringsværktøj til at skabe videoer med wow-effekt
Dit smarte og enkle fotoredigeringsprogram til at skabe billeder med wow-effekt
Dit go-to-konverteringsprogram til at ændre video-, billed- og lydformater på få sekunder
Dit lette skærmoptagelsesværktøj, som giver mere effektive projekter
Alle Movavi-programmer og 10.000 effekter i én pakke til at skabe imponerende videoer og billeder
Alt vores video-software
Udforsk vores video- og fotoværktøjer – vi har lige det, du behøver.
Klip
Beskær
Trim
Roter
Skift størrelse
Vend om
Stabiliser
Juster farver
Tilføj titler
Tilføj filtre og overgange
Brug LUT'er og overlejringer
Indsæt færdiglavede introer
Anvend chroma key
Skab bedre lydkvalitet
Lav rejsevideoer
Gem familieminder
Få en endnu bedre vlog
Imponer dine seere
Få tonsvis af likes
Få flere følgere
Lav videoer, som de vil elske
70 mio.+


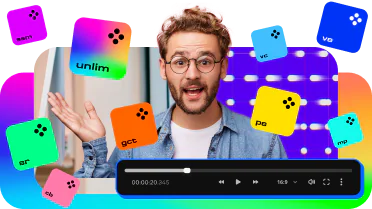
Over 10.000 effekter og 1.500 musiknumre
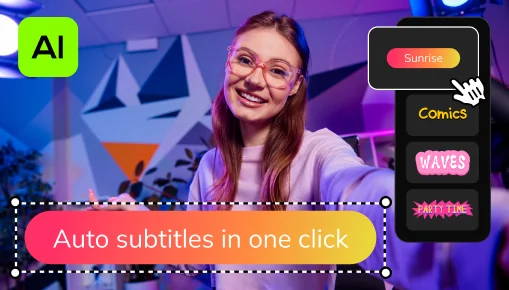
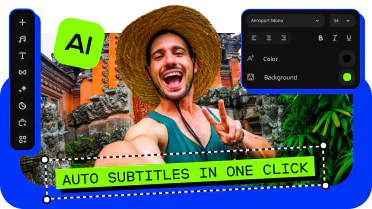
Automatiske tekster med ét klik
Lad AI omdanne din tale til tekst og automatisk oprette billedtekster til dine videoer på næsten alle sprog. Vælg skrifttype, tekstfarve og placering – og så er du klar!
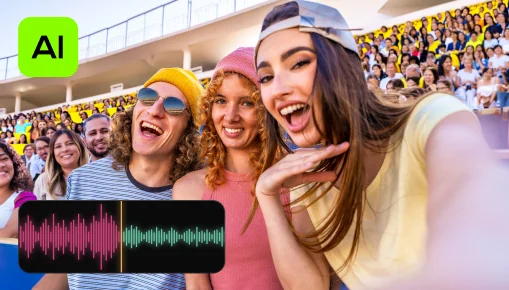
Fjernelse af støj med AI
Fjern automatisk bil-, vind- og andre forstyrrende lyde fra dine klip med vores AI-fjernelse af støj. Skab videoer med klar og ren lyd, som seerne helt sikkert vil sætte pris på.
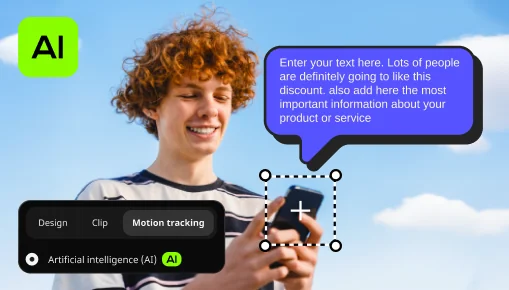
Bevægelsessporing med AI
Forbedr virkelighedsindtrykket i dine videoer med yderligere bevægende grafik. Du skal bare klikke, og så vil AI'en hurtigt tilføje fotos, videoer, emojis eller memes til objekter i dine optagelser.
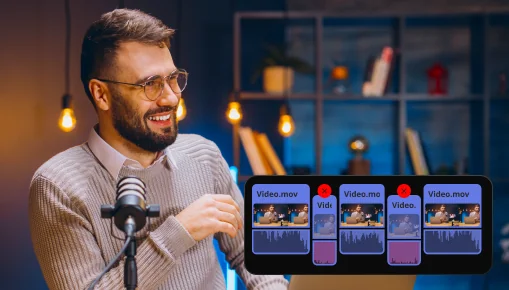
Fjernelse af stilhed
Fjern uønskede pauser automatisk, eller finjuster pausens længde og lydstyrken selv. Du sparer tid og kan springe den kedelige oprydning over – så du kan fokusere på det sjove.
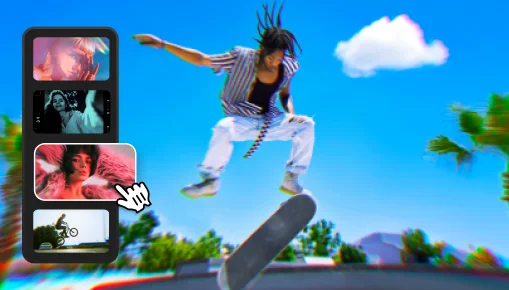
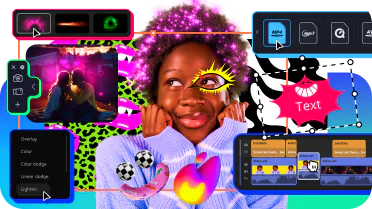
Justerbare effekter
Et enkelt klik for endnu flottere videoer med nye realistiske effekter, fra støvpartikler og lysindfald til retrostil og VHS. Alle effekter kan tilpasses, så de passer perfekt til ethvert klip og giver dem et ekstra pift.
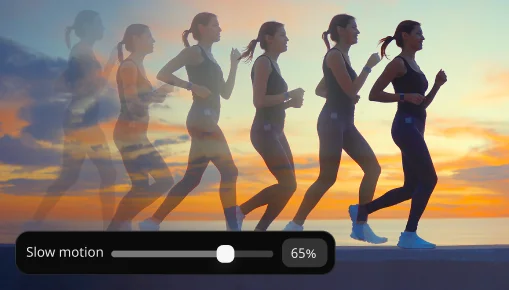
Slowmotion
Sænk hastigheden på dine optagelser for at gøre bevægelser tydeligere, rette opmærksomheden mod vigtige detaljer og kontrollere tempo og rytme i hver scene.
Der findes mange gratis videoredigeringsprogrammer tilgængelige på internettet. Men helt gratis software fra tredjeparter kan indeholde ondsindet kode, som kan stjæle dine personlige og økonomiske oplysninger.
Derfor har vi lavet Movavi Video Editor – den er 100 % sikker og nem at bruge! Du kan prøve gratisversionen med disse begrænsninger: et Movavi-vandmærke, 60 sekunders video eller halvdelen af lydlængden og nogle avancerede funktioner er låst ved eksport. Hvis du kan lide softwaren, kan du købe en livstidslicens eller et årligt abonnement på den fulde version og redigere videoer uden begrænsninger og med alle funktioner tilgængelige.
Vi arbejder hårdt på at gøre vores software så nem og intuitiv som muligt. Nogle gange tester vi det endda på vores bedsteforældre! Derfor kan vi helt sikkert sige, at Movavi Video Editor er et af de bedste videoredigeringsprogrammer til begyndere.
Selvom du aldrig har prøvet at redigere videoer før, vil du mestre Movavi-editoren på mindre end 20 minutter – takket være den brugervenlige grænseflade, praktiske værktøjstip og vores supportteam, som altid er klar til at hjælpe dig og opmuntre din kreativitet.
Vil du skabe engagerende indhold til YouTube? Imponere dit publikum med karakteristiske introer og overgange? Få flere likes og følgere? Så er Movavi Video Editor måske din perfekte videoredigeringssoftware til YouTube! Programmet har fantastiske intro-forudindstillinger, tonsvis af iøjnefaldende effekter og overgange og en intuitiv grænseflade, der lader dig fokusere på at skabe i stedet for at læse komplekse manualer.
Men vent, der er mere! Hvis du planlægger at erobre YouTube, har vi en fantastisk bonus til dig – et par effektpakker designet specielt til håbefulde YouTubere. Følg nedenstående links og forestil dig, hvordan disse effekter vil forbedre dine videoer.
Min kanalpakke til YouTube
Min kanalpakke til YouTube nr. 2
Hvis du arbejder med professionel videoredigeringssoftware, kan tilføjelse af selv den enkleste videoovergang tage dig timer, hvis du trykker på de forkerte knapper og skal lede efter løsningen. Det er ikke en behagelig oplevelse.
Med Movavi Video Editor tager det omkring 3 sekunder at tilføje en overgang – du trækker og slipper bare den overgang, du ønsker, mellem klippene. Ja, så enkelt er det. Følg linket nedenfor for at lære mere om forskellige typer overgange.
Hvis du har læst svarene ovenfor, kan du måske gætte, hvilken software vi vil anbefale her. Men i virkeligheden er Movavi Video Editor ikke bare et godt alternativ til iMovie. Det er meget bedre med hensyn til funktionalitet og brugervenlighed. Prøv det, og du vil forstå, hvad vi snakker om.
Læs artiklen nedenfor for at lære mere om programmer til Windows, der svarer til iMovie.
iMovie-alternativer til Windows
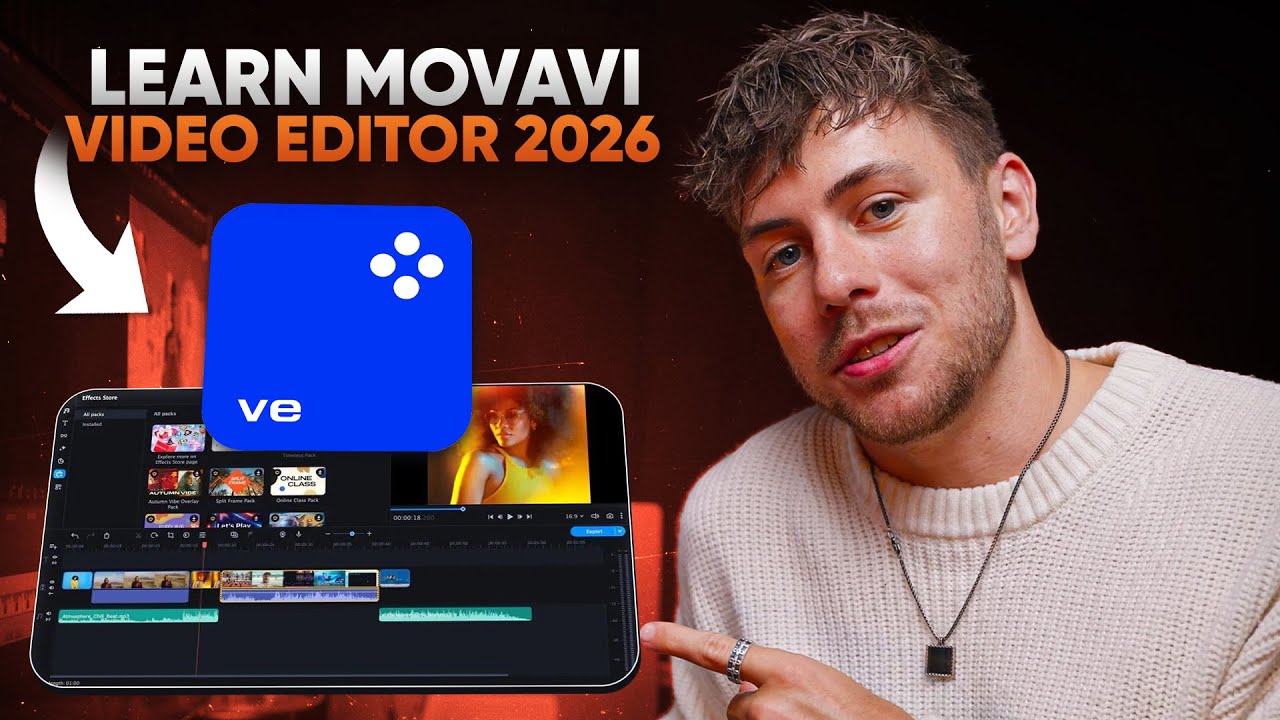
Movavi Video Editor 2026 – hurtigere, med masser af effekter
Få nem redigering med automatiske værktøjer, og mere end 40 nye justerbare effekter – spar tid, og giv dine videoer et ekstra væld af imponerende effekter. Fjern automatisk alle uønskede pauser, anvend effekter fra ét klip på alle andre klip, og prøv mere end 30 nye stilarter med automatiske undertekster
Det er nemt at redigere videoer med Movavi Video Suite 2026
Den nye Movavi Video Suite er fyldt med funktioner og stærke automatiske værktøjer, der gør let som en leg at lave videoer! Gennemfør dine projekter uden besvær med hundredvis af effekter, lynhurtig filkonvertering og en praktisk skærmoptager.
Læs mere
Få alle de nyeste apps og effekter på én gang med Movavi Unlimited 2026
Strømlin din video- og fotoredigering med de nye automatiske værktøjer og forbedret ydeevne. Skab opsigtsvækkende videoer, lav informative skærmoptagelser, konverter mediefiler til ethvert format, og underhold med masser af effekter.
Læs mere
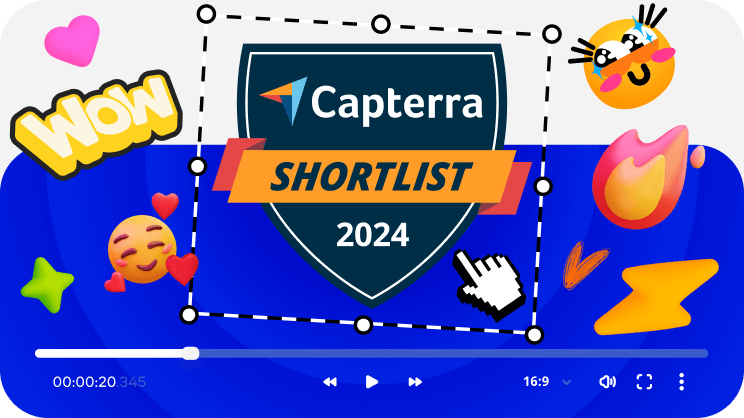
Vores videoredigeringsprogram er et af de bedste i 2024!
Movavi Video Editor er på 2024 Capterra Shortlist! Hvis du ikke har prøvet Movavi Video Editor endnu, så prøv det nu og se, hvorfor det er et af de bedste.
64-bit Microsoft® Windows® 10/11 med opdaterede rettelser og installerede servicepakker
Intel®, AMD® eller kompatibel med dual-core processor 1,5 GHz
Intel® HD Graphics 2000, NVIDIA® GeForce® series 8 og 8M, Quadro FX 4800, Quadro FX 5600, AMD Radeon™ R600, Mobility Radeon™ HD 4330, Mobility FirePro™ series, Radeon™ R5 M230 eller større grafikkort med opdaterede drivere
1280 × 768 skærmopløsning og 32-bit farve
4 GB
400 MB fri harddiskplads til installation, 600 MB til løbende drift
Der kræves administratortilladelser ved installation
Slut dig til os for rabatter, redigeringstips og ideer!


1.5M+ brugere har allerede tilmeldt sig vores nyhedsbrev