Step 1. Download and open Movavi Video Editor
Grab the free version from the official Movavi website and install it on Windows 10 or 11, or macOS 12.0 and later

To add subtitles automatically, drop your clip into Movavi Video Editor and run the auto subtitle tool. Speech converts to captions in seconds with over 99% accuracy across 100+ languages. Customize the style and export – no editing experience needed.
Captions deliver your message on mute or in noisy settings while boosting reach, retention, and accessibility. Ahead: step-by-step captioning, styling for YouTube and TikTok, and free options. Movavi's AI automatically transcribes and syncs audio, turning a tedious chore into a quick, effortless step for regular creators.
Auto-captioning methods generally fall into four types: browser generators, built-in social media tools, stand-alone open-source engines, and desktop video editors.
Movavi Video Editor belongs to the last group, letting you generate, trim, and style captions right alongside your cuts and music – no app-switching required. Here is how to do it from start to finish.
Grab the free version from the official Movavi website and install it on Windows 10 or 11, or macOS 12.0 and later
Click Add Files to import your clip, then drag it down onto the timeline. Hover previews show each frame as you move the cursor, so you land on the right spot without guessing.
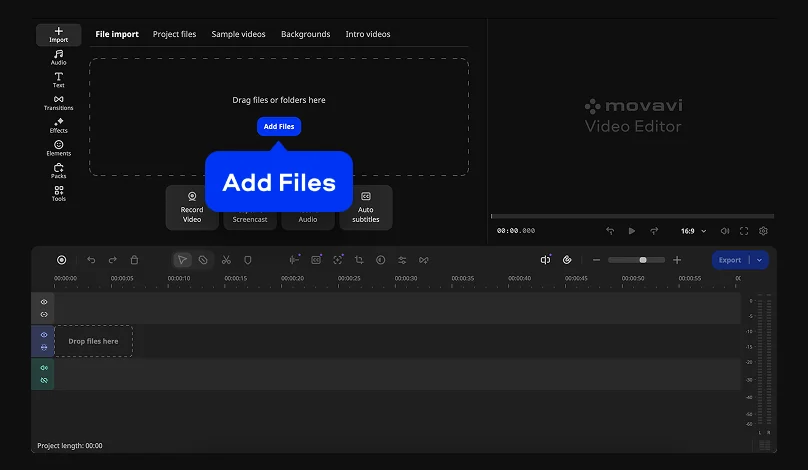
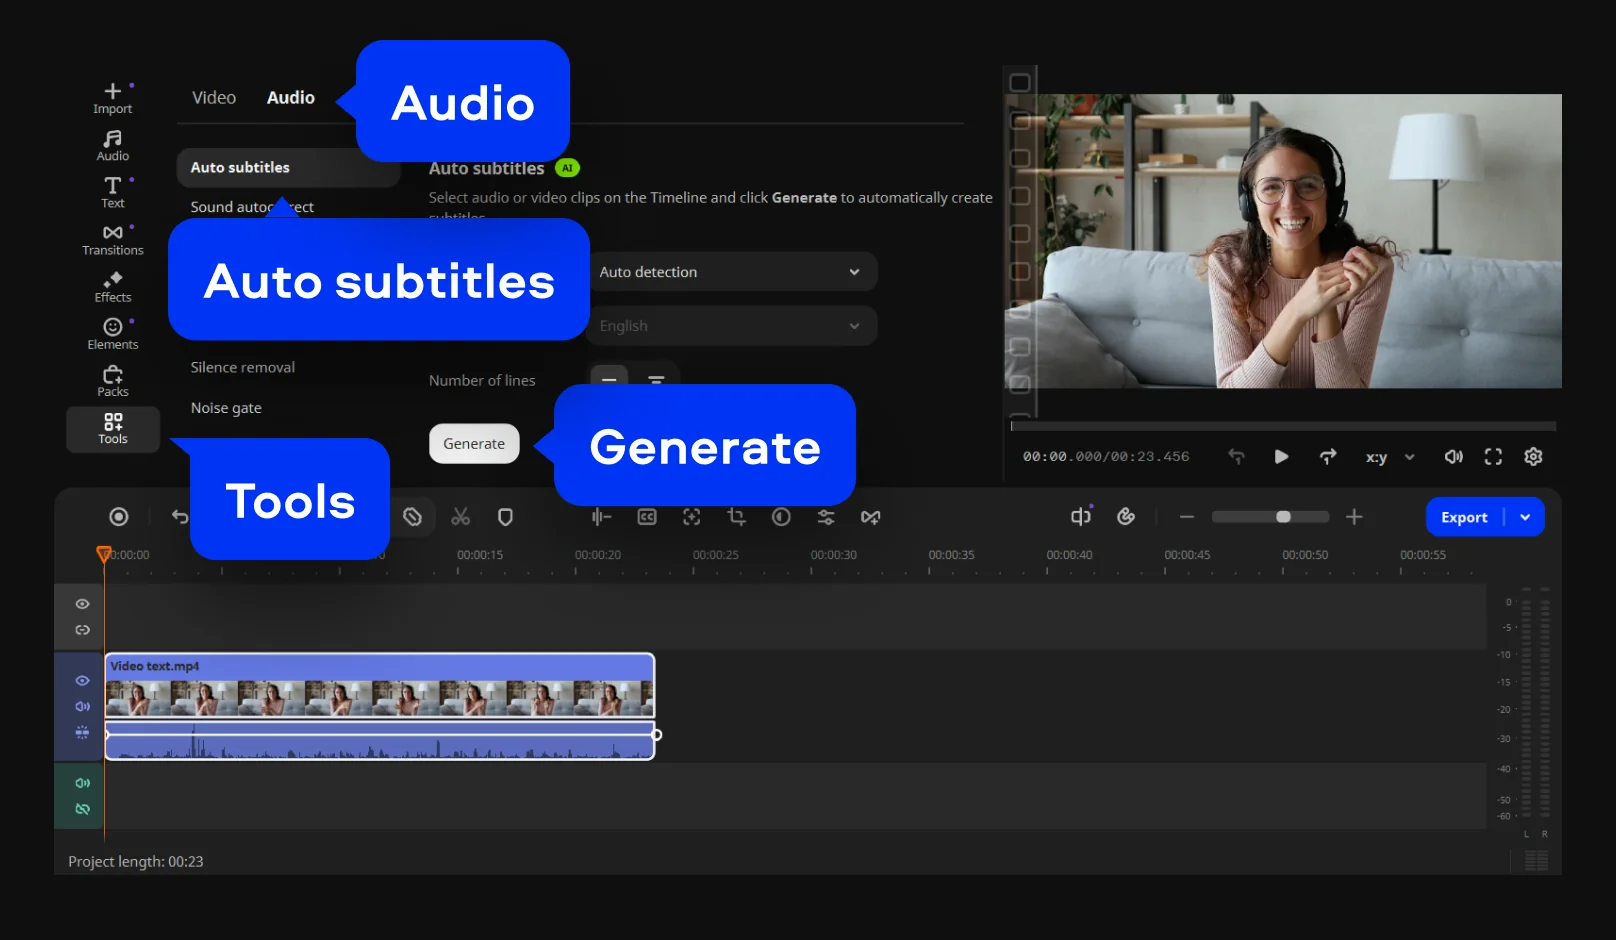
Choose Tools and in Audio tab click on Auto subtitles. Select your spoken language from the dropdown menu. You can also choose to translate the text if needed. Click Generate and wait for the AI to transcribe and time the captions on your timeline.
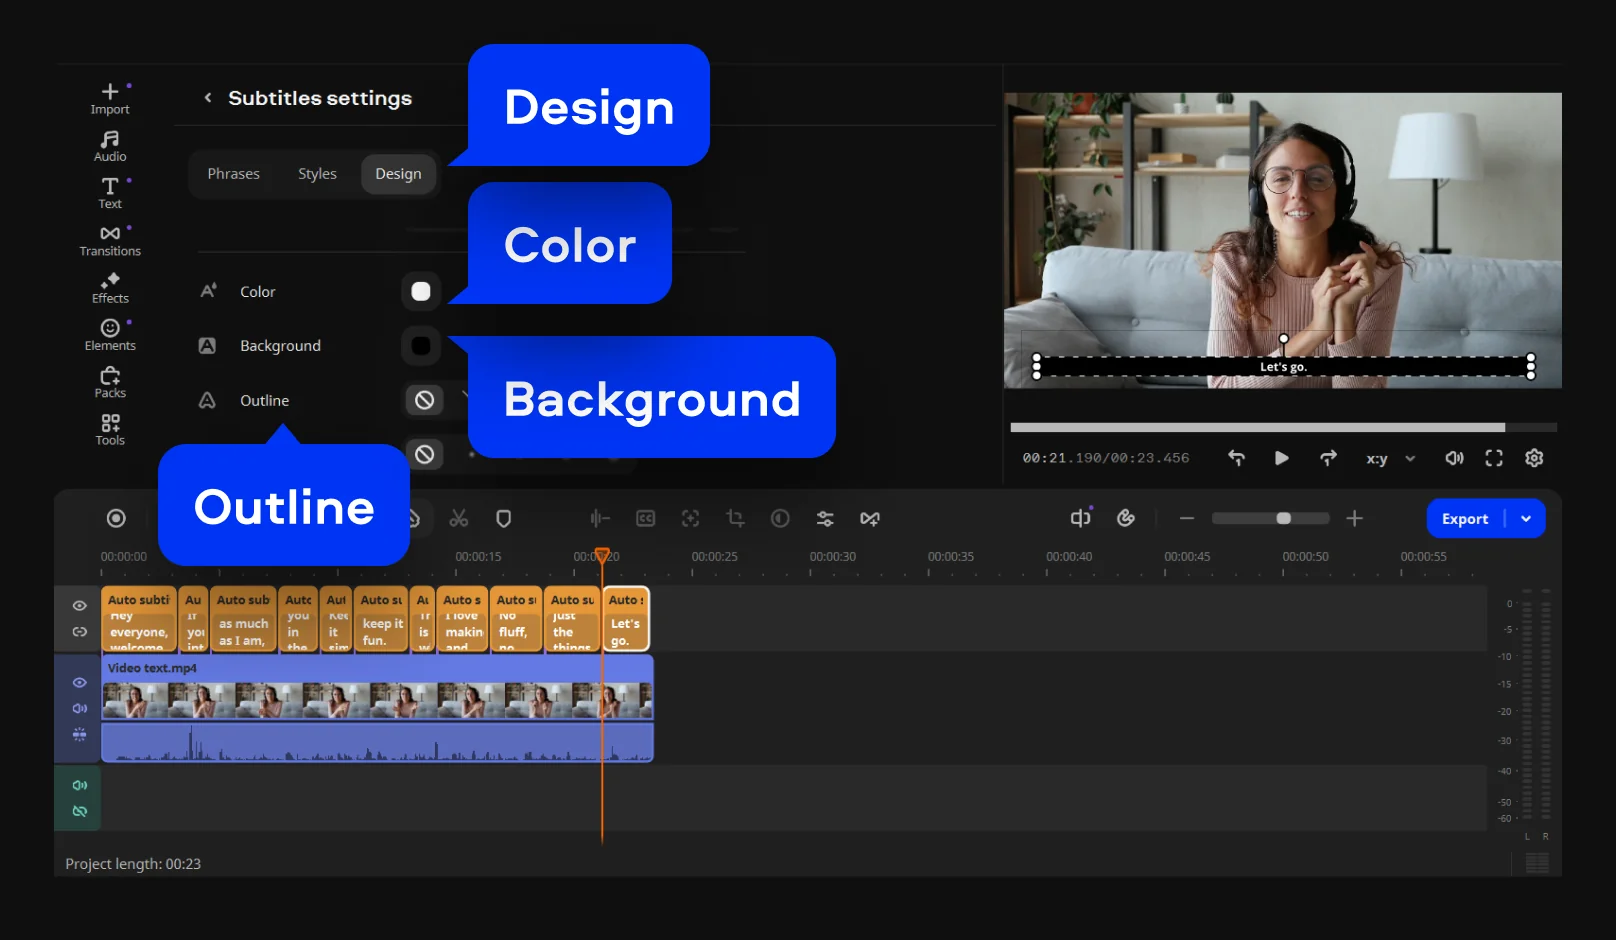
In the Phrases tab, read the text and fix any names or slang the AI missed. Open Styles to pick from 60+ presets, from clean and minimal to bold and loud. In the Design tab, set the alignment; add bold, italic, or underline; change the text Color and Background; and add an Outline so captions stay readable over any footage. You can also switch on active word highlighting, which lights each word as it's spoken, the word-by-word look you see all over TikTok and Reels.
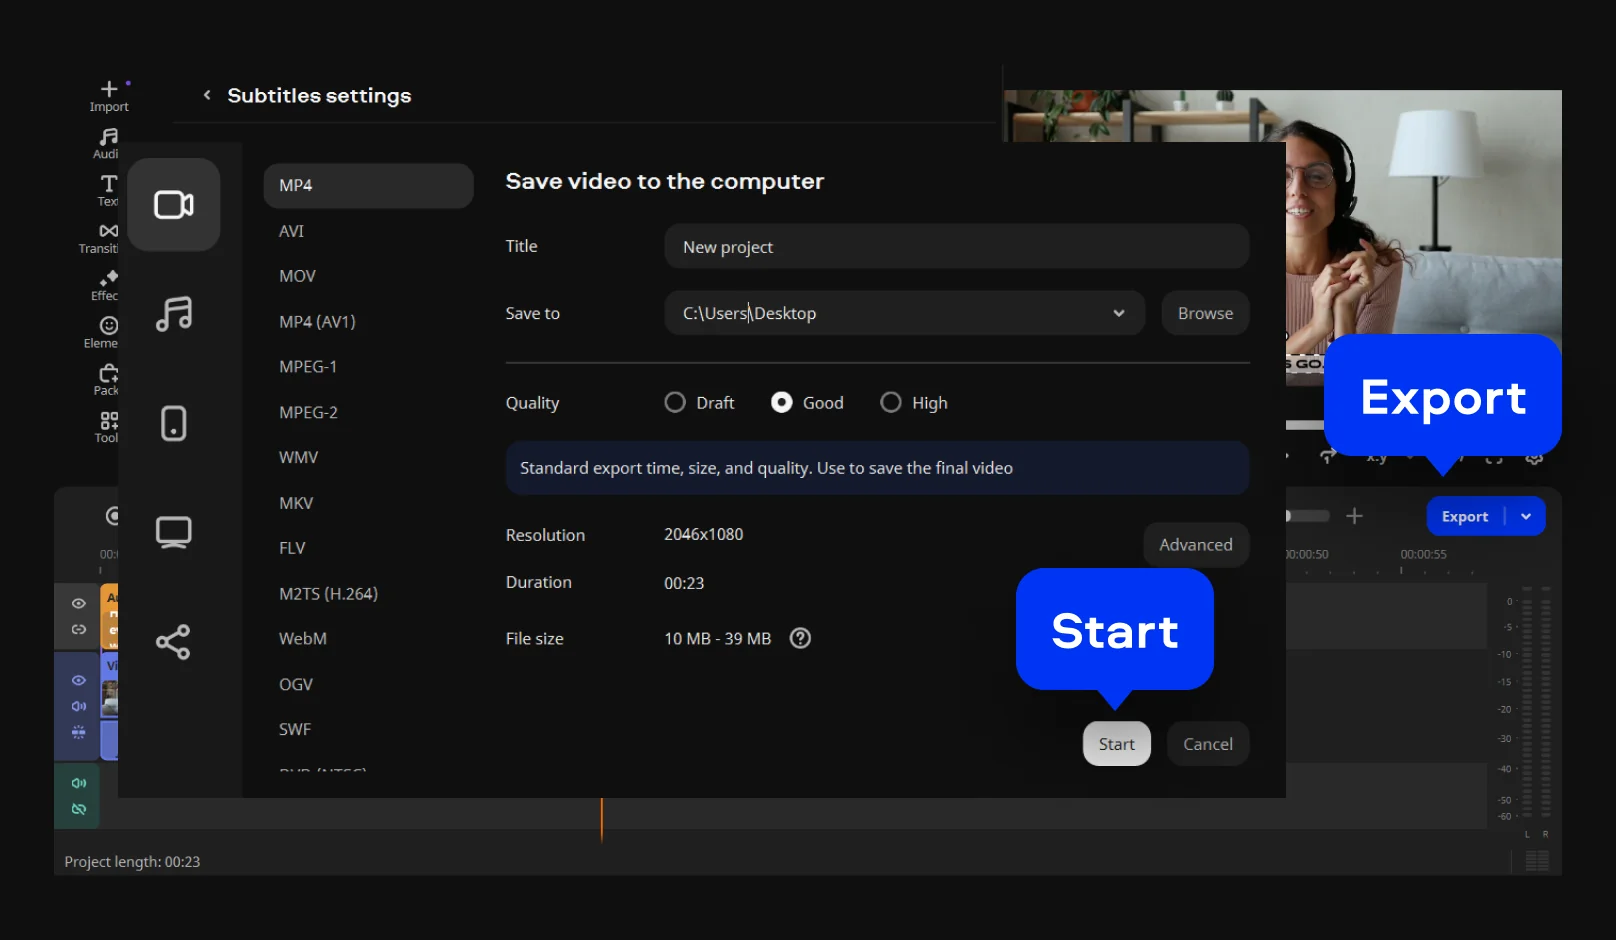
Click Export, pick your format (MP4, MOV, and more), and click Start. The captions bake right into the finished file, ready to upload to YouTube, TikTok, or anywhere else.
And that's it. No separate transcription app, no timeline of text boxes to nudge one by one.
Once your captions are set, keep the momentum going. Movavi Ideas publishes fresh, step-by-step editing tricks every week, free and exclusive to Movavi Video Editor users. It's a good place to find your next caption style or an effect to try on your next upload.
Movavi Video Editor's auto subtitle tool converts speech to text with over 99% accuracy across more than 100 recognized languages, then lets you restyle the result to fit your channel. It's the caption engine behind the steps above, and here's the detail worth knowing before you run it:
99% transcription accuracy
The generated text usually lands close enough that your edits are minor, not a rewrite. Give it a proofread anyway: proper names, technical terms, strong accents, and stretches with heavy background noise are where auto-captioning slips, so those are the lines to check before you export.
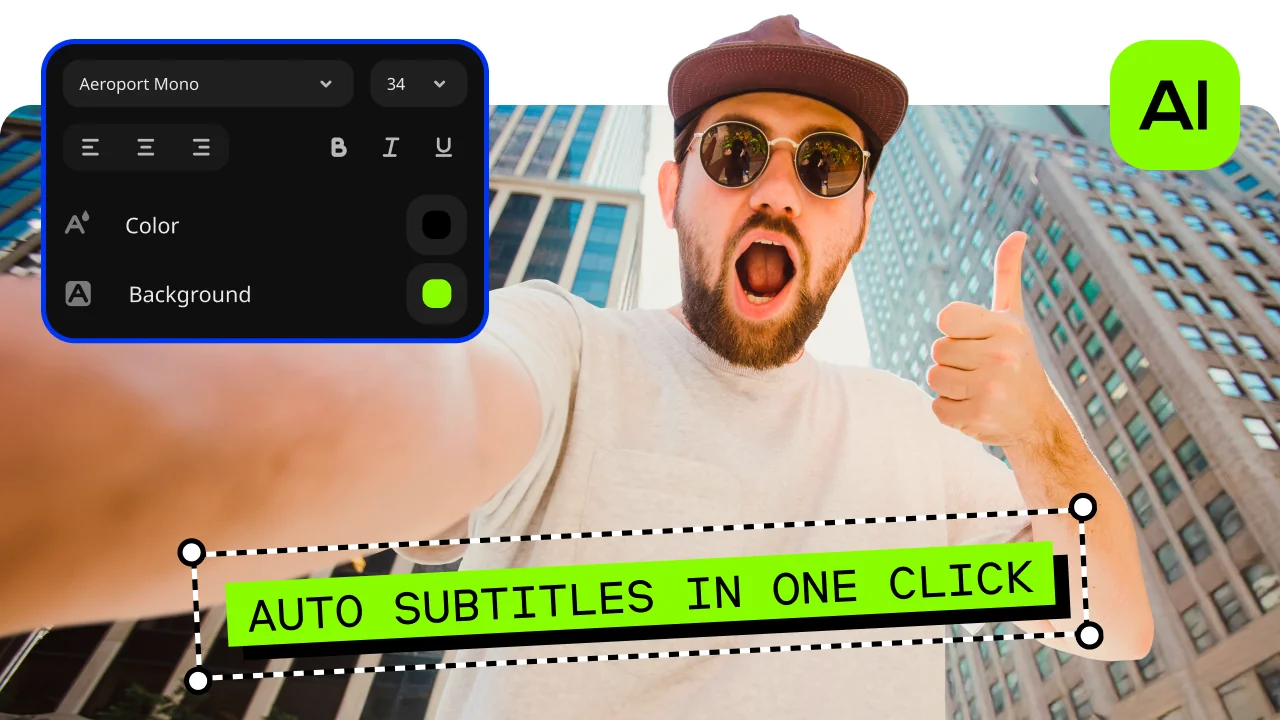
100+ recognized languages
Caption clips spoken in English, Spanish, Japanese, and dozens more. You choose the language up front so the AI knows what it's listening for.
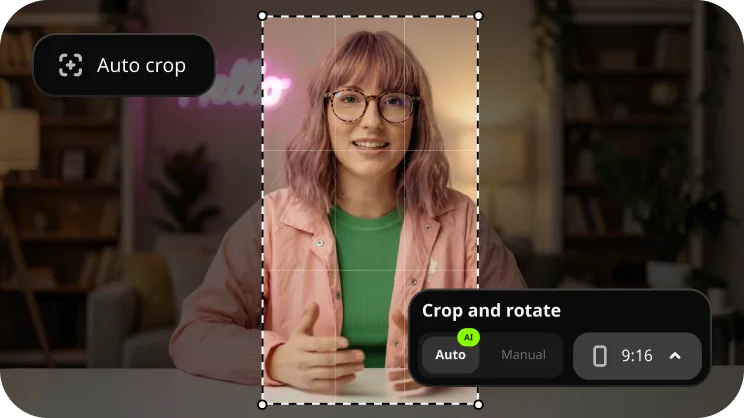
60+ caption designs
Match the styling to the video, a tidy explainer look for a how-to or a punchy one for a vlog.
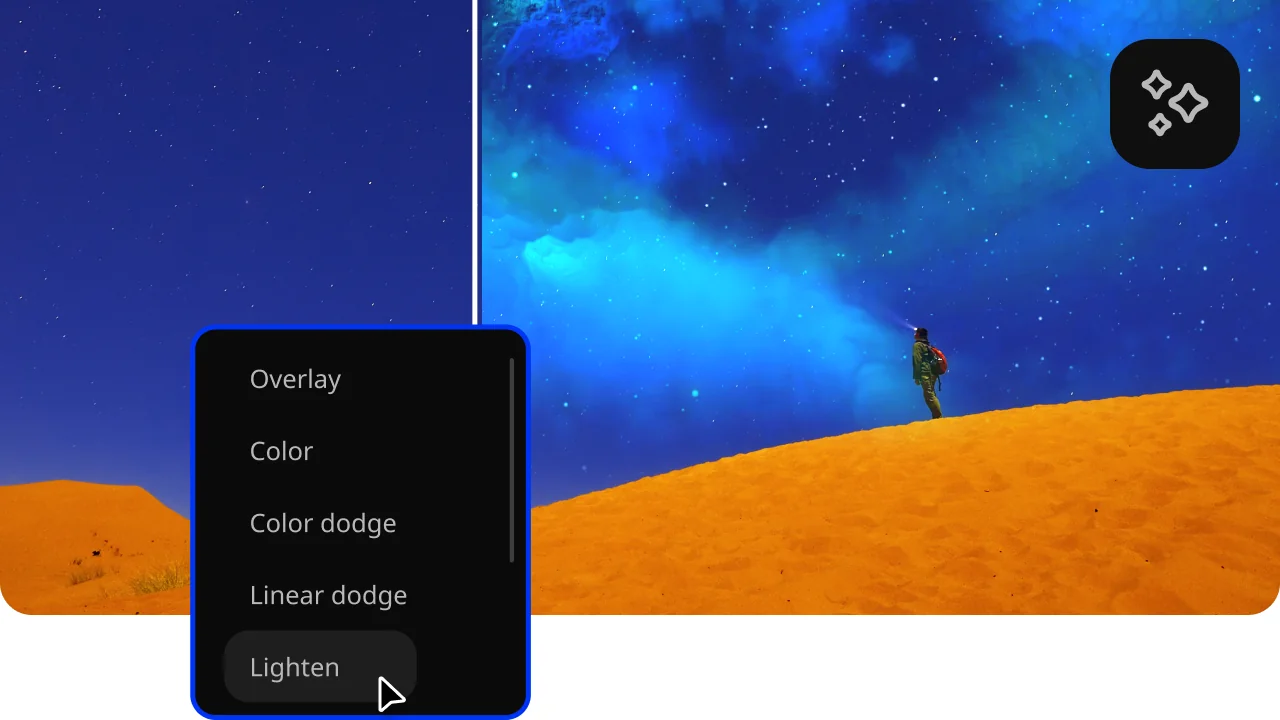
Active word highlighting
Each word pops in time with your voice, the format short-form viewers are used to and the one that keeps them watching.
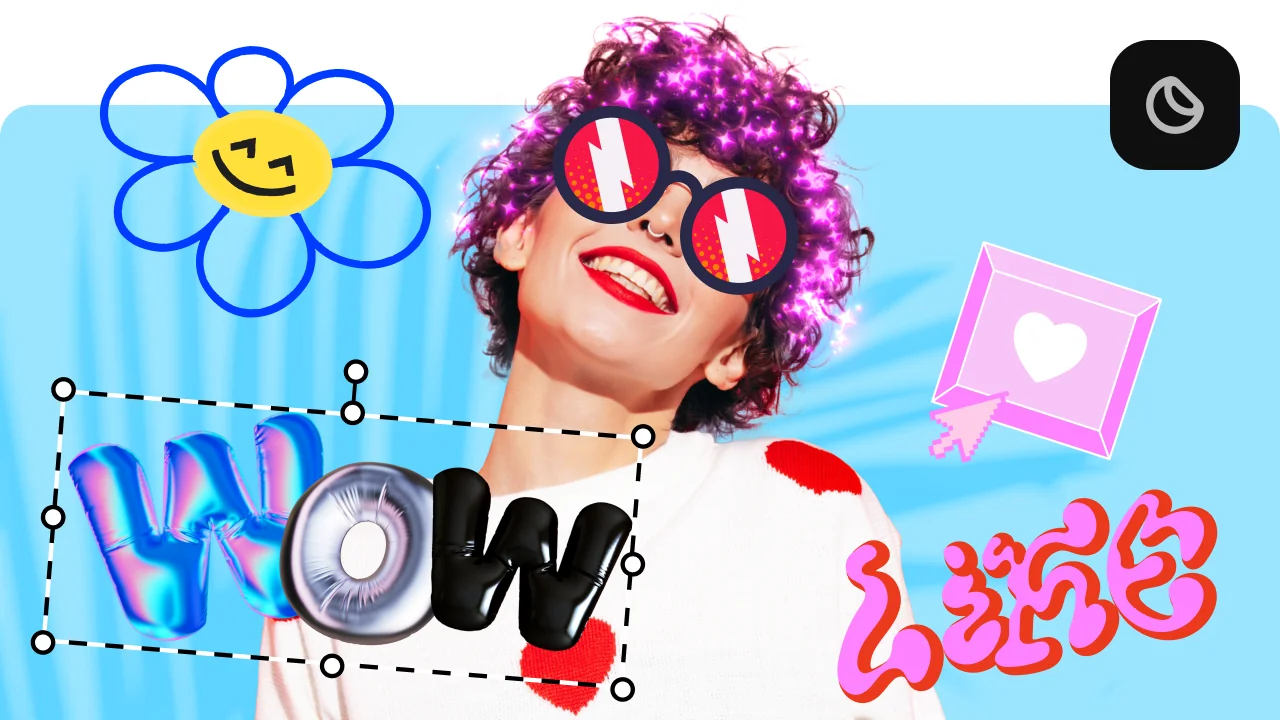
Because the tool lives inside the editor rather than in a separate app, your captions sit on the same timeline as your cuts, effects, and music. You can add AI subtitles to video, drop in a transition, and adjust the color as one project instead of three.
Talking-head videos benefit the most, since captions track a clear voice most accurately, and those are exactly the formats bloggers and YouTubers post. Think lifestyle vlogs, unboxings, travel diaries, beauty and skincare tips, recipe walk-throughs, and film or music reviews: anything where you're speaking to camera and every word counts.
The auto subtitle tool handles range without you changing your approach. A slow, calm skincare tutorial and a fast, punchy day-in-the-life vlog both get captioned the same way; you just pick a different design to match the mood. That flexibility is a big reason the editor suits both a first-time captioner and someone uploading several times a week.
The subtitle process is identical for both, but the styling and framing change with the platform. For a YouTube video, wider captions in a clean design read well across a horizontal screen. For a TikTok video or Reel, active word highlighting and a bolder design match how people watch short vertical clips.
On short vertical clips, a few styling choices tend to read best: a font large enough to stay legible on a phone, high-contrast text (bright yellow, or white with an outline, is a common pick), and a light touch of animation like the active word highlighting above. Big and clean wins here, since a viewer decides whether to keep watching in the first second or two. Pick one of the 60+ designs closest to that and adjust from there.
If your footage is horizontal and you want a vertical cut for TikTok, Movavi's auto-crop tool tracks the speaker and keeps you centered while it reframes, which is handy for a talking-head clip where your face is the whole show. In Movavi's internal comparisons against other editors, that tracking stayed steady in 7 out of 10 tests. So you can caption once and repurpose the same clip across platforms without your subtitles or your face sliding out of frame.
One practical tip for talking-head creators: keep captions to a line or two and park them above the bottom third of the frame on TikTok, where the username and buttons cover the screen.
Yes. Auto subtitles are included in the free version of Movavi Video Editor, so you can create subtitles and test the tool before paying anything. The free version does carry limits: exports are capped at 60 seconds, output quality is reduced, and a watermark appears on the finished video. To export longer videos (a full tutorial, a vlog episode, or a home movie) without those restrictions, you'll want the full version.
Movavi Video Editor uses a modular license setup, so you only pay for what you need. Start on the free version, then add the full version or an effects pack when a project calls for it. That's part of why the software fits a total beginner and a daily uploader on the same lineup. Worth noting up front: this is desktop software for Windows and macOS, so the auto subtitle tool runs on your computer rather than in a browser tab.

Yes. The auto subtitle tool recognizes speech across 100+ languages, so it generates English subtitles or captions in whatever language is spoken in your clip. You pick the language before it runs.
The tool transcribes the language spoken in your video and generates captions in that same language, so the text matches what's actually said on screen. If you need the video translated for a different-language audience, that's a separate step from auto-captioning.
No. That's the job of the auto subtitle tool. It captions the entire clip in one pass. Your manual work is limited to small edits, like fixing a name or moving where the text sits.
Because typing captions by hand means transcribing every sentence and then syncing each line to the audio, which is the slow, unglamorous part of editing. Auto subtitles hand you that whole draft in one click, so your job shrinks to a quick read-through and a few fixes.
Yes. Every line is editable. Retype anything the AI misheard, change the font or design from the 60+ options, and reposition the captions anywhere on screen.
The tool captions clips of any length, but the free version caps exports at 60 seconds. For a full movie or a long upload, use the full version to export without a length limit or a watermark.
Yes. The interface is tested to be intuitive, and most tools, auto subtitles included, work in a single click. Movavi software is used by over 70 million people across 190+ countries and gets 15+ updates a year, and it's made for beginners and everyday creators.


1.5M+ users already subscribed to our newsletter