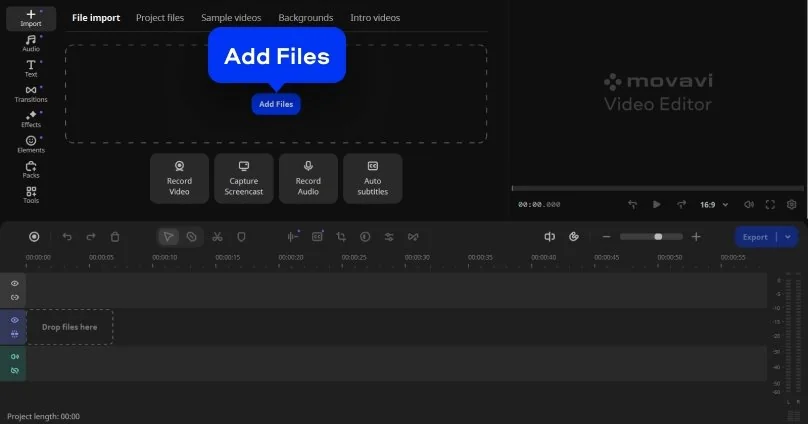
Step 1. Install the program
Download the installation file and install the program on your computer following the on-screen prompts.
Video Quality Enhancer by Movavi for free
By clicking the download button, you're downloading a trial version of the program.*
Enhance Video Quality Online
Why the video quality enhancer by Movavi stands out
Beginner-friendly with pro-level features
Movavi balances professional-grade features with an interface that even complete beginners can quickly master.
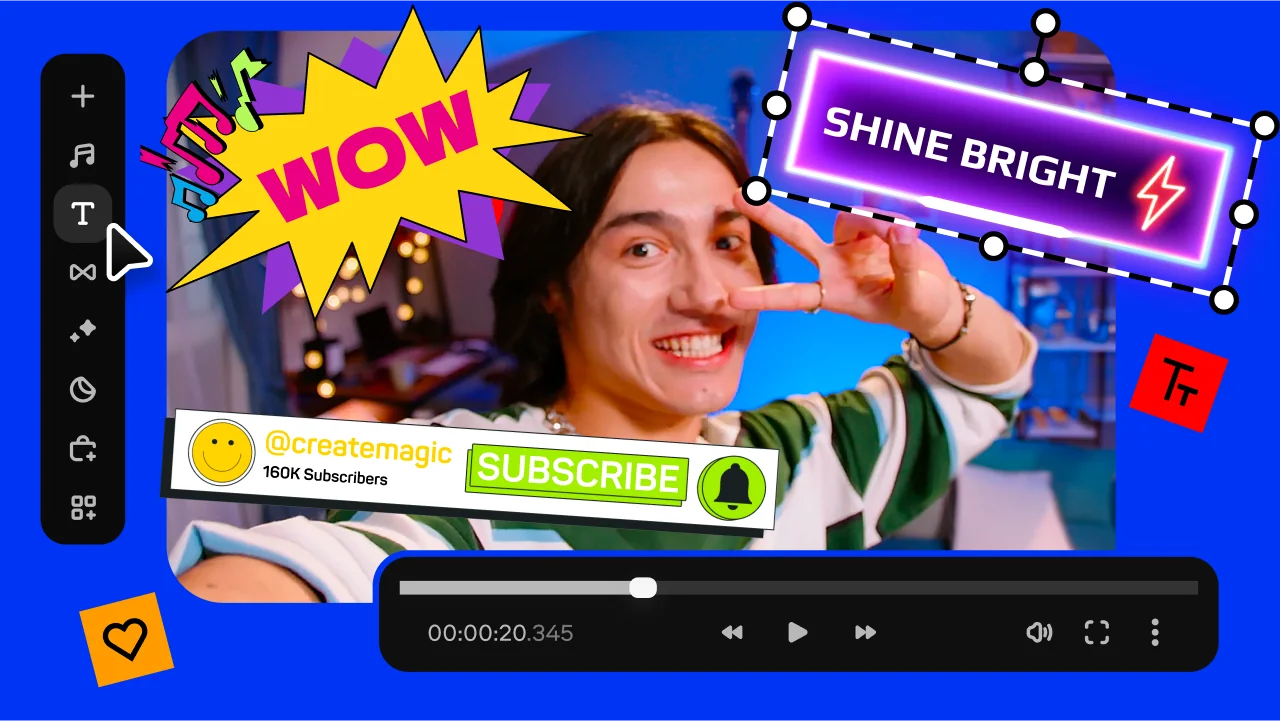
Tons of built-in effects and music
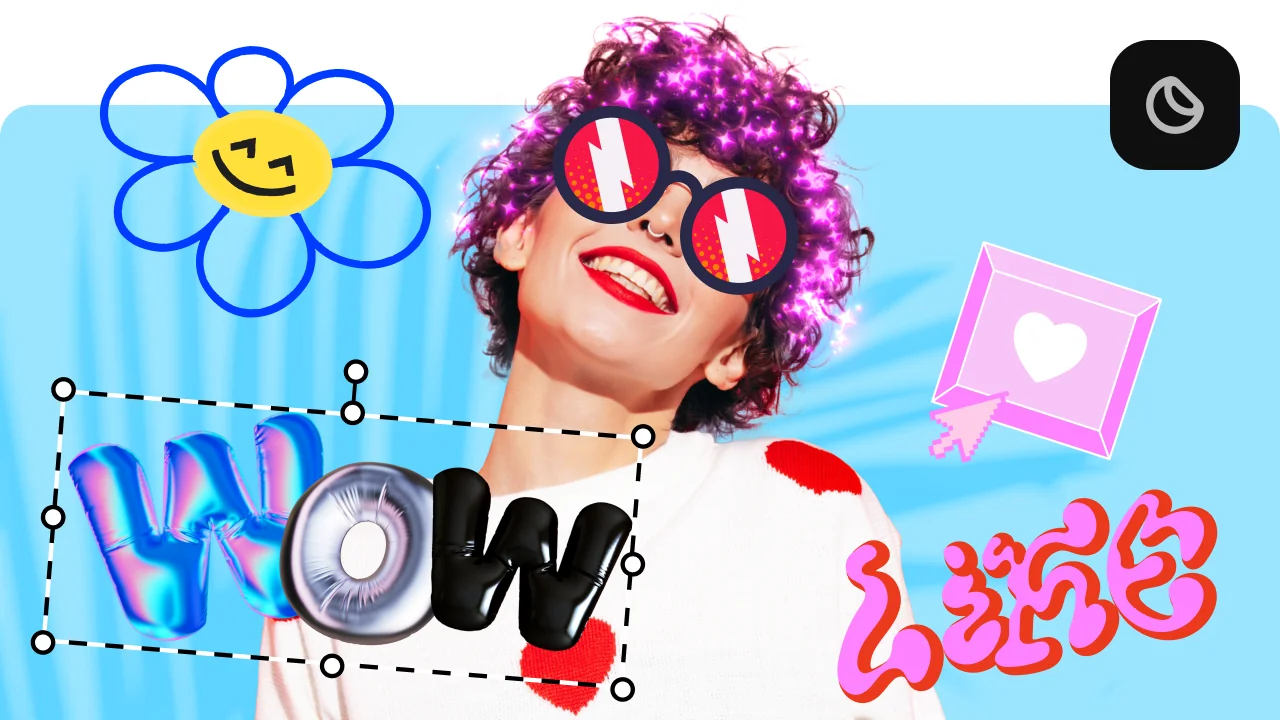
Movavi comes loaded with 10,000+ creative effects, built-in transitions, titles, overlays, music tracks, sounds, frames, backgrounds, stickers, and more.
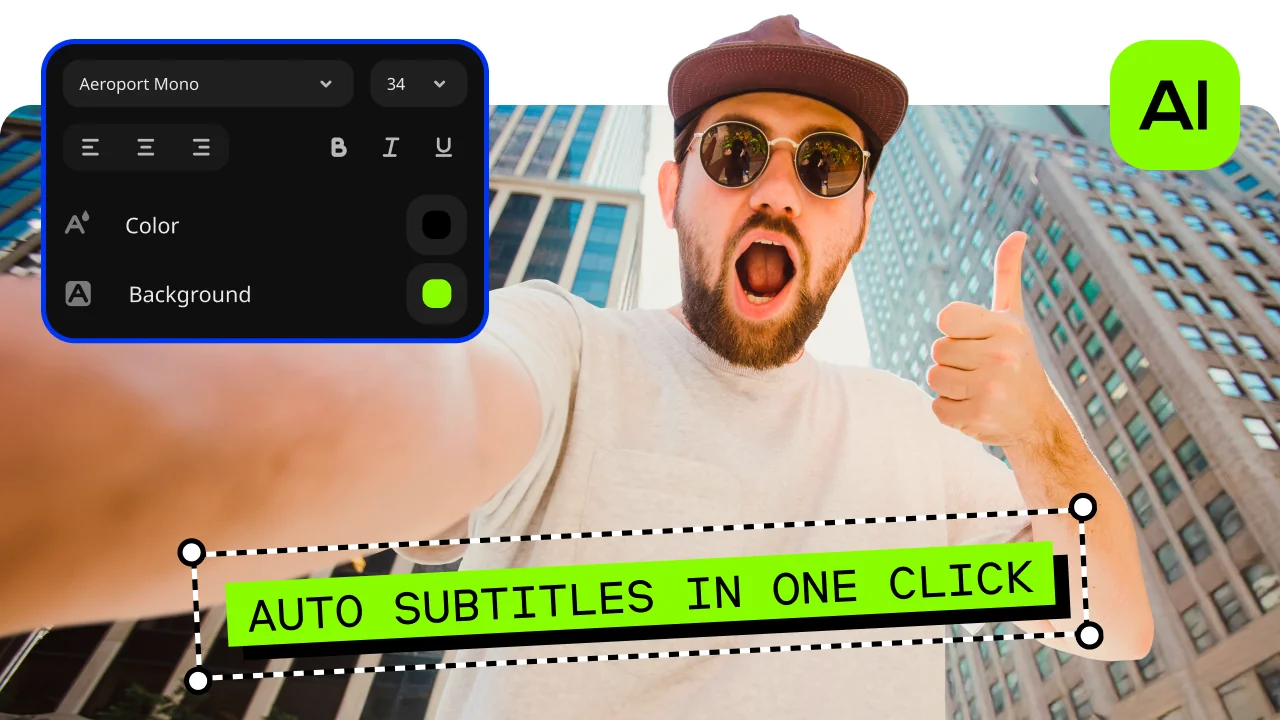
One-click AI
Movavi makes it super-easy to create subtitles, remove pauses, clean up noisy audio, track motion, change out backgrounds, and more – all automatically, no technical skills needed.
Smooth performance
Movavi is lightweight, easy to set up, and runs smoothly – even if your laptop isn’t top-of-the-line.
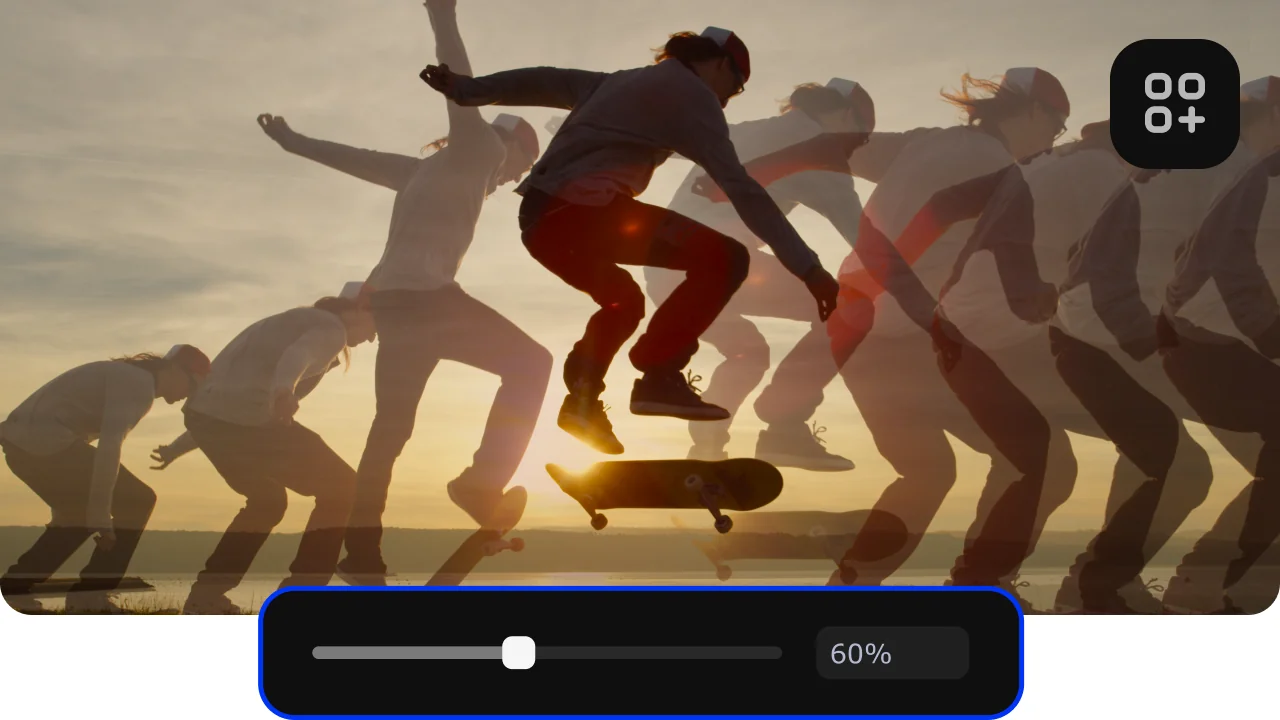
Features to enhance video quality
Filters and LUTs
Use filters and LUTs to instantly change the look and feel of your video. Create a cinematic vibe, fix the lighting, or give your clips a unique style in seconds.
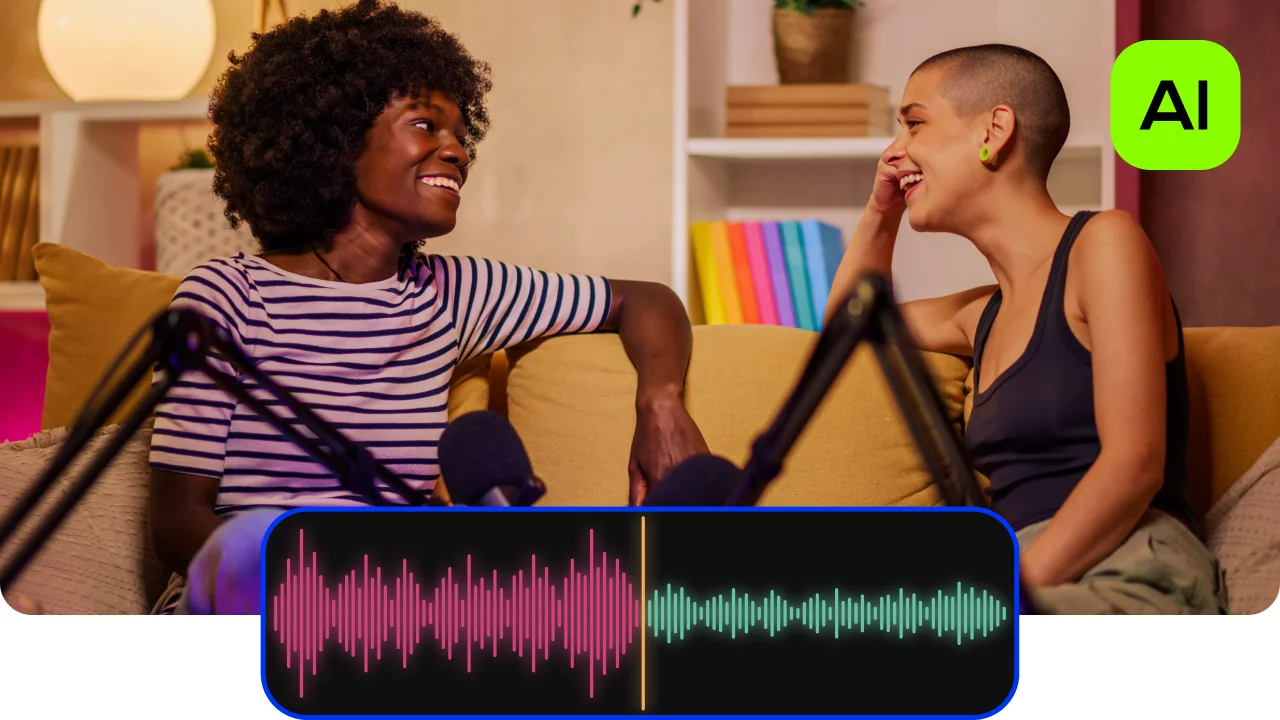
AI noise removal
Automatically remove car, wind, and other uncool sounds from your clips with our AI-driven audio denoiser. Create videos with crisp sound that viewers are sure to appreciate.
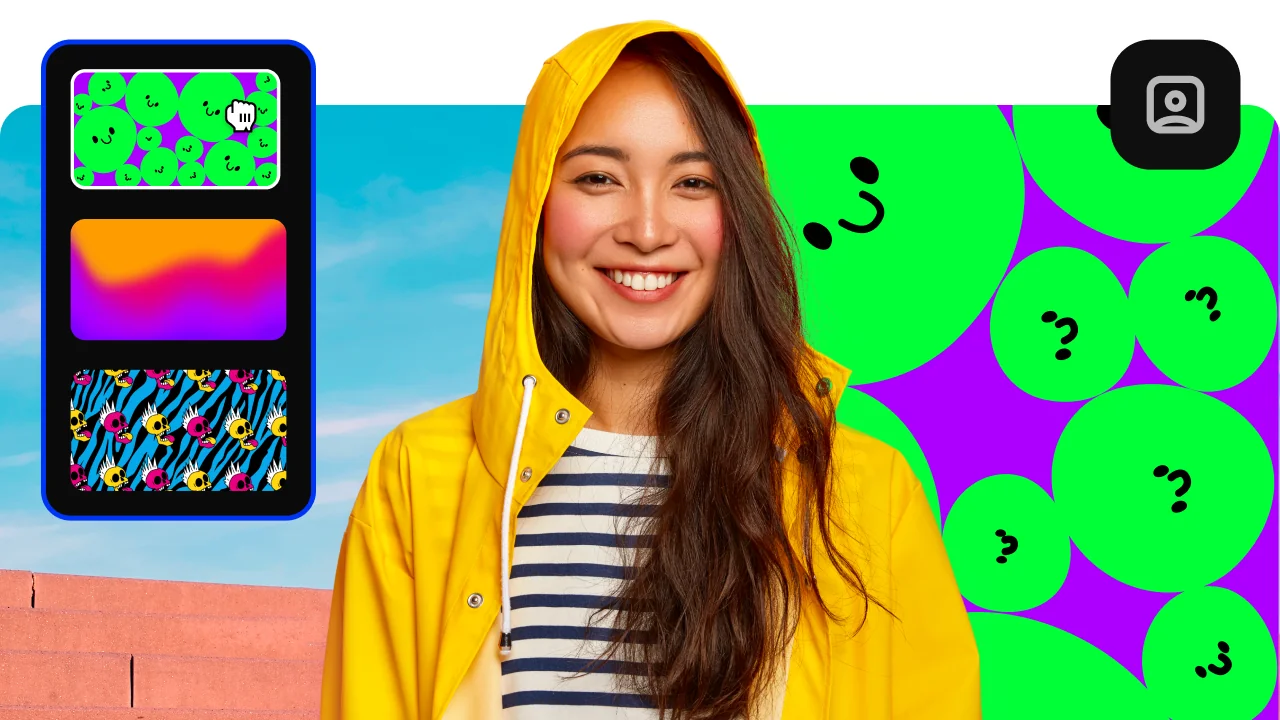
AI background removal
Use the power of the AI to instantly swap backgrounds in your videos with no green screens. Drop in a new vibrant scene and get ready for an avalanche of likes on socials!
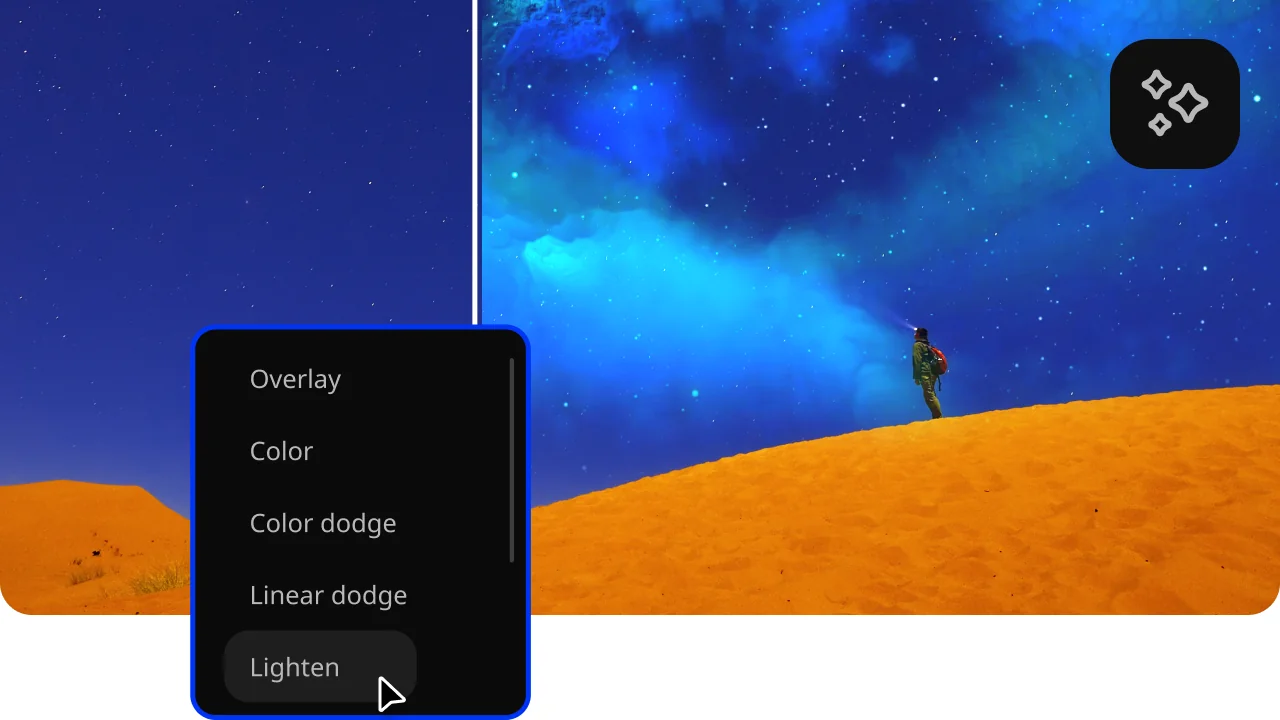
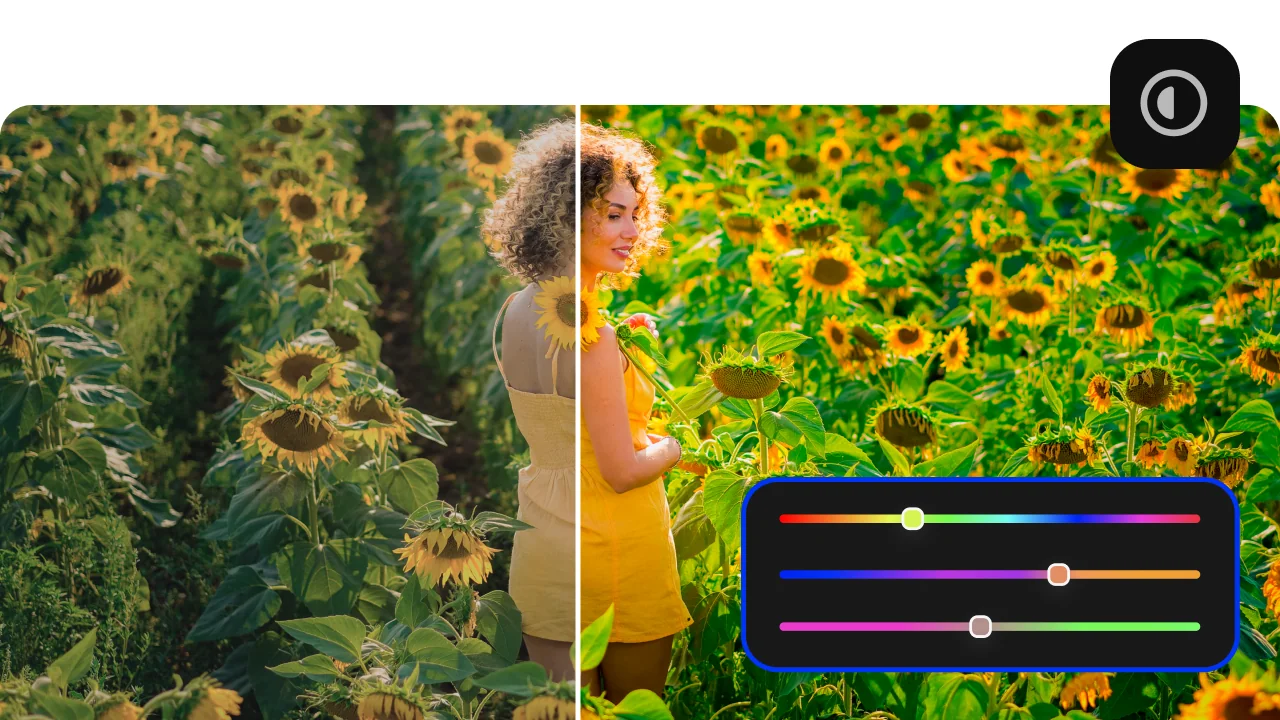
Color correction
Get next-level color correction with ready-made presets or fine-tune with the handy manual settings. Easily create captivating visuals so more people drop you a like!
Hundreds of drag-and-drop cinematic effects
Supercharge your videos with tons of creative, professionally designed effects. Add stickers for cool accents, transitions for smoother stories, overlays for extra style, and there’s even more!

How to edit videos with the Movavi video quality enhancer
Step 1. Install the program
Download the installation file and install the program on your computer following the on-screen prompts.
Step 2. Import and arrange your clips
Click Add Files or drag videos, images, and audio into the Import area, then place them on the timeline. Reorder clips to set the story flow before you start refining.
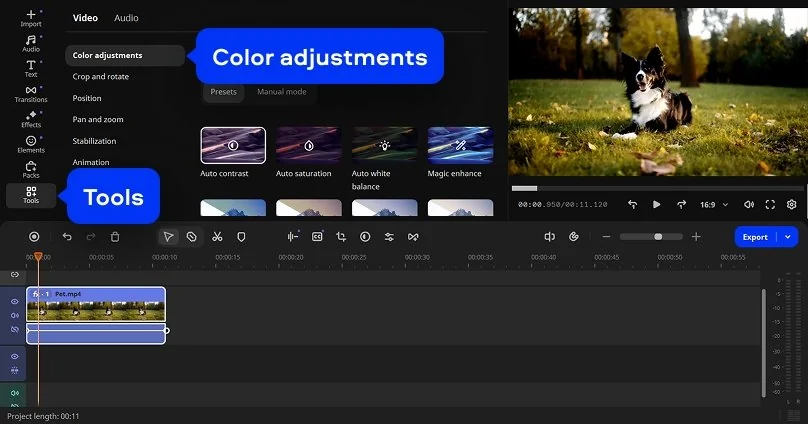
Step 3. Enhance the quality
Open the Tools tab and select Color adjustments. You can select a ready-made preset or edit your video manually, adjusting parameters like Brightness, Contrast, and Saturation. Cut unwanted pieces, stabilize shaky footage, and apply AI enhancement tools to make every clip look sharp, balanced, and professional.
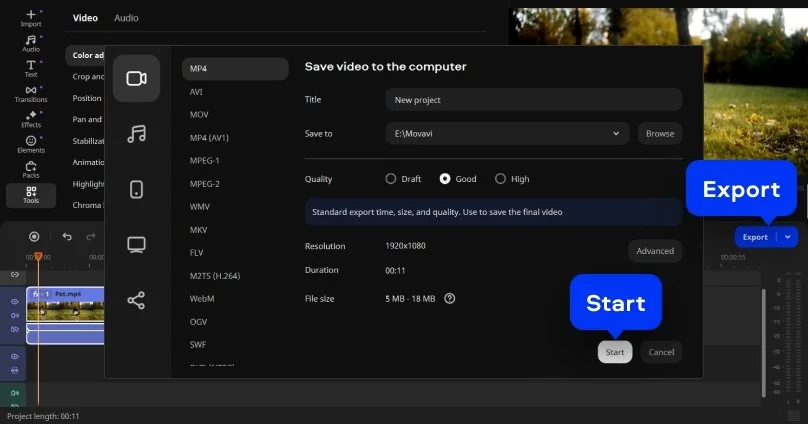
Step 4. Export the video
Click Export, pick a format (e.g., MP4), choose Quality and Resolution (up to HD/4K if available), set the save location, then press Start to render your video.
More tools for easy video editing
How to choose the best video quality enhancer
A video enhancer, at its best, behaves less like software and more like intuition caught in code. It doesn’t just fix sharpness or color; it adjusts the mood, the air, the quiet pulse between frames. Some programs feel mechanical, as if you’re negotiating with sliders. Others respond like a quiet collaborator that knows when to improve contrast or when to let a shadow breathe.
Think about how you film. A phone trying to keep up with sunset light. A drone hovering over the city. A handheld camera that shakes with the sound of the street. The right AI video enhancer should understand that rhythm and help you increase quality without flattening the feeling.
Before you choose, look for the small details that matter – the ones that make editing feel alive rather than routine.
If you’re reviving family tapes or personal archives, look for software that can convert fuzzy, low-resolution footage into something clear but still soft-edged. In Movavi Video Editor, the AI upscaler can fill in lost detail while color tools gently bring back warmth. Watching an old video regain depth is oddly emotional – it feels like meeting the past in higher resolution.
For travel or lifestyle vloggers, consistency is everything. Shooting across different cities and light conditions often leaves clips uneven. Auto Enhance and stabilization smooth out the rough edges, while balanced color keeps the mood cohesive. What used to feel like a patchwork of random shots starts to read as one continuous, better journey.
A small business or independent creator might have a more practical goal – upgrading old promotional footage without shooting again. With 4K upscaling, cleaner text overlays, and quick tone correction, those clips can look current enough for today’s screens. It’s satisfying to see something once dated suddenly feel fresh and usable.
When testing desktop and online editors, try them with a few real clips instead of demo footage. See how each one treats shadows, faces, and motion. Export short samples and trust your eyes over settings. The best enhancer is the one that improves your video but still leaves it feeling like yours.
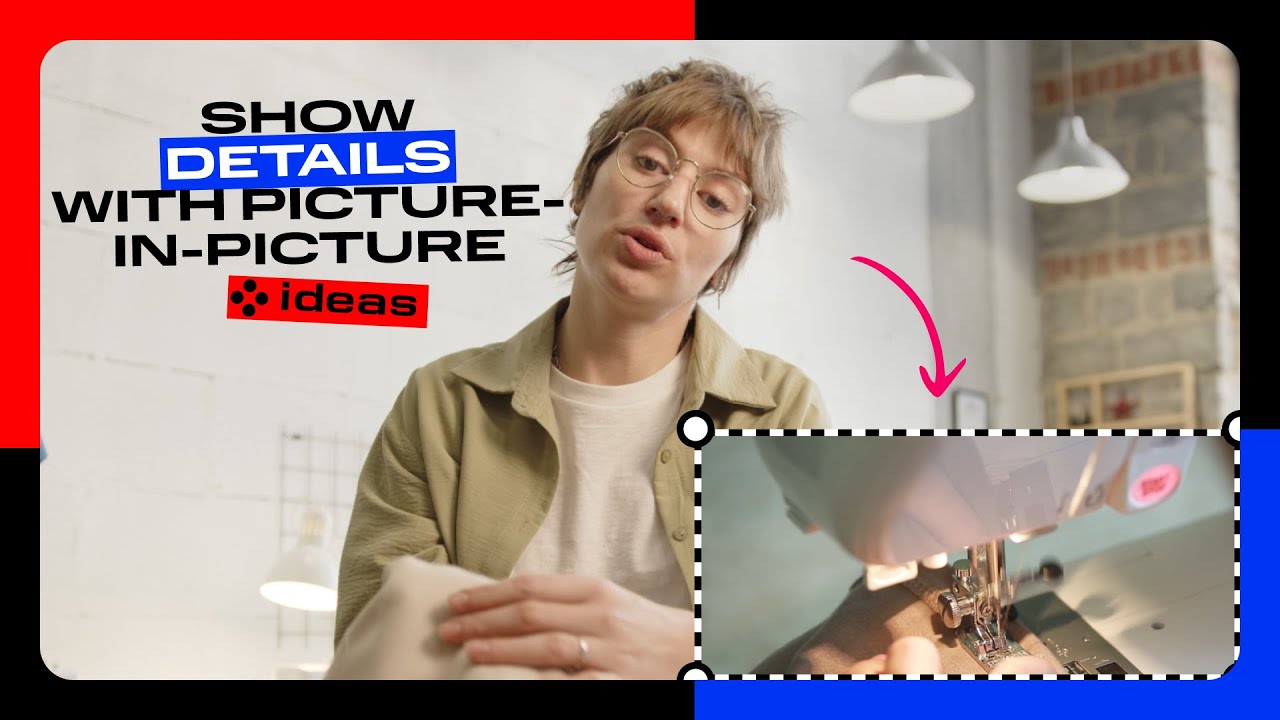
Show a detailed view with picture-in-picture
Use the picture-in-picture position to add a second angle or close-up right on top of your video – highlight the details your viewers need to see.
Blur your vlog background like a pro
Use the background removal tool and a blur filter in your vlog to keep the focus right where it belongs – on you. Perfect for creators chasing that pro look without the pro gear.

Frequently asked questions
Movavi Video Editor keeps the video enhancement process simple, so you can create high-quality videos with ease. Download and install the resolution changer and follow the steps below.
You can use Movavi Video Converter to increase the resolution of your video. You’ll find a step-by-step instruction in the article linked below.
Begin by watching your footage carefully. Notice what pulls your attention away. Maybe the lighting feels heavy or the color leans too warm. Maybe the motion jitters when it should glide. Fix those first. Adjust exposure until faces look real again. Raise or soften contrast until the image feels balanced.
When the basics sit in place, open Movavi Video Editor or another AI-powered tool to handle the finer details. It can smooth motion, sharpen outlines, and quiet the grain that dulls the picture. A free video enhancer is a simple way to explore what is possible, but Movavi’s premium features allow deeper control over tone, color, and pacing. Edit short clips, rewatch them, and stop when the video feels natural instead of polished.
They can, though only to a point. Software like Movavi Video Editor can recover edges, stabilize shaky clips, and bring structure back to soft frames. The blur will not disappear entirely, but it can turn from distraction to texture, something that adds depth instead of noise. Keep a little imperfection; it reminds the viewer that the moment was real.
Yes. A good increaser reads what is already in the frame and fills the gaps with new pixel data that fits naturally. It is more about reinterpreting detail than inventing it. The result looks smoother, with richer light and gentler transitions, especially when projected on a larger screen.
Start with balance. Adjust exposure, color, and contrast until the frame feels steady. Then use AI tools in Movavi Video Editor to quietly upgrade resolution and tone. Good editing is patient work; it is about listening to what the image wants. The best results often look effortless, as if the camera captured it perfectly the first time.
Use restoration tools to soften noise, restore warmth, and steady flicker until the image begins to breathe again. The aim is not to perfect the past but to change how it meets the present, closer, clearer, still carrying the marks of time.
We’re the #1 choice for millions of people from all around the world. Join our thriving community and create stunning content with incredible ease.
70M+


*The free version of Movavi Video Editor may have the following restrictions depending on the build: watermark on exported clips, 60-second video or 1/2 audio length limit, and/or some advanced features unavailable when exporting videos.


1.5M+ users already subscribed to our newsletter