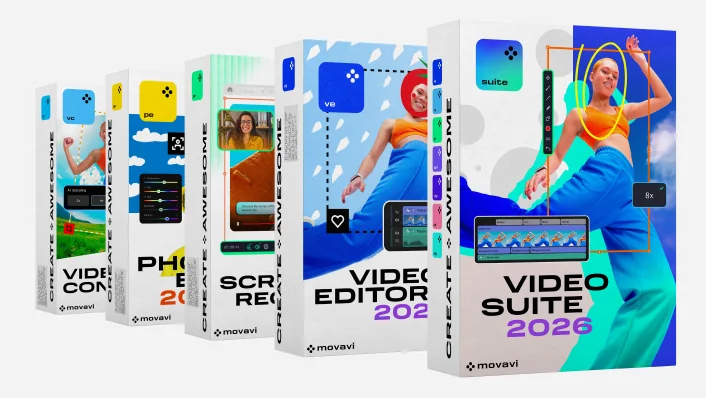
جميع برامج التحرير لدينا
استكشف أدوات الصور والفيديو - ستجد لدينا المنتج المناسب لك.
احصل على Movavi Video Suite الجديدة كليًا
حزمة إنشاء مقاطع الفيديو الخاصة بك للقيام بكل شيء: محرِّر فيديو، ومحوِّل الوسائط، ومسجِّل الشاشة، وما إلى ذلك
احصل على Movavi Video Suite الجديدة كليًا
حزمة إنشاء مقاطع الفيديو الخاصة بك للقيام بكل شيء: محرِّر فيديو، ومحوِّل الوسائط، ومسجِّل الشاشة، وما إلى ذلك
جرِّب جميع برامج Movavi
محررِّك البسيط والقوي لإنشاء مقاطع فيديو مبهرة
محرّر الصور الذكي والبسيط لإنشاء صور مبهرة
المحوِّل المفضّل لديك لتغيير تنسيقات الفيديو والصور والصوت في ثوانٍ
أداة التقاط الشاشة الخالية من المتاعب لمشاريع أكثر كفاءةً
جميع برامج Movavi و10000 تأثير في حزمة واحدة لإنشاء فيديوهات وصور مذهلة
جميع برامج التحرير لدينا
استكشف أدوات الصور والفيديو - ستجد لدينا المنتج المناسب لك.
قص
اقتصاص
اقتصاص
تدوير
تغيير الحجم
عكس
التثبيت
ضبط الألوان
تراكب العناوين
إضافة الفلاتر والانتقالات
استخدام جداول البحث والتراكبات
إدراج مقدمات جاهزة
تطبيق مفتاح الكروما
تحسين جودة الصوت
إنشاء فيديوهات السفر
حفظ ذكريات الأسرة
الارتقاء بمستوى مدونة الفيديو الخاصة بك
أبهر المشاهدين
احصد العشرات من تسجيلات الإعجاب
اكسب المزيد من المتابعين
أنشئ فيديوهات ستنال إعجابهم
أكثر من 70 مليونًا


أكثر من 10000 تأثير و1500 مقطع موسيقي
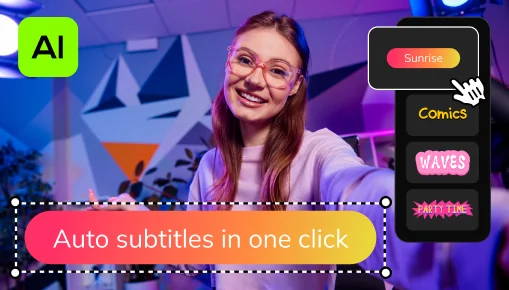
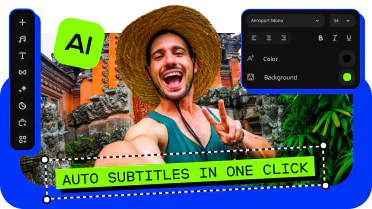
ترجمة مصاحبة تلقائية بنقرة واحدة
اترك الذكاء الاصطناعي يحوِّل كلامك بسرعة إلى نص وينشئ ترجمة مصاحبة تلقائيًا لمقاطع الفيديو الخاصة بك بأي لغة تقريبًا. ما عليك سوى اختيار الخط ولون النص وموضعه، وسيصبح كل شيء جاهزًا!
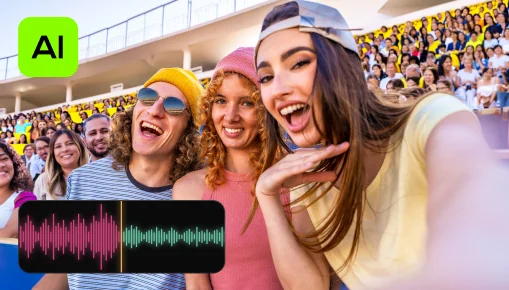
جديد: إزالة التشويش بالذكاء الاصطناعي
قم بإزالة أصوات السيارات والرياح وغيرها من الأصوات غير المرغوب فيها تلقائيًا من مقاطعك باستخدام مزيل ضوضاء الصوت المعتمد على الذكاء الاصطناعي. أنشئ مقاطع فيديو بصوت نقي وواضح سيقدّره المشاهدون بالتأكيد.

تتبع الحركة بالذكاء الاصطناعي
عزِّز مستوى الواقعية في فيديوهاتك باستخدام رسومات متحركة إضافية. ما عليك سوى النقر، وسيرفق الذكاء الاصطناعي سريعًا أي صورة أو فيديوهات أو رموز تعبيرية أو ميمات بالكائنات في لقطاتك.
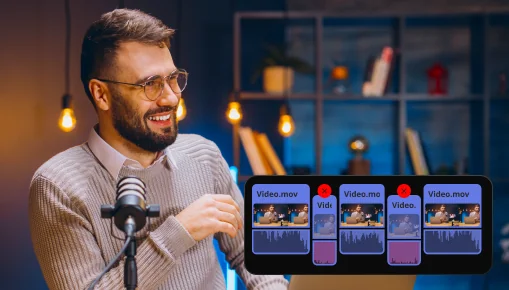
إزالة الصمت
اقطع التوقفات المؤقتة غير المرغوب فيها تلقائيًا أو اضبط مدة التوقف المؤقت والحد الأدنى لمستوى الصوت بنفسك. ستُوفِّر الوقت وتتخطَّي عملية التنظيف المملة، وبذلك ستتمكَّن من التركيز على الجانب الممتع.
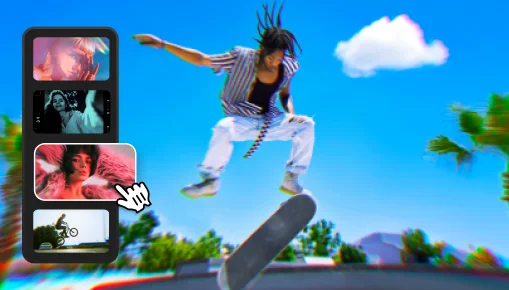
تأثيرات قابلة للتعديل
بنقرة واحدة، يمكنك تحسين فيديوهاتك باستخدام التأثيرات الواقعية الجديدة – من ذرات الغبار وتسريبات الضوء إلى الأسلوب الكلاسيكي ونظام الفيديو المنزلي (VHS). جميع التأثيرات قابلة للتخصيص بالكامل – لذلك، فإنها ستلائم أي مقطع بشكلٍ مثالي وتُضفي بريقًا إضافيًا على تعديلاتك.
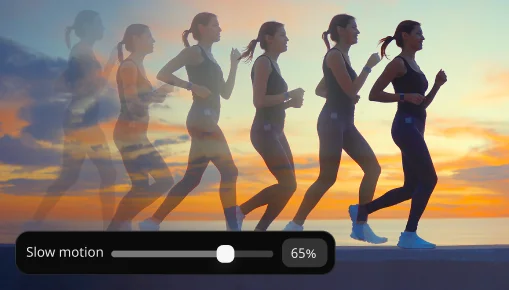
الحركة البطيئة
قم بإبطاء اللقطات لجعل الحركات أكثر وضوحًا، وركّز الانتباه على التفاصيل المهمة، وتحكّم في السرعة والإيقاع في كل مشهد.
هناك الكثير من برامج تعديل الفيديو المجانية المتوفرة على الإنترنت. ومع ذلك، يمكن أن تحتوي البرامج التابعة لجهات خارجية المجانية بالكامل على رموز برمجية خبيثة قد تحاول سرقة بياناتك الشخصية ومعلوماتك المالية.
لهذا السبب أنشأنا برنامج Movavi Video Editor – إنه آمن تمامًا وسهل الاستخدام! يمكنك تجربة النسخة المجانية مع هذه القيود: إضافة علامة Movavi المائية، ومدة فيديو 60 ثانية أو نصف مدة الصوت، وقفل بعض الميزات المتقدمة عند تصدير الملفات. إذا أعجبك البرنامج، يمكنك شراء ترخيص مدى الحياة أو اشتراك سنوي للنسخة الكاملة وتعديل الفيديوهات دون قيود وبجميع الميزات المتاحة.
إننا نعمل جاهدين لجعل البرنامج سهل الاستخدام قدر الإمكان. وأحيانًا نختبره على أجدادنا! وبالتالي، يمكننا أن نقول في النهاية إن Movavi Video Editor هو واحد من أفضل برامج تحرير الفيديوهات للمبتدئين.
حتى لو لم يسبق لك تجربة برامج تحرير الفيديو، فستتقن استخدام Movavi في أقل من 20 دقيقة – بفضل الواجهة الواضحة وتلميحات الأدوات المفيدة وفريق الدعم المستعد دائمًا لمساعدتك وتيسير عمليات الإبداع.
إذا كنت بحاجة إلى محرر فيديوهات مع خيار التنزيل المجاني، فإن Movavi Video Editor هو أفضل خيار أمامك. إنه محرر فيديوهات مجاني يمكنك تنزيله وتجربته؛ ومع ذلك ستحتاج إلى شراء الإصدار الكامل بعد 7 أيام. يتضمن التطبيق إعدادات مُسبَقة رائعة للمقدمات والعشرات من التأثيرات والانتقالات اللافتة للنظر، وواجهة سهلة الاستخدام تتيح لك التركيز على الإبداع بدلًا من قراءة الكتيبات الإرشادية المعقَّدة.
جرِّبه إذا كنت تريد محرر فيديوهات سهل للتنزيل والاستخدام مباشرةً.
تنزيل Movavi Video Editor
تنزيل Movavi Video Editor لنظام Mac
إذا كنت تتعامل مع برامج تحرير الفيديوهات الاحترافية، فإن إضافة انتقال للفيديو - حتى لو كان بسيطًا - يمكن أن يتطلب منك الضغط لساعات على الأزرار الخاطئة والبحث عن النصيحة. وهذه بالتأكيد ليست تجربة مبهجة.
تستغرق إضافة الانتقال في Movavi Video Editor نحو 3 ثوانٍ – ما عليك سوى سحب الانتقال الذي تريده وإفلاته بين المقاطع. إن الأمر في غاية البساطة حقًا. لمعرفة المزيد عن أنواع الانتقالات، اتبع الارتباط أدناه:
(الصفحة بالإنجليزية)
إذا قرأت الإجابات السابقة، فستتمكن من تخمين البرنامج الذي نوصي به هنا. لكن دون مغالاة، يُعد Movavi Video Editor أفضل بديل لـ iMovie من حيث الوظائف وسهولة الاستخدام. جرِّبه فقط وستكتشف بنفسك.
لمعرفة المزيد بشأن البرامج المكافئة لـ iMovie لأنظمة Windows، اقرأ المقال التالي:
بدائل iMovie لنظام Windows (الصفحة بالإنجليزية)
تعرَّف على Movavi Video Editor 2026 الجديد – أكثر سرعة ووفرة في التأثيرات
عزِّز سرعة التحرير باستخدام الأدوات التلقائية وجرِّب أكثر من 40 تأثيرًا جديدًا قابلًا للضبط – وفِّر الوقت وأضفِ لمسة مذهلة إضافية على كل فيديو. قُص جميع التوقفات غير المرغوب فيها تلقائيًا، وطبِّق التأثيرات من مقطع واحد على الكل في لمح البصر، واستمتع بأكثر من 30 نمطًا جديدًا للترجمة المصاحبة التلقائية
حرِّر بلا عناء مع Movavi Video Suite 2026
Movavi Video Suite الجديد مليء بالميزات التي تجعل إنشاء الفيديو عملية سهلة! اترك العمل الممل بفضل الأدوات التلقائية الفعَّالة. اعمل على أي مشروع بلا عناء باستخدام مئات التأثيرات، وتحويل الملفات بسرعة البرق، وأداة تسجيل الشاشة المفيدة.
قراءة المزيد
احصل على آخر التطبيقات والتأثيرات دفعة واحدة مع Movavi Unlimited 2026
استمتع بسهولة تحرير الصور والفيديوهات مع الأدوات التلقائية الجديدة والأداء المُحسَّن. أنشِئ فيديوهات تخطف الأنظار، وأنشِئ تسجيلات شاشة مفيدة، وحوِّل ملفات الوسائط إلى أي تنسيق، وأمتِع المشاهدين باستخدام مجموعات كبيرة من التأثيرات.
قراءة المزيد
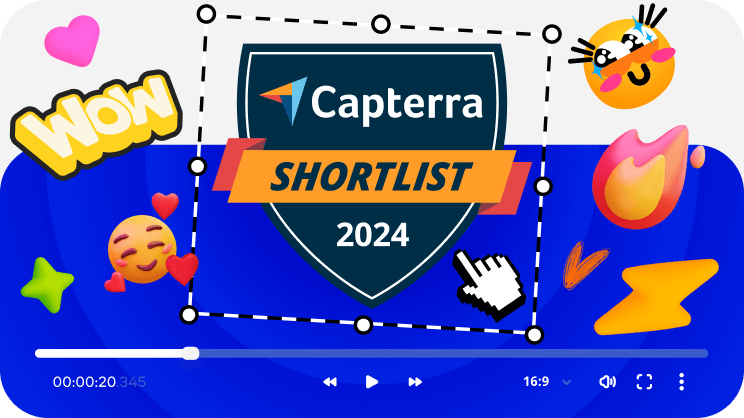
تعرف على المزيد إن محرر الفيديو الخاص بنا من بين الأفضل رسميًا في 2024!
تعرف على المزيد Movavi Video Editor 2024 مدرج في القائمة المختصرة لـ Capterra Shortlist! إذا لم يسبق لك تجربة برنامج تحرير الفيديو الخاص بنا حتى الآن، فجرِّبه واكتشف لماذا هو الأفضل.
64 بت من ميكروسوفت® ويندوز® 10/11 مع تثبيت آخر تحديثات الباتشات/حزم الخدمات
معالج Intel® أو AMD® أو معالج متوافق، 1.5 جيجاهرتز
NVIDIA® GeForce® الفئة 8، أو Intel® HD Graphics 2000، كارت الشاشة AMD Radeon™ R600 أو أعلى مع برامج تشغيل مُحدّثة
دقة شاشة 1280 × 768، وعمق لون 32-بت
ذاكرة وصول عشوائي 4 جيجا
مساحة 400 ميجابايت على القرص الصلب من أجل التثبيت و600 ميجابايت لعمليات البرنامج
أذونات مدير النظام لازمة من أجل عملية التثبيت
انضم للحصول على الخصومات ونصائح التعديل وأفكار المحتوى


أكثر من 1.5 مليون مستخدم اشتركوا بالفعل في نشرتنا الإخبارية