Všechen editační software
Prozkoumejte naše nástroje pro práci s videem a fotkami – máme pro vás to pravé.
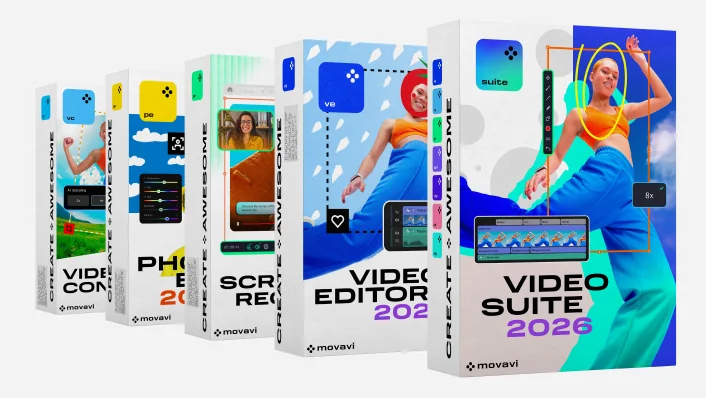
Movavi Video Suite 2026
Váš balíček pro tvorbu videí: Editor videa, konvertor médií, záznam obrazovky a další
Movavi Video Suite 2026
Váš balíček pro tvorbu videí: Editor videa, konvertor médií, záznam obrazovky a další
Vyzkoušejte všechny programy Movavi
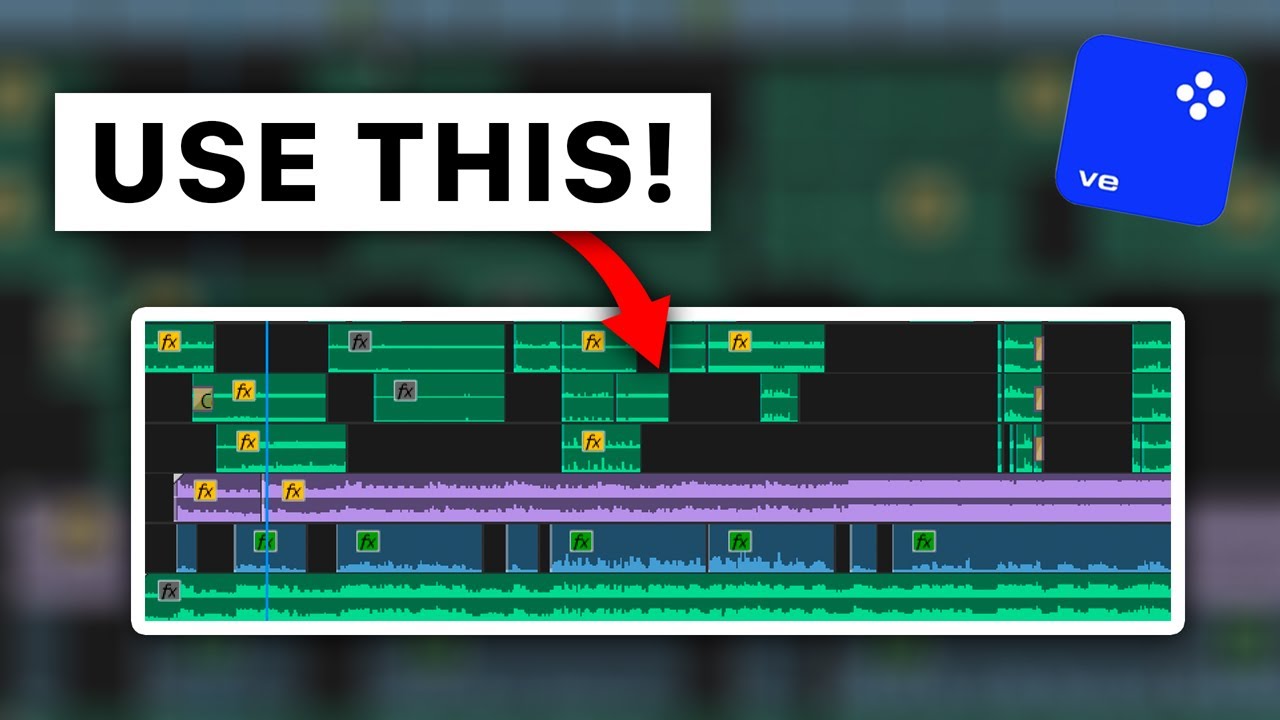
Váš jednoduchý, ale výkonný editor pro vytváření wow videí
Váš chytrý a jednoduchý editor fotografií pro vytváření skvělých obrázků
Váš konvertor pro změnu formátu videa, obrázků a zvuku během několika sekund
Váš bezproblémový nástroj pro snímání obrazovky pro efektivnější projekty
Všechny programy Movavi a 10 000 efektů v jednom balíčku pro vytváření působivých videí a fotografií
Všechen editační software
Prozkoumejte naše nástroje pro práci s videem a fotkami – máme pro vás to pravé.
Střih
Ořez
Výřez
Otáčení
Změna velikosti
Video pozpátku
Stabilizace
Úprava barev
Titulky přes obraz
Přidejte filtry a přechody
Použití tabulek LUT a překryvů
Vložení předpřipravených úvodů
Použití chromatického klíče
Vylepšení kvality zvuku
Upravte videa ze svých cest
Uchovejte si své rodinné vzpomínky
Vylepšete svůj vlog
Ohromte své diváky
Získejte spousty lajků
Přitáhněte další sledující
Vytvářejte videa, která si zamilují
70 mln+


Více než 10 000 efektů a 1 500 hudebních stop
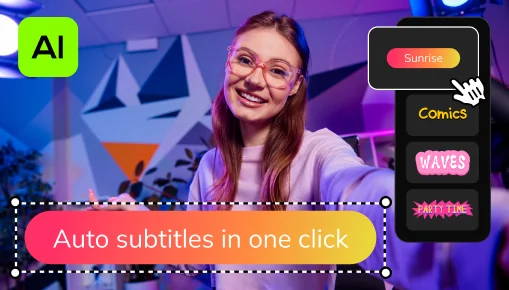
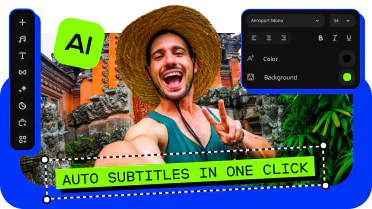
Auto titulky na jedno kliknutí
Nechte AI rychle převést vaši řeč na text a automaticky vytvářet titulky k videím v téměř libovolném jazyce. Stačí zvolit písmo, barvu textu, umístění - a vše je připraveno!
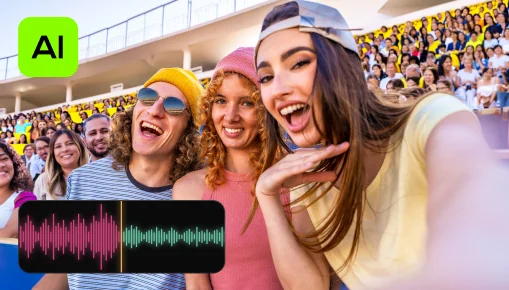
Odstranění šumu pomocí UI
Automaticky odstraňte zvuky aut, větru a další rušivé zvuky ze svých klipů pomocí našeho AI filtru šumu. Vytvářejte videa s čistým zvukem, který diváci jistě ocení.
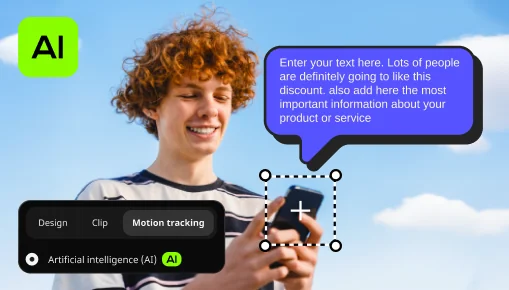
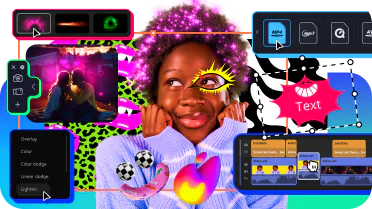
Sledování pohybu pomocí UI
Vylepšete realitu ve svých videích pomocí další pohyblivé grafiky. Stačí kliknout a umělá inteligence rychle připojí libovolné fotografie, videa, emotikony nebo memy k objektům ve vašich záběrech.
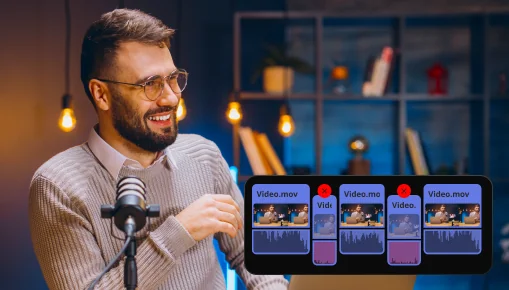
Odstranění ticha
Automaticky vystřihněte nežádoucí pauzy nebo sami dolaďte délku pauzy a prahovou hodnotu hlasitosti. Ušetříte čas a vyhnete se zdlouhavému čištění, takže se můžete soustředit na zábavu.
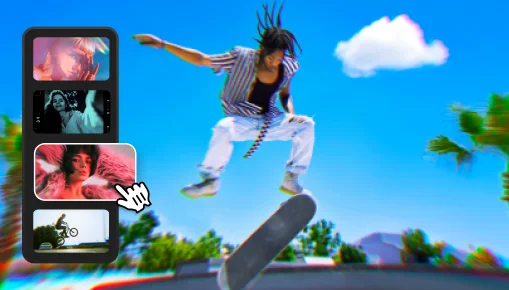
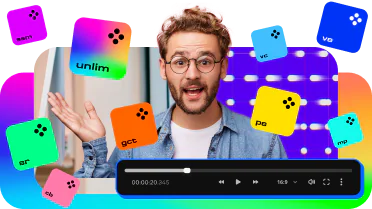
Nastavitelné efekty
Vylepšete videa jediným kliknutím pomocí nových realistických efektů – od prachu a odlesků světla až po retro styl a VHS. Každý efekt je plně přizpůsobitelný, takže se perfektně hodí k jakémukoli klipu a dodá vašim úpravám jiskru.
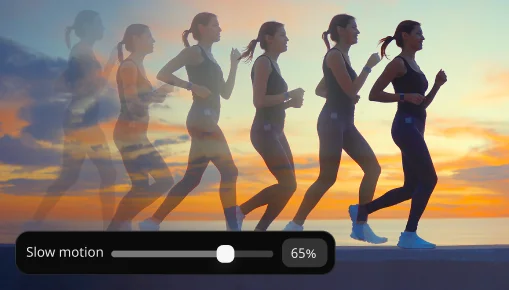
Zpomalený záběr
Zpomalte své záběry, aby byly pohyby zřetelnější, zaměřte pozornost na klíčové detaily a kontrolujte rychlost a rytmus v každé scéně.
Na Internetu je spousta bezplatných editorů videa. Zcela bezplatný software třetích stran však může obsahovat škodlivý kód, který ti může ukrást osobní a finanční údaje.
To je důvod, proč jsme vytvořili video editor Movavi – je 100% bezpečný a snadno se používá! Můžeš vyzkoušet bezplatnou verzi s omezeními: vodoznak Movavi, 60sekundové video nebo poloviční délka audia a zablokování některých pokročilých funkcí při exportu. Pokud se ti program zalíbí, můžeš si zakoupit doživotní licenci nebo roční předplatné plné verze a upravovat videa bez omezení a se všemi dostupnými funkcemi.
Neúnavně pracujeme na tom, aby práce v našem softwaru byla co možná nejjednodušší a nejintuitivnější. Dokonce ho někdy testujeme na našich babičkách a dědečcích, takže můžeme s klidným svědomím prohlásit, že Movavi Video Editor je pro začátečníky tou nejlepší volbou.
Práci s editorem Movavi si do 20 minut osvojí i lidé, kteří nemají s editací videí dosud žádné zkušenosti – a to díky přehlednému rozhraní, praktickým tipům a našemu týmu podpory, který je vždy připraven vám pomoci a podnítit ve vás kreativitu.
Chcete vytvářet zajímavý obsah na YouTube? Zapůsobit na své publikum charakteristickými intry a přechody? Získat více lajků a sledujících? V tom případě pro vás možná bude Movavi Video Editor pro editací videí na YouTube ideální! Obsahuje úžasné předvolby pro intra, spoustu poutavých efektů a přechodů a intuitivní rozhraní, díky kterému se můžete zaměřit čistě na tvorbu a neřešit žádné složité návody.
A ještě moment, to není všechno! Pokud se chystáte dobýt YouTube, máme pro vás úžasný bonus – řadu balíčků efektů určených speciálně pro začínající YouTubery. Klikněte na následující odkazy a zkuste si představit, jak by mohly tyto efekty vylepšit vaše videa.
My Channel Pack pro YouTube
My Channel Pack pro YouTube č. 2
Pokud pracujete s profesionálním softwarem pro editaci videí, může vám přidání i toho nejjednoduššího přechodu videa zabrat hodiny mačkání nesprávných tlačítek a vyhledávání v nápovědě. To není nic příjemného.
Movavi Video Editor umí přechod přidat do 3 sekund – stačí přetáhnout požadovaný efekt mezi klipy. Ano, není to žádná věda. Pokud vás typy přechodů zajímají víc do hloubky, klikněte na uvedený odkaz.
Pokud jste četli předchozí odpovědi, pak asi tušíte, který software vám tady doporučíme. Ale teď vážně, žerty stranou, Movavi Video Editor není jen skvělou alternativou k iMovie... z hlediska funkčnosti a snadnosti použití toho umí mnohem víc. Člověk ho ale musí vyzkoušet, aby si to zažil na vlastní kůži!
Pokud se chcete o ekvivalentech iMovie pro Windows dozvědět víc, přečtěte si následující článek.
Alternativy iMovie pro Windows
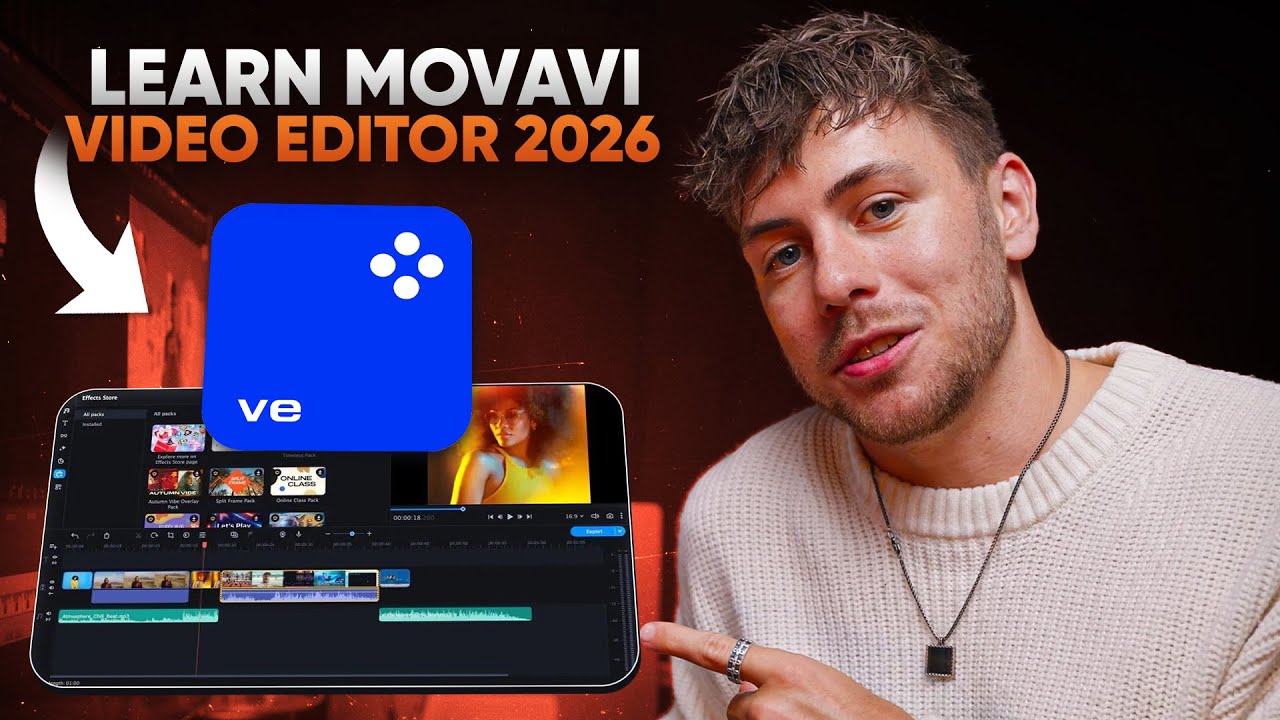
Představujeme nový Movavi Video Editor 2026 – rychlejší a plný efektů
Zrychlete úpravy pomocí automatických nástrojů a vyzkoušejte více než 40 nových nastavitelných efektů – ušetřete čas a dodejte každému videu něco navíc. Automaticky vystřihněte všechny nežádoucí pauzy, aplikujte efekty z jednoho klipu na všechny ostatní a využijte více než 30 nových stylů automatických titulků
S Movavi Video Suite 2026 bude editace hračkou
Nová Movavi Video Suite je nabitá funkcemi, díky kterým je tvorba videí hračkou! Vyhněte se zdlouhavé práci díky výkonným automatickým nástrojům. Zvládněte jakýkoli projekt bez námahy díky stovkám efektů, bleskově rychlé konverzi souborů a praktickému nahrávání obrazovky.
Přečtěte si více
Získejte všechny nejnovější aplikace a efekty pohromadě s Movavi Unlimited 2026
Zefektivněte úpravy videí a fotek díky novým automatickým nástrojům a vylepšenému výkonu. Vytvářejte poutavá videa, nahrávejte obrazovky, převádějte soubory do libovolného formátu a bavte se s bohatou nabídkou efektů.
Přečtěte si více
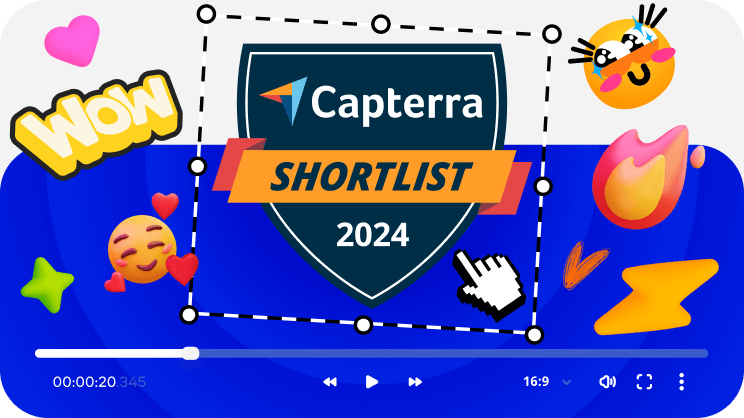
Náš editor videa je jedním z nejlepších v roce 2024!
Movavi Video Editor je na užším seznamu Capterra 2024! Pokud jste Movavi Video Editor ještě nevyzkoušeli, vyzkoušejte jej nyní a přesvědčte se, proč je jedním z nejlepších.
64bitová verze Microsoft® Windows® 10/11 s nainstalovanými aktualizacemi a servisními balíčky
Intel®, AMD® nebo kompatibilní procesor, 1.5 GHz
Intel® HD Graphics 2000, NVIDIA® GeForce® řady 8 a 8M, Quadro FX 4800, Quadro FX 5600, AMD Radeon™ R600, Mobility Radeon™ HD 4330, řada Mobility FirePro™, Radeon™ R5 M230
Rozlišení obrazovky 1280 x 768, 32-bitové barvy
4 GB
400 MB volného místa na pevném disku pro instalaci, 600 MB pro další operace
Pro instalaci je třeba mít oprávnění administrátora
Připojte se k nám pro slevy, tipy na úpravy a nápady!


K odběru našeho newsletteru se již přihlásilo více než 1.5 milionů uživatelů