
Step 1. Install the photo restoration software
Download the app and launch the installer on your PC or Mac. Follow the instructions on the screen to run the program.
Need to Restore Old Photos?
Image restoration with neural networks
Effective object and background removal
Automatic photo enhancement in one click
User-friendly interface with tips
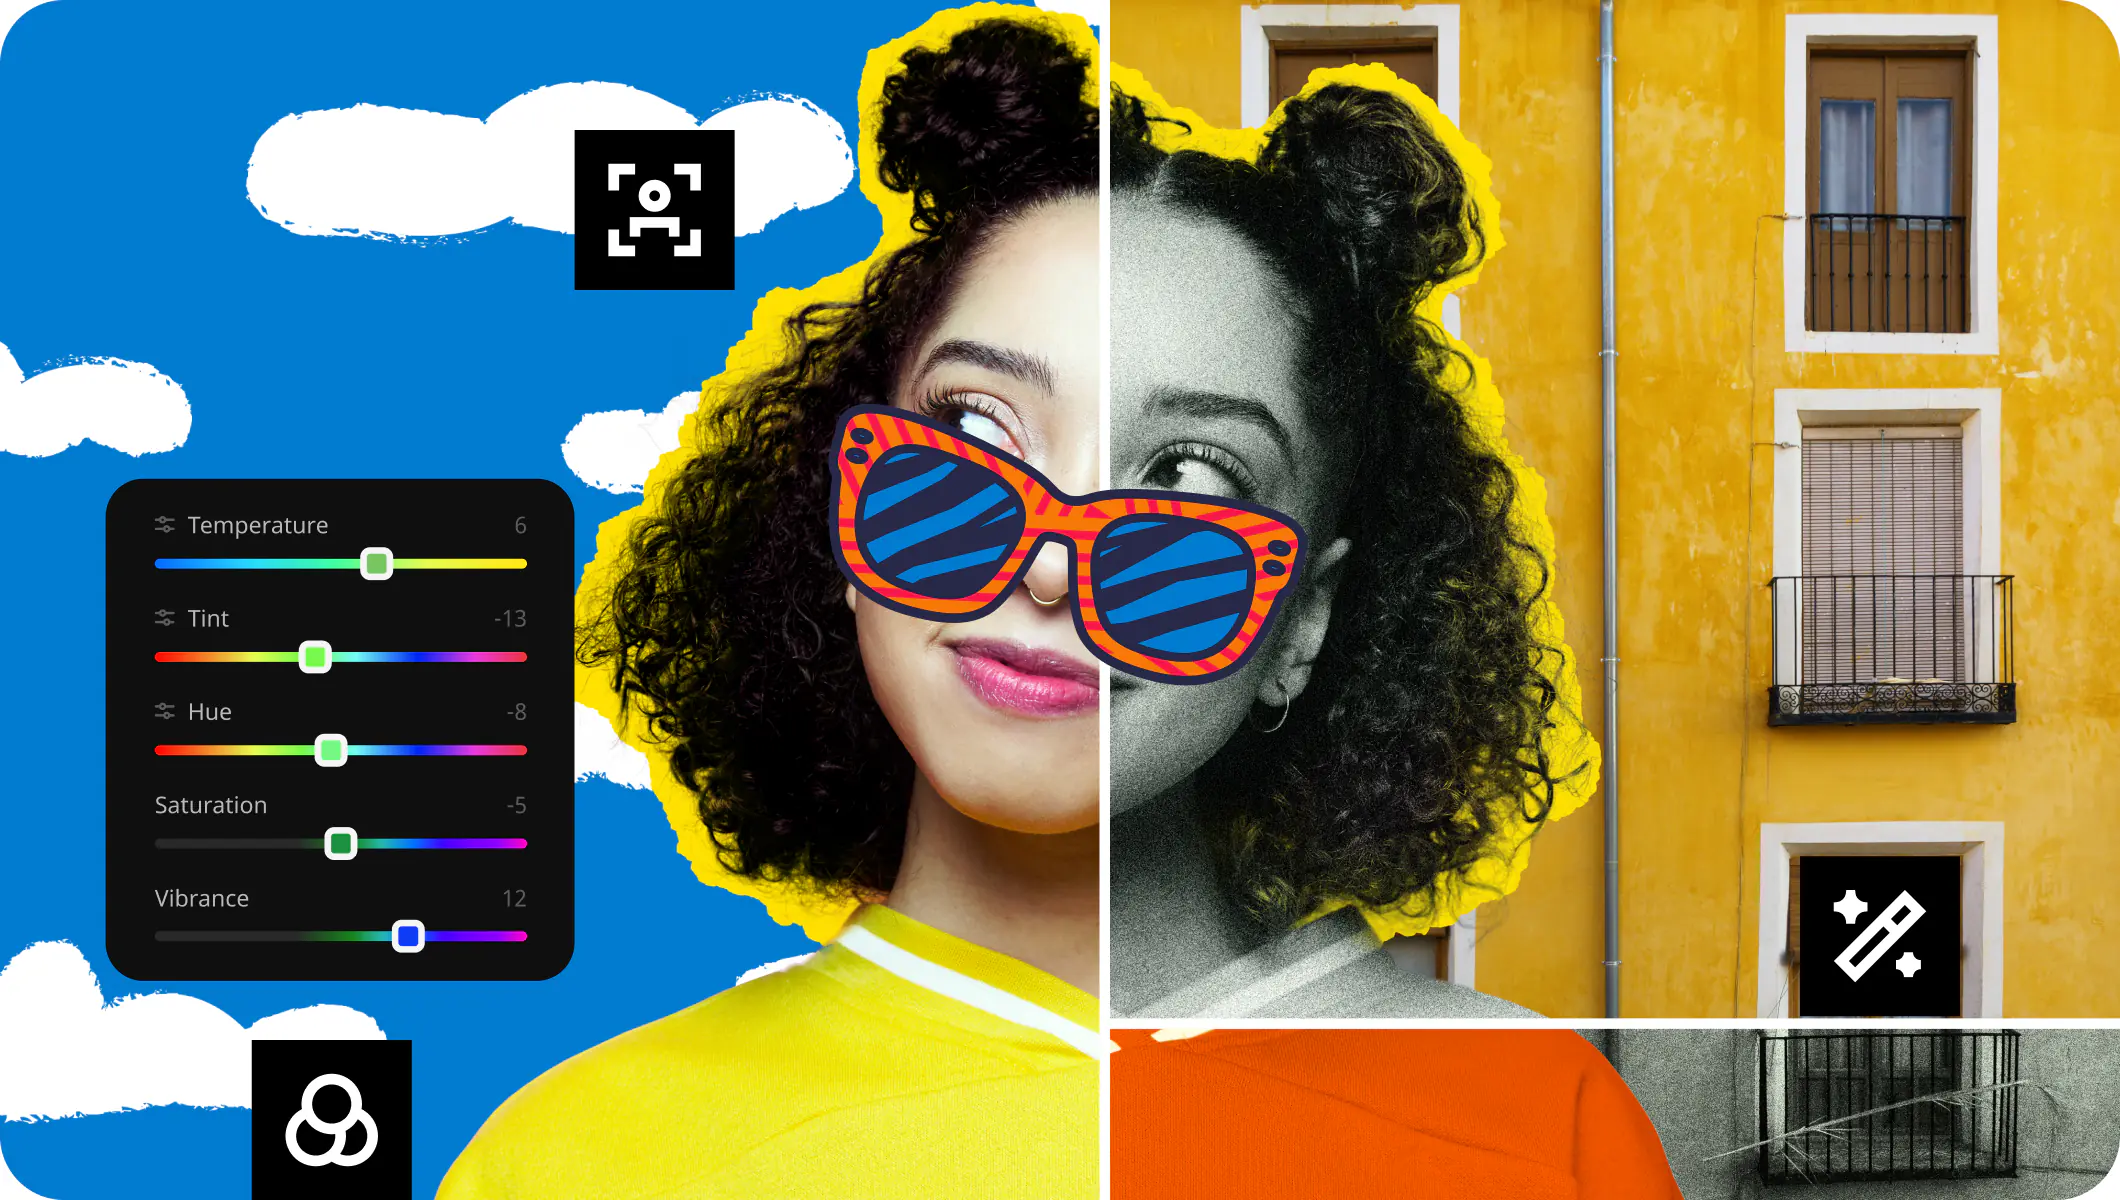
How to use the old photo restoration in Movavi Photo Editor
Photos preserve the most important moments of our lives. Looking through your grandparents’ photographic prints while listening to their stories about the old days is always engaging. But time is having an impact, and you may notice that some of the photographs are damaged: they have acquired cracks, stains, creases, and other marks. It seems like there’s no way to return them to their previous state. But don’t worry – in fact, you can fix your damaged images easily! Turn back time and restore old photos digitally with Movavi Photo Editor. Scan the photographs and experiment with automatic photo repair or correct them manually using the advanced editing tools.
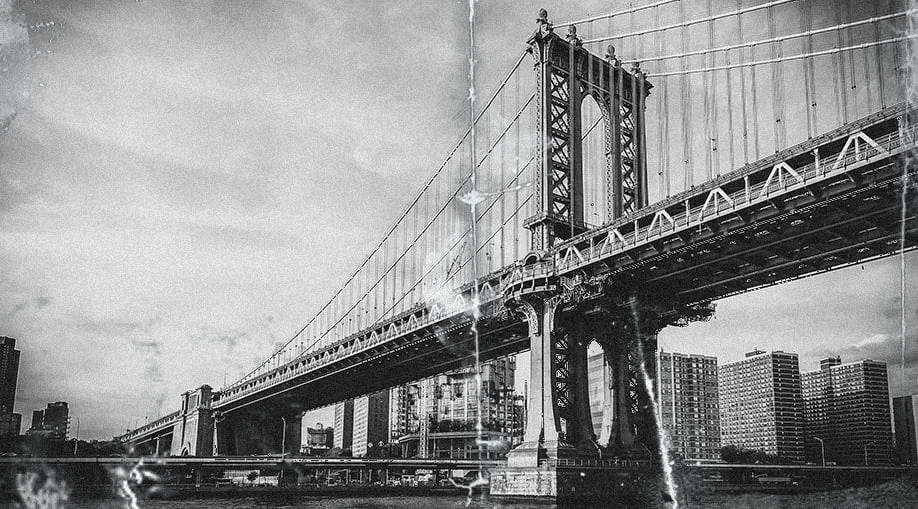
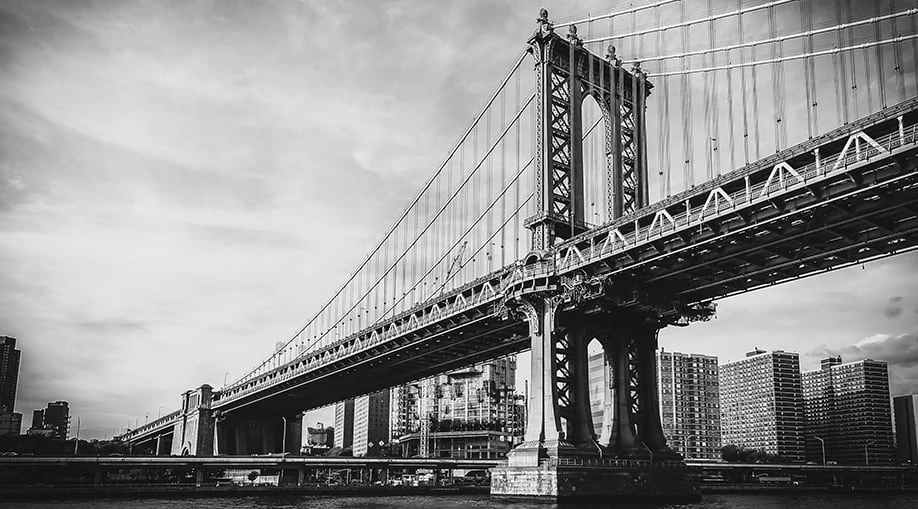
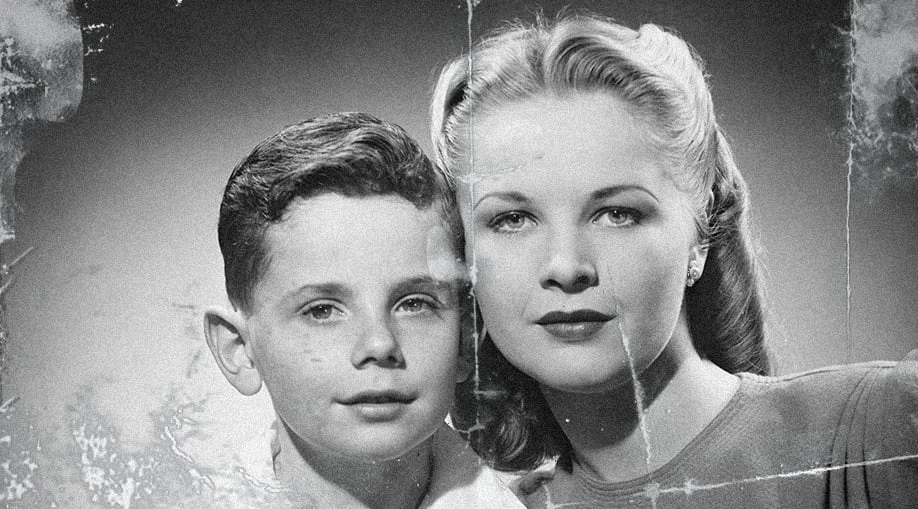
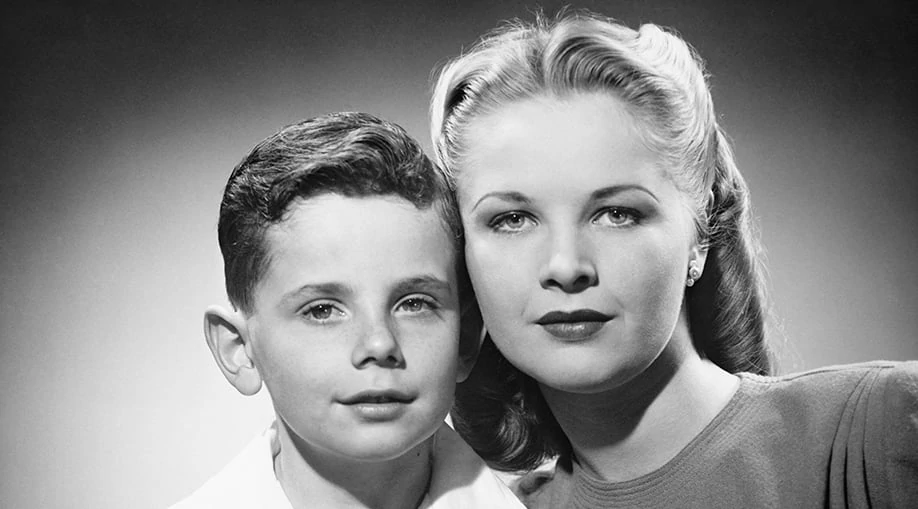
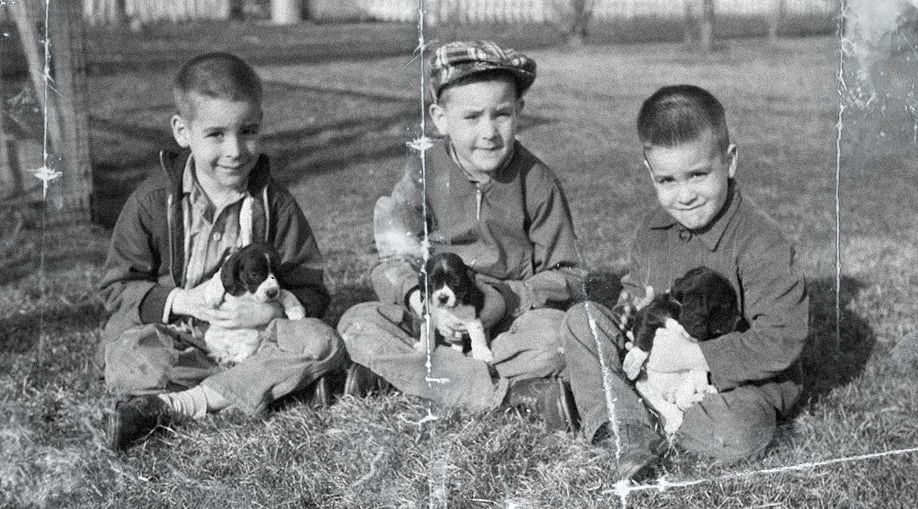
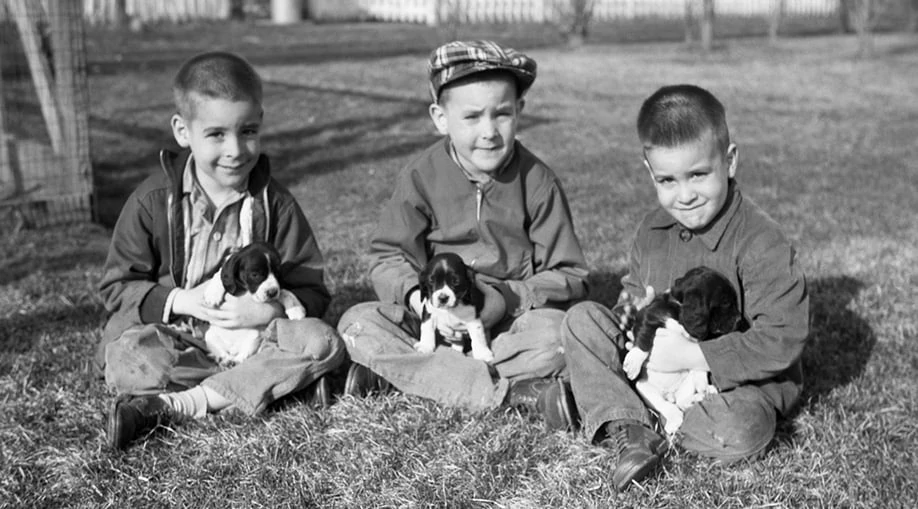
Here are the examples of photo restoration
Read our guide and learn how to restore old photos.
Step 1. Install the photo restoration software
Download the app and launch the installer on your PC or Mac. Follow the instructions on the screen to run the program.
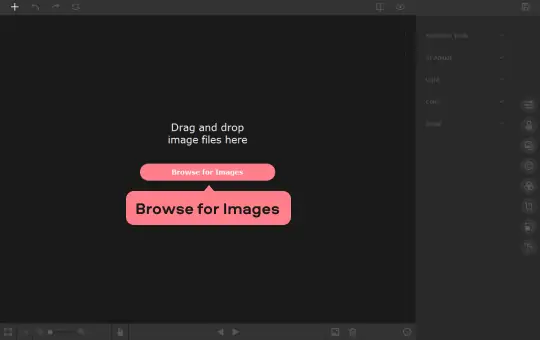
Step 2. Add your digital picture to the editor
Launch the program on your computer and choose an image you want to fix. To open a photo for recovery, click Browse for Images or drag and drop the desired image onto the working area in Movavi Photo Editor.
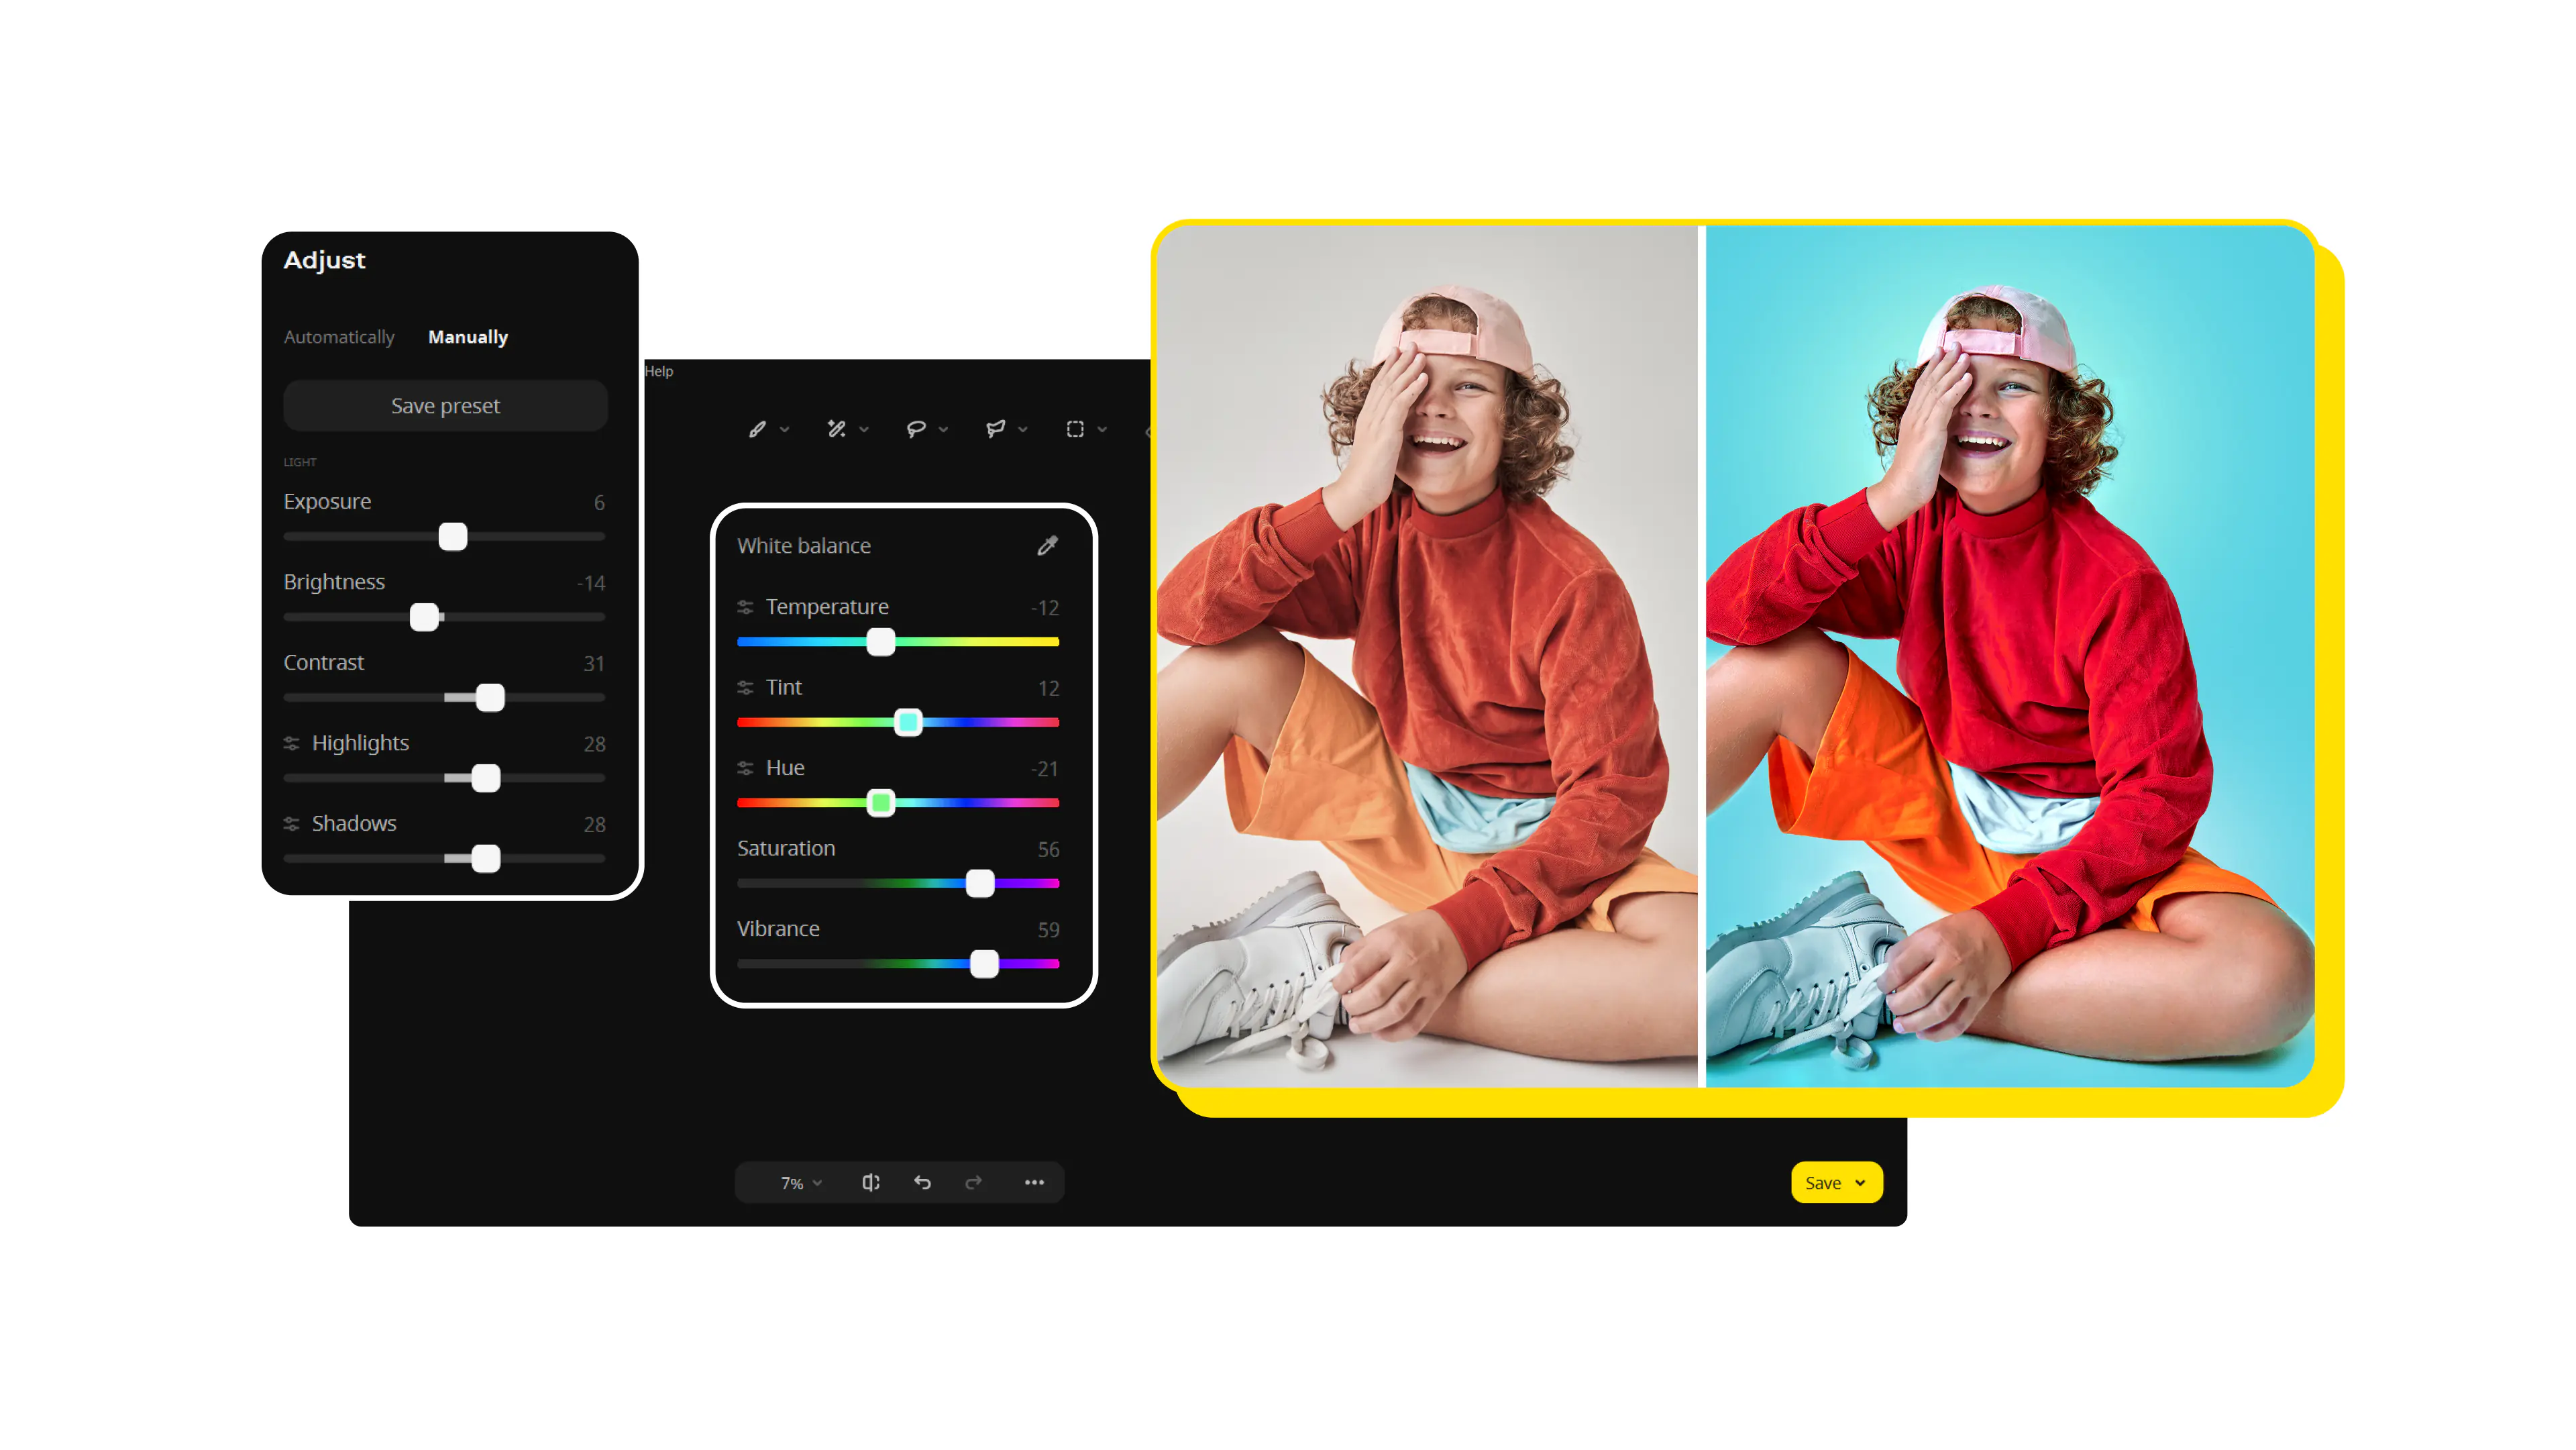
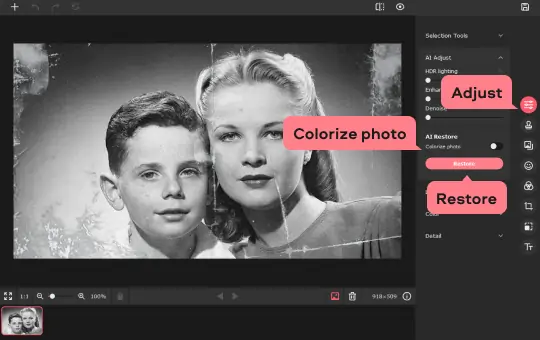
Step 3. Enhance and restore your photo
Go to the Adjust tab. On the right toolbar, open the AI Adjust section. To restore your photograph automatically, click the Restore button and let AI undertake the fixing of your old photo. If you want to add colors to your picture, enable the Colorize photo switch before auto-restoring. Otherwise, the resulting image will be black-and-white.
If you’re not fully satisfied with the result and want to adjust the brightness and contrast in the photo manually, move the HDR Lighting and Enhance sliders until everything is as you want it.
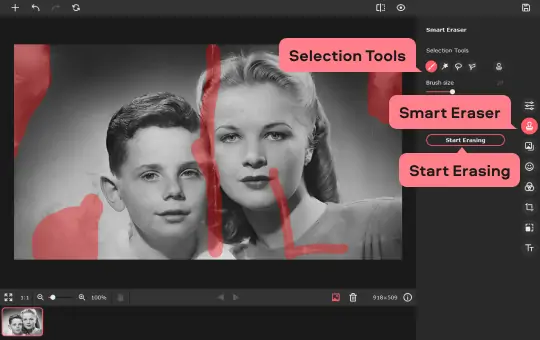
Step 4. Remove cracks, creases, and stains
If your photo was heavily damaged, there might be some marks left after the automatic picture restoration. To remove any unwanted marks from photos, go to the Smart Eraser tab. Choose from the available tools to mark parts of the image for removal. If your photo has cracks, use the Brush to remove them. If stains are a problem, choose the Magic Wand to mark elements that are the same color, Lasso to select a stain with rough edges, or Polygonal Lasso to outline the flaw more precisely. To get rid of minor imperfections, use the Stamp tool – just copy one part of the picture and paste it onto the part you need to cover. You can also adjust the selection tool size, sensitivity, and other parameters using the corresponding sliders. To remove unwanted marks, use the Eraser tool. If you want to return to the original image and start over, click Reset Selection. To start the flaw removing process, click Start Erasing.
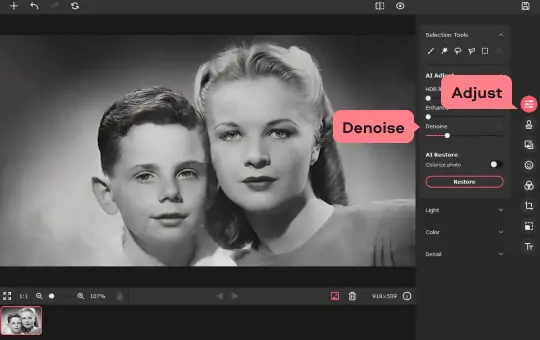
Step 5. Get rid of scan grain
Your photo may appear grainy after scanning. To clean up your photo, go to the Adjust tab and drag the Denoise slider until you’re satisfied with the result.
Step 6. Enhance your photo
If your photo needs further editing, you can do this manually using the tools in the Light, Color, and Detail tabs. To adjust the image settings, drag the sliders, or specify the exact value for the parameters in the respective fields at the right end of each slider bar.
To compare the edited photo with the original, click the Before / After button.

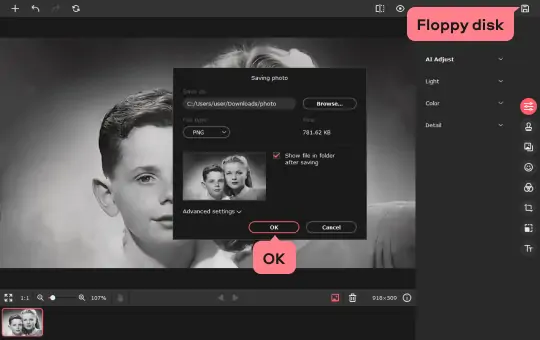
Step 7. Save the result
Now you need to save your edited picture. Click the Floppy disk icon in the upper-right corner. In the new window, enter the file name, choose the folder and desired image format. Then click OK. That’s all you need to do for old photo restoration. With Movavi Photo Editor, you can save your precious moments forever.
If you're looking for the best software to restore old photos, consider using Movavi Photo Editor. It has advanced features for fixing scratches, tears, and color fading while preserving the original details. This software is perfect for anyone who wants to breathe life back into cherished memories and family heirlooms.
Yes, it is possible to restore old pictures! Movavi Photo Editor is a powerful tool that can help you bring your faded photographs back to their former glory. It can remove dust, scratches, and other imperfections, and even enhance colors and contrast to make your old photos look like new again.

An easy way to record from your screen in HD. Make video footage of any application, record online streaming video, webinars, even Skype calls, and save clips in all popular formats.
A comprehensive, streamlined video editing program that has everything you need to create amazing home movies with custom soundtracks, special effects, cool titles, and transitions.


1.5M+ users already subscribed to our newsletter