
Step 1. Download and install the software
Download Movavi Photo Editor to your PC or Mac. Open the downloaded file and follow the instructions. Launch the program once it’s installed.
100+ filters and effects
Сreate awesome photos easily with Movavi Photo Editor
Intuitive tools for quick and easy photo editing
AI: retouching, background swap, object removal, and more
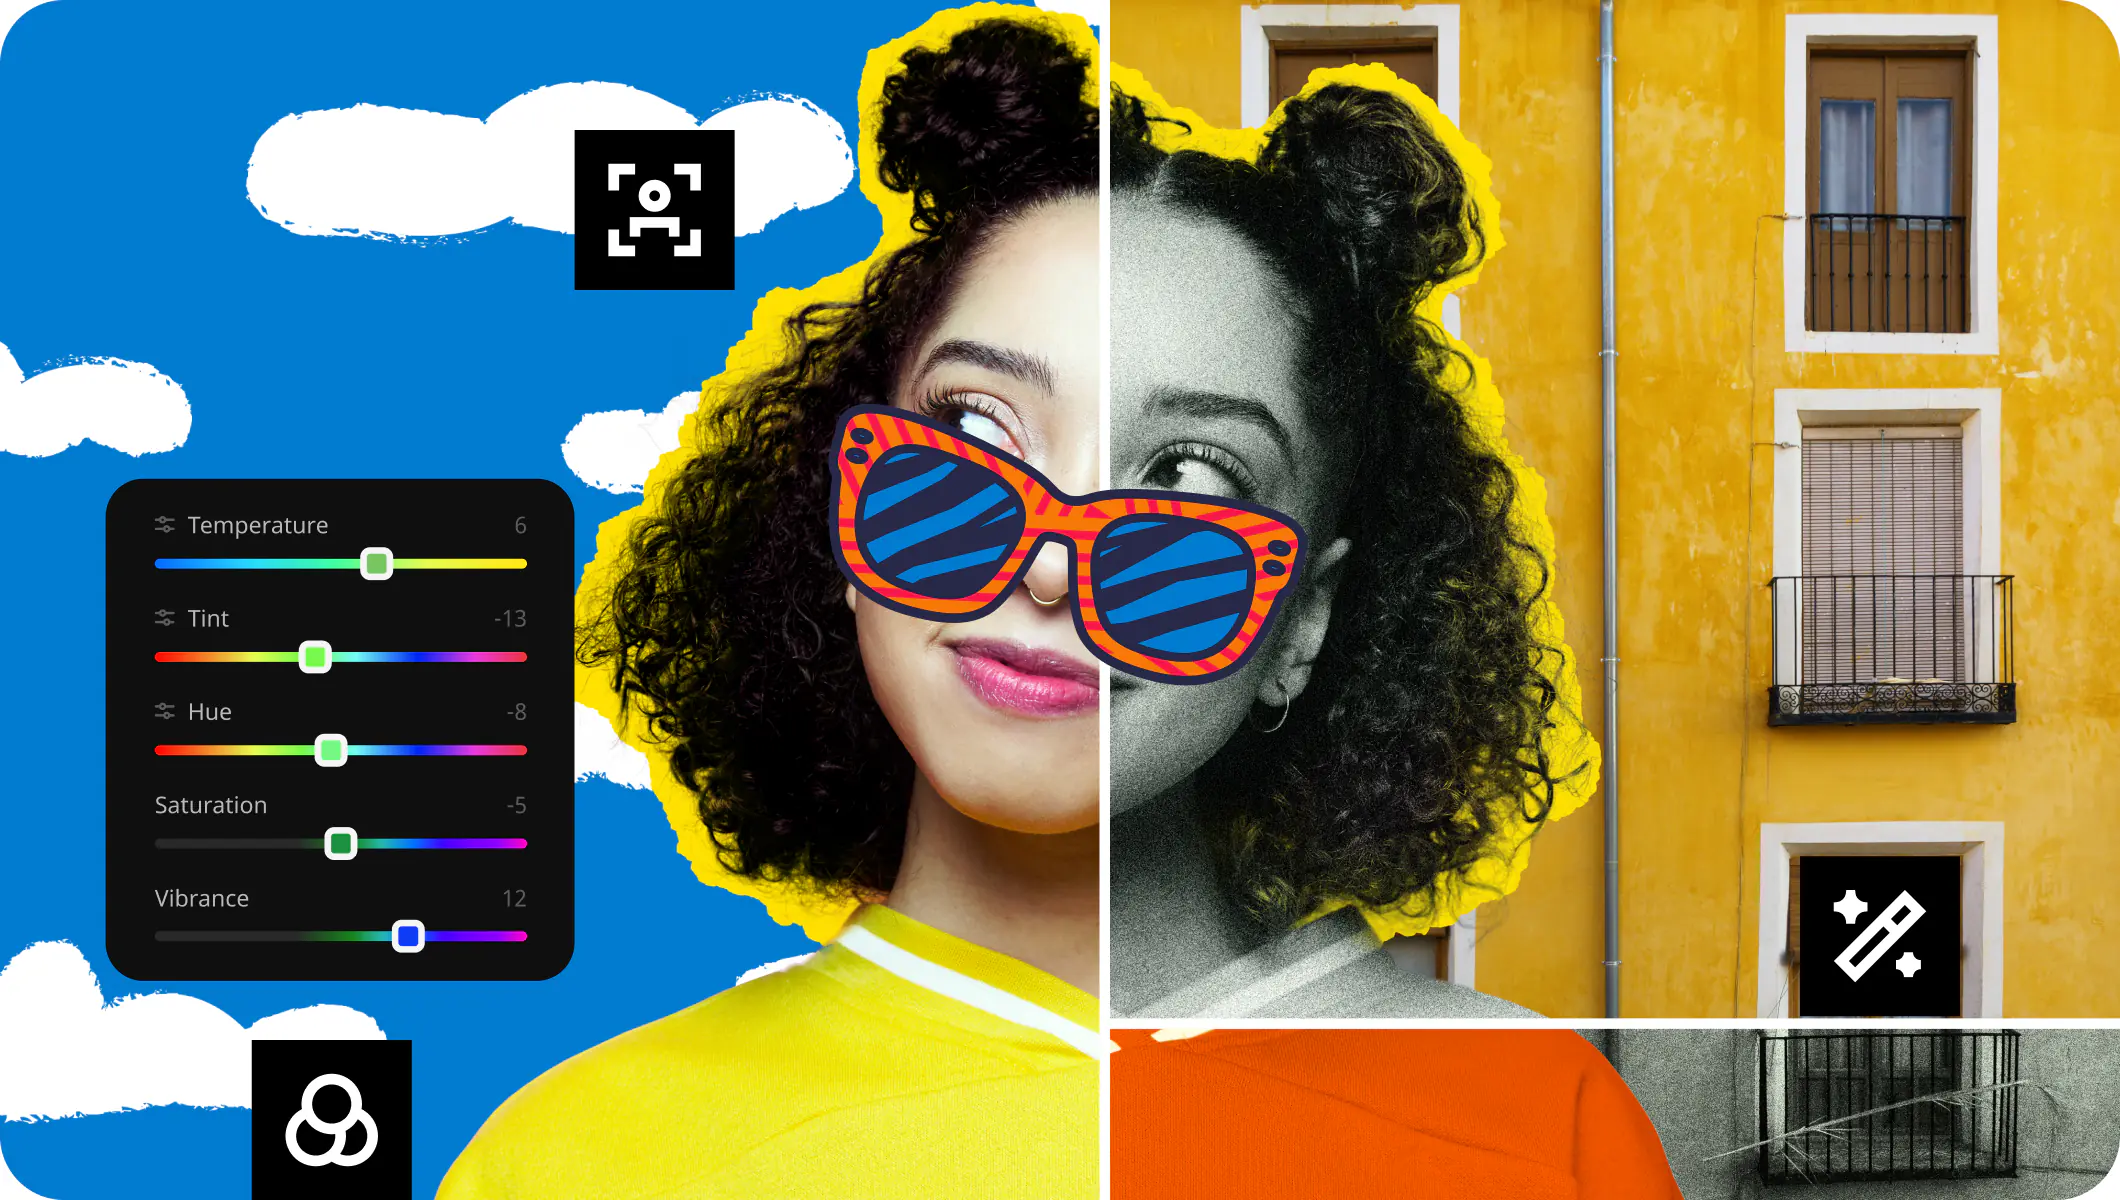
Atmospheric effects, color correction presets, and caption settings
How to add effects and filters to photos
Amp up your images with extra pizzazz – choose from a variety of filters and effects to ensure more people fall in love with your pics.
Step 1. Download and install the software
Download Movavi Photo Editor to your PC or Mac. Open the downloaded file and follow the instructions. Launch the program once it’s installed.
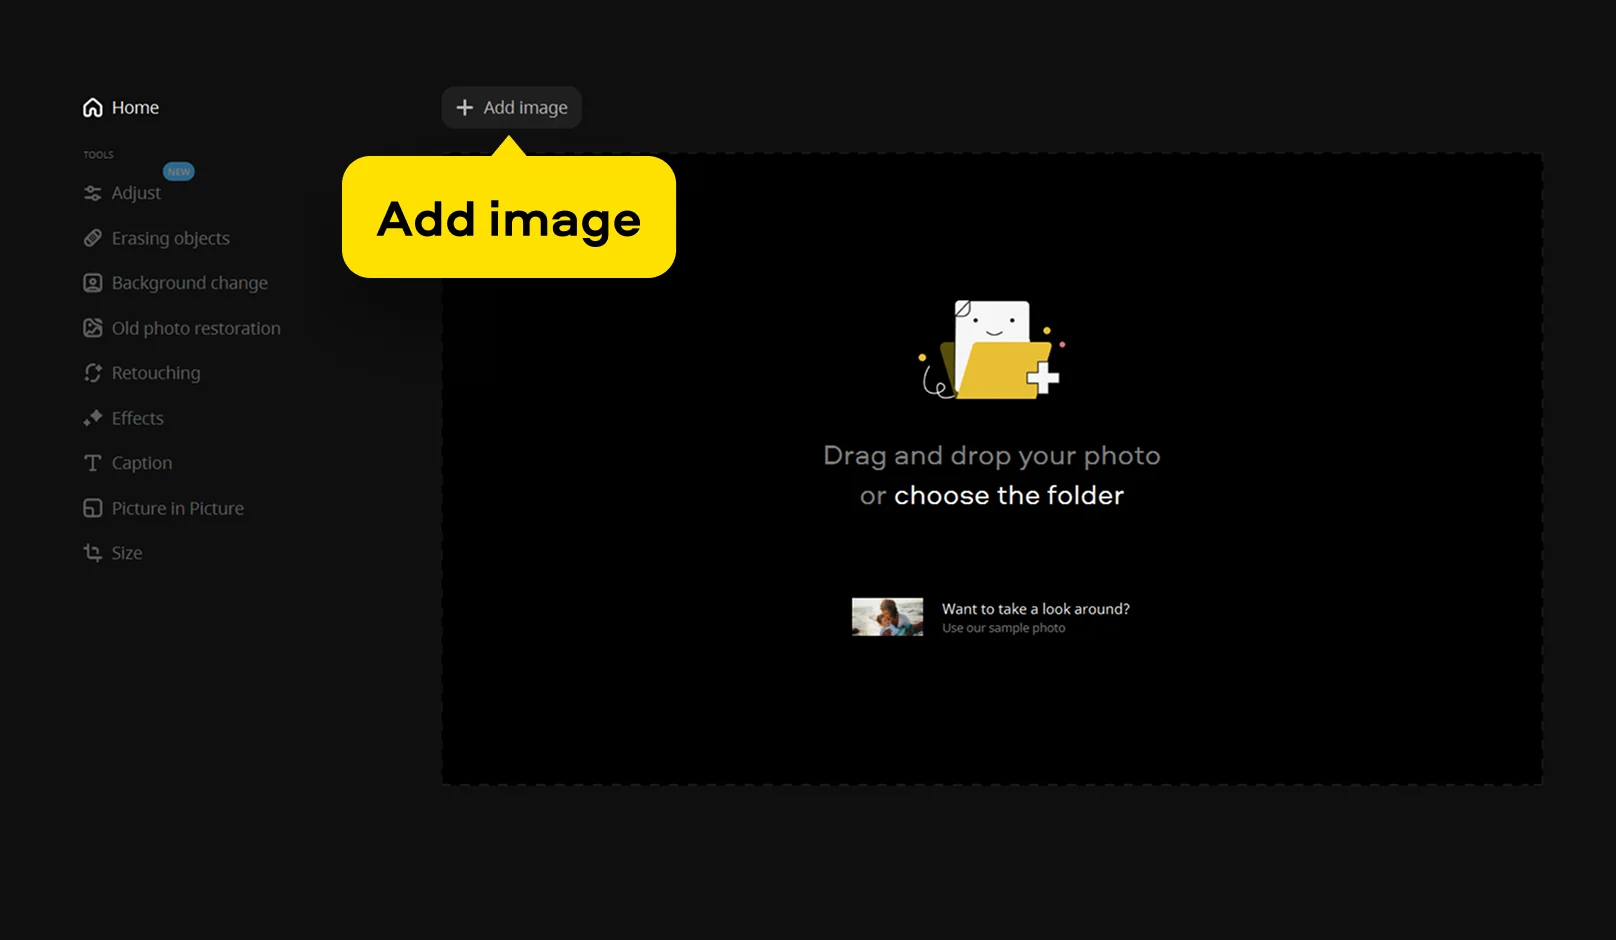
Step 2. Import photos
Click Add image and choose the photos you want to edit. You can also drag and drop files onto the program window.
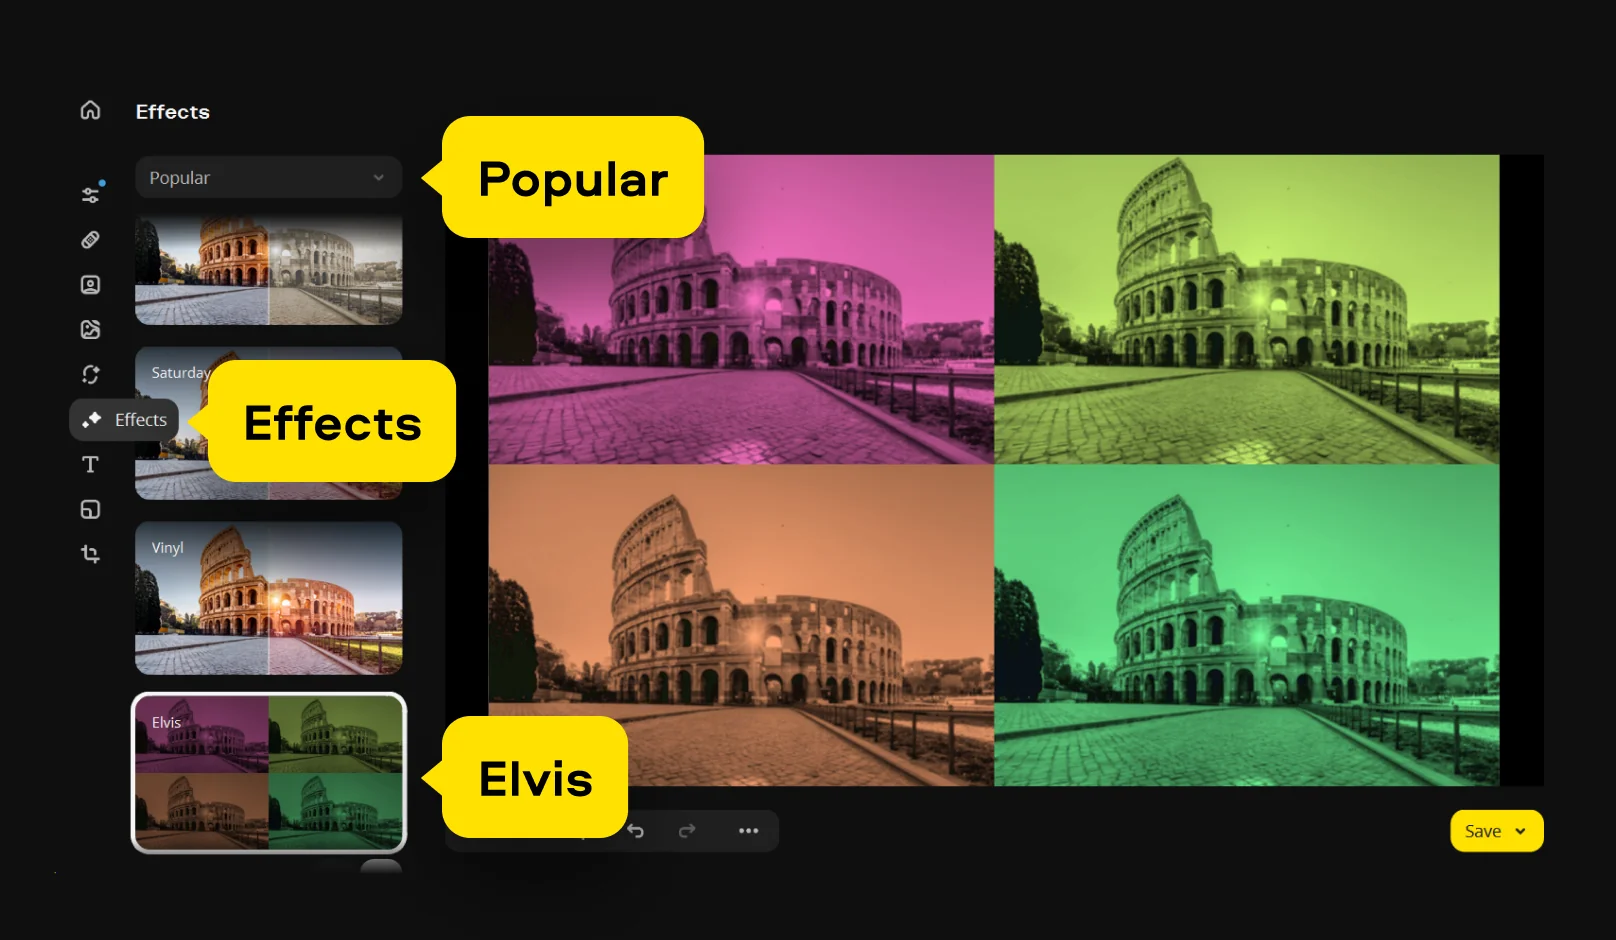
Step 3. Apply photo effects and filters
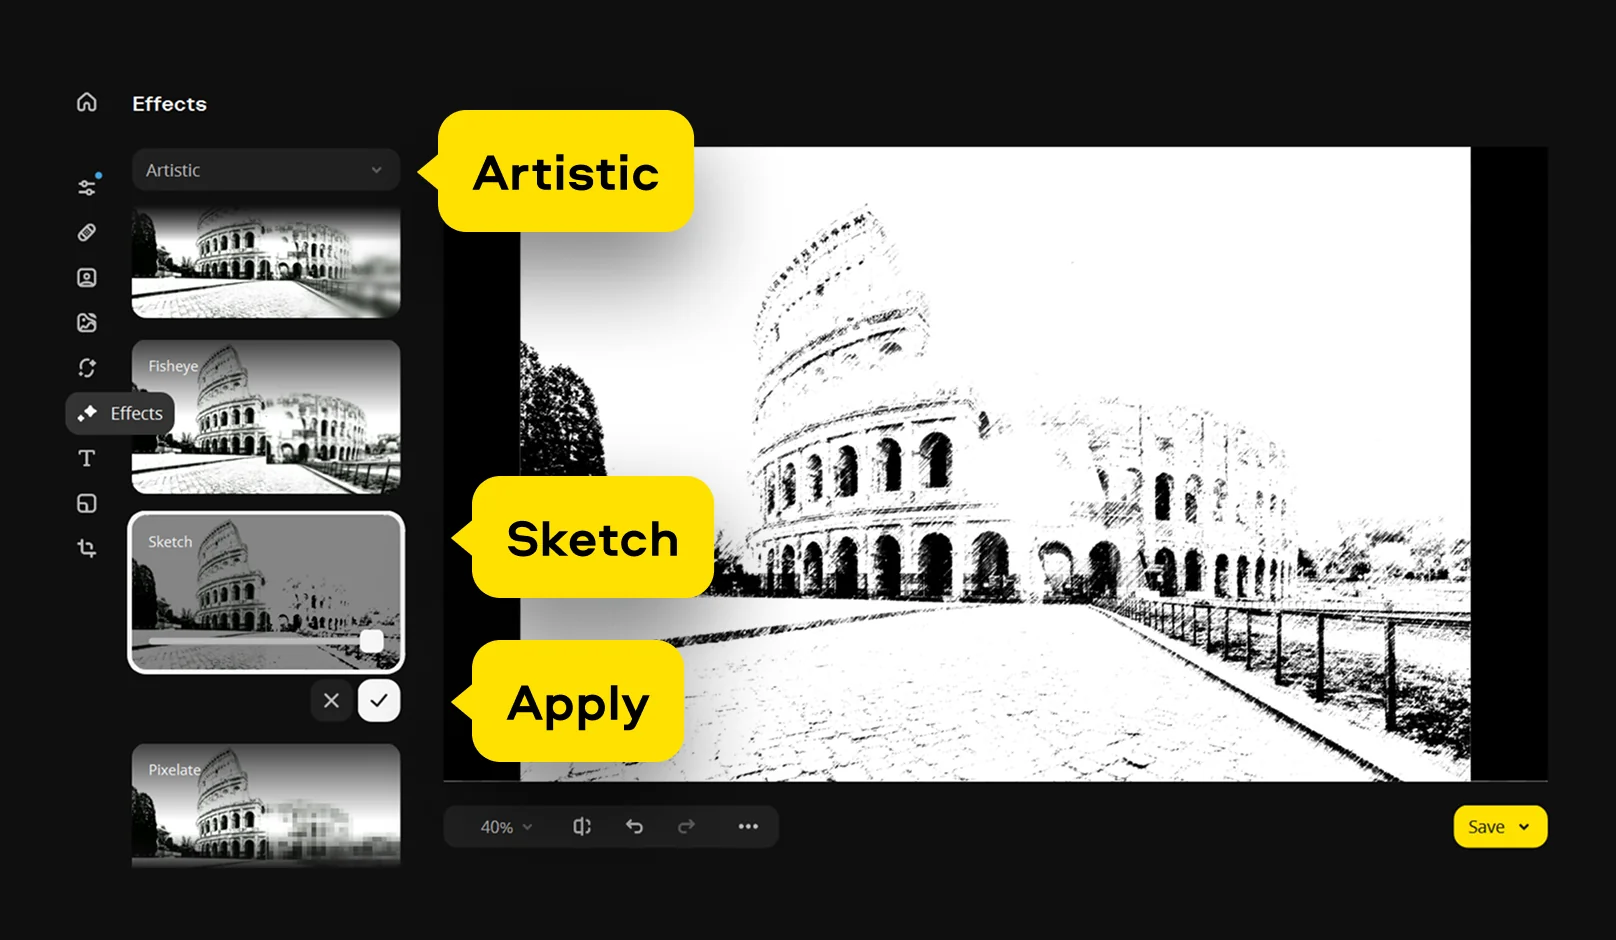
Go to the Effects tab and look around at the different categories.
In the Popular category, you can choose the Elvis effect to create a colorful collage.
To give your image a cinematic feel, try the Nosferatu effect in the Retro category.

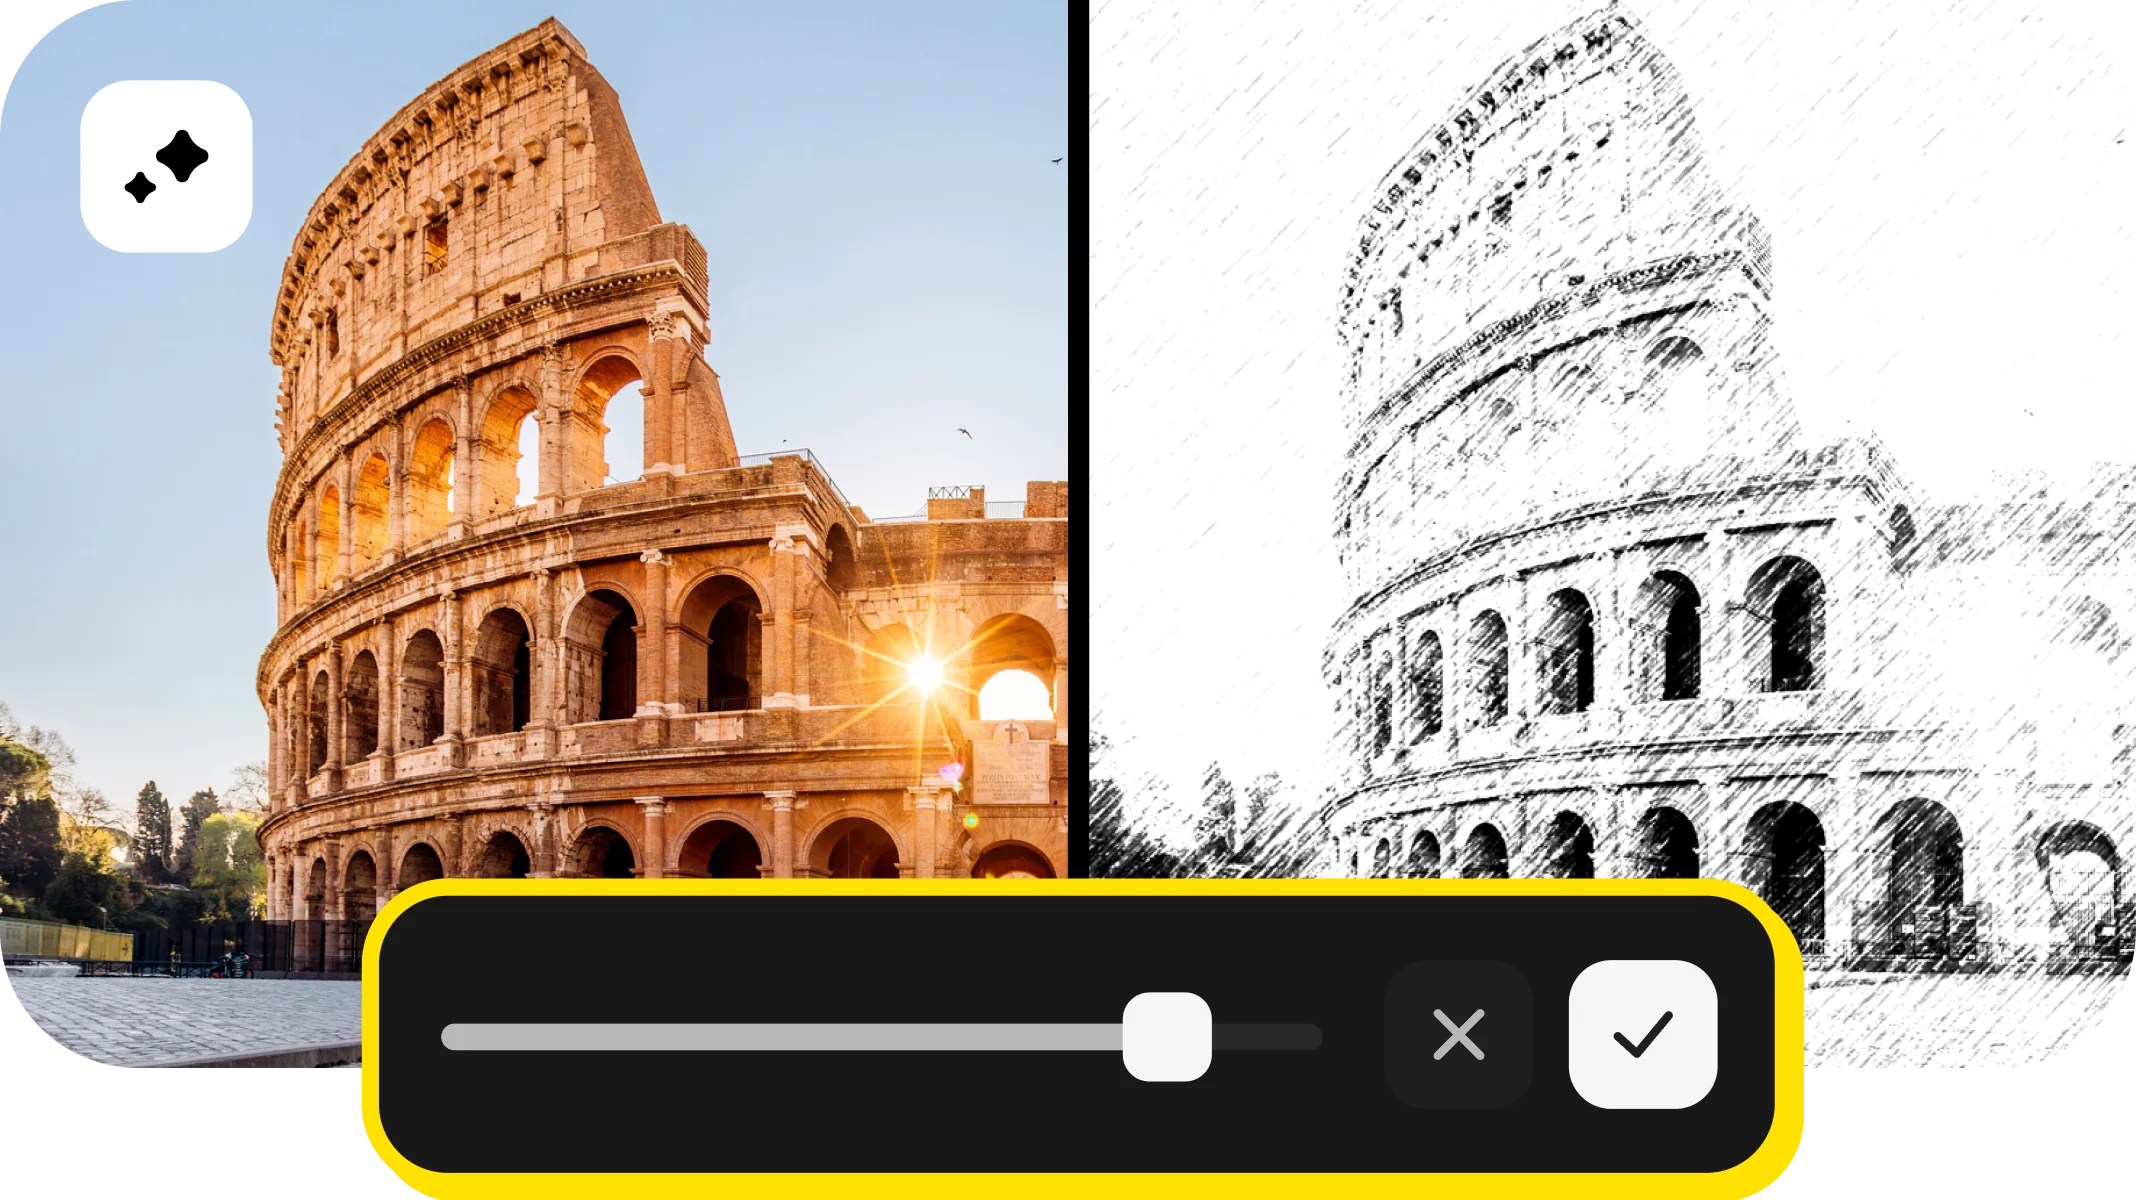
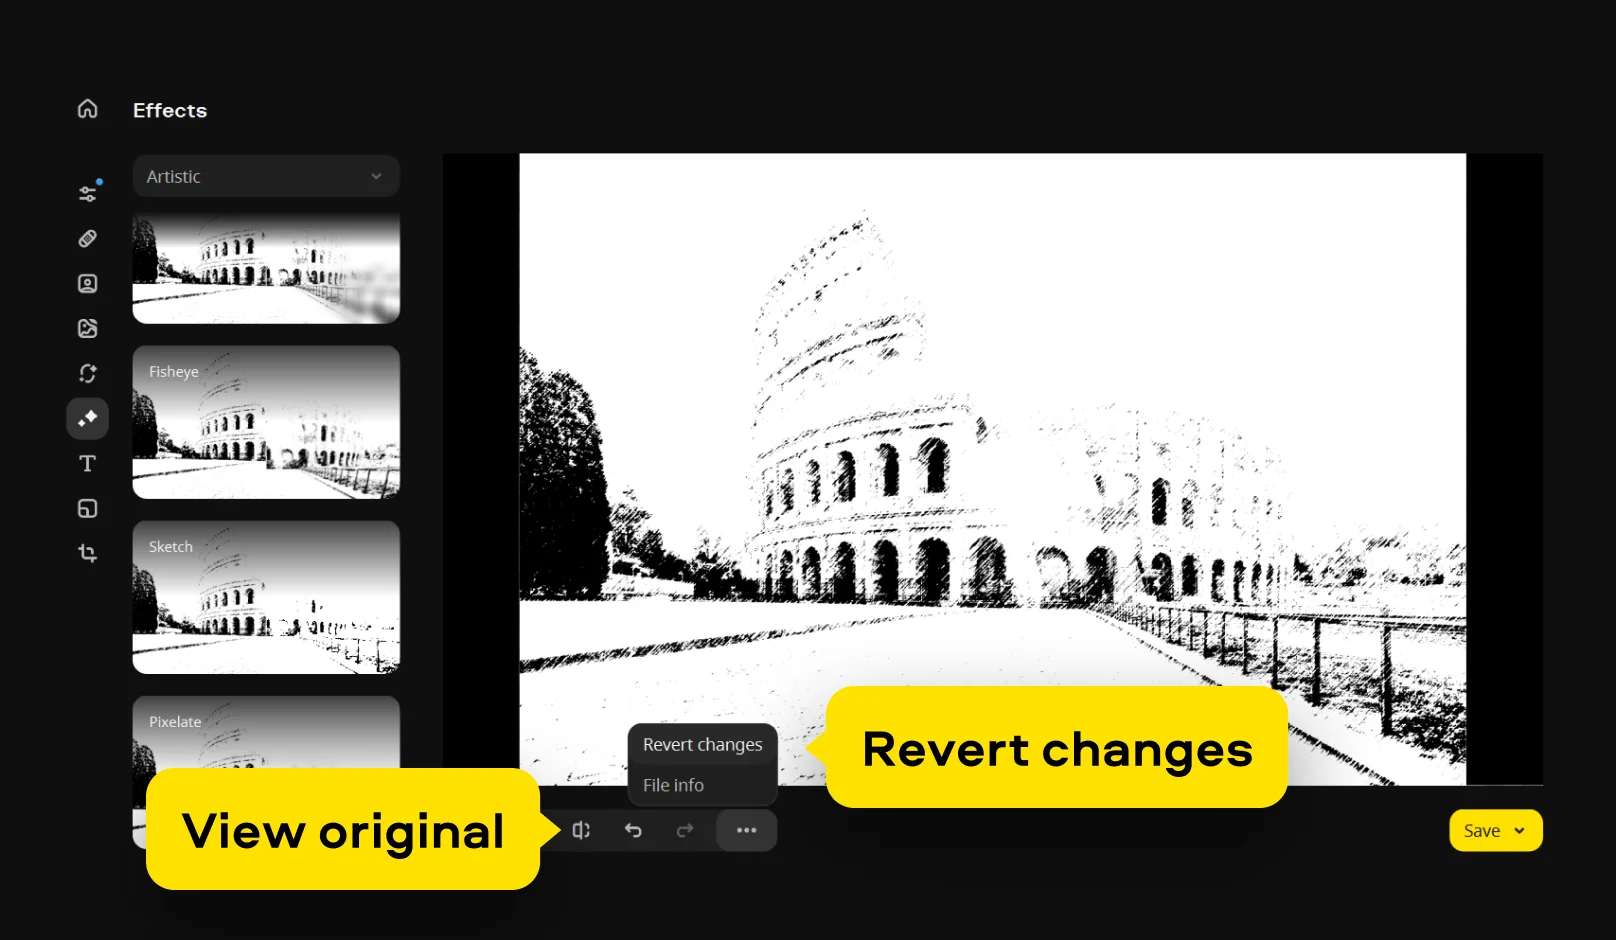
And if you want to apply a pencil drawing effect, Sketch from the Artistic category is your best choice.
Click on individual effects to preview how they will look. You can adjust the intensity of the chosen effects and filters using the slider under the preset. Once you're satisfied with the result, click the Apply button.
To compare your edited photo to the original, hold down the View original button on the panel in the lower part of the program window. If you want to cancel the changes, hit Revert changes.
Step 4. Save the result
Click Save in the lower right corner of the interface, choose a folder, and save your image in whatever format you like.


1.5M+ users already subscribed to our newsletter