Why I picked it: Quick, intuitive, and surprisingly powerful for both beginners and pros. Perfect for diving straight into color grading without getting lost in complex menus.
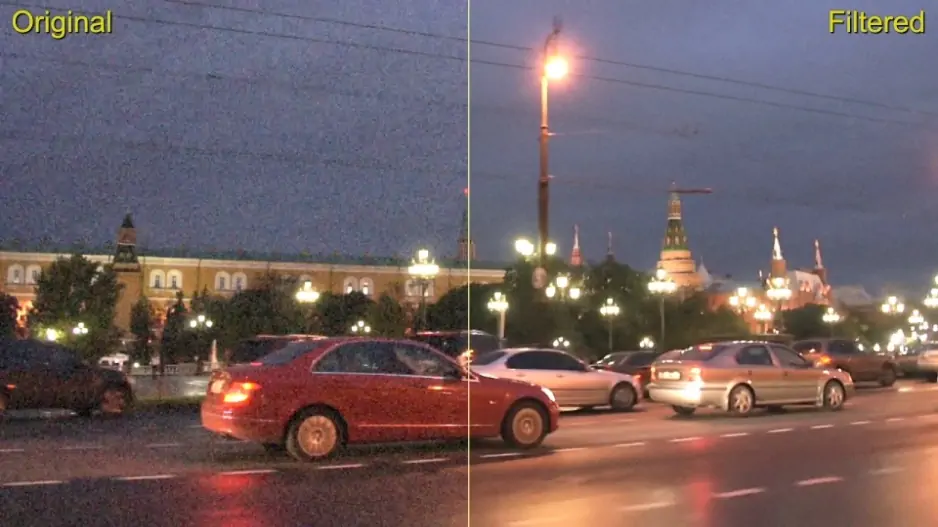
Movavi Video Editor is hands-down one of the best color grading software tools around. It’s loaded with a variety of filters, stylish transitions, and professional-grade tools, making color correction smooth and visually striking. The interface is clean and intuitive, letting you jump straight into editing, Windows and macOS compatible. Fresh updates have improved real-time preview rendering, so you can see your color tweaks immediately (release notes).
Personally, I love using it for quick projects where I want professional results without fuss; exporting straight to YouTube is seamless, and handling conversion like IFO to MP4 is a breeze. The color grading workflow feels natural, and the software never feels sluggish, even on complex edits.
Step 1. Import your video
Download and open Movavi Video Editor. Click Add Files or drag and drop your video file into the program interface. Then, drag the video onto the Timeline to start editing.
Step 2. Access Color adjustments
Navigate to the Tools tab and select the Color adjustments option. Click on Manual mode to access the color grading controls.
Step 3. Adjust Color settings
In the Manual mode, you'll find sliders for adjusting parameters such as brightness, contrast, saturation, and hue. Use these sliders to fine-tune the colors and exposure of your video.
Step 4. Apply Presets (optional)
If you prefer, you can apply built-in presets for quick color grading. These presets can be accessed within the same Color adjustments menu.
Step 5. Export your video
Once satisfied with the color grading, click on the Export button to save your edited video in the desired format.