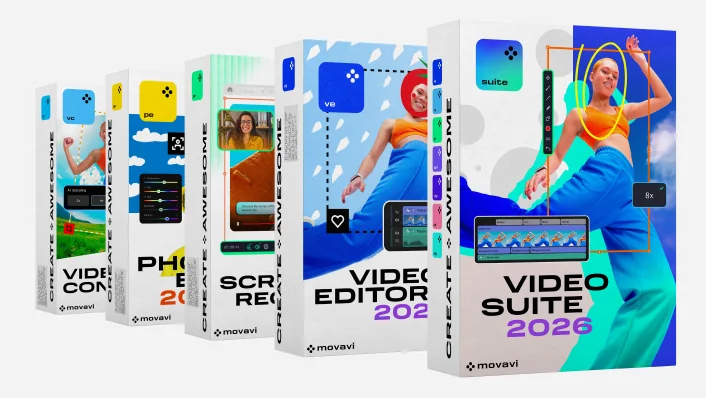
Redigeringsprogrammene våre
Utforsk video- og bildeverktøy – vi har noe som passer perfekt til deg.
Movavi Video Suite 2026
Din pakke med alt du trenger for å lage videoer: Et videoredigeringsverktøy, mediekonverter, skjermopptaker og mer til
Movavi Video Suite 2026
Din pakke med alt du trenger for å lage videoer: Et videoredigeringsverktøy, mediekonverter, skjermopptaker og mer til
Prøv alle Movavi-programmene
Ditt enkle, men kraftige redigeringsverktøy for å lage videoer som får folk til å si "wow!"
Ditt smarte og enkle fotoredigeringsverktøy for å lage bilder som får folk til å si "wow"
Din faste konverter for endring av video-, bilde- og lydformater på sekunder
Ditt problemfrie skjermfotoverktøy for mer effektive prosjekter
Alle Movavi-programmer og 10 000 effekter i én pakke for å lage imponerende videoer og bilder
Redigeringsprogrammene våre
Utforsk video- og bildeverktøy – vi har noe som passer perfekt til deg.
Klipp
Beskjær
Trim
Roter
Endre størrelse
Reverser
Stabiliser
Juster farger
Overleggstitler
Legg til filtre og overganger
Bruk LUT-er og overlegg
Sett inn forhåndslagde introer
Bruk chroma-nøkkel
Forbedre lydkvalitet
Lag reisevideoer
Ta vare på familieminner
Ta vloggen din til neste nivå
Begeistre seerne dine
Få en masse likes
Få flere følgere
Lag videoer som de elsker
70 millioner+


Over 10 000 effekter og 1 500 musikkspor
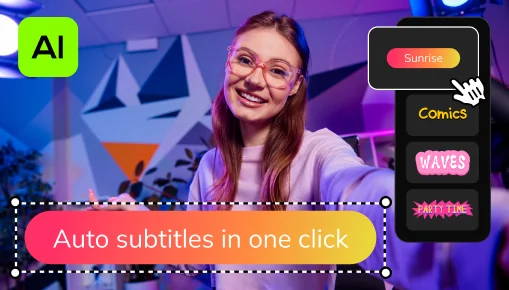
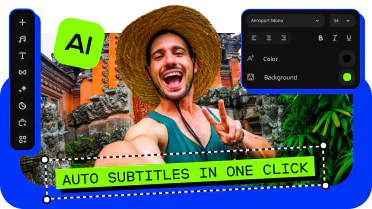
Ett-klikks automatisk teksting
La AI raskt gjøre om talen din til tekst og automatisk lage bildetekster for videoene dine på nesten alle språk. Bare velg skrifttype, tekstfarge og plassering – så er du klar!
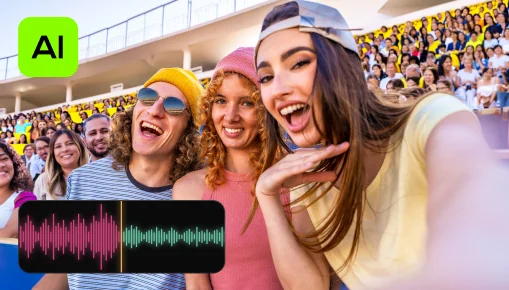
Fjern støy med AI
Fjern automatisk bil-, vind- og andre uønskede lyder fra klippene dine med vår AI-drevne støyfjerner. Lag videoer med klar og tydelig lyd som seerne garantert vil sette pris på.
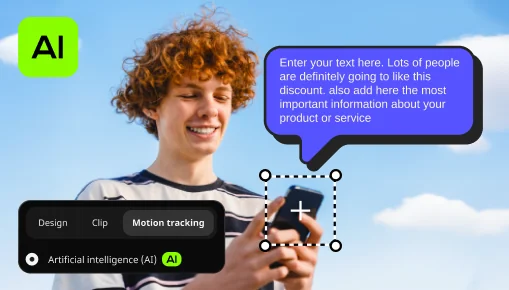
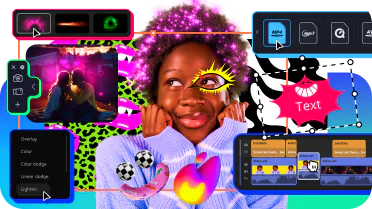
Spor bevegelse med AI
Gi videoene et mer virkelig preg med mer bevegende grafikk. Du trenger bare klikke så vil AI raskt legge til bilder, videoer, emojier eller memes til objekter i opptaket ditt.
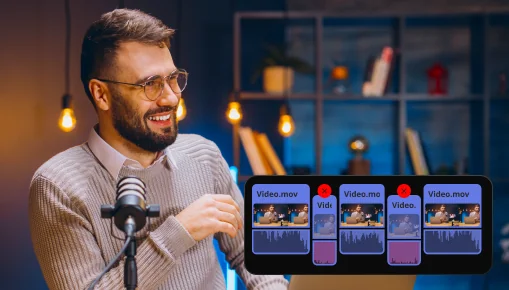
Fjern stillhet
Kutt ut uønskede pauser automatisk, eller finjuster pauselengden og volumgrensen selv. Du sparer tid og vil kunne hoppe over den kjedelige opprydningen, sånn at du kan fokusere på det morsomme.
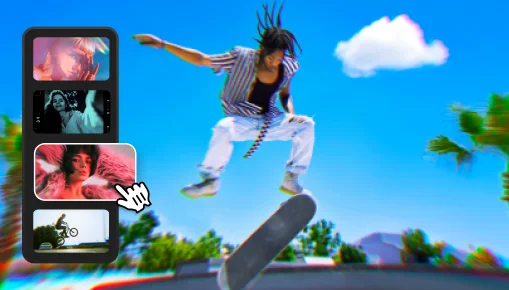
Justerbare effekter
Forbedre videoene dine med et klikk med nye realistiske effekter – fra støvpartikler og lyslekkasjer til retrostil og VHS. Hver effekt er fullt tilpassbar – slik at den passer perfekt til ethvert klipp og gir redigeringene dine en ekstra gnist.
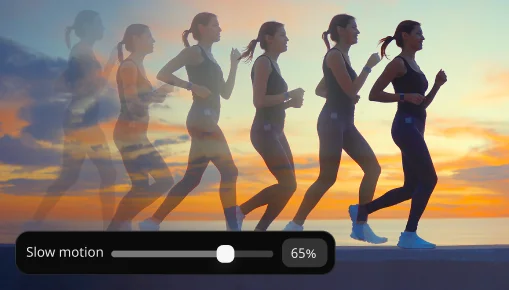
Sakte film
Senk farten på opptakene dine for å gjøre bevegelsene tydeligere, rette oppmerksomheten mot viktige detaljer og kontrollere hastigheten og rytmen i hver scene.
Det finnes mange gratis videoredigeringsprogrammer tilgjengelig på internett. Men helt gratis programvare fra tredjeparter kan inneholde skadelig kode som stjeler personlige data og finansiell informasjon.
Derfor lagde vi Movavi Video Editor – den er 100 % sikker og enkel å bruke! Du kan prøve gratisversjonen, men med disse begrensninger: Movavi-vannmerke, 60 sekunders video eller halv lydlengde, og enkelte avanserte funksjoner er låst ved eksport. Hvis du liker programmet, kan du kjøpe en livstidslisens eller et årsabonnement på fullversjonen og redigere uten begrensninger og med full tilgang til alle funksjoner.
Vi jobber hardt for at programvaren vår skal være så enkel og intuitiv å bruke som mulig. Vi tester av og til programmet på bestemor og bestefar! Derfor kan vi si at Movavi Video Editor er blant de beste videoredigringsprogrammene for nybegynnere.
Selv om du aldri har redigert en video før, vil du kunne mestre Movavi Editor etter under 20 minutter – takket være det brukervennlige grensesnittet, nyttige tips og kundestøtten som alltid er klar til å hjelpe og fyre opp under kreatviteten din.
Vil du lage engasjerende innhold til YouTube? Kanskje imponere seerne med karakteristiske introer og overganger? Vil du ha flere likes og følgere? Da kan Movavi Video Editor være det perfekte redigeringsprogrammet for videoer til YouTube! Her får du supre forhåndsinnstillinger for introer, massevis av effekter og overganger som er perfekte blikkfang, og et intuitivt grensesnitt som gjør at du kan konsentrere deg om å skape ting, ikke kompliserte brukermanualer.
Vent, det er mer! Hvis du er ute etter å erobre YouTube, har vi en fantastisk bonus til deg – et par effektpakker laget spesielt for kommende YouTubere. Følg lenkene under og forestill deg hvordan effektene kommer til å heve kvaliteten på videoene dine.
Min kanalpakke for YouTube
Min kanalpakke for YouTube #2
Hvis du bruker profesjonelle programmer for videoredigering, kan det å legge til den enkleste overgangen i en video ta flere timer med trykking av feil knapper og graving etter råd og tips. En heller kjedelig opplevelse.
Med Movavi Video Editor tar det omtrent tre sekunder å legge til en overgang – bare dra og slipp overgangen du ønsker mellom klippene. Ja, det er så enkelt. Følg lenken under for å finne ut mer om ulike typer overganger.
Hvis du har lest svarene oven, har du kanskj en anelse av hviolket program vi vil anbefale. Men all spøk til side, Movavi Video Editor er ikke bare et kjemepbra alternativ for iMovie. Det er bedre når det gjelder funksjonalitet og brukervennlighet. Bare prøv og se selv hva vi mener.
Les artikkelen under for å finne ut mer om alternativer for iMovie for Windows.
iMovie-alternativer for Windows
Møt den nye Movavi Video Editor 2026 – raskere og full av effekter
Gjør redigeringen raskere med automatiske verktøy og prøv 40+ nye justerbare effekter – spar tid og gir hver video en ekstra imponerende effekt. Fjern automatisk alle uønskede pauser, overfør effekter fra ett klipp til hele videoen på et blunk, og få 30+ nye stiler for automatisk teksting
Gjør redigering enkelt med Movavi Video Suite 2026
Den nye Movavi Video Suite er fullpakket med funksjoner som gjør videoskaping lett som en plett! Hopp over det slitsomme arbeidet ved hjelp av de automatiske verktøyene. Ta fatt på ethvert prosjekt uanstrengt med hundrevis av effekter, lynrask filkonvertering og en praktisk skjermopptaker.
Les mer
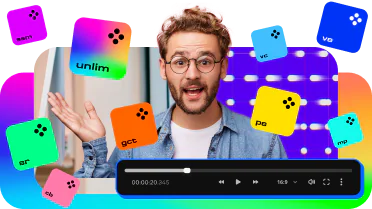
Få alle de nyeste appene og effektene på én gang med Movavi Unlimited 2026
Gjør video- og bilderedigeringen din effektiv med de nye automatiske verktøyene og forbedret ytelse. Lag videoer som fanger andres oppmerksomhet, gjør praktiske skjermopptak, konverter mediefiler til alle formater, og lag underholdning med massevis av effekter.
Les mer
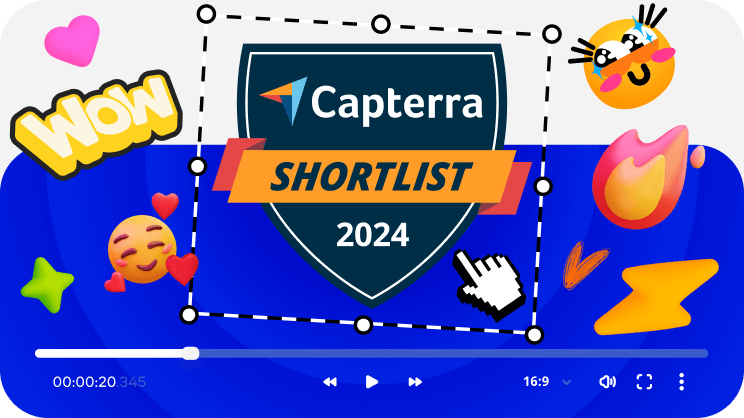
Vår videoredigerer er en av de beste i 2024!
Movavi Video Editor er på Capterra-kortlisten for 2024! Hvis du ikke har prøvd Movavi Video Editor ennå, prøv det nå og se hvorfor det er en av de beste.
64-biters Microsoft® Windows® 10/11 med oppdaterte patcher og service packs installert
Intel®, AMD® eller kompatibel dual-core-prosessor, 1,5 GHz
Intel® HD Graphics 2000, NVIDIA® GeForce® serie 8 og 8M, Quadro FX 4800, Quadro FX 5600, AMD Radeon™ R600, Mobility Radeon™ HD 4330, Mobility FirePro™ serie, Radeon™ R5 M230 eller nyere grafikkort med oppdaterte drivere
1280 × 768 skjermoppløsning, 32-bits farge
4 GB
400 MB ledig harddisk-plass for installasjon, 600 MB for pågående operasjoner
Administratortillatelser er påkrevd for installering
Bli med oss for rabatter, redigeringstips og ideer!


1.5M+ brukere har allerede abonnert på vårt nyhetsbrev