Movavi Slideshow Maker is built for people who want results without overcomplicating the process – you don’t need editing experience to begin! The interface feels direct, so you can focus on your photos and story instead of menus. It works well whether you are preparing something small or a full wedding reception slideshow maker project.
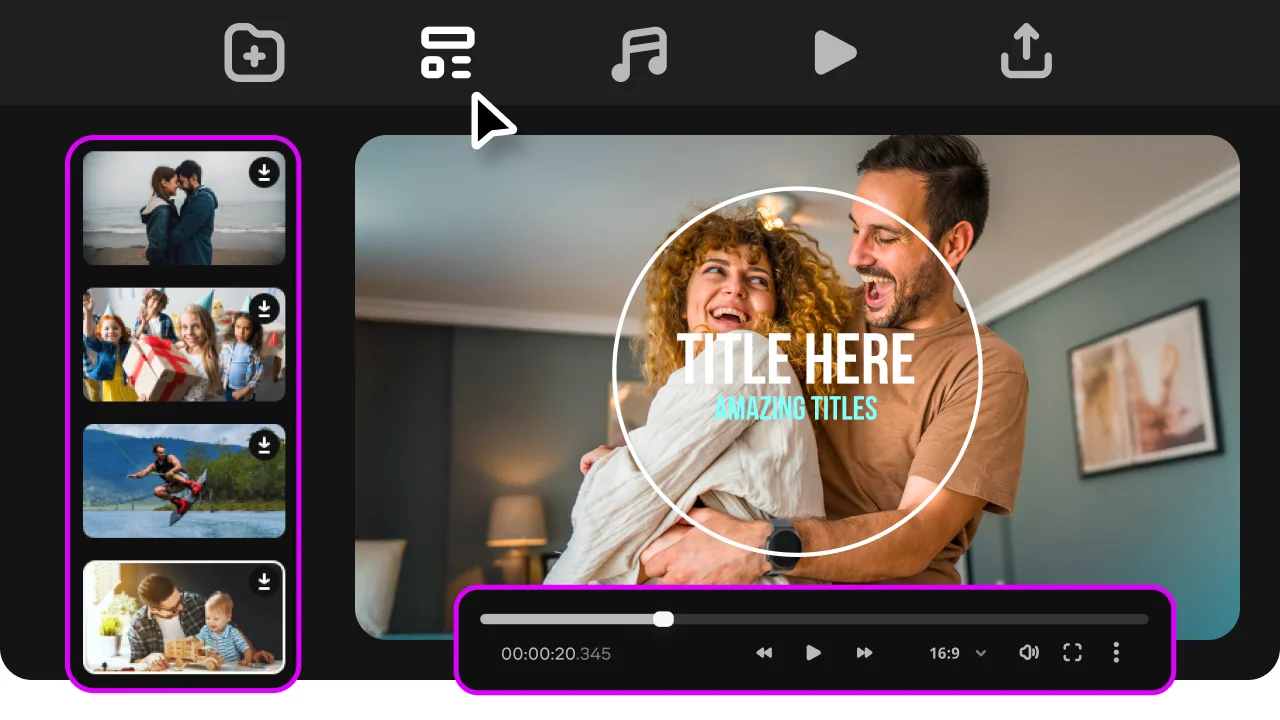
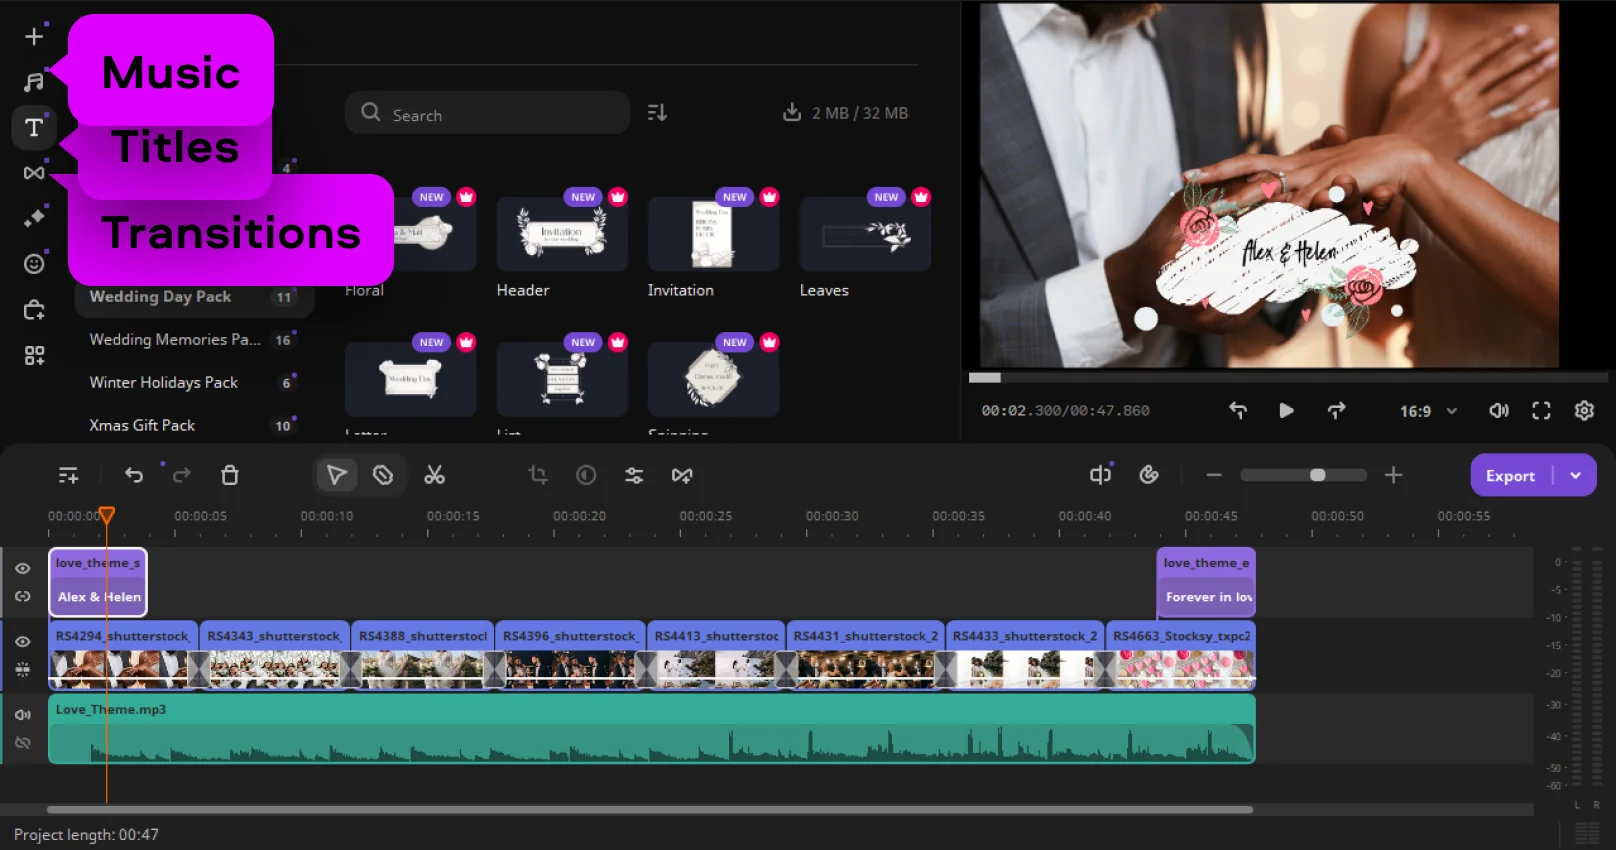
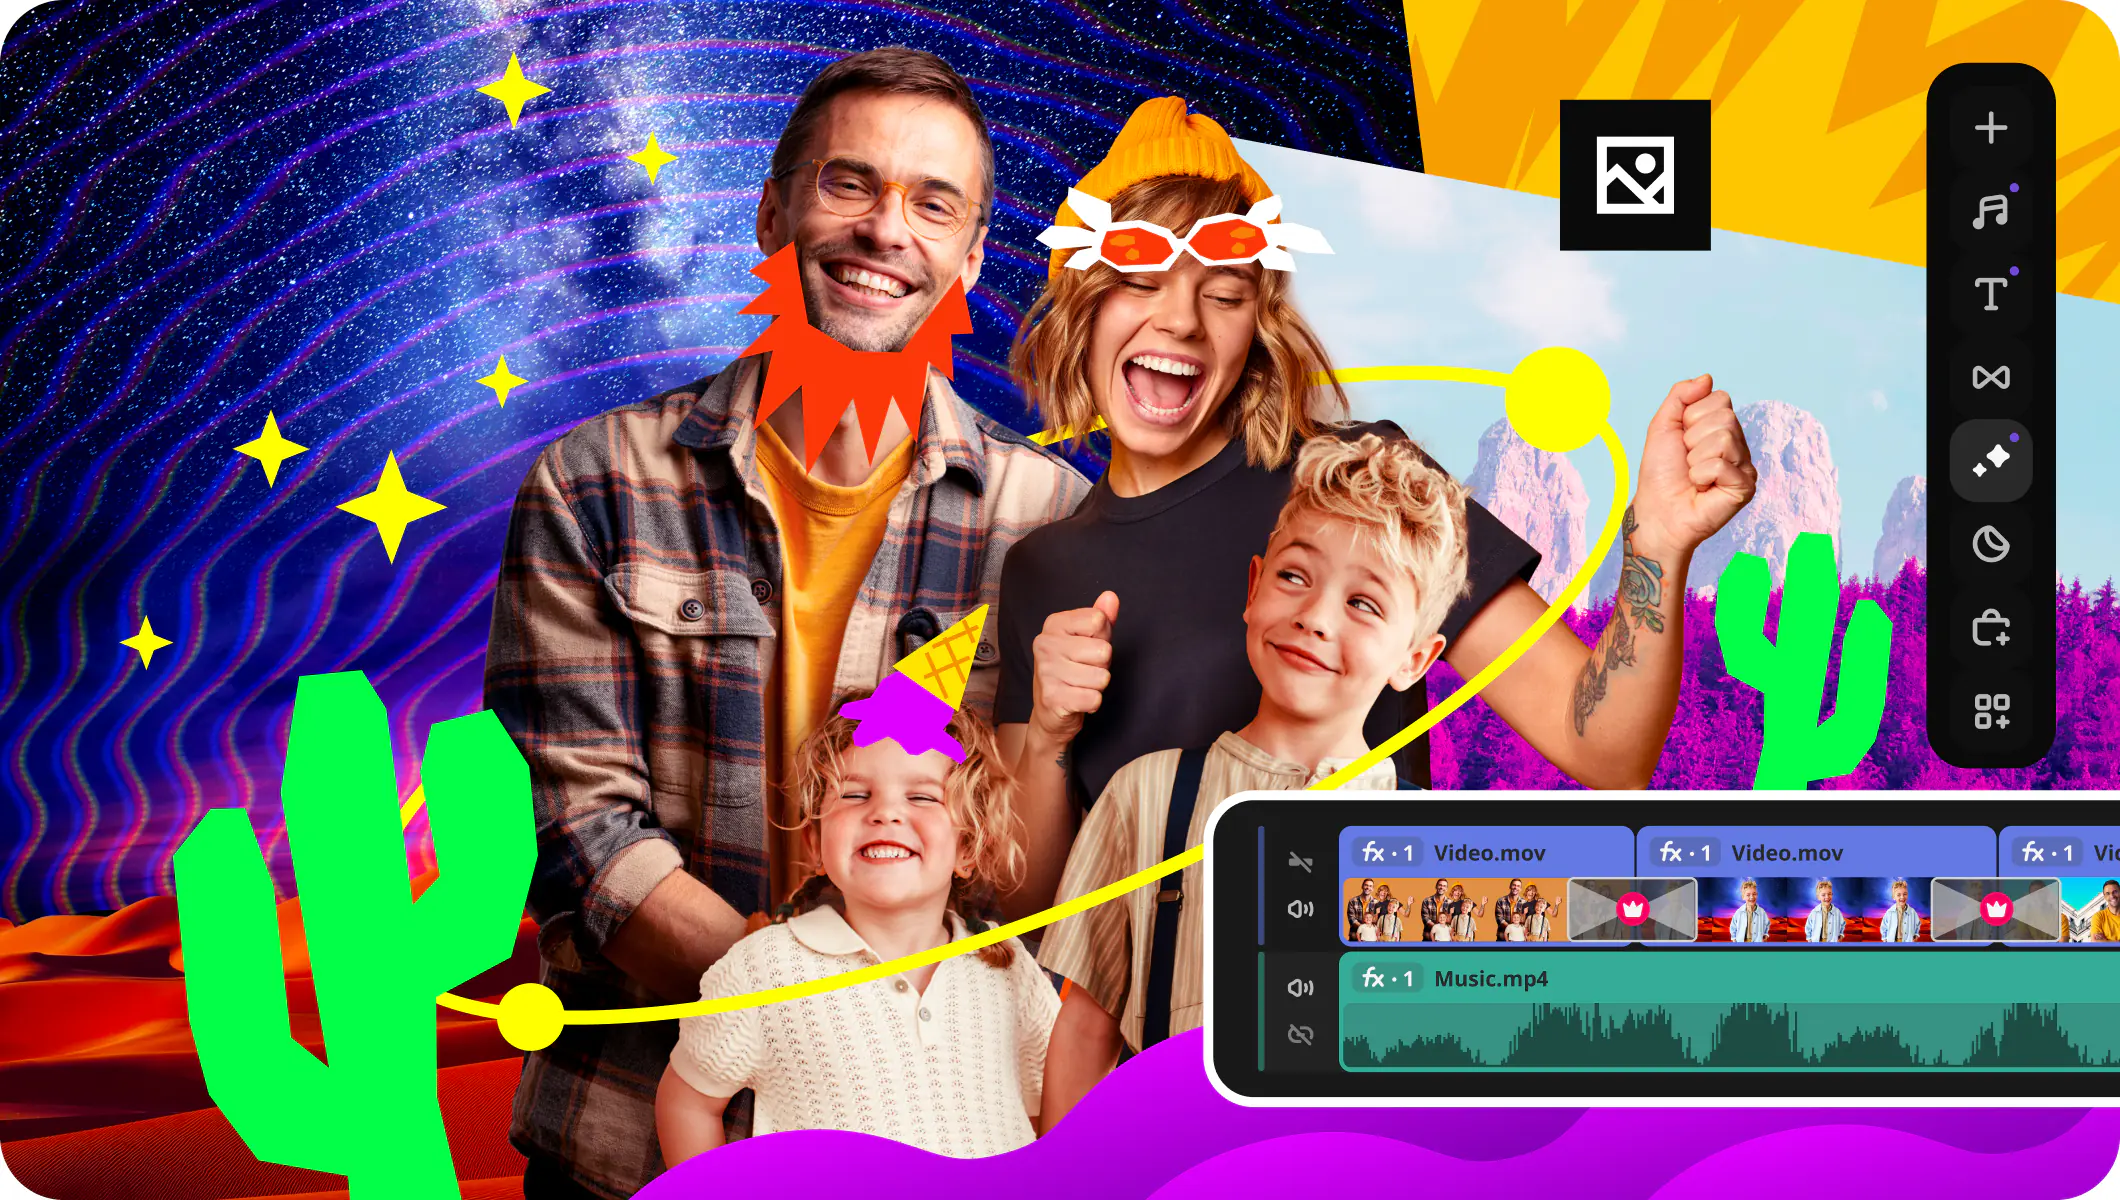
You can work with photos and videos inside this app. Place them on a clear timeline and build your story step by step. This wedding slideshow maker keeps everything visible, so you don’t lose track of your clips. It includes color correction tools as well. You can fix lighting issues and make your images look more even across the whole project.
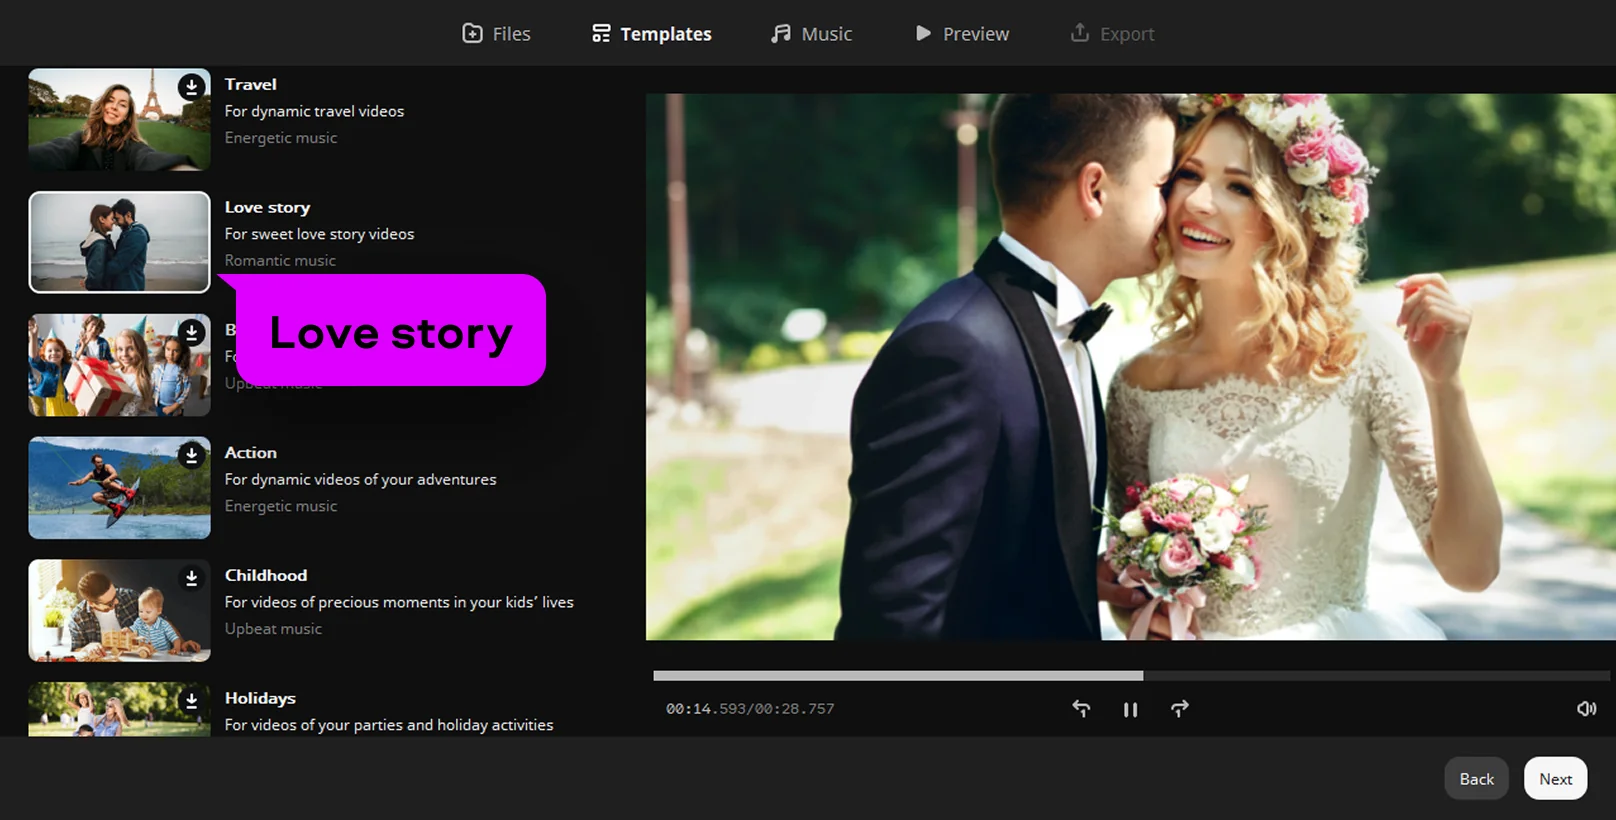
Don't know how to make a wedding slideshow with music? The built-in library includes a plethora of music tracks, along with title styles and transitions. You don’t need extra downloads to start editing. This makes it useful as both a wedding slideshow creator and a practical wedding slideshow app for daily use. It also fits well if you want to create wedding slideshow content without switching between tools.
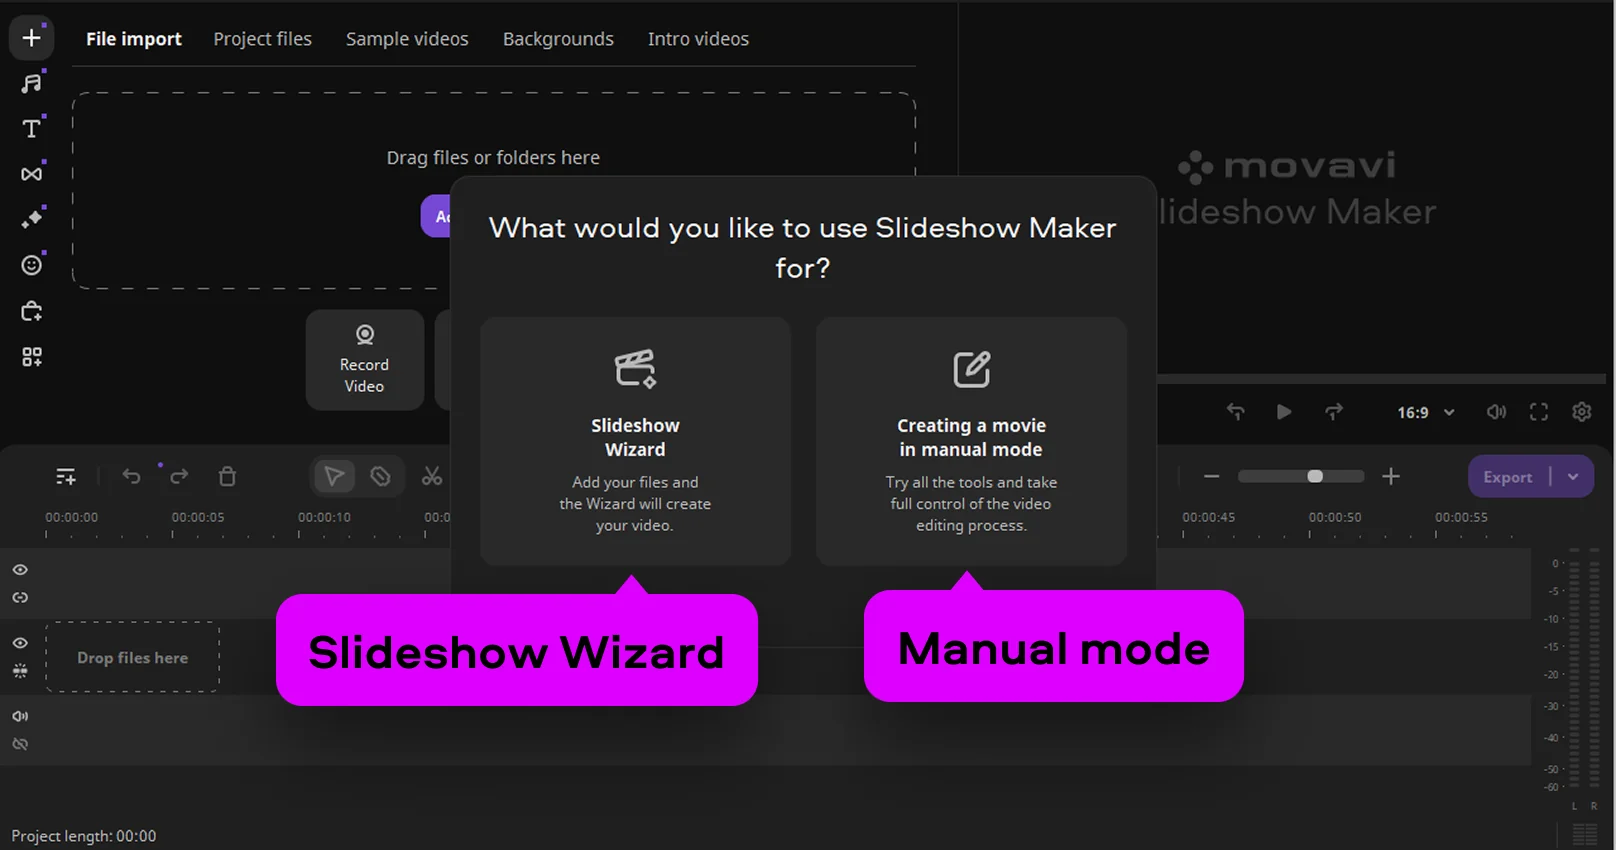
Another strong point is flexibility. You can choose automatic tools if you want quick results. Or you can switch to manual control for more precise edits. That is why it stands out among the best wedding slideshow maker options. It also works well as a wedding reception slideshow maker. You can export your project in formats ready for large screens or online sharing.