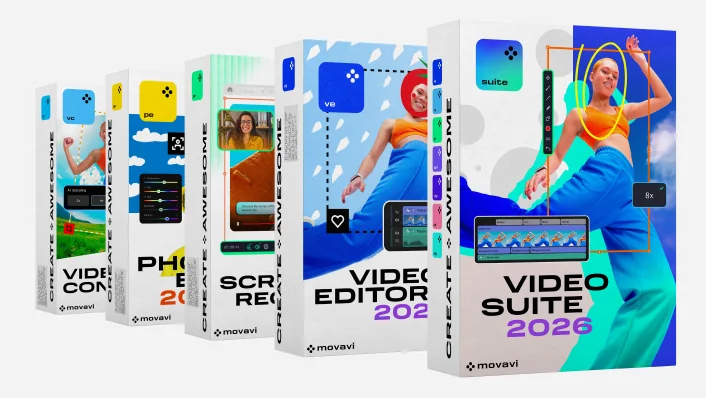
Movaviのビデオ・写真ツールをご覧ください。あなたに最適なものが見つかります。
まったく新しいMovavi Video Suite 2026を
入手
3 in 1の動画バンドル – 自動ツール付きのビデオエディター、高速コンバーター、スクリーンレコーダー
まったく新しいMovavi Video Suite 2026を
入手
3 in 1の動画バンドル – 自動ツール付きのビデオエディター、高速コンバーター、スクリーンレコーダー
Movaviの全プログラムを試せます
素晴らしいビデオを作成するための
シンプルかつ強力なエディター
素晴らしい写真を作成するためのスマートでシンプルなフォトエディター
ビデオ、画像、オーディオ形式を数秒で変更できる頼りになるコンバーター
プロジェクトをより効率的にするための手間のかからないスクリーンキャプチャツール
1つのパックに素晴らしいビデオと写真を作成するためのMovaviプログラム一式と10,000の効果を収録
すべてのMovavi編集ソフトウェア
Movaviのビデオ・写真ツールをご覧ください。あなたに最適なものが見つかります。
7000万以上の


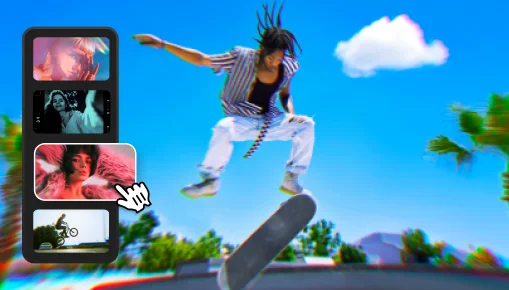
10,000以上の効果と1,500の音楽トラック
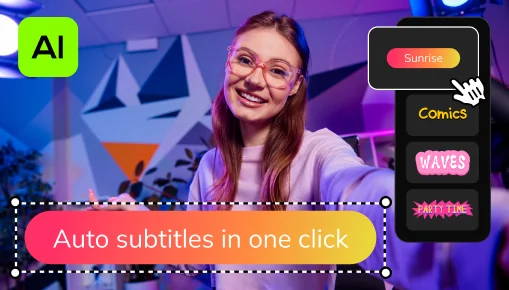
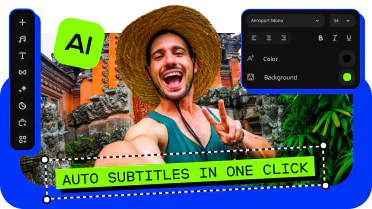
ワンクリック自動字幕
AI に会話を素早くテキストに変換させ、ほぼすべての言語でビデオのキャプションを自動的に作成させましょう。任意のフォント、テキスト、色、位置を選ぶだけで完了します!
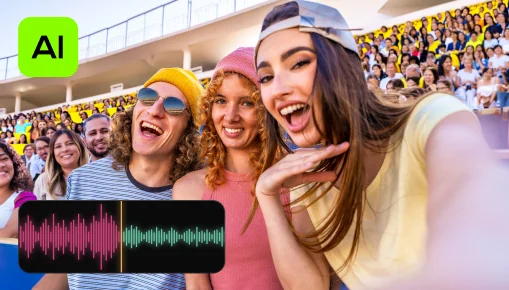
AIノイズ除去
AI駆動のオーディオ除去を使用してクリップから車、風、その他の不快な音を自動的に除去できます。視聴者が確実に高く評価する鮮明な音声のビデオを作成しましょう。
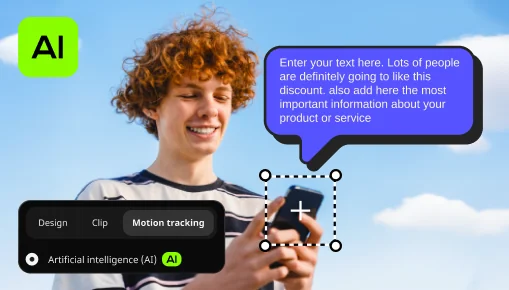
AIモーショントラッキング
追加の動くグラフィックでビデオをよりリアルにできます。クリックするだけで、AIが任意の写真、ビデオ、絵文字、またはミームを映像内のオブジェクトに素早く割り当てます。
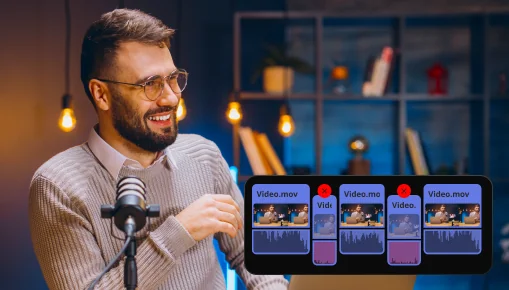
無音部分の削除
不要な間を自動でカットしたり、間の長さや音量のしきい値を手動で調整することも可能です。面倒な後処理を省き、時間を節約して楽しい編集作業に集中できます。
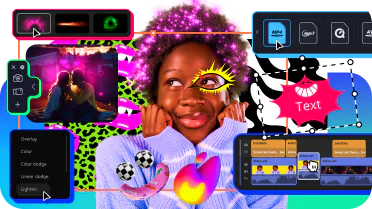
調整可能な効果
ワンクリックでほこり、光漏れ、レトルスタイル、VHSなどの新しいリアルな効果を適用し、ビデオの魅力をアップできます。どの効果も完全にカスタマイズ可能で、あらゆるクリップに完璧に適合し、編集内容にさらなる輝きを加えるように作成されています。
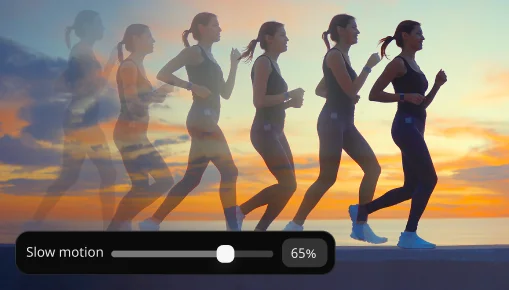
スローモーション
映像を減速して動きをより明確にし、重要な部分に注目を集め、各シーンのスピードとリズムをコントロールできます。
インターネット上には無料のビデオエディタがたくさんあります。しかし、完全無料のサードパーティ製ソフトウェアの中には、ユーザーの個人データや金銭的情報を盗む可能性のある悪意のあるコードが含まれているおそれがあります。
当社はそれを理由に100%安全で簡単に使用できるMovavi Video Editorを作成しました!Movaviの透かしが入る、ビデオの長さが60秒またはオーディオの長さが半分に制限される、ファイルをエクスポートする際に一部の高度な機能がない、といった制限付きで無料版をお試しいただけます。このソフトウェアを気に入っていただけたら、完全版の永続ライセンスか年間サブスクリプションを購入し、無制限にビデオを編集してすべての機能をご利用ください。
私たちは可能な限り直感的で使いやすいソフトウェアを提供できるように尽力しています。時には従業員の祖父母でテストをすることも!そのため、Movavi Video Editorは初心者に最適なビデオエディタの一つであると断言できます。
これまでビデオを編集した経験のない方でも、Movaviのエディタなら20分もかからずにマスターできます。使いやすいインターフェースと便利なツールチップを備えており、常にユーザーを支援して創作活動を促進するサポートチームがいるためです。
YouTube用の魅力的なコンテンツを制作したいですか?特徴的なイントロとトランジションで視聴者をあっと言わせたいですか?いいね!とフォロワーの数を増やしたいですか?それならMovavi Video EditorがYouTube用のビデオ編集ソフトウェアにぴったりかもしれません!豪華なイントロのプリセット、大量の魅力的な効果とトランジション、複雑なマニュアルを読まなくても制作に集中できる直感的なインターフェースを備えたソフトウェアです。
ただし、それだけではありません!YouTubeをものにしたいとお考えの方のために、意欲的なYouTuber向けにデザインされた2つの効果パックを豪華ボーナスとして用意しています。以下のリンクを開き、これらの効果でビデオの魅力が増す様子を思い浮かべてください。
YouTube向けマイチャンネルパック
YouTube向けマイチャンネルパック #2
プロ向けのビデオ編集ソフトウェアを使用していると、ごく単純なビデオトランジションを追加するだけでも、間違ったボタンを押したり、アドバイスを探し出したりするのに何時間もかかる場合があります。快適な使い心地とは言えません。
Movavi Video Editorならクリップ間に好きなトランジションをドラッグアンドドロップするだけなので、約3秒でトランジションを追加できます。非常に簡単です。各種トランジションの詳細については、以下のリンクを参照してください。
ビデオ用のトランジションを選択する方法
ここまでの回答をお読みになった方は、もうお勧めのソフトウェアが想像できているかもしれません。冗談はさておき、Movavi Video EditorはiMovieの代わりになる優れたソフトウェアというだけではありません。機能と使いやすさの面でもはるかに優れています。実際に試して私たちの言葉を確かめてください。
iMovieと同等のWindows用ソフトウェアに関する詳細は、以下の記事をお読みください。
Windows用のiMovie代替ソフトウェア

MTSをQuicktimeに、高品質で変換できる素晴らしいプログラムです。また、選んだシーンだけを変換する編集ツールも直感的に利用できます。

動画の書くフレームを.jpgで出力するソフトを探していましたが、このソフトではそれができませんでした。しかし、DVDのための編集には大いに役立っています。

素晴らしく、シンプルで使いやすいツールです。今後の開発にも期待。

最速かつ最高機能のソフトウェアです。頼りになります。
Movavi Video Editor 2026が新登場 – 効果満載で高速化されました
自動ツールで編集速度を上げて40以上の調整可能な新効果を試せます – 時間を節約してすべてのビデオの魅力を高めましょう。不要な一時停止部分をすべて自動的に切り取り、すぐに1つのクリップからすべてに効果を適用し、30以上の新しい自動字幕スタイルを利用できます。
Movavi Video Suite 2026で楽に編集
新しいMovavi Video Suiteはビデオ制作を楽にする機能が満載です!強力な自動ツールで面倒な作業を省略しましょう。多数の効果、超高速ファイル変換、便利なスクリーンレコーダーでどんなプロジェクトにも簡単に取り組めます。
Movavi Unlimited 2026ではすべての最新アプリと効果をまとめて入手できます
新しい自動ツールと強化された性能を活かしてビデオと写真の編集を効率化しましょう。注意を引くビデオを制作し、有益な画面録画を作成し、メディアファイルを任意のフォーマットに変換し、大量の効果で楽しませることができます。
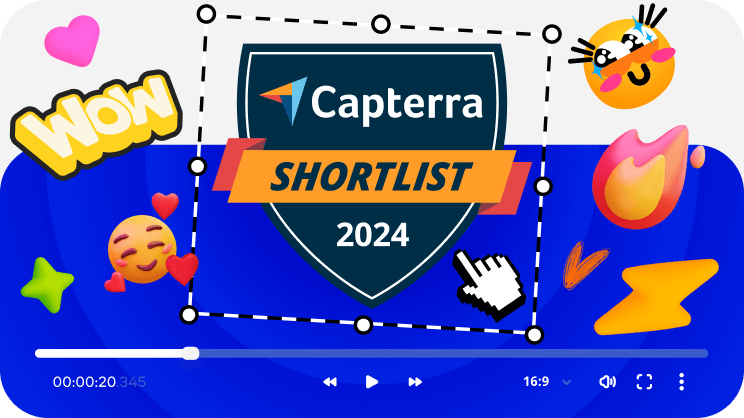
私たちのビデオエディターは、2023年において最高のもののひとつです!
Movavi Video Editor が 2023 Capterra Shortlist に選ばれました!まだ Movavi Video Editor をお試しでない方は、今すぐお試しください。
64ビット Microsoft® Windows® 10/11(最新アップデート適用済み)
Intel®、AMD®、または互換プロセッサ(1.5 GHz)
Intel® HD Graphics 2000、NVIDIA® GeForce® 8/8M シリーズ、Quadro FX 4800、Quadro FX 5600、AMD Radeon™ R600、Mobility Radeon™ HD 4330、Mobility FirePro™ シリーズ、Radeon™ R5 M230 以上(最新ドライバ適用)
1280 × 768 以上、32ビットカラー
4 GB
インストールには 400 MB、継続的な操作には 600 MB のハードディスク空き容量が必要です
インストールには管理者権限が必要


すでに150万人以上がニュースレターを購読中!