Step 1. Install the video size changer
To start working with Movavi’s MP4 resizer, download and install the Windows or Mac version of the software on your computer.
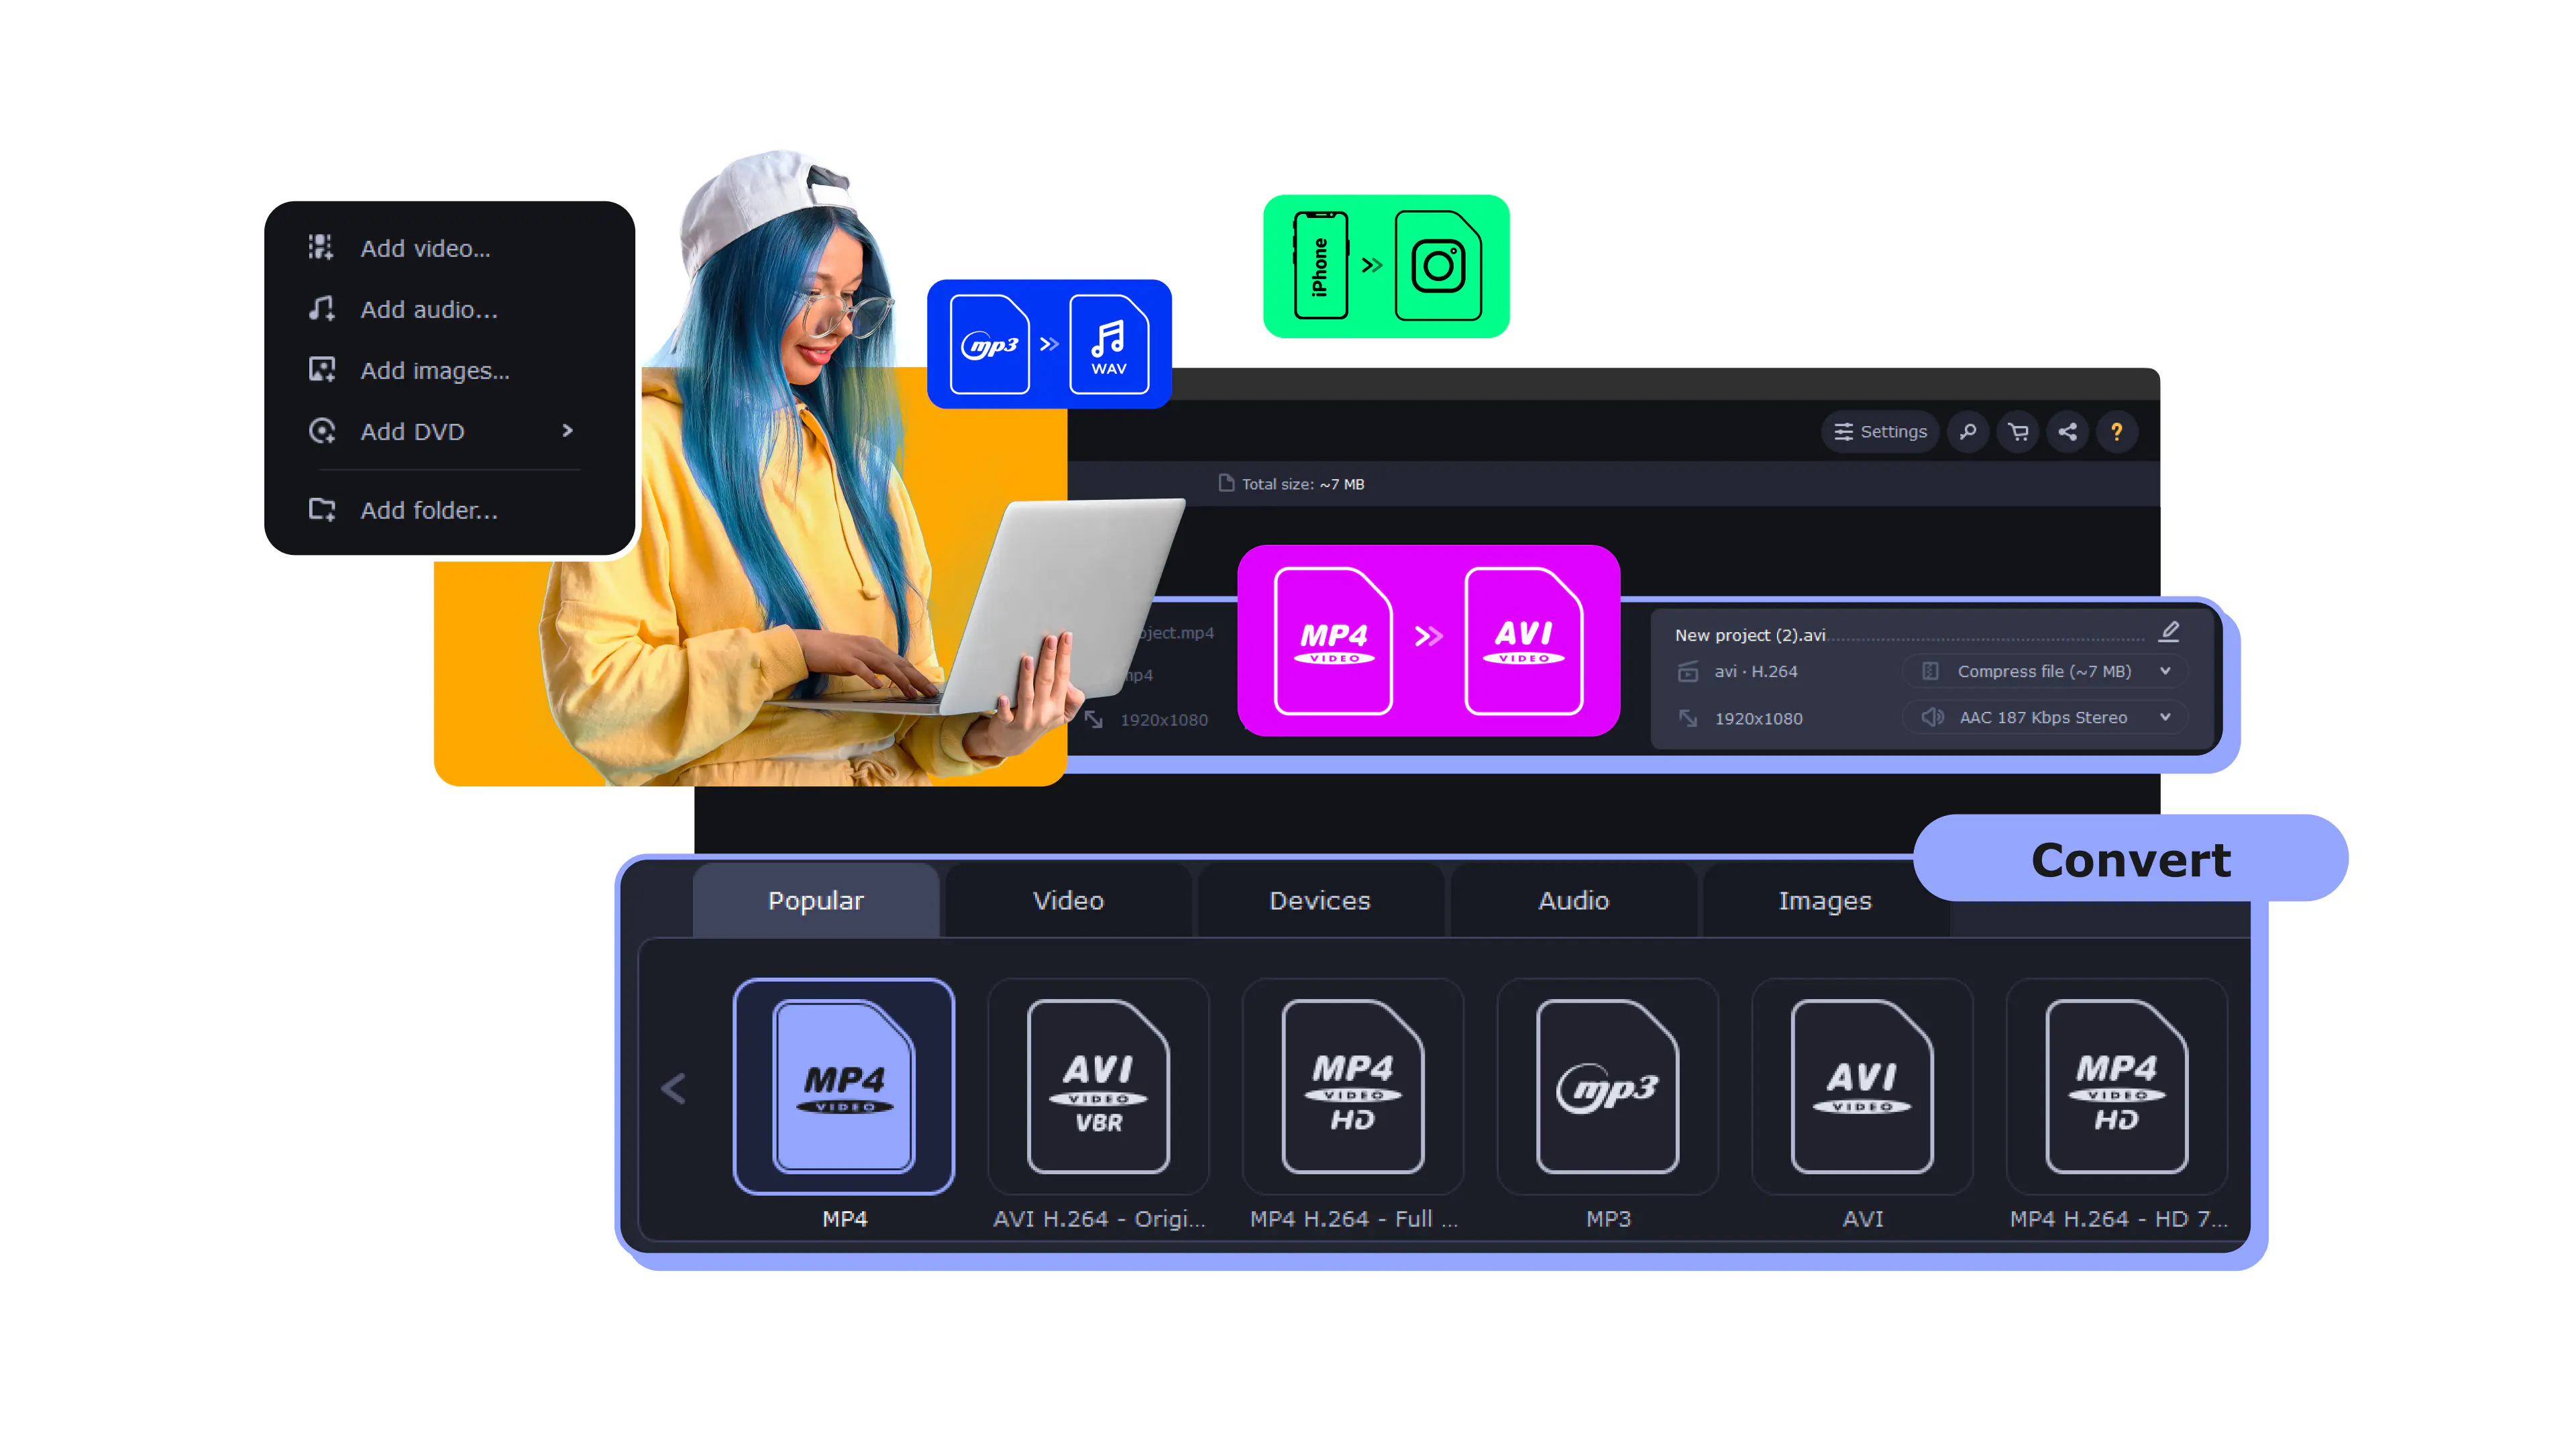
Video Resizer by Movavi
Lightning-fast conversion
Batch processing of files – any number, any size
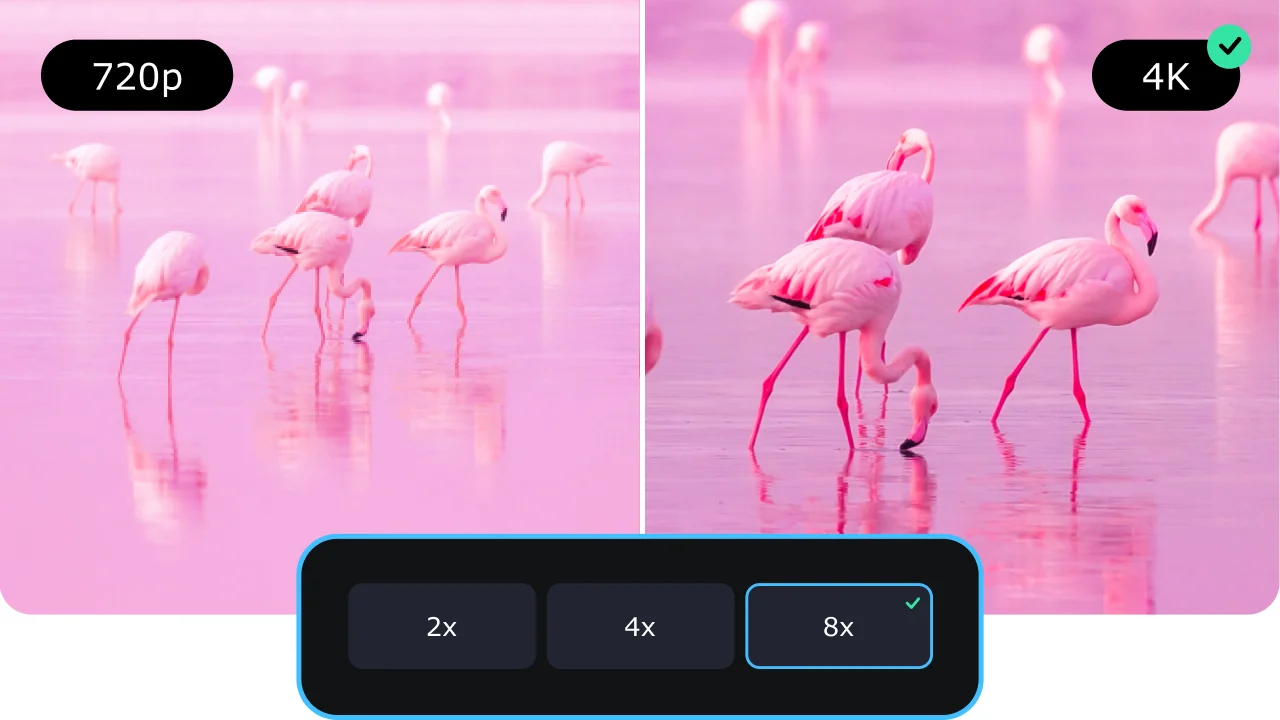
No quality loss, even with 4K videos
Easy editing and compression
How to resize a video with the video resizer by Movavi
Step 1. Install the video size changer
To start working with Movavi’s MP4 resizer, download and install the Windows or Mac version of the software on your computer.
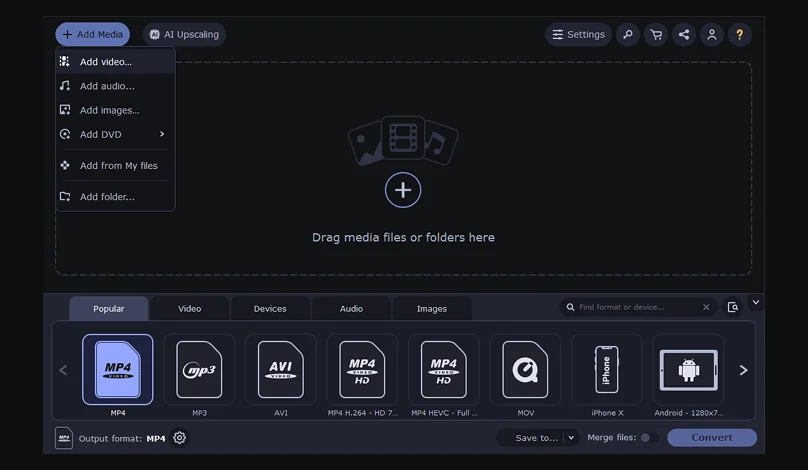
Step 2. Upload your files
Open Movavi Video Converter and add your video file to the program.
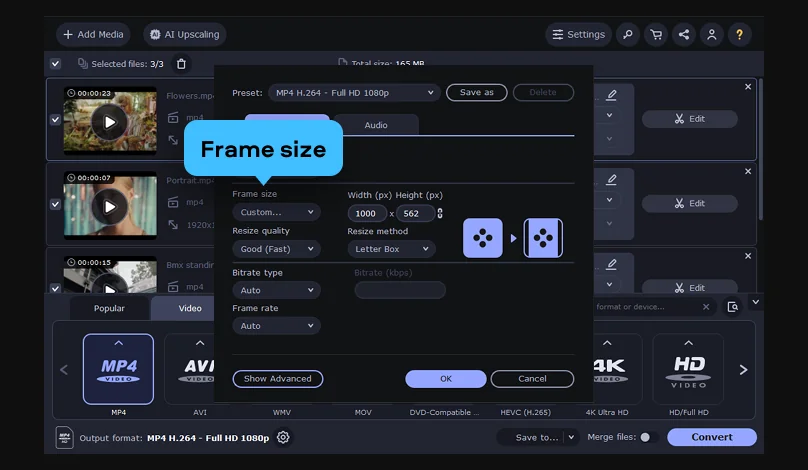
Step 3. Select the format and resolution
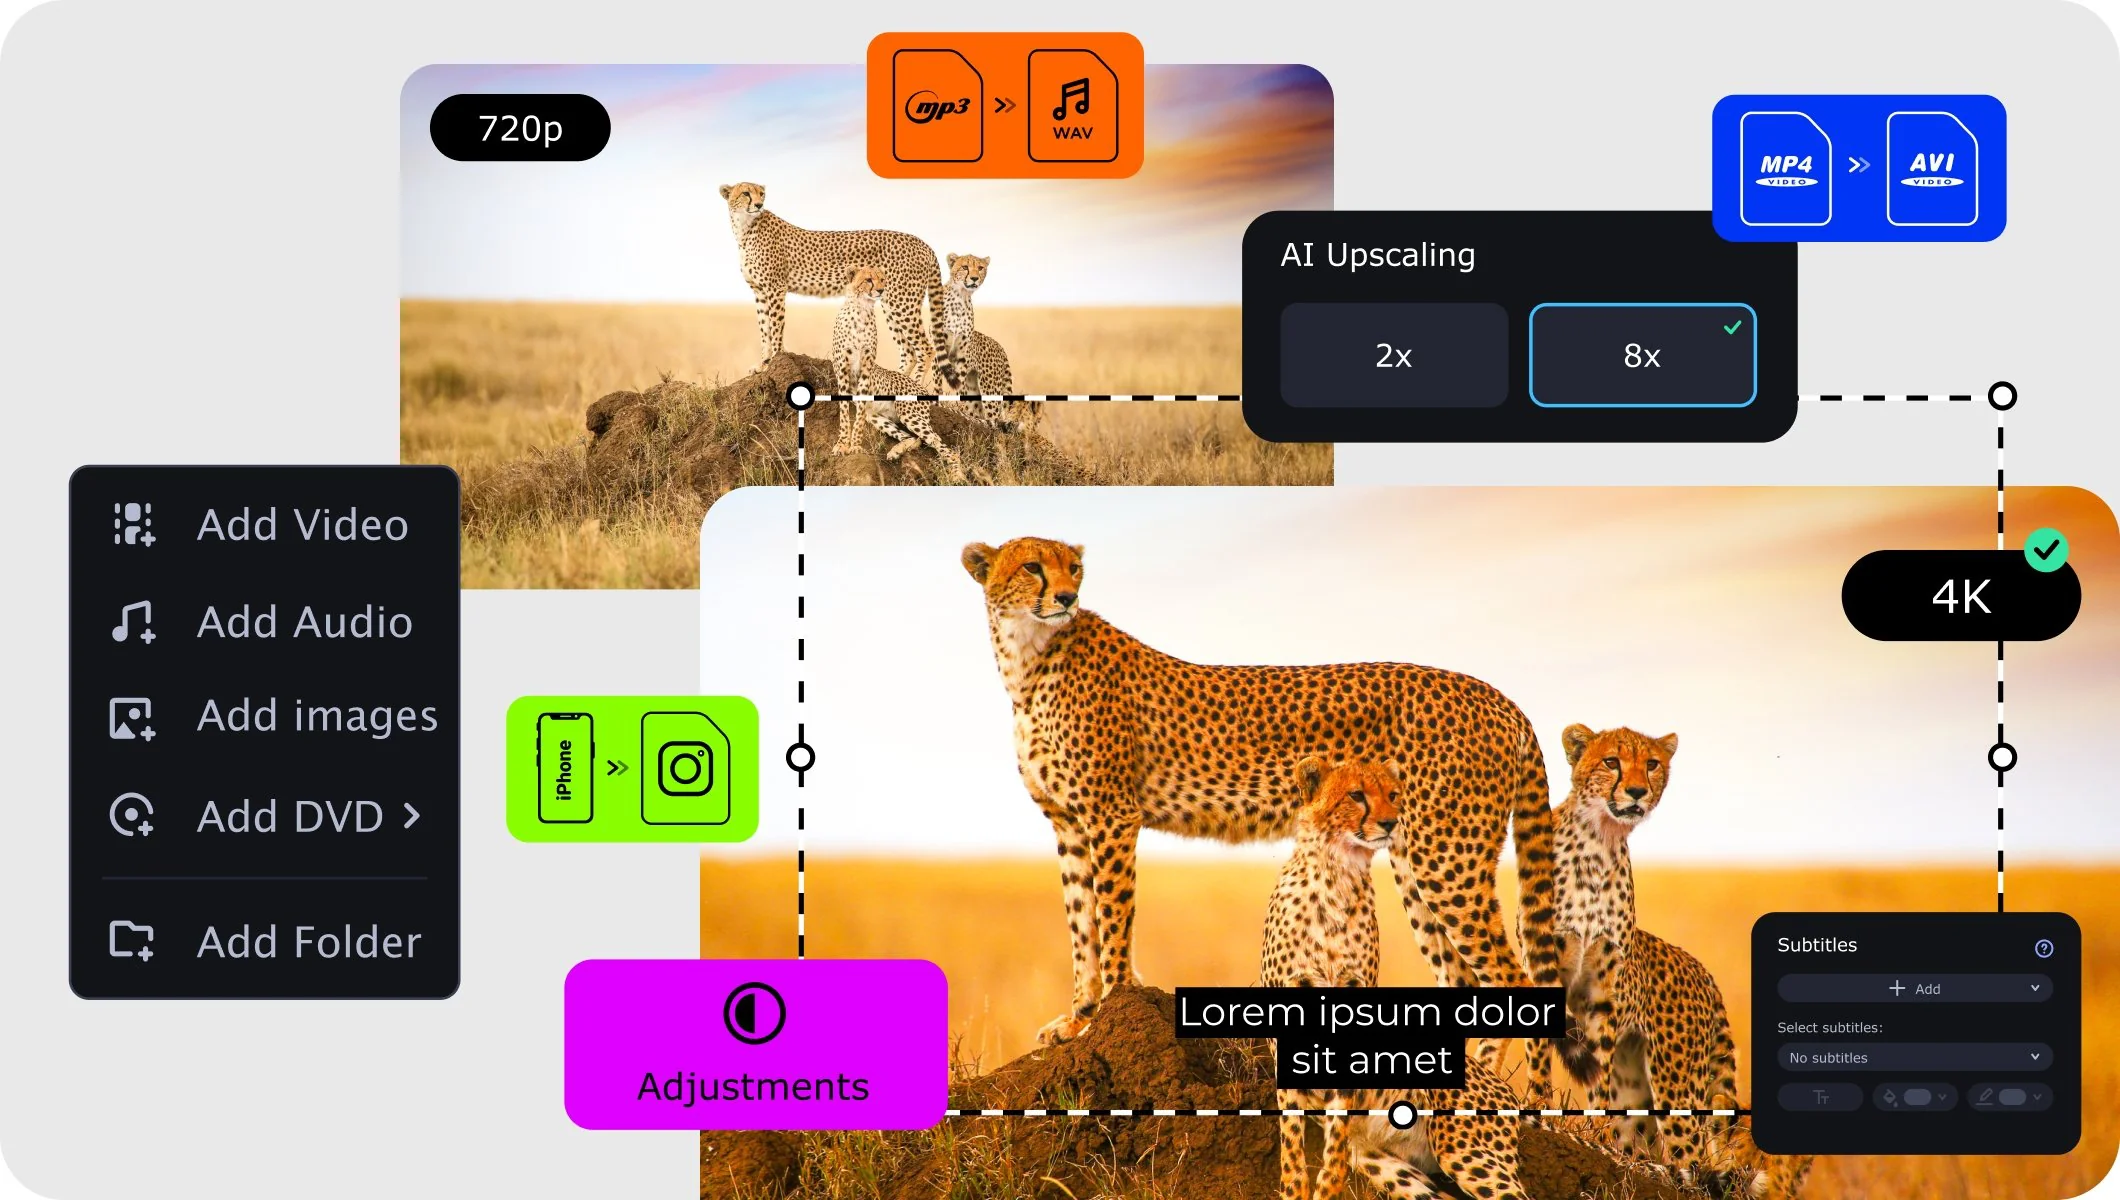
Select the desired output format for conversion. Click the Cogwheel button next to the Output format field. To set the resolution, pick a suitable option from the Frame size list.
If you need to change the frame proportions in your video, you can easily set a new size manually. Select Custom from the Frame size list and enter the required values in pixels into the Width and Height fields. You can also pick one of the standard video resolutions from the same list.
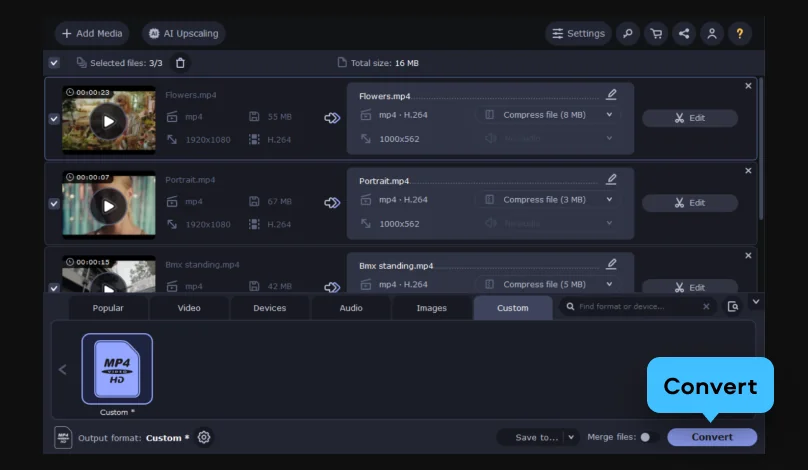
Step 4. Convert your videos
Hit the Convert button to start converting your videos.
Features to change video resolution
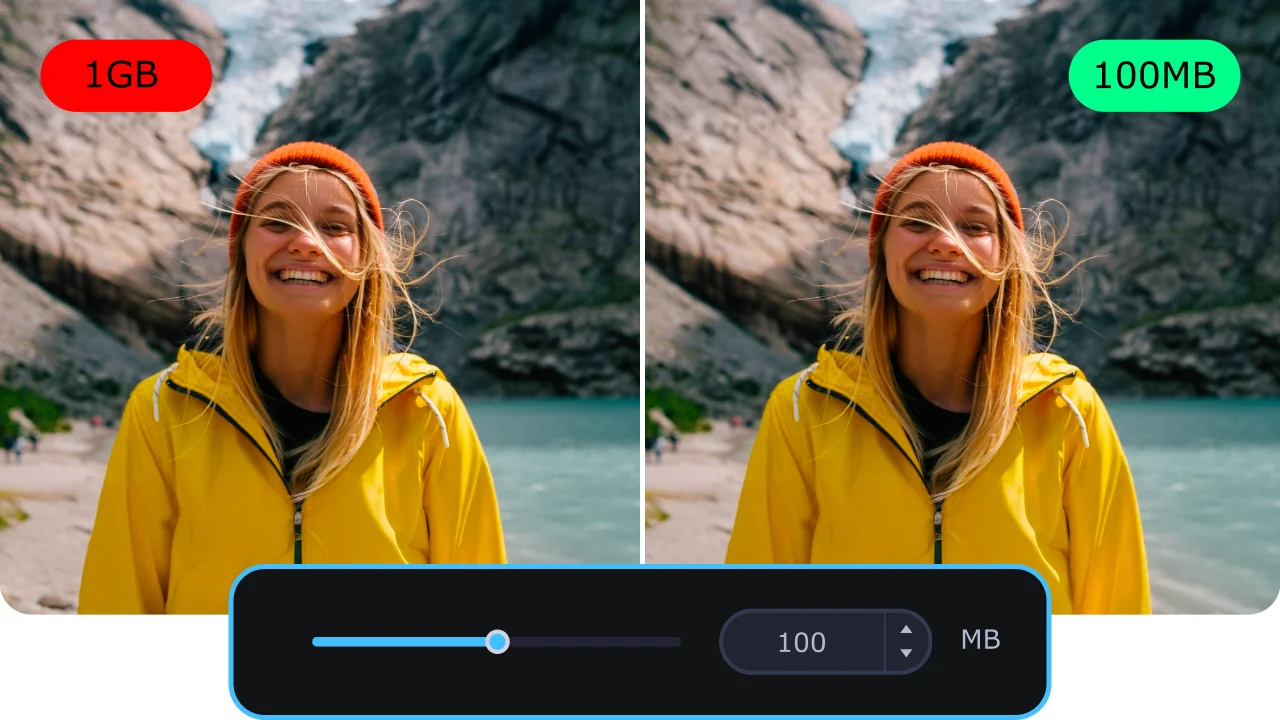
Compress large files with no loss of quality
Compress multimedia to optimize storage, speed up uploads, and ensure smooth playback – all without loss of quality.
Batch-convert files
Save time by converting multiple files at once: batch-convert videos, audio, or images in just a few clicks. Perfect for getting all your media ready without the wait.
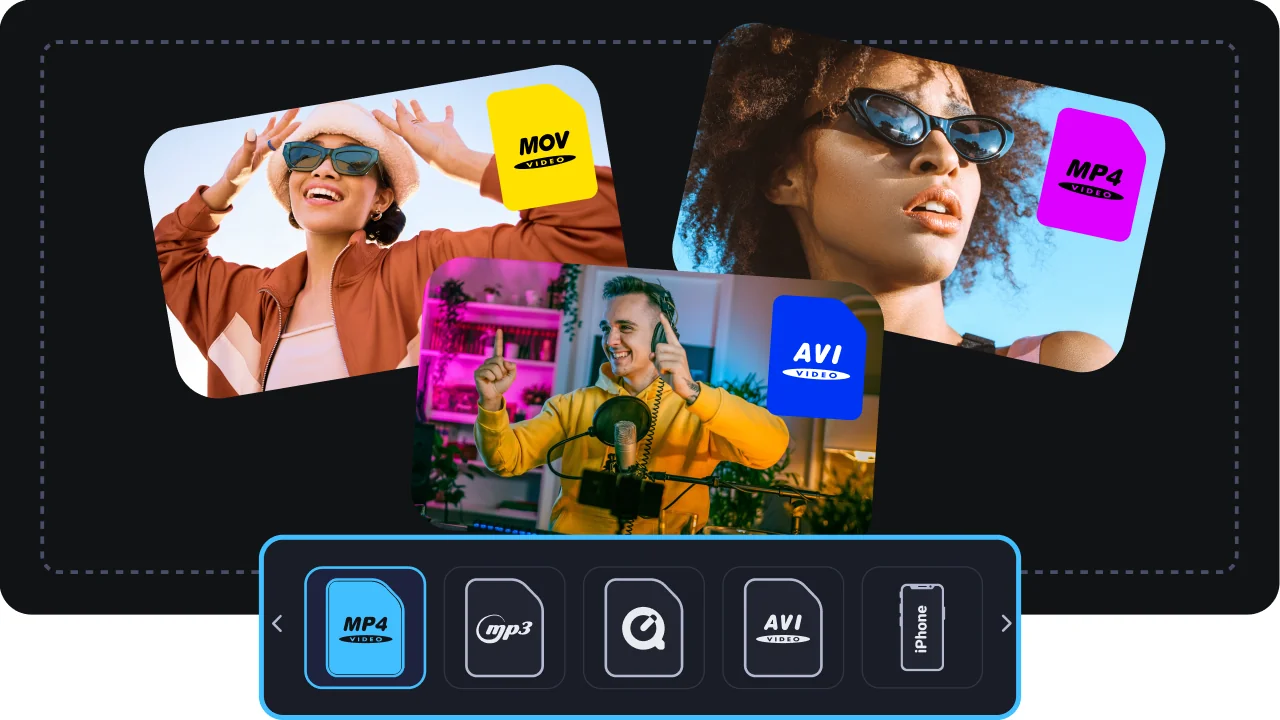
Convert files in a flash
Change the format of your videos in the blink of an eye: boost productivity, save time, and unlock compatibility across all devices.
Change video aspect ratio
Resize or change your video’s aspect ratio in just a few clicks. Perfect for fitting clips to social media, screens, or any project – all without stretching or cropping the action.

More tools for video editing
How to choose a video resizer
Think of your video as a living image, a moment you captured. And you now hold the power to tailor it to any screen, any frame, any story. With Movavi Video Converter, you can treat each clip like clay: upload your file, pick the perfect aspect, and then resize a video to fit the space it deserves.
Want to change video resolution from 4K to 1080p or craft a square version for mobile feed? You can. If you prefer a quick browser path, you can even resize a video online, light and fast. But when you want depth, quality, control – reach for the full tool, the converter built to scale, adapt, and refine.
1. Match scale and complexity
If you have just one short clip and you want a straightforward path, a free, cloud‑accessible option will do the job. But if you have a series of clips, varied formats, custom demands, a desktop tool brings the muscle.
2. Know your destination and format
Are you targeting MP4? Make sure the tool supports that format and lets you define the width and height you need.
For example, the app’s support guide shows you how to set the width, height manually or pick from standard sizes. Films for social feed? Certain aspect ratios matter. Files for archive? Compatibility and size count.
3. Balance ease with precision
If your question is simply “how to resize a video” in three steps, upload‑choose‑download, good. But if you care about interpolation methods, how quality degrades (or doesn’t), how black bars are handled, then you’ll want a program that offers modes like Stretch, Letterbox, Crop.
4. Think of workflow and volume
One clip today, many tonight? Basic? Pro‑level? Batch features matter.
5. Check output quality before you call it done
Preview the result. Look for pixelation, odd borders, wrong proportions. If the output feels off, switch the method.
Case examples
Example 1: Social story conversion
You filmed a landscape video but want to publish a mobile‑first social story that demands a vertical format.
Upload that clip, choose a 9 : 16 preset in the tool, pick a crop or smart‑fit mode, export. The result: a compelling vertical frame that fills the screen, retains your content, looks polished.
Example 2: Archive sharing version
You have old high‑resolution camera footage in MOV format, heavy in size, awkward to share.
Use the converter, set output format to MP4, set width = 1280 and height = 720, select a good quality mode. You now have a lighter file, compatibility widened, ready for email or upload.
Example 3: Device‑specific mobile preview
You shot a striking 4K video, but most viewers will use phones or tablets.
Set custom resolution like 854 × 480, choose the best interpolation to retain clarity, and export. The result: smoother playback, smaller size, the same story told cleanly on the go.
Frequently asked questions
If you want to crop your videos, consider using Movavi Video Converter. It takes just a few simple steps.
Download the software for your OS:
Download Movavi Video Converter for Windows
Download Movavi Video Converter for Mac
Install and run the video resizer.
Upload your MP4 videos: click Add Media, then Add video, find your files, and hit Open.
Click the Cogwheel icon at the bottom. From the Frame size drop-down list, select the resolution you need or choose Custom... and enter new values for width and height on the right. Click OK.
Hit Convert. The program will resize the MP4 files and automatically open the folder containing them.
Movavi Video Converter can help! You can resize videos any way you want – just follow this simple guide.
Get the app for your OS (Windows or Mac), install and launch it. Drag your files into the program window. Then, click the Cogwheel icon at the bottom and choose the desired resolution from the Frame size drop-down list. If you select Custom, you will be able to enter your choice of resolution manually. Click Convert, and you’ll be done in no time!
To resize a video for Instagram, you’ll need to change the aspect ratio to the appropriate sizing for where you want to post it. For Stories, the ratio should be 9:16. If you want to add a video to your feed, there are three ways to resize it: 1:1 for a regular square, 4:5 for a portrait, or 16:9 for landscape. Vertical IGTV videos should have an aspect ratio between 4:5 and 9:16, and for horizontal ones, just invert the numbers: from 16:9 to 5:4. With this knowledge, you can choose the appropriate aspect ratio so your subscribers won’t miss any details.
Here’s what you can do to reduce the size of a video:
Need something quick? Then you should probably resize a video online, and it will just take a few clicks. For quick online fixes, Clideo and Kapwing are also notable products. Both let you upload a clip, choose the new frame size, and preview results right in your browser. No installations are needed, no waiting around. Adjust the shape to fit your screen, keep the quality crisp, and save the version that feels right. Fast enough for a last-minute upload, yet polished enough to look intentional.
Your phone can handle more than quick selfies. It’s a small but capable studio that fits in your hand. Open your clip in InShot or CapCut. Both are simple and free, yet flexible enough for real work. Pick the size that fits your idea: 9:16 for vertical stories, 16:9 for YouTube, or 1:1 when you want everything centered and clean. Shift the frame, crop gently, or zoom in for focus. Watch how the picture changes shape without losing its feel. A few careful adjustments, and your video suddenly belongs everywhere — lighter to upload, smoother to watch, and ready to travel from your gallery straight into someone’s feed.
70M+


users


1.5M+ users already subscribed to our newsletter