- The best green screen editors strike a balance between precision, speed, and ease of use, delivering clean, cinematic results without technical frustration.
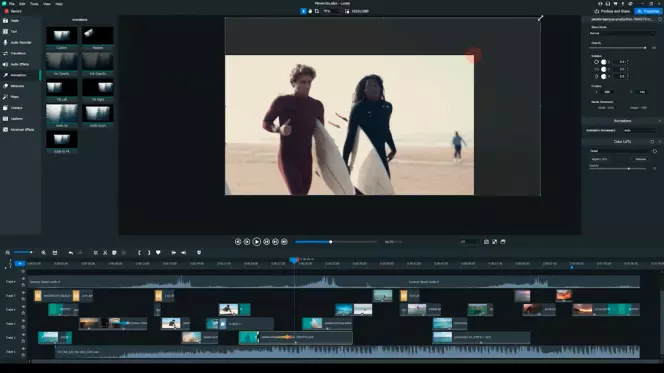
- Movavi Video Editor stands out as an easily accessible all-around choice, offering pro-quality chroma key tools that even beginners can master.
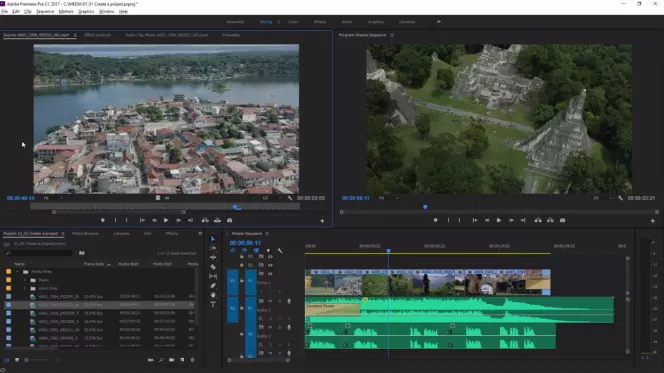
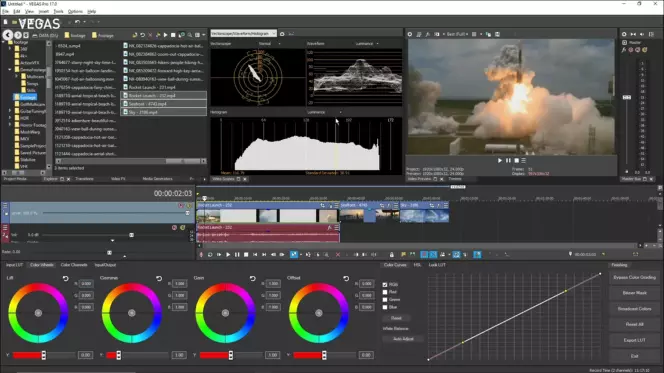
- Adobe® Premiere® Pro and After Effects® remain the top picks for professionals who need full creative control and production-grade compositing.
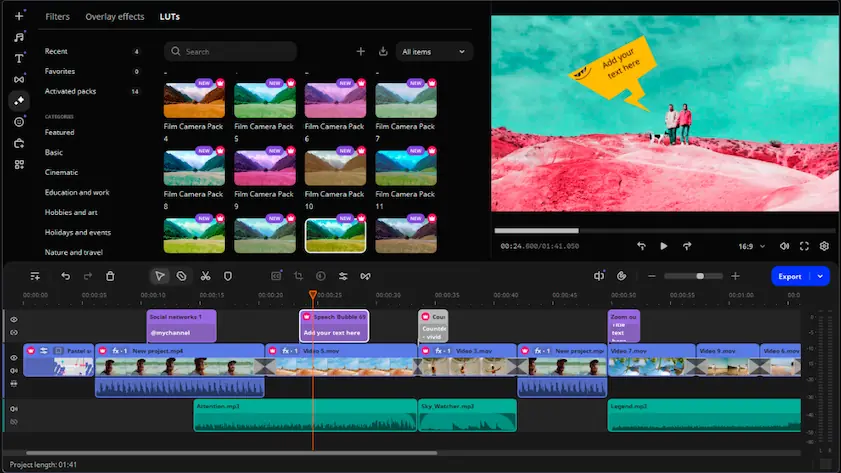
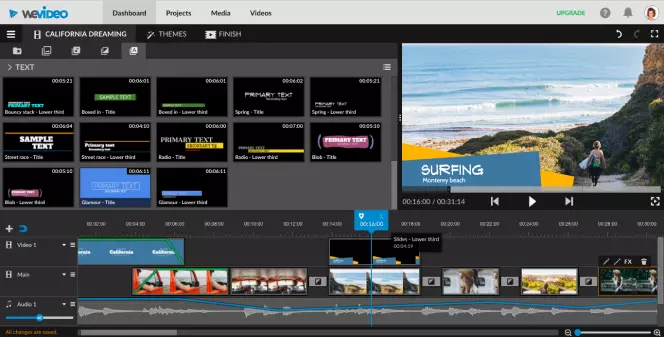
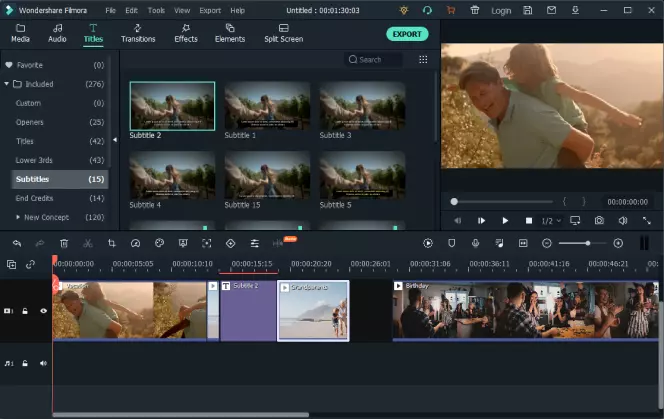
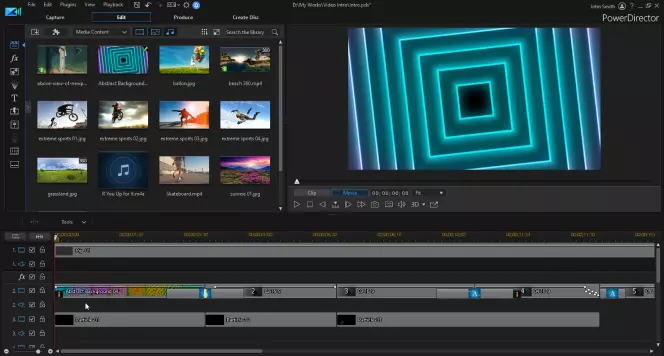
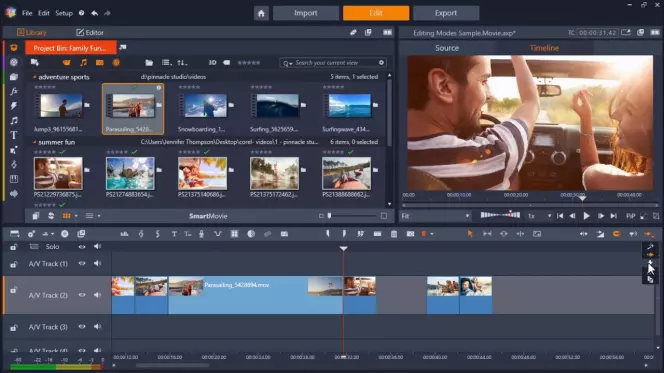
- For everyday creators or mobile users, Filmora, PowerDirector, and WeVideo provide fast, intuitive workflows without compromising quality.
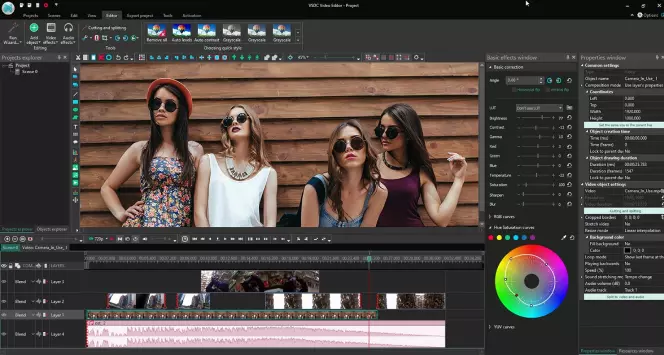
- If you’re looking for free or open-source options, VSDC delivers surprisingly strong chroma key tools without costing a cent.
- Although all these tools can handle green screen editing, the best choice depends on whether you prioritize simplicity or advanced features.
When I initially experimented with green screens, it felt like pure magic, and to be honest, it still does. You could record something in your living room, hit a few buttons, and suddenly you’re standing in front of the Eiffel Tower or floating in outer space. But as simple as it sounds, the execution isn’t always as straightforward. The reason, however, depends on various factors, ranging from the type of recording device to the editing tool, or even the entire workflow.
Back then, my basic recorder couldn’t do much beyond capturing video, so I was stuck with whatever output I got. However, that changed after a late-night YouTube scroll introduced me to green screen editing software, and that discovery changed everything. Well, maybe not everything, as I was still faced with one more challenge: not all green screen editors are built the same. Some make the process smooth and cinematic. Others turn it into a frustrating mess of jagged edges, color bleeding, and laggy playback.
So I went on a mission to explore several options and test the most popular chroma key and green screen editing tools, from simple drag-and-drop programs to full-blown professional suites. After weeks of comparing performance, ease of use, and keying quality, I’ve narrowed my selections down to 19 solid options worth your time.