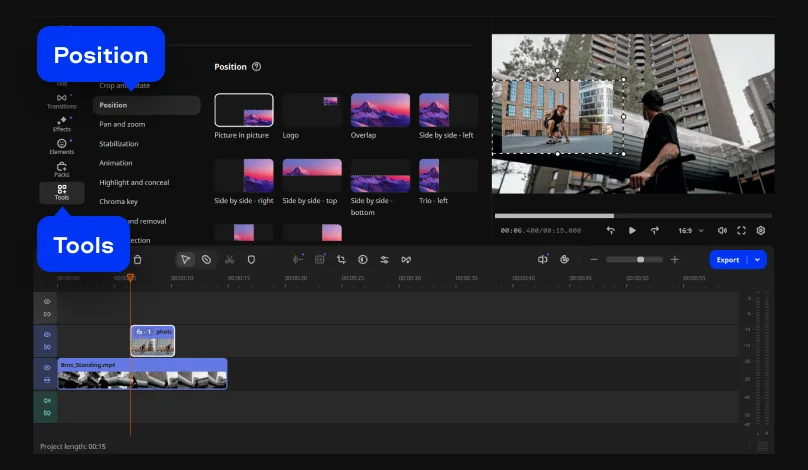

Why I picked it: I like Movavi Video Editor because it’s fast and intuitive. When I needed to put a picture over a video or overlay a logo, it handled it without a problem.
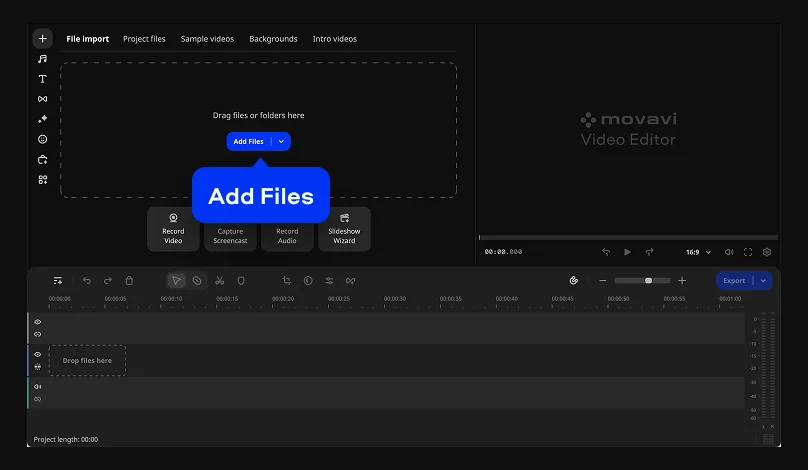
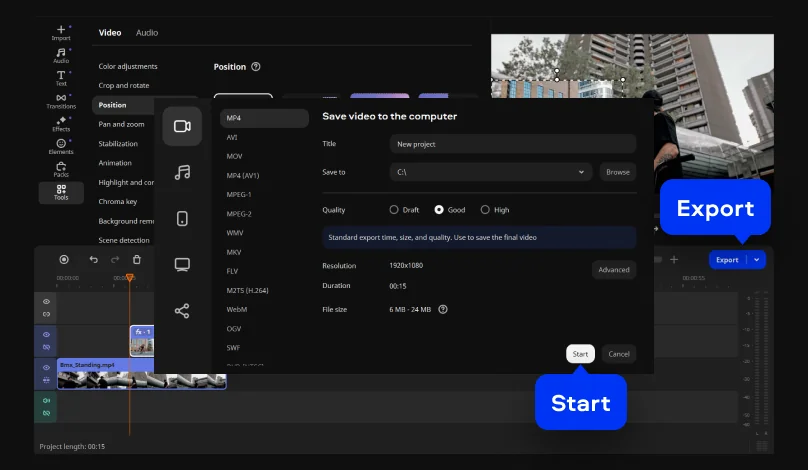
Movavi Video Editor is built for creators who want control. This powerful app will help you not only add a picture to a video, but also edit your video clips – cut and join, add funny stickers, apply creative filters, and more. The latest version introduced improved MP4 rendering, faster project loading, and smoother 4K playback.