Step 1. Install Movavi Video Editor
Open the program file you’ve downloaded and follow the installation instructions. The video editing app will be ready to use in just a few moments.
How to Blur a Video with Movavi Video Editor
Fast and easy blurring and editing: cut, crop, adjust colors and speed
Hundreds of filters, transitions, titles, overlays
One-click AI tools: auto subtitles, noise removal, and more
By clicking the download button, you're downloading a trial version of the program.*
Blur Videos Online
Features for AI video editing
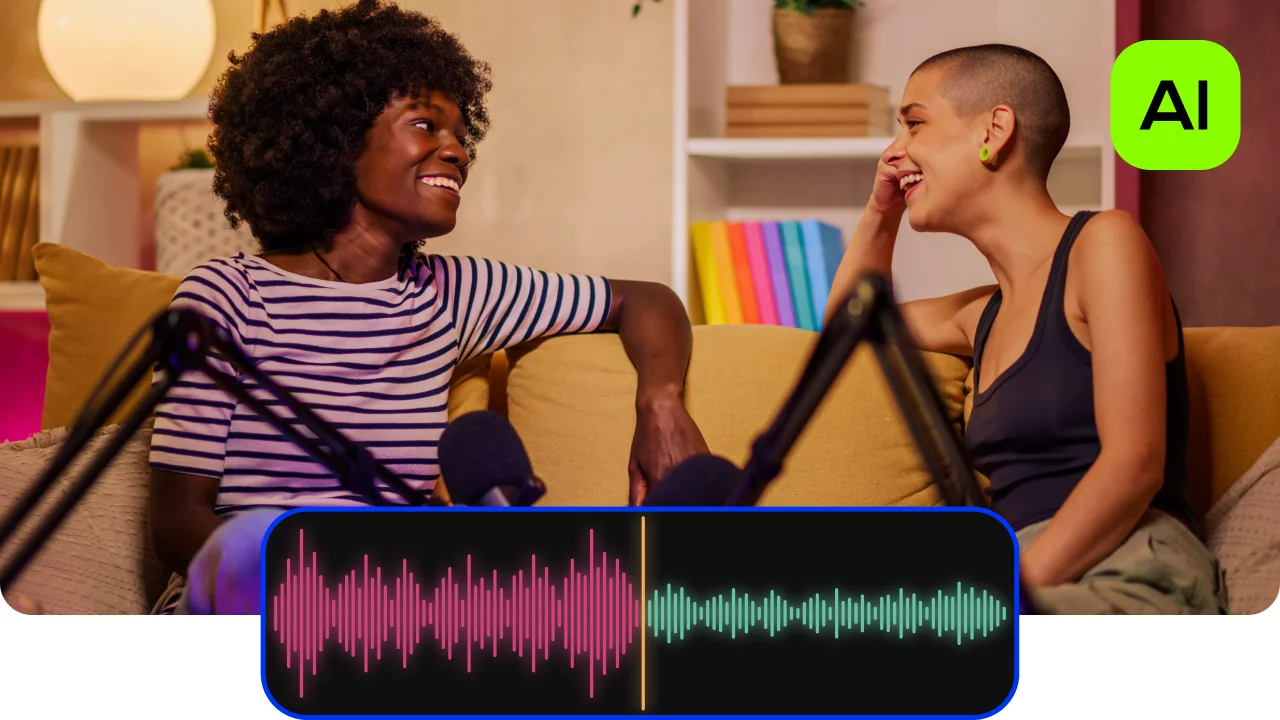
AI noise removal
Automatically remove car, wind, and other uncool sounds from your clips with our AI-driven audio denoiser. Create videos with crisp sound that viewers are sure to appreciate.
AI motion tracking
Enhance reality in your videos with additional moving graphics. Just click, and AI will quickly attach any photos, videos, emojis, or memes to objects in your footage.
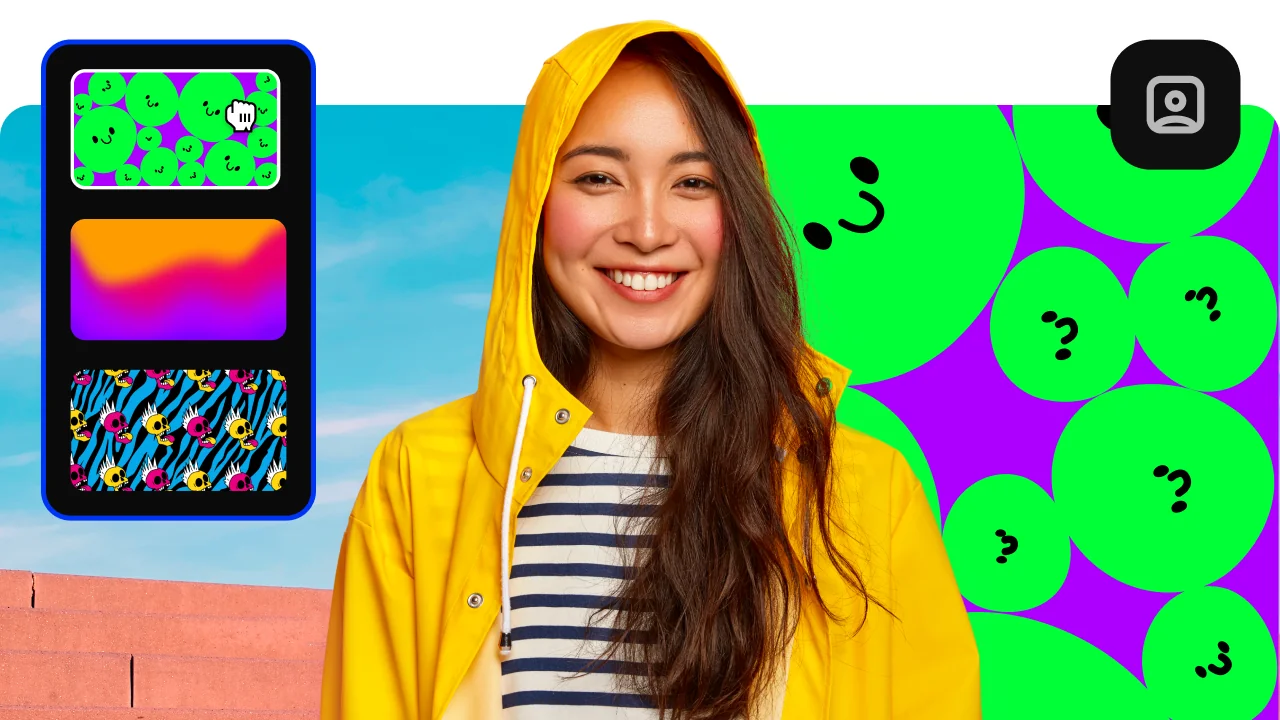
AI background removal
Use the power of the AI to instantly swap backgrounds in your videos with no green screens. Drop in a new vibrant scene and get ready for an avalanche of likes on socials!
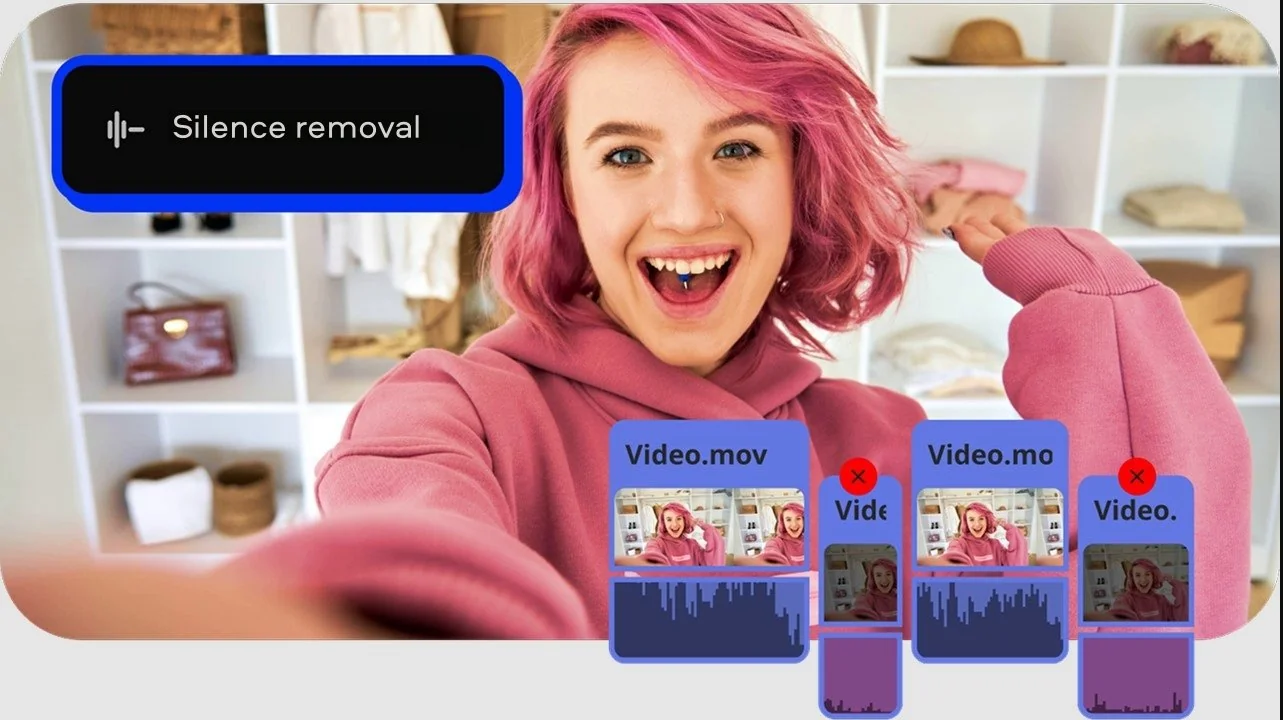
Silence removal
Cut out unwanted pauses automatically or fine-tune the pause length and volume threshold yourself. Skip the tedious cleanup and make your videos more dynamic in a flash.
Automatic subtitles
Let AI quickly turn your speech into text and automatically create captions for your videos in almost any language. Just choose the font, text color, position – and you’re all set!
How to blur a video with Movavi Video Editor
Step 1. Install Movavi Video Editor
Open the program file you’ve downloaded and follow the installation instructions. The video editing app will be ready to use in just a few moments.
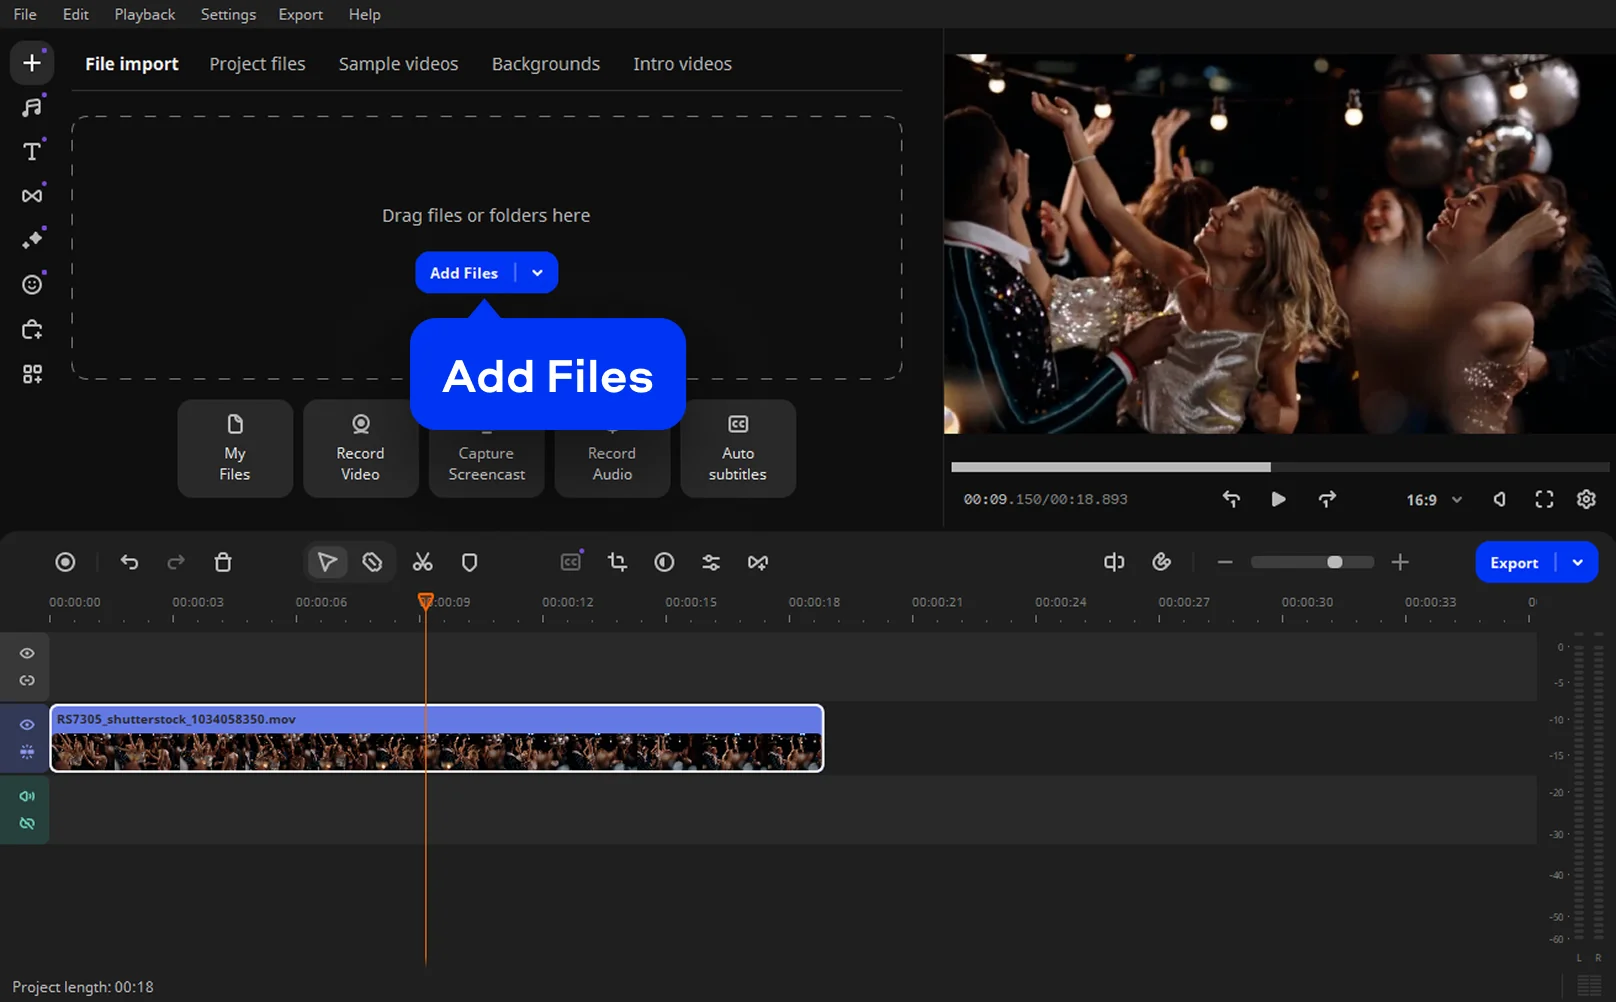
Step 2. Import your footage
Launch Movavi Video Editor and drop your clip onto the timeline. The interface feels friendly from the first click, letting you focus on shaping the story instead of wrestling with menus.
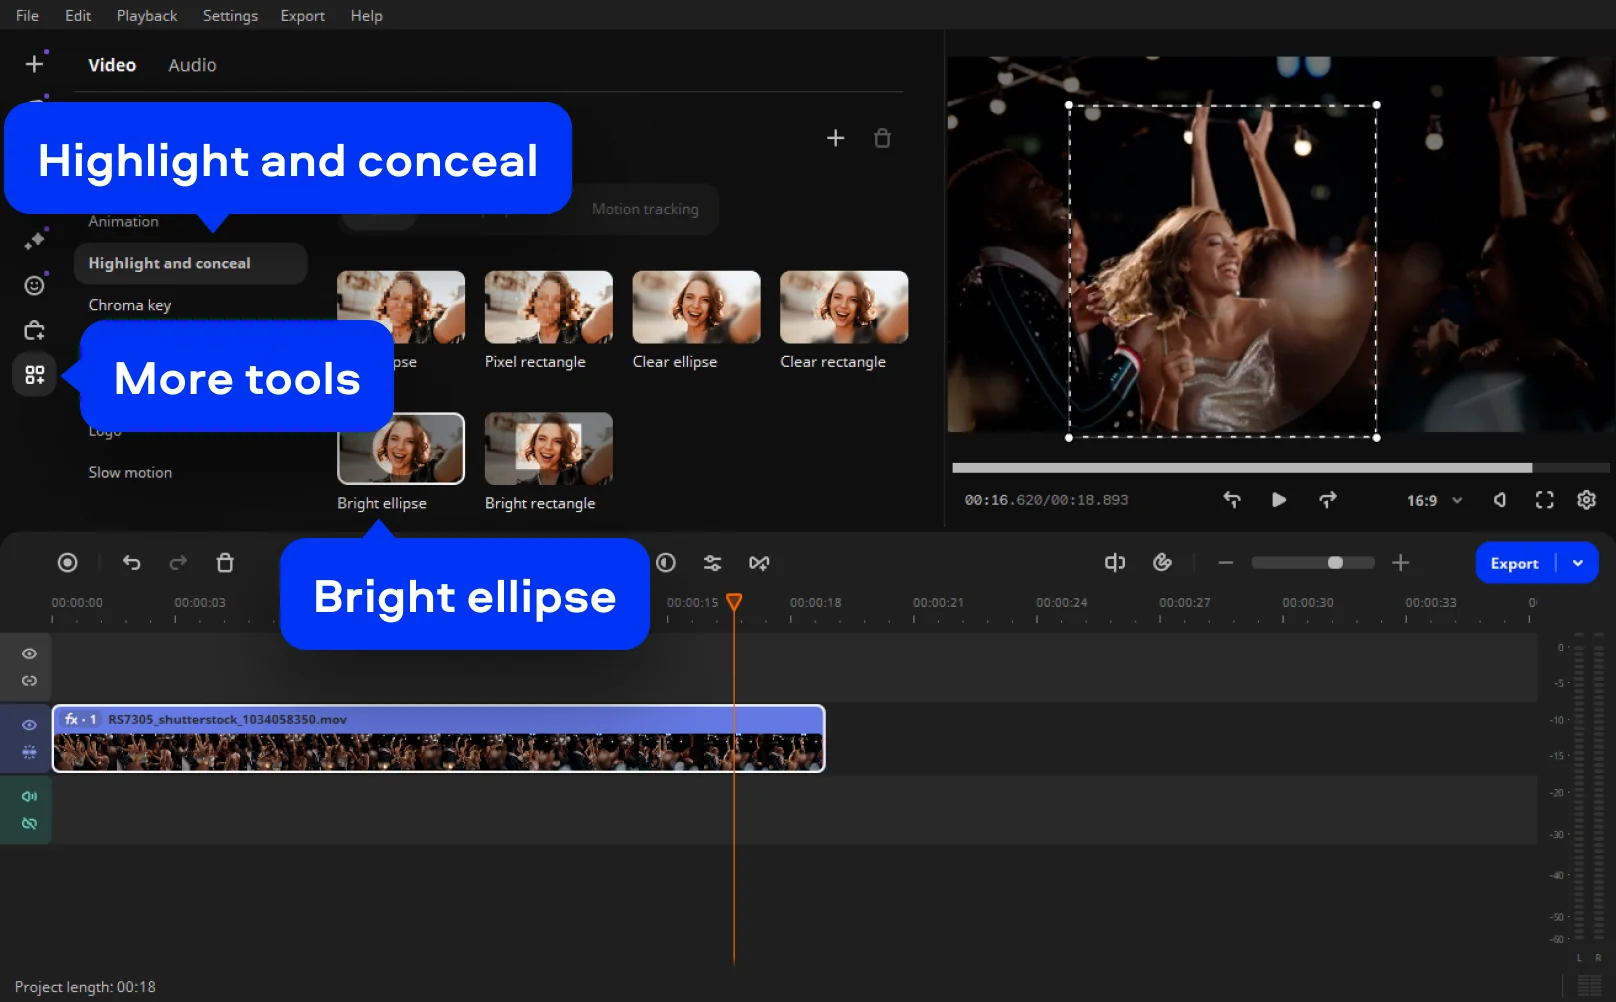
Step 3. Blur your video
Open the More tools > Highlight and conceal tab and select Bright ellipse for example. Apply it to the clip, then resize and reposition the overlay directly in the preview window until it covers exactly what you want hidden.
Fine-tune the blur strength so it feels intentional, not distracting. If the subject moves, you can animate the blur using keyframes so it follows the action smoothly.
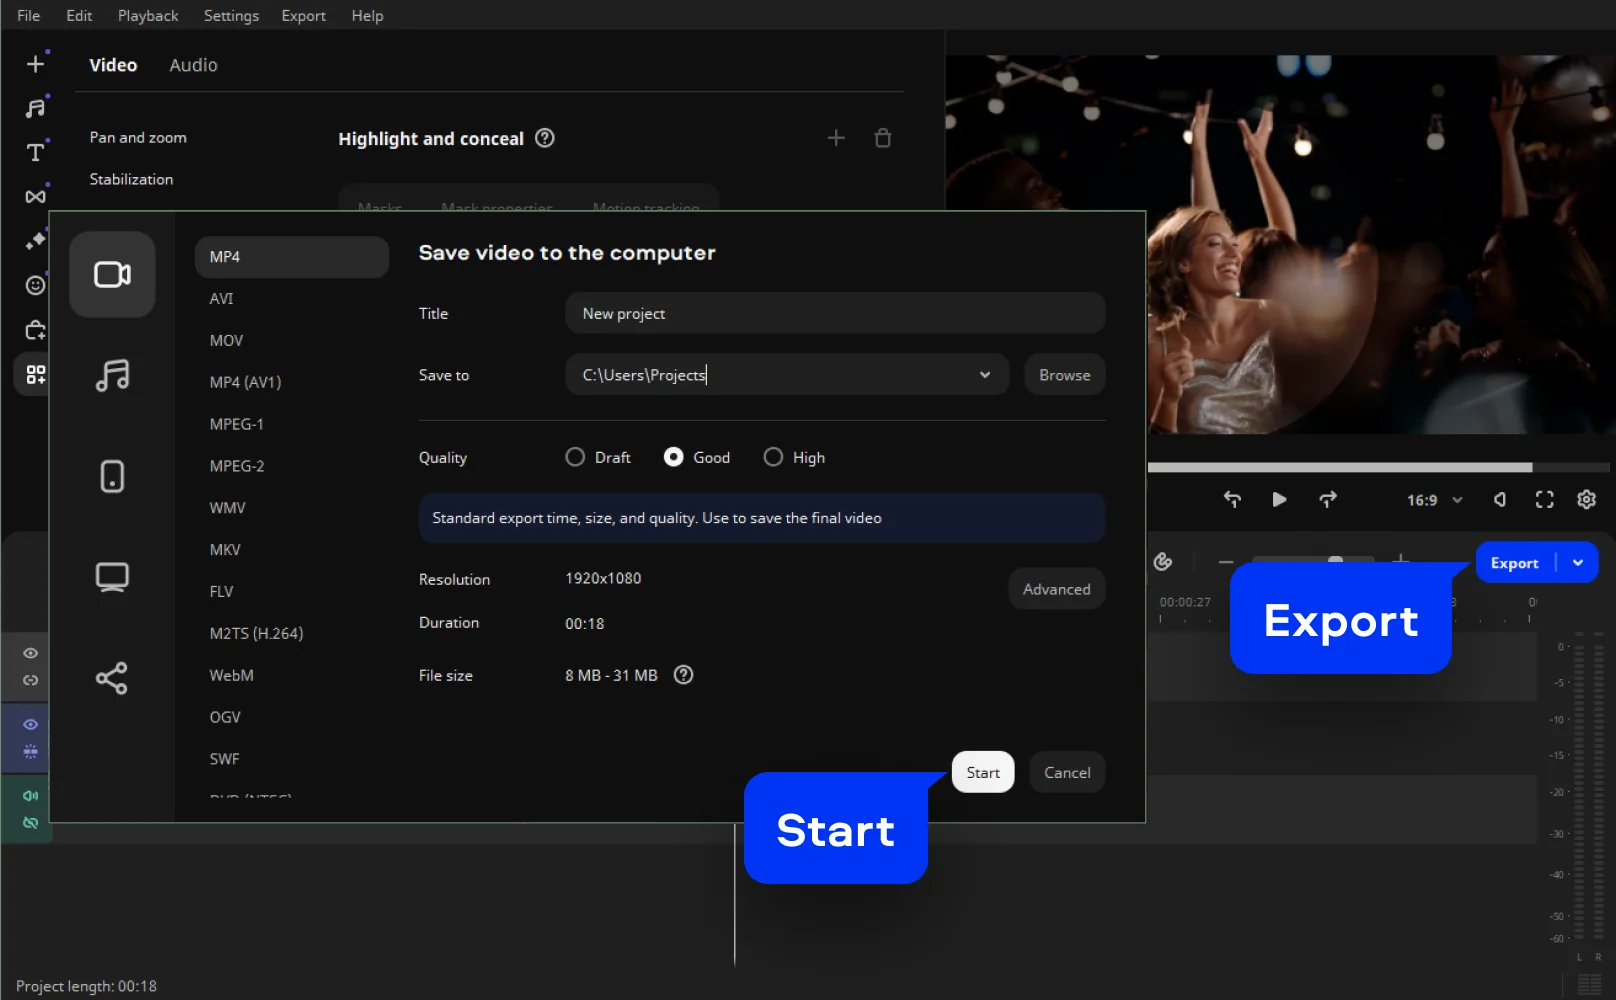
Step 4. Preview and export
Watch the full clip to check timing and placement. When everything feels right, export in your preferred format and resolution, ready for sharing or further editing.
More tools for easy video editing
Tips to blur videos
Blurring isn’t just about hiding mistakes, it’s a creative decision that subtly guides attention, protects privacy, and upgrades the overall feel of a clip. When done right, blurring techniques disappear into the edit, creating a cinematic sense of intention, as if the camera always knew where you were supposed to look.
Case 1: Keep the focus on the subject
City vlogs, travel clips, and casual interviews often come with visual noise – signage, passersby, or cluttered interiors that compete for attention. A soft blur video background keeps the scene alive while nudging the viewer’s focus back to the speaker.
Creators use this approach to simulate depth of field, even when footage comes straight from a phone. The street still buzzes, the café still feels real, but your subject stays visually anchored. It’s subtle, effective, and surprisingly elegant.
Case 2: Clean up instructional content
Screen recordings and tutorials are useful by nature, but they’re also unforgiving. Notifications slide in, email previews flash on-screen, and suddenly your clean walkthrough feels messy.
With Movavi, you can quickly isolate these elements and soften them, which is especially helpful when producing repeatable content like lessons, product demos, or training videos. Editors working at scale appreciate how easy it is to blur videos without interrupting their workflow: no heavy setup, no unnecessary complexity.
Case 3: Protect privacy without losing the moment
Public interviews and event footage often include people who never agreed to be on camera. Cutting the shot can break pacing, but leaving faces untouched feels careless.
This is where a dependable blur video editor matters. Motion tracking keeps the blur locked onto a moving subject, preserving the scene while respecting boundaries. The result feels intentional, not reactive – like the edit was always meant to be that way.
Use blur as a creative accent
Blurring isn’t only practical. Some creators use it to suggest memory, tension, or emotional distance – a softened edge during a flashback, a blurred crowd that isolates one expression, or a gentle haze that signals a shift in tone.
Whether you’re fixing problems or shaping mood, blurring works best when it feels purposeful. Used thoughtfully, it doesn’t announce itself. It simply helps the story land cleaner, smoother, and with more confidence.

Blur your vlog background like a pro
Use the background removal tool and a blur filter in your vlog to keep the focus right where it belongs – on you. Perfect for creators chasing that pro look without the pro gear.

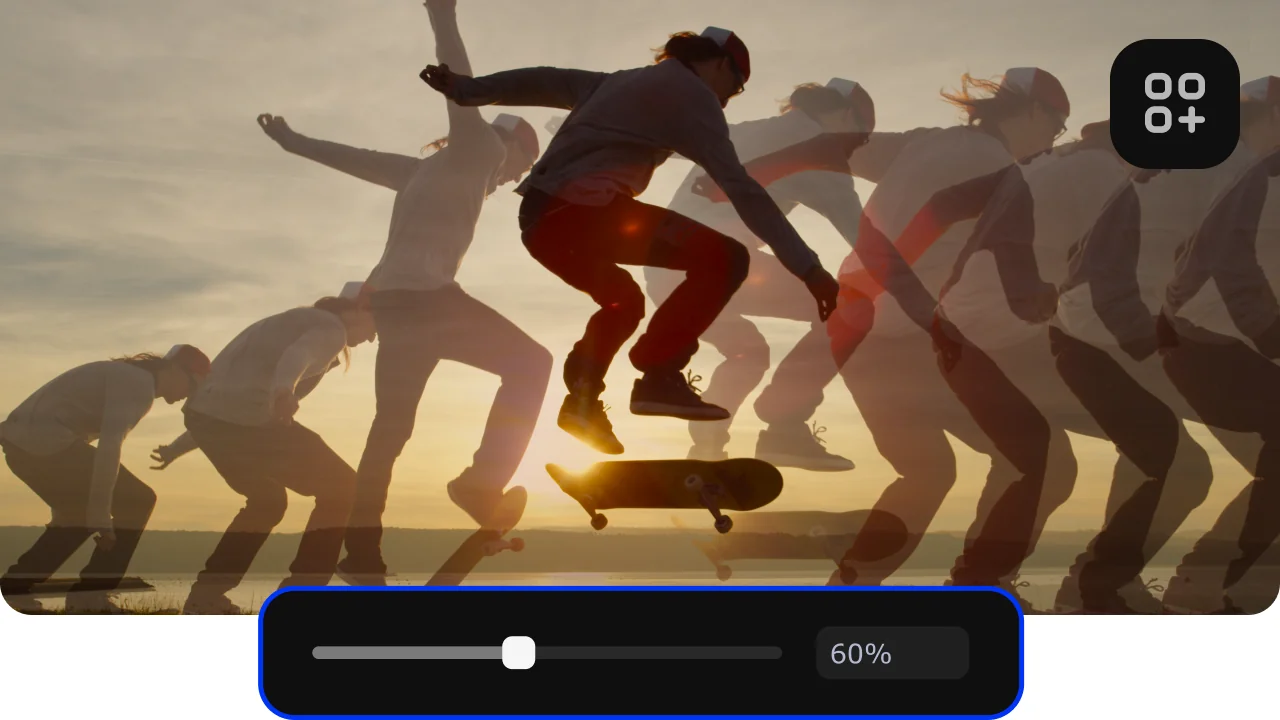
Make a dance video with motion blur
Add a trendy motion blur filter to your dance video to make your moves look faster, sleeker, and more energetic.
Frequently asked questions
Unless you’ve searched for how to make a video blurry before, the process is usually far less technical than expected. You import your video footage, add a blur effect, and position it where your eyes already understand it to be. Adjust the strength so it feels purposeful rather than reactive. Some video editors even let you animate the blur to follow movement, which is especially useful when your subject won’t stay still.
On an iPhone, you can blur a video online or through a third-party app. You import the clip, choose a blur or mosaic option, and place it over whatever needs discretion. Some apps offer more control than others, so results range from quick fixes to surprisingly polished edits.
CapCut makes blurring approachable. You pick a blur from the effects library, resize it, and tweak the strength until it looks intentional. For short-form or social content, it does the job well. More complex edits may call for software with deeper controls.
In a video, a blur is an object or area that cannot be seen clearly. It has no clear outline and almost looks like a smudge or smear on the screen. Blurs are used in video clips to cover up certain areas or elements for various reasons.
There are many different ways you can blur an object in a video. We recommend using a desktop app like Movavi Video Editor for the best results. You can also use an online app like Kapwing and PickFrom or a downloadable app such as Blur Video by Alpha Project or BlurEffect by KALEIDOSCOPE.
If you need to blur faces in a video, you can use an online app or downloadable piece of software that has the ability to blur video elements or sections, like Kapwing or Blur Video by Alpha Project.
iMovie doesn't have its own blur tool, but there is a way you can use the Picture-in-Picture effect in order to work around this problem. To do this, start a project and load the clip you want to blur. Find the item or area you want to blur and use the Picture-in-Picture tool (Shift+Command+4) to draw an area around it to get a screenshot. After that, you'll need to use some sort of image editing software to blur the screenshot, save it, and then drag the new image back into your iMovie project. This only works for stationery items, and it's much easier to use another video editor with a blur feature.
You can use various apps and pieces of software with blur effects to cover over text in your videos with blur effects. Examples include Movavi Video Editor, Kapwing, and Blur Video by Alpha Project.
See other useful online tools
AI video-editing software
Video quality enhancer
YouTube video editor
Video resizer
Free movie maker
Video collage maker
Crop videos online
Flip videos online
Add text to videos online
Video trimmer online
Add subtitles to videos online
Video splitter online
Trailer maker online
Birthday video maker
Online YouTube intro maker
Merge video online
MP3 cutter
Online video editor no watermark
We’re the #1 choice for millions of people from all around the world. Join our thriving community and create stunning content with incredible ease.
70M+


*The free version of Movavi Video Editor may have the following restrictions depending on the build: watermark on exported clips, 60-second video or 1/2 audio length limit, and/or some advanced features unavailable when exporting videos.


1.5M+ users already subscribed to our newsletter