Step 1. Download the QuickTime Converter
Download and run the program. Follow the on-screen directions to install the Movavi software.
Looking for a QuickTime Converter?
Use Movavi Video Converter
How to use the QuickTime converter

The word “QuickTime” has two meanings in the context of computing. It’s the name of the default Mac video player and another name for the MOV format, which was actually developed to be used with the QuickTime player.
Let’s start with the QuickTime format. There are a few problems you may encounter using this format.
Now let’s discuss QuickTime Player. Natively, it supports only a few video formats: 3G2, 3GP, DV, MOV, and various MPEG options, including MP4. But what if you want, for example, to play Windows Media Video files in QuickTime? Fortunately, there is a simple solution: just download Movavi Video Converter, a convenient video conversion application for Windows or Mac, and change the format of your WMV videos to QuickTime. Also, you can just as easily convert QuickTime movies to any other video format using the same software. See how easy it is with this step-by-step guide.
Step 1. Download the QuickTime Converter
Download and run the program. Follow the on-screen directions to install the Movavi software.
Step 2. Add videos to the program
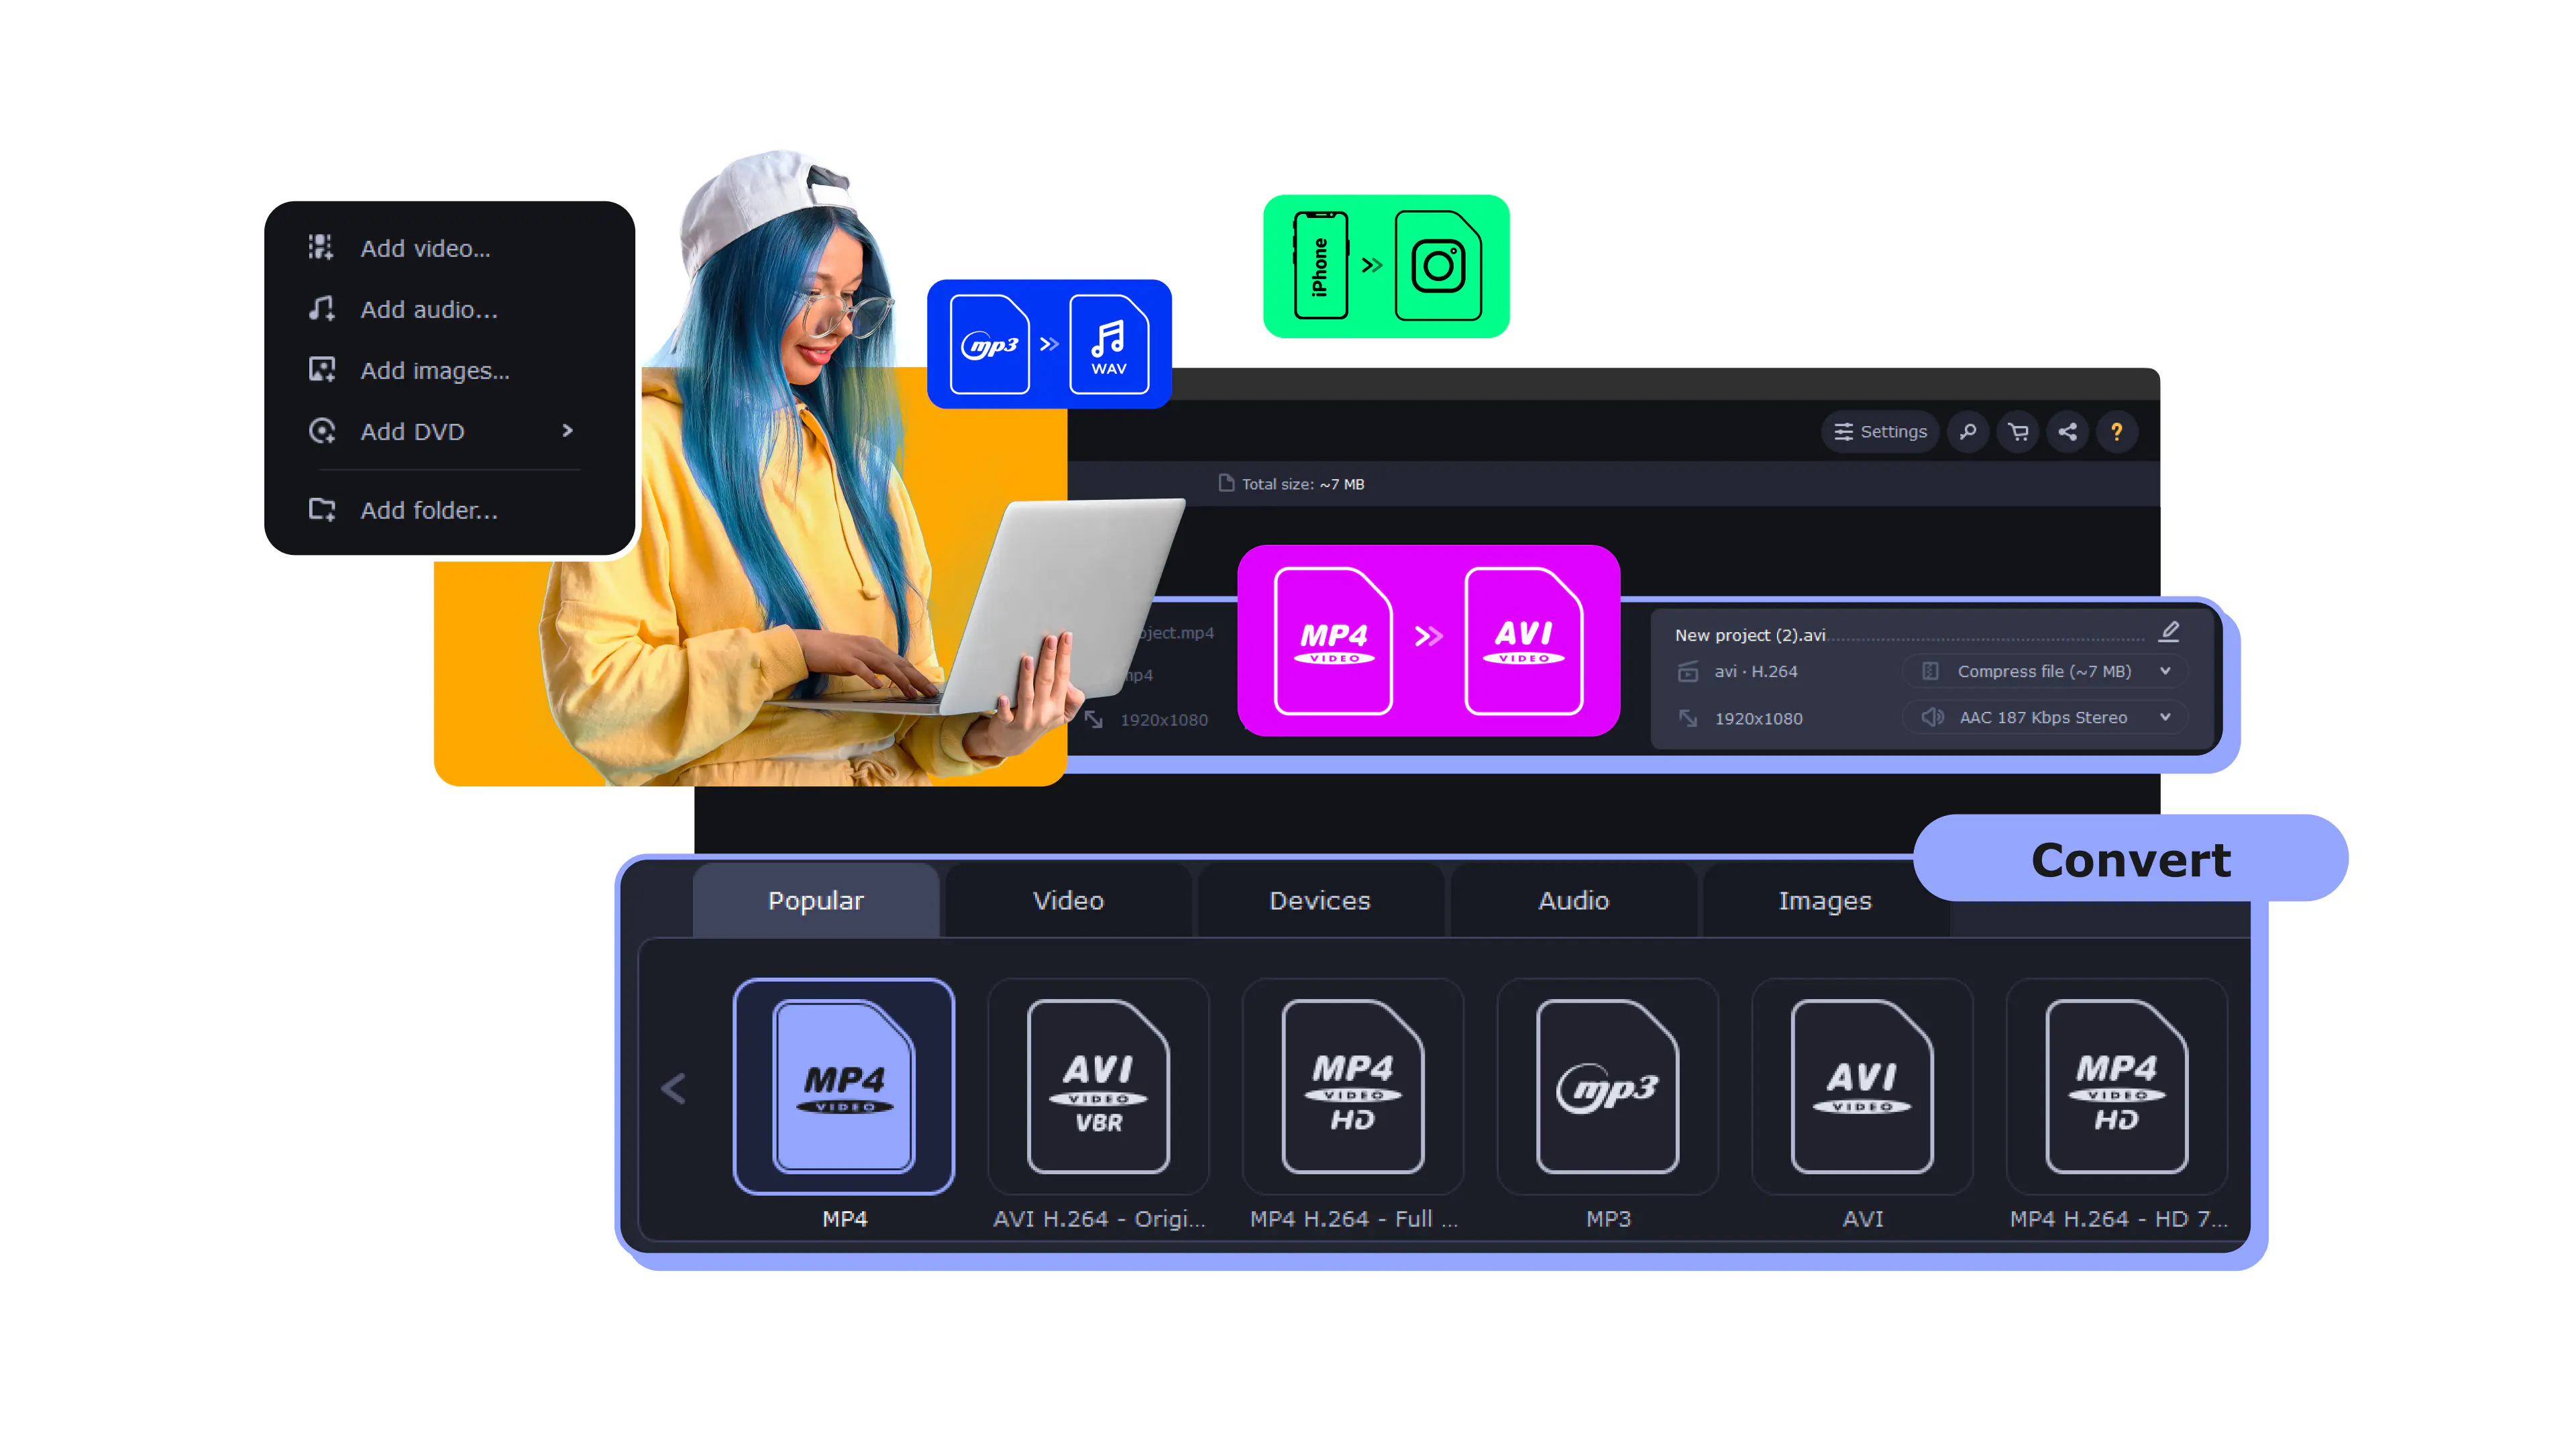
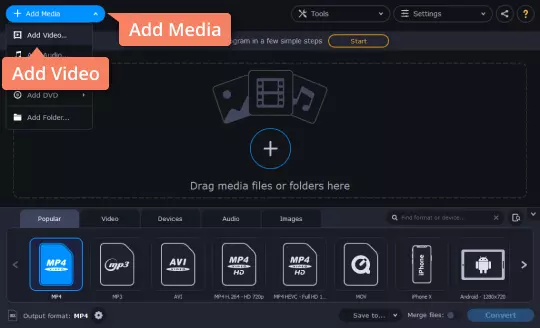
Click Add Media, then choose Add Video, and select the files you want to convert to the QuickTime format. If you want to work with video on a DVD, you’ll need to choose Add DVD and then click Open DVD instead. You can add files in just about any input format – Movavi Video Converter supports over 180 video and audio formats. For example, you can convert WMV and AVI to QuickTime, or convert QuickTime to MP4, AVI, and other, less common, alternatives. Whichever file format you want to work with, the Movavi software will do the job perfectly.
Step 3. Select an output preset
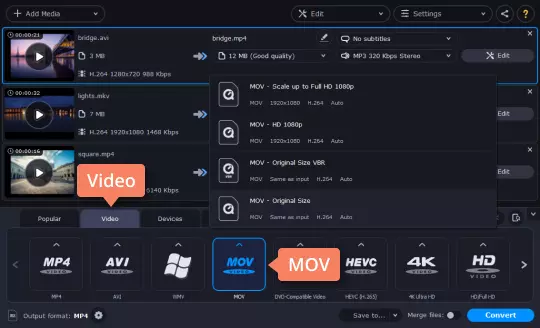
To convert your video to the QuickTime format, go to Video above the presets ribbon and find the MOV group. Click to expand it and select the preset that best suits your needs. If you need to convert QuickTime to MP4, AVI, or another format, simply look for the appropriate preset group on the list.
Step 4. Convert your videos
By default, Movavi Video Converter will save your newly created QuickTime movies to the Movavi Library directory, but you can choose a different folder by clicking the Save to button.

Movavi Video Converter
The ideal way to get your media in the format you need!
If you're looking for a reliable and versatile alternative to QuickTime Player that supports a wide range of file formats, Movavi Video Editor is your best choice. It seamlessly opens almost any video file format, including those not supported by QuickTime, thanks to its advanced codecs and compatibility features. This makes it an ideal solution for video editors, content creators, and anyone who frequently deals with multimedia files.
Movavi Video Converter is the perfect solution if you need to work with a variety of file formats. It supports a wide range of audio and video formats, including those not compatible with QuickTime Player. With Movavi Video Converter, you can effortlessly convert files between multiple formats, ensuring compatibility with your devices and applications. This makes it perfect for content creators, professionals, and anyone who wants to streamline their workflow with multiple file formats.
To efficiently handle video files in a variety of formats, Movavi Video Editor is your best option. This powerful software supports a wide range of codecs and formats, including QuickTime, allowing you to edit, convert, and even create videos in this format. This makes Movavi Video Editor a comprehensive solution for video enthusiasts, filmmakers, and anyone looking to work with video files professionally.
To seamlessly manage your MP4 files across various devices and platforms, consider using Movavi Video Converter. Its wide range of supported formats allows you to easily convert MP4 to formats compatible with QuickTime Player and other applications. Whether you are a casual user or a professional, Movavi Video Converter offers a convenient and efficient solution for managing video files.
Movavi Screen Recorder is a versatile tool that lets you capture and record your computer screen, including QuickTime movies. This software allows you to easily create high-quality video recordings of your screen, tutorials, presentations, and gaming sessions, making it ideal for educators, gamers, and anyone who needs to demonstrate or record their computer activities.
See other useful how-to guides
How to change WebM to MP4
How to convert WMA audio files to other formats
How to convert a WMA file to the WAV format
How to convert to and from WebM
How to convert an audio file to other formats
12 Best 4K Video Converters [Win & Mac] – Movavi Converter
13 Best YouTube to MP3 Converters [2025]
How to Compress WAV Files | WAV Compressor from Movavi
10 Best Video Compressors for Discord [2025]
How to Compress MP4 Files on Windows and Mac – Movavi

Have questions?
Join us for discounts, editing tips, and content ideas


1.5M+ users already subscribed to our newsletter