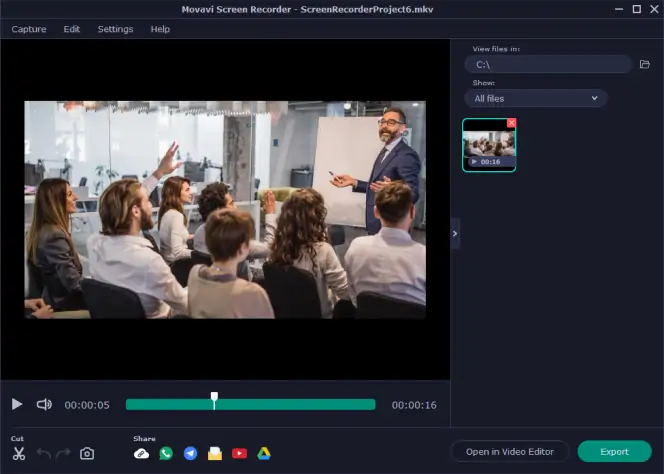

1. Movavi Screen Recorder

- Price
free trial, premium for $44.95/year or $74.95/lifetime
Features:
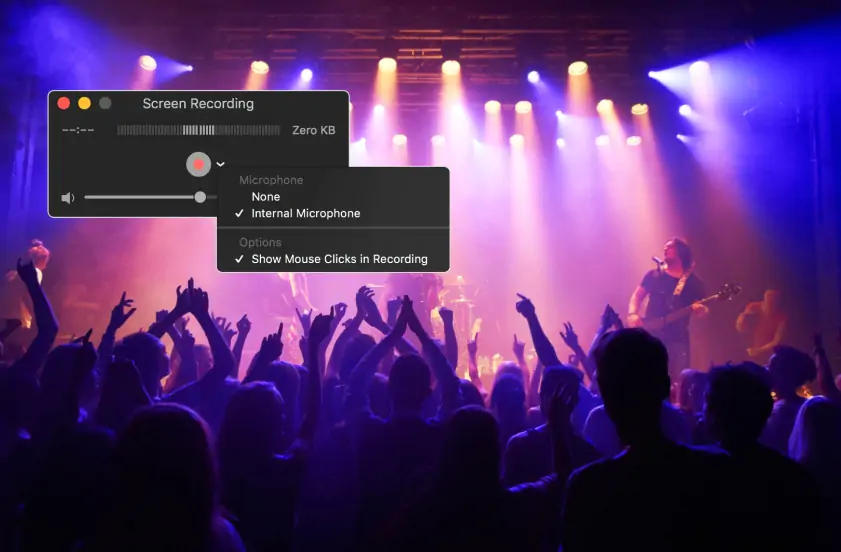
- Show mouse movements and clicks for easier explanations
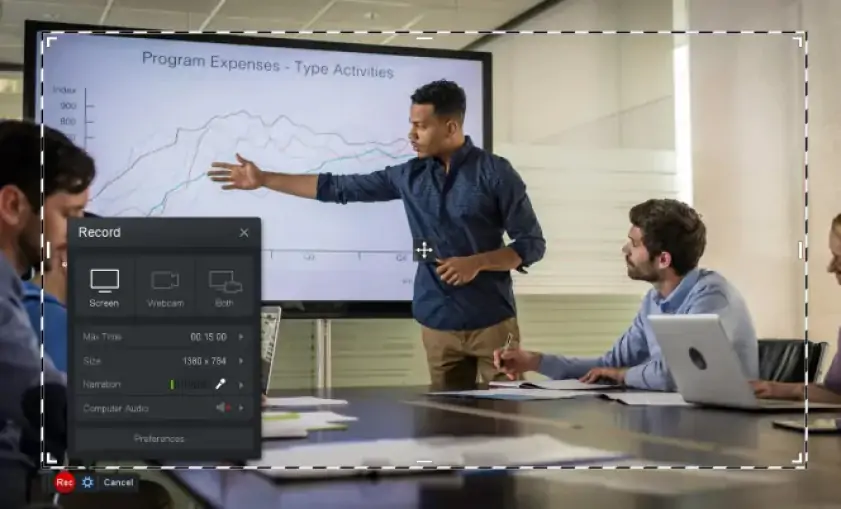
- Grab webcam footage along with the audio stream to create training videos, instructions, and podcasts
- Reduce ambient noise your mic picks up to get crisp, clear sound in your recordings
- Visualize your ideas by drawing notes, shapes, and figures on videos in real time
- Schedule recording of late-night webinars, your favorite shows, or sporting events to watch them later
- Take scrolling screenshots of long pages or chat threads
Why I picked it: Smooth performance, easy scheduling, and top-tier noise reduction made it my most reliable all-rounder. It’s ideal for long sessions thanks to no limit recording and works great as a Mac video capture tool.
I put Movavi Screen Recorder through its paces on the latest macOS and it quickly earned a spot in my toolkit. Switching between mic input and system audio is effortless, which makes recording tutorials or podcasts refreshingly simple. Scheduling a capture, grabbing a scrolling screenshot, or adding quick mouse effects all feel instant. The lightweight editor trims or joins clips without fuss, and exporting to MP4 or MOV with hardware-boosted speed takes seconds. The newest 24.x updates sharpened webcam quality, steadied the scheduler, and introduced a 2025 noise-reduction option that really quiets background hum. For clean, shareable videos, Movavi just works.