Movavi solutions for business
All Movavi programs for making your business infinitely more productive
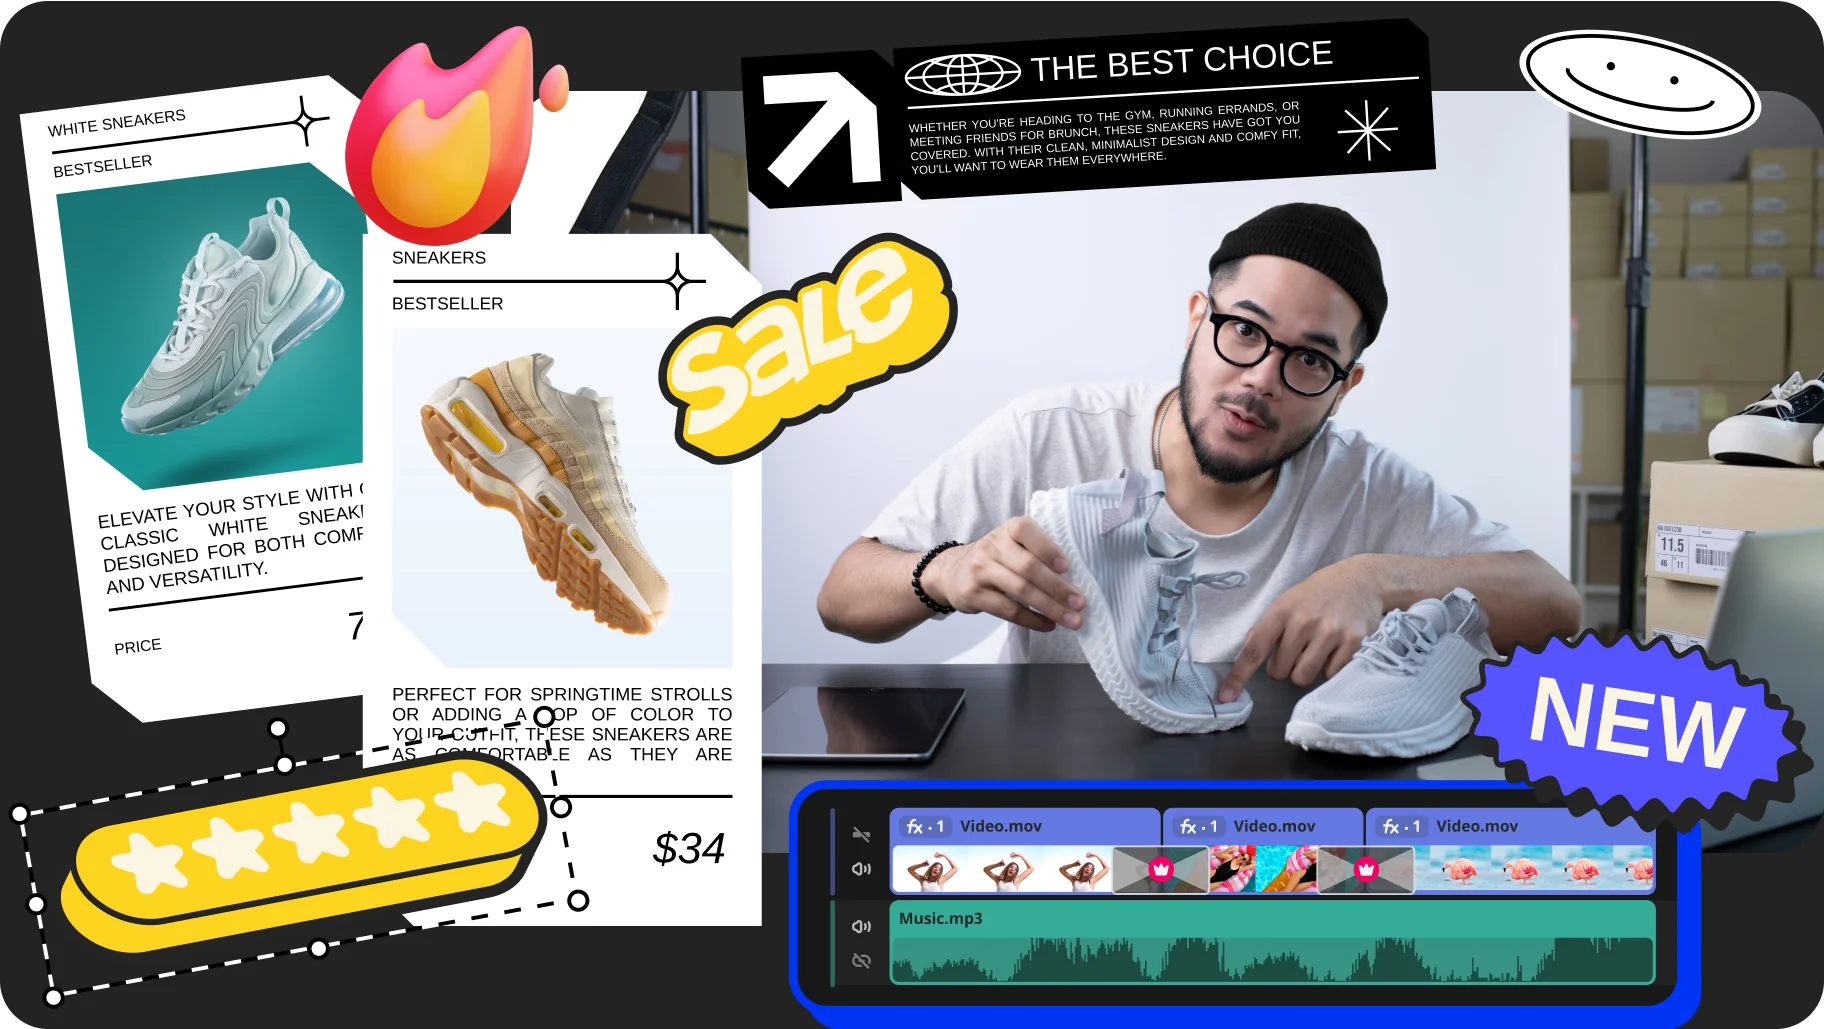
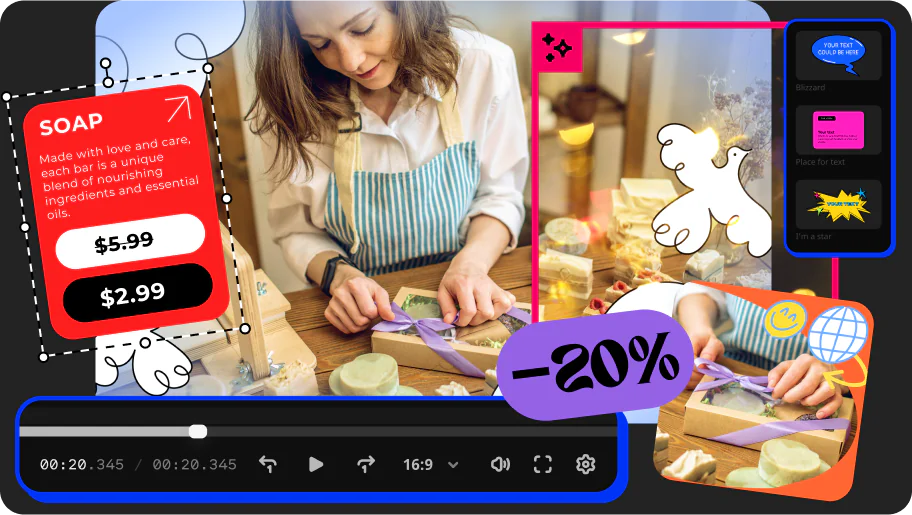
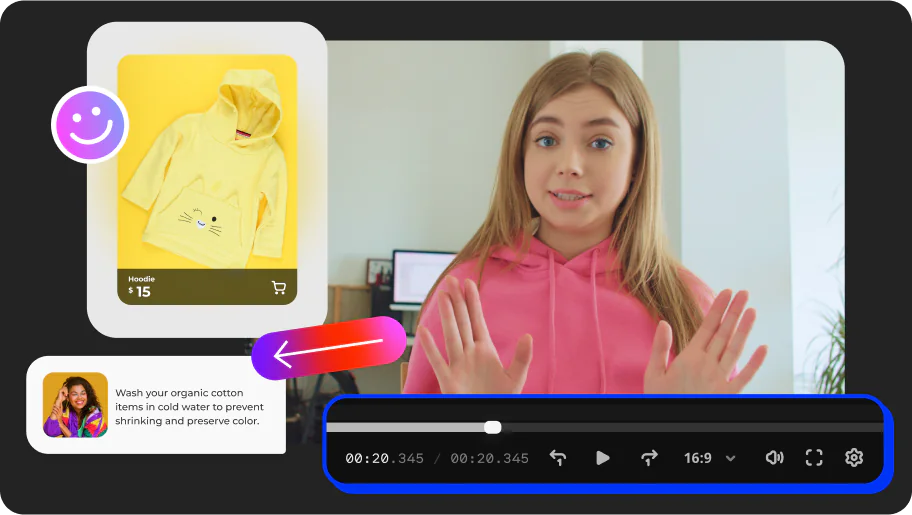
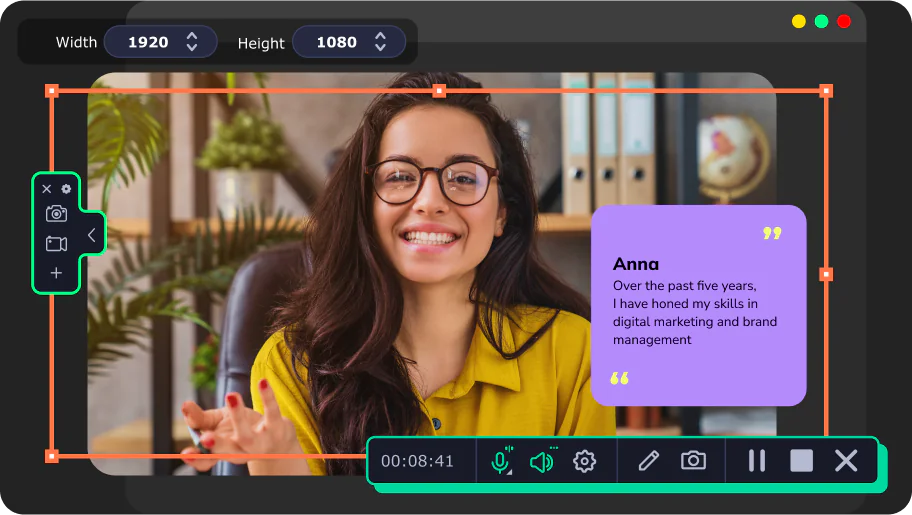
Quick and effortless montage of professional-grade videos
AI-powered tools to automate mundane tasks
Screen recording for greater efficiency
6,000+ stunning effects to engage your audience
70M+


Simplify your workflow with Movavi apps for business
Movavi Video Suite
Your do-it-all video-making bundle: a video editor, media converter, screen recorder, and more
Everything in Video Editor to create killer videos in a snap
Video Converter to transform media files in a flash
Screen Recorder to grab desktop, webcam, and mic in one click
Media extras and stock content for videos
Movavi Video Editor
Your simple yet powerful editor for creating wow videos
- Intuitive tools for quick and easy video editing
- AI-driven motion tracking, background and noise removal
- Drag-and-drop filters, titles, transitions, overlays
Movavi Screen Recorder
Your hassle-free screen capture tool for more efficient projects
- Full-screen or custom area recording
- Webcam capture and drawing on recordings in real time
- Highlighting mouse cursor and keystrokes
Movavi Unlimited
All Movavi programs and countless effects in one pack for creating stunning videos and photos
- Everything in Video Suite to make any video project a breeze
- Photo Editor to create stunning pictures with an AI boost
- 6,000+ exclusive effects to amp up your videos
- And so much more!
Ramp up your business productivity

Which Movavi program is right for me
Compare the different features in Movavi apps and choose the appropriate program for your needs
Great for your business
Check out all the benefits Movavi apps have for your company
Access our volume discounts for business
Video Suite for individuals
1-year subscription, 1 license
$269.85
$169.95
per license per year2026 editions of:
Video Editor
Video Converter
Screen Recorder
Video Suite for small teams
1-year subscription, 5–9 licenses
$269.85
$161.45
per license per year2026 editions of:
Video Editor
Video Converter
Screen Recorder
Video Suite for small businesses
1-year subscription, 10–24 licenses
$269.85
$152.96
per license per year2026 editions of:
Video Editor
Video Converter
Screen Recorder

Need a different offer? Contact us!
Talk to our manager about licensing any Movavi program.
Katerina Christou, Customer Success Manager.
Email: sales@movavi.com
Phone: +1 314 798 5200 Monday to Friday (UTC/GMT+2:00)
Nonprofit and government
We also have special offers for nonprofit and government organizations.
Get started with these tips for creating effective business videos
Join us for discounts, editing tips, and content ideas


1.5M+ users already subscribed to our newsletter