
Step 1. Download and install Movavi Video Converter
Download Movavi Video Converter and launch the installation file. Follow the on-screen instructions to install the app.

AI Upscaling for a Crisper Picture
Try Movavi Video Converter
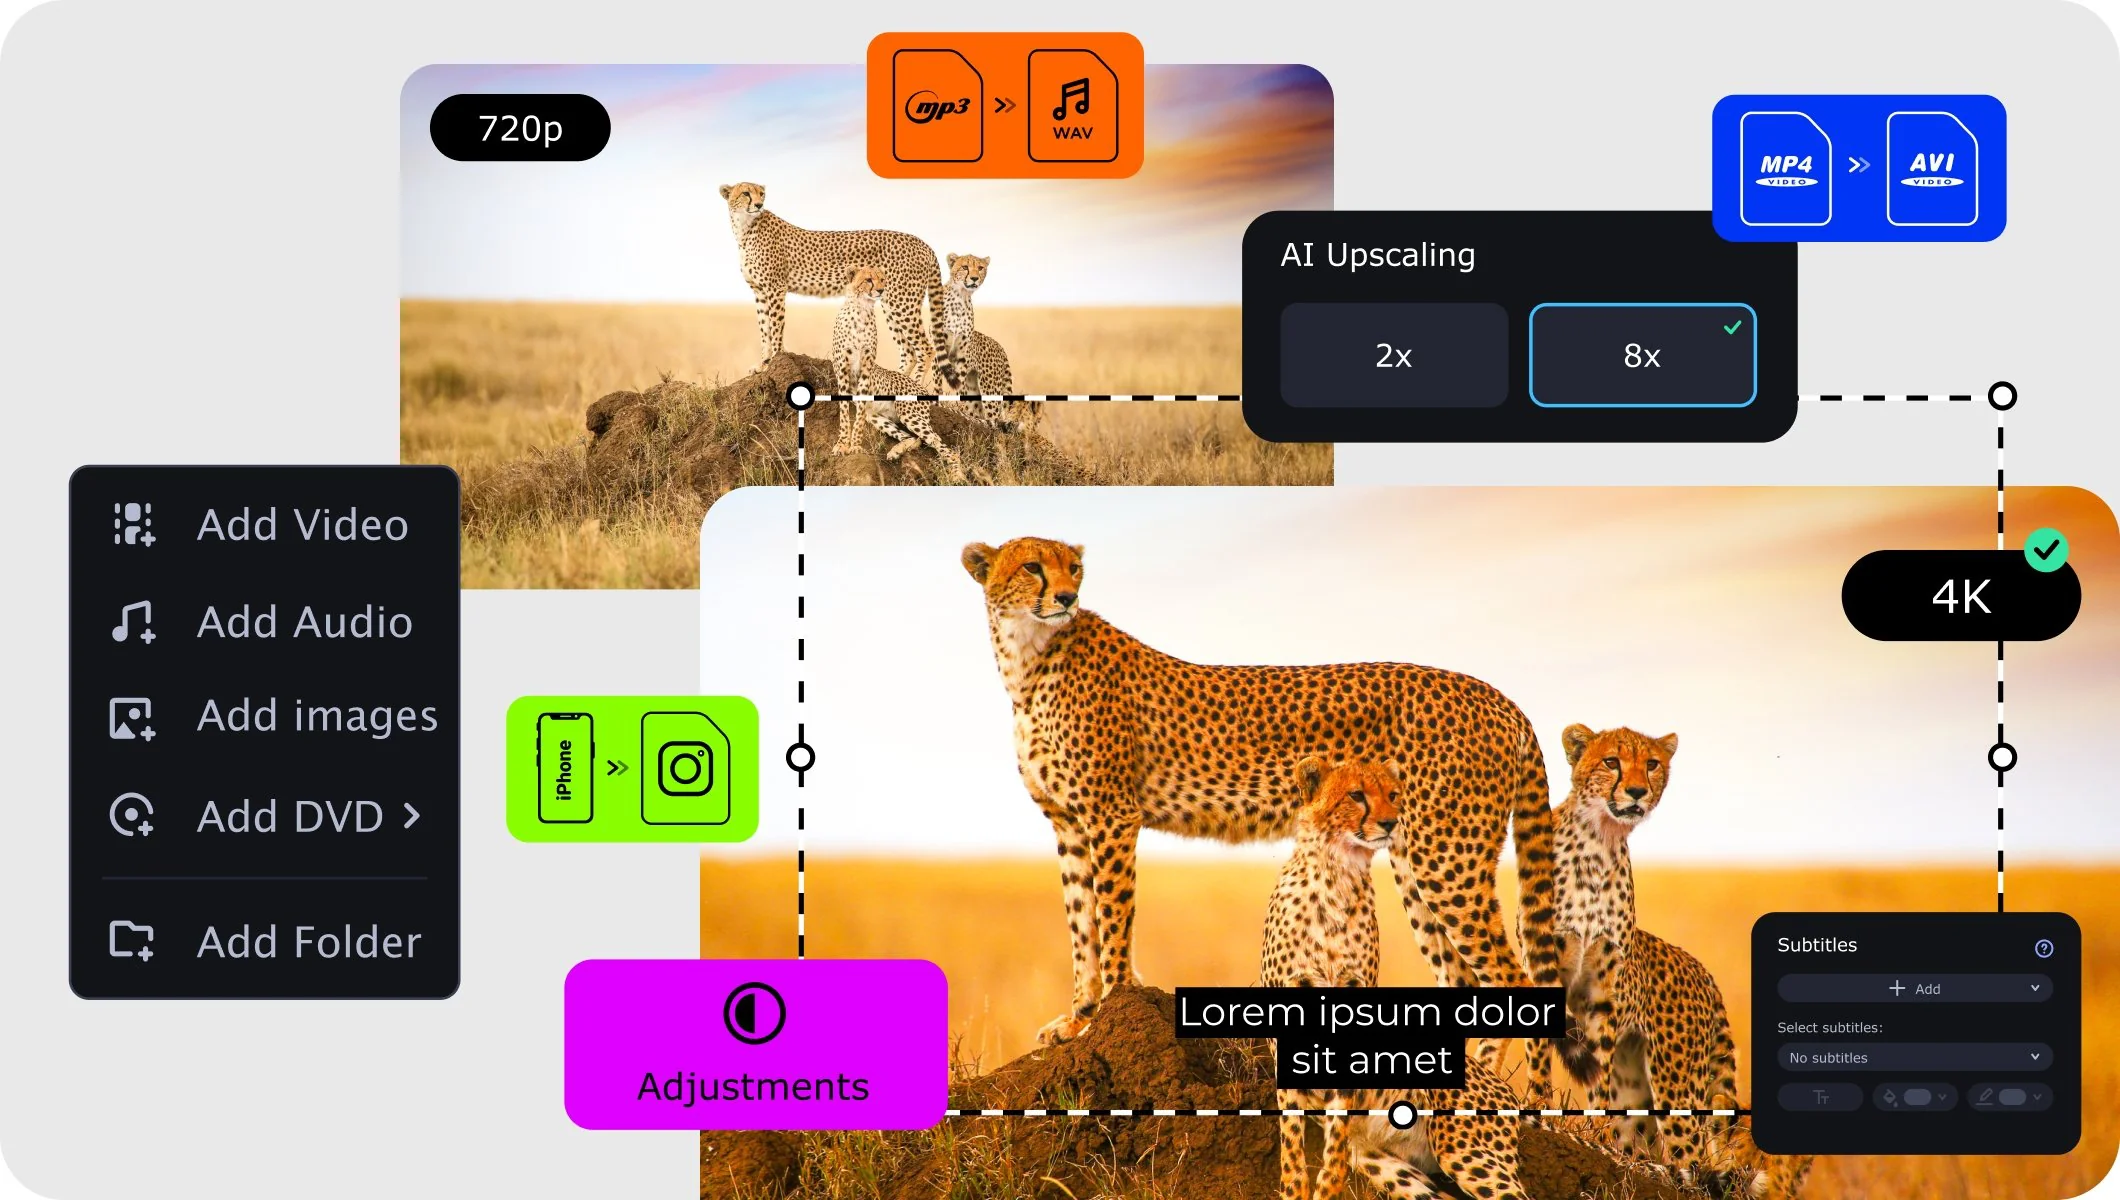
Lightning-fast file conversion
Powerful video compression
AI video upscaling: up to 8X
How to boost the resolution of videos with Movavi Video Converter
Use the power of AI to boost the resolution of your videos up to 8 times. Revel in the sharper-than-ever look of your footage even on bigger screens. You can also resize videos online to adjust their aspect ratio and dimensions quickly.
Step 1. Download and install Movavi Video Converter
Download Movavi Video Converter and launch the installation file. Follow the on-screen instructions to install the app.
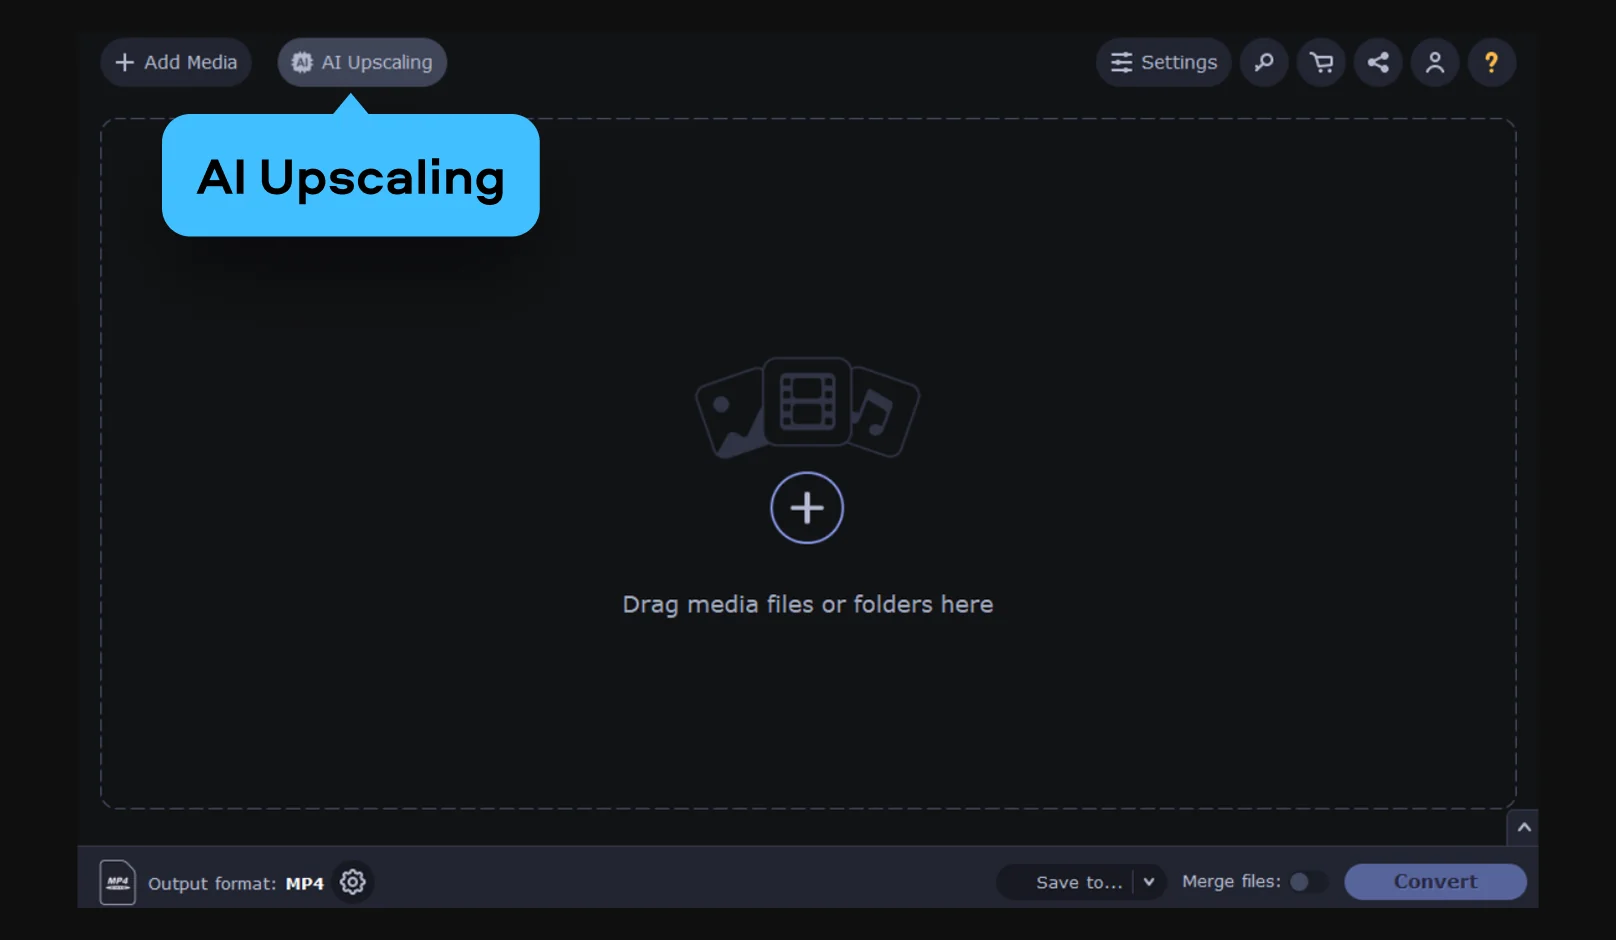
Step 2. Import your video
Click AI Upscaling, then the Plus button in the dialog box. Locate the video you want to enhance on your hard drive and click Open.
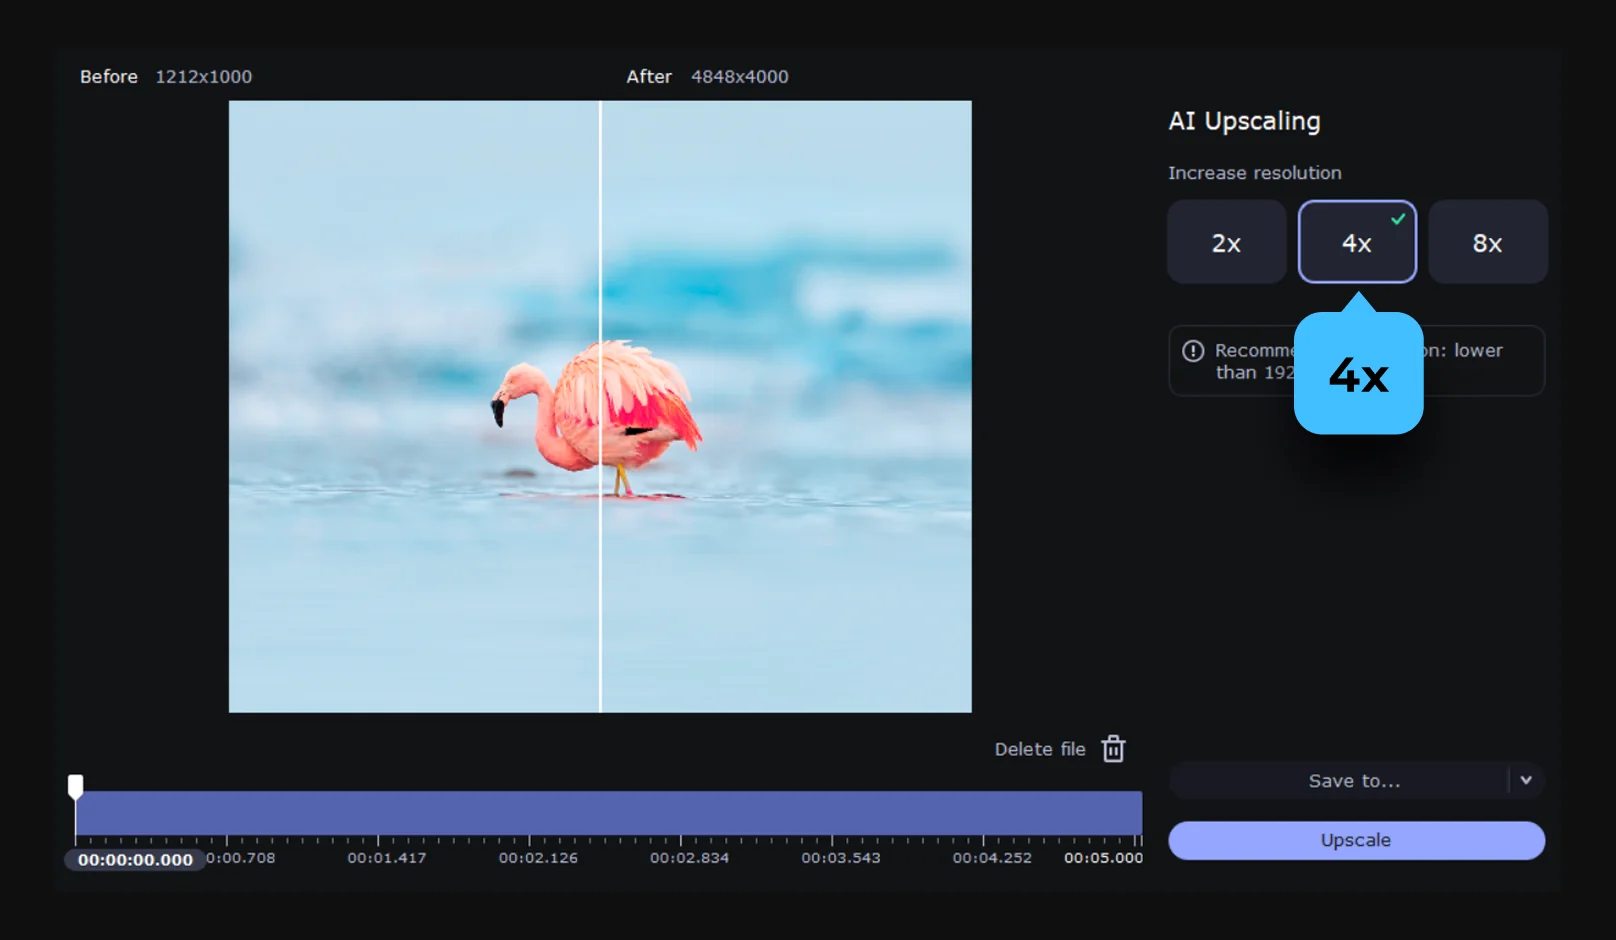
Step 3. Choose resolution
You can boost the video resolution of your video by two, four, or even eight times. Just click the 2X, 4X, or 8X button – pick the one that best for your project.
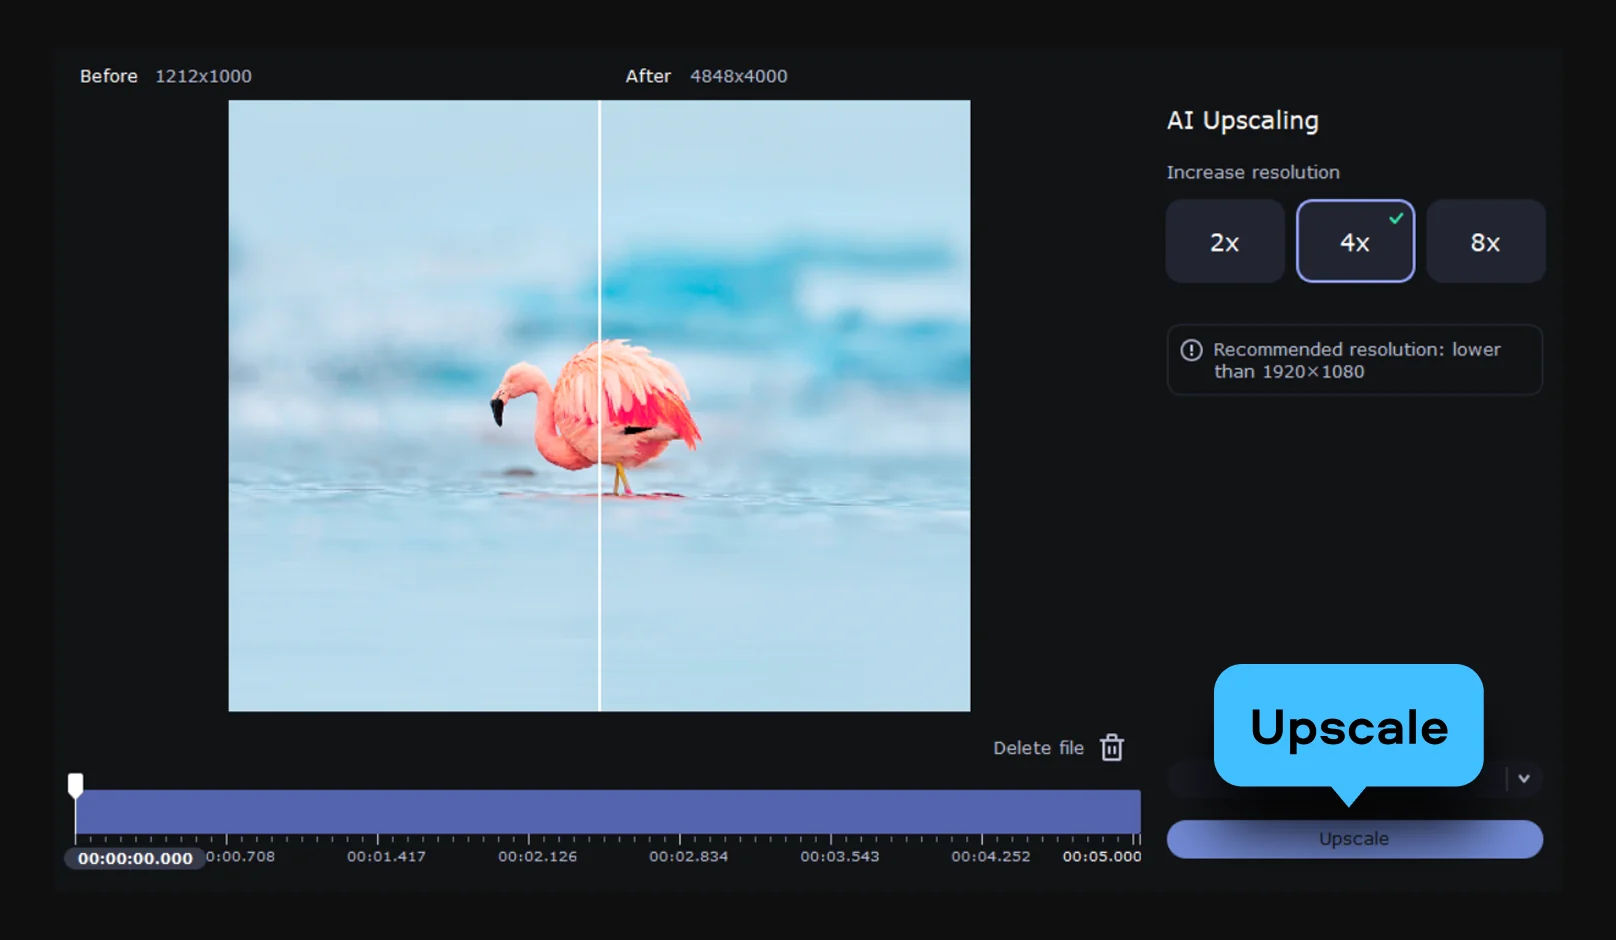
Step 4. Upscale your video
Click Upscale, and the enhancement starts right away. When it’s done, the folder with your new video opens automatically. All done – AI makes every detail in your video count!
Your go-to converter for changing video, image, and audio formats in seconds
Looking for a program to edit your video?


1.5M+ users already subscribed to our newsletter