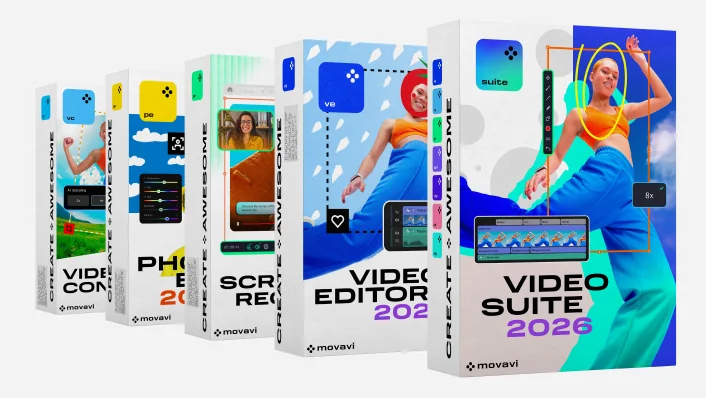
Wszystkie programy edycyjne
Poznaj nasze narzędzia do wideo i zdjęć – mamy coś idealnego dla Ciebie.
Kup zupełnie nowy Movavi
Video Suite 2026
Pakiet wideo 3 w 1 — edytor wideo z automatycznymi narzędziami, szybkim konwerterem i rejestratorem ekranu
Kup zupełnie nowy Movavi
Video Suite 2026
Pakiet wideo 3 w 1 — edytor wideo z automatycznymi narzędziami, szybkim konwerterem i rejestratorem ekranu
Wypróbuj wszystkie programy Movavi
Twój prosty, ale wszechstronny edytor do tworzenia niesamowitych treści wideo
Twój inteligentny i prosty edytor zdjęć do tworzenia niesamowitych obrazów
Twój sprawdzony konwerter do zmiany formatów plików wideo, obrazów i audio w ciągu kilku sekund
Twoje bezproblemowe narzędzie do nagrywania ekranu przy tworzeniu bardziej efektywnych projektów
Wszystkie programy Movavi i 10 000 efektów w jednym pakiecie do tworzenia imponujących filmów i zdjęć
Wszystkie programy edycyjne
Poznaj nasze narzędzia do wideo i zdjęć – mamy coś idealnego dla Ciebie.
Przetnij
Kadruj
Przytnij
Obróć
Zmień rozmiar
Odwróć
Stabilizuj
Skoryguj kolory
Nałóż napisy
Dodaj filtry i przejścia
Użyj filtrów LUT i nakładek
Wstawiaj gotowe wstępy
Stosuj efekt Chroma key
Poprawiaj jakość dźwięku
Nagrywaj filmy z podróży
Zachowaj wspomnienia rodzinne
Podnieś poziom swojego vloga
Zachwyć swoich widzów
Zdobądź mnóstwo polubień
Zdobądź więcej obserwatorów
Twórz filmy, które pokochają
70+ mln


Ponad 10 000 efektów i 1 500 utworów muzycznych
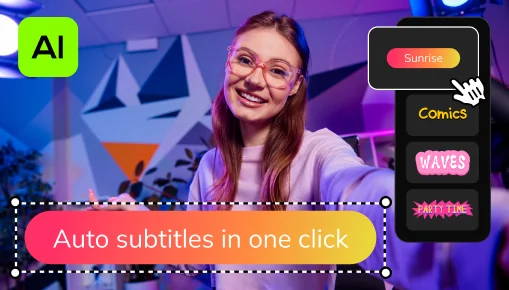
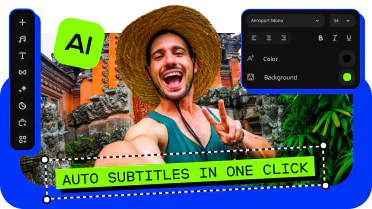
Automatyczne napisy 1-kliknięciem
Pozwól AI szybko konwertować mowę na tekst i automatycznie tworzyć napisy do filmów w prawie każdym języku. Po prostu wybierz dowolną czcionkę, kolor tekstu, pozycję – i gotowe!
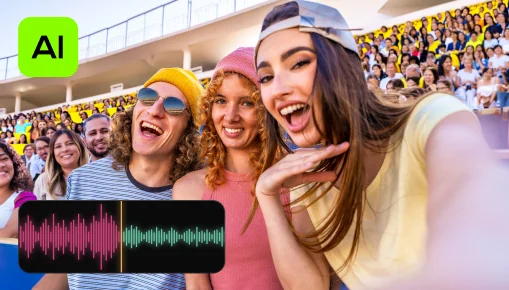
Usuwanie szumu oparte na AI
Automatycznie usuwaj z klipów odgłosy samochodów, wiatru i inne niepożądane dźwięki dzięki naszemu opartemu na AI narzędziu redukcji szumów. Twórz filmy z czystym dźwiękiem, który z pewnością docenią widzowie.
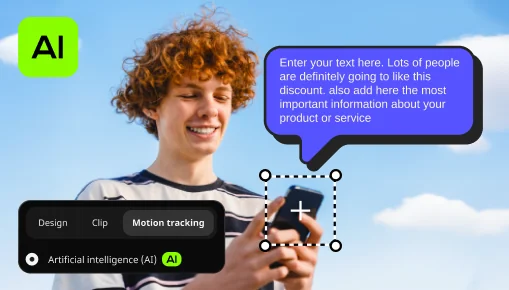
Śledzenie ruchu oparte na AI
Wzmocnij rzeczywistość w swoich filmach dzięki dodatkowej ruchomej grafice. Wystarczy kliknąć, a sztuczna inteligencja szybko dołączy dowolne zdjęcia, filmy, emoji lub memy do obiektów w Twoim materiale filmowym.
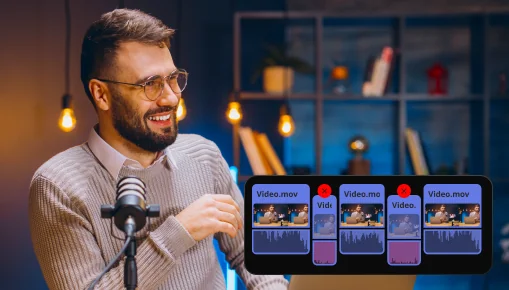
Usuwanie ciszy
Automatycznie wycinaj niechciane pauzy lub samodzielnie dostosuj długość pauzy i próg głośności. Zaoszczędzisz czas i będziesz mógł pominąć żmudne czyszczenie sekwencji wideo – dzięki czemu możesz skupić się na zabawie.
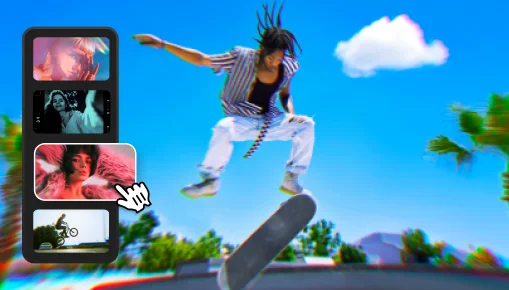
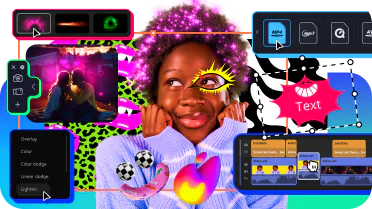
Dostosowywanych efektów
Ulepszaj filmy kliknięciem dzięki nowym realistycznym efektom — od drobin pyłu i przecieków światła po styl retro i VHS. Każdy efekt można idealnie dostosować do każdego klipu.
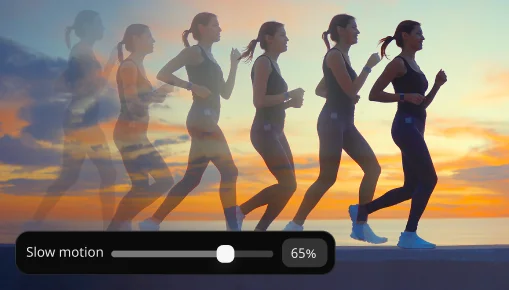
Zwolnione tempo
Spowolnij swoje nagrania, aby wyraźniej ukazać ruch, skupić uwagę na kluczowych detalach oraz kontrolować tempo i rytm w każdej scenie.
W Internecie dostępnych jest wiele bezpłatnych edytorów wideo. Jednak całkowicie bezpłatne oprogramowanie innych firm może zawierać złośliwy kod, który może ukraść Twoje dane osobowe i informacje finansowe.
Dlatego stworzyliśmy Movavi Video Editor – jest w 100% bezpieczny i łatwy w użyciu! Możesz wypróbować bezpłatną wersję z następującymi ograniczeniami: znak wodny Movavi, 60-sekundowe wideo lub połowa długości audio oraz blokowanie niektórych zaawansowanych funkcji podczas eksportowania plików. Jeśli podoba Ci się oprogramowanie, możesz kupić dożywotnią licencję lub roczną subskrypcję pełnej wersji i edytować filmy bez ograniczeń i ze wszystkimi dostępnymi funkcjami.
Bardzo się staramy, aby nasze oprogramowanie było tak łatwe i intuicyjne, jak to tylko możliwe. Czasami nawet testujemy je na naszych babciach i dziadkach! Dlatego możemy z całą pewnością stwierdzić, że Movavi Video Editor jest jednym z najlepszych dostępnych edytorów wideo dla początkujących.
Nawet jeśli ktoś nigdy wcześniej nie próbował edytować filmów, edytor Movavi opanuje w mniej niż 20 minut dzięki zrozumiałemu interfejsowi, przydatnym podpowiedziom i naszemu zespołowi pomocy technicznej, który zawsze jest gotowy pomagać i pobudzać kreatywność użytkowników.
Chcesz tworzyć interesujące treści na YouTube’a? Zrobić wrażenie na widzach dzięki charakterystycznym wstępom i przejściom? Zdobyć więcej polubień i obserwatorów? W takim razie Movavi Video Editor może być Twoim idealnym programem do edycji wideo na YouTube! Program ten ma wspaniałe szablony wstępów, mnóstwo atrakcyjnych efektów i przejść oraz intuicyjny interfejs, który pozwoli Ci skupić się na tworzeniu zamiast na czytaniu skomplikowanych instrukcji.
Ale czekaj, to nie wszystko! Jeśli planujesz podbić YouTube’a, mamy dla Ciebie niesamowity bonus — kilka paczek efektów zaprojektowanych specjalnie dla początkujących youtuberów. Użyj poniższych linków i wyobraź sobie, jak te efekty wzbogacą Twoje filmy.
Paczka Mój kanał na YouTube
Paczka Mój kanał na YouTubie nr 2
Jeśli korzystasz z profesjonalnego oprogramowania do edycji wideo, dodanie nawet najprostszego przejścia do filmu może zająć Ci wiele godzin spędzonych na wciskaniu niewłaściwych przycisków i szukaniu porad. Nie jest to przyjemne doświadczenie.
Dodanie przejścia w Movavi Video Editor zajmuje około 3 sekund — wystarczy przeciągnąć i upuścić wybrane przejście między klipami. Tak, to takie proste. Aby dowiedzieć się więcej o różnych typach przejść, użyj poniższego linku.
Jak wybrać przejścia do filmu
Jeśli znasz już powyższe odpowiedzi, być może domyślasz się, który program zamierzamy tutaj polecić. Ale tak naprawdę, żarty na bok, Movavi Video Editor jest nie tylko świetną alternatywą dla iMovie. Jest to program znacznie lepszy pod względem funkcjonalności i łatwości obsługi. Po prostu wypróbuj go, a przekonasz się, o czym mówimy.
Aby dowiedzieć się więcej o odpowiednikach programu iMovie dla systemu Windows, przeczytaj poniższy artykuł.
Alternatywy dla programu iMovie w systemie Windows
Poznaj nowy Movavi Video Editor 2026 – szybszy i pełen efektów
Przyspiesz edycję dzięki automatycznym narzędziom i wypróbuj ponad 40 nowych, dostosowywanych efektów — oszczędzaj czas i dodaj efekt wow do każdego swojego filmu. Automatycznie wycinaj wszystkie niepotrzebne pauzy, błyskawicznie stosuj efekty z jednego klipu do wszystkich i korzystaj z ponad 30 nowych stylów automatycznych napisów
Edycja bez wysiłku dzięki Movavi Video Suite 2026
Nowy Movavi Video Suite zawiera wiele funkcji, które sprawiają, że tworzenie filmów jest dziecinnie proste! Dzięki zaawansowanym narzędziom automatycznym możesz pominąć żmudną pracę. Z łatwością realizuj dowolne projekty, korzystając z setek efektów, błyskawicznej konwersji plików i poręcznego programu do nagrywania ekranu.
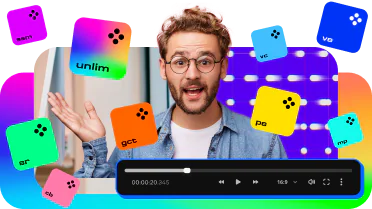
Uzyskaj wszystkie najnowsze aplikacje i efekty równocześnie z Movavi Unlimited 2026
Usprawnij edycję filmów i zdjęć dzięki nowym narzędziom automatycznym i zwiększonej wydajności. Twórz przyciągające uwagę filmy i pouczające nagrania ekranu, konwertuj pliki multimedialne do dowolnego formatu oraz zachwycaj mnóstwem efektów.
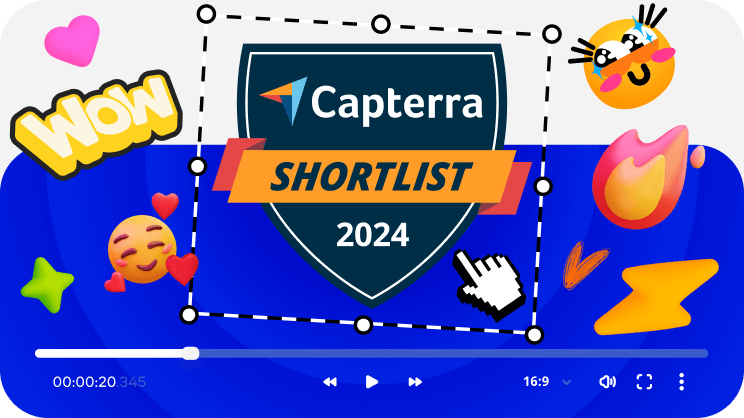
Nasz edytor wideo jest jednym z najlepszych w 2023 roku!
Movavi Video Editor znalazł się na krótkiej liście Capterra 2023! Jeśli jeszcze nie wypróbowałeś Movavi Video Editor, wypróbuj go teraz i przekonaj się, dlaczego jest jednym z najlepszych.
64-bitowy system Microsoft® Windows® 10/11 z zainstalowanymi bieżącymi poprawkami i Service Packami
Intel®, AMD®, lub inny kompatybilny procesor dwurdzeniowy, 1,5 GHz
Intel® HD Graphics 2000, NVIDIA® GeForce® seria 8 i 8M, Quadro FX 4800, Quadro FX 5600, AMD Radeon™ R600, Mobility Radeon™ HD 4330, Mobility FirePro™ seria, Radeon™ R5 M230 i mocniejsze karty graficzne
Rozdzielczość ekranu 1280 × 768, kolor 32-bitów
4 GB
400 MB wolnej przestrzeni dyskowej na instalację, 600 MB dla bieżących procesów programu
Do instalacji programu wymagane są uprawnienia administratora


Ponad 1.5 mln użytkowników zapisało się już do naszego newslettera