Tutti i software di editing
Scopri i nostri strumenti per video e foto – abbiamo proprio quello che fa per te.
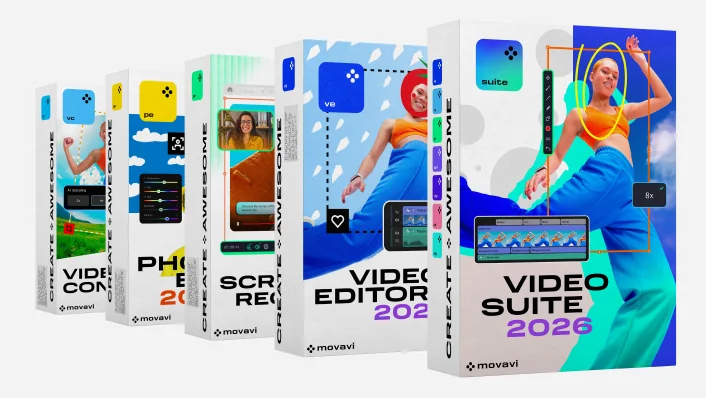
Ottieni il nuovissimo Movavi Video Suite 2026
Pacchetto video 3-in-1: editor con strumenti automatici, convertitore veloce e registratore dello schermo
Ottieni il nuovissimo Movavi Video Suite 2026
Pacchetto video 3-in-1: editor con strumenti automatici, convertitore veloce e registratore dello schermo
Prova tutti i programmi Movavi
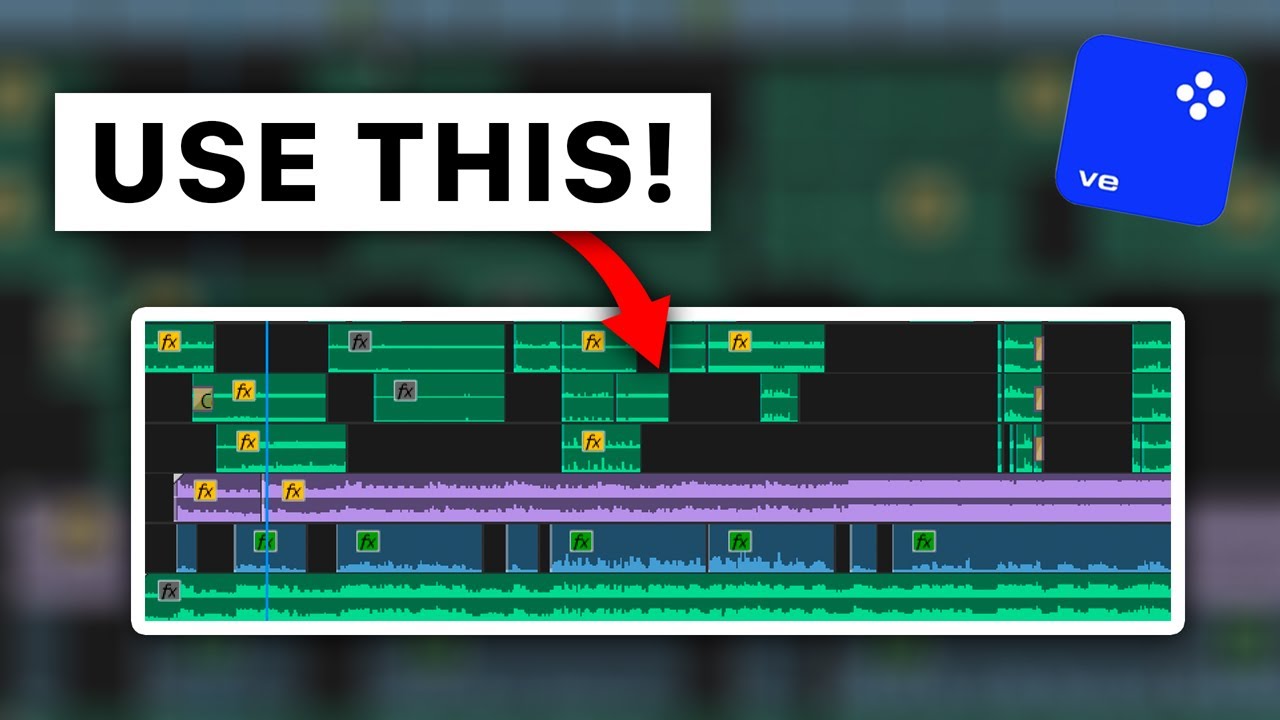
Il tuo editor semplice ma potente per creare video mozzafiato
Il tuo editor di foto semplice e intelligente per creare immagini mozzafiato
Il tuo convertitore di riferimento per modificare i formati video, immagini e audio in pochi secondi
Il tuo strumento di facile acquisizione dello schermo per progetti più efficienti
Tutti i programmi Movavi e 10.000 effetti in un unico pacchetto per creare video e foto impressionanti
Tutti i software di editing
Scopri i nostri strumenti per video e foto – abbiamo proprio quello che fa per te.
Taglia
Ritaglia
Regola
Ruota
Ridimensiona
Inverti
Stabilizza
Regola i colori
Titoli in sovrimpressione
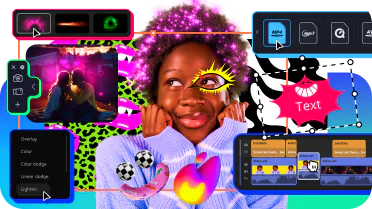
Aggiungi filtri e transizioni
Usa LUT e sovrimpressioni
Inserisci introduzioni già pronte
Applica Chroma key
Migliora la qualità del suono
Realizza video di viaggio
Conserva i ricordi di famiglia
Fai salire di livello il tuo vlog
Stupisci i tuoi spettatori
Ottieni tonnellate di Mi piace
Guadagna più follower
Crea video che tutti adoreranno
>70M


Oltre 10.000 effetti e 1.500 tracce musicali
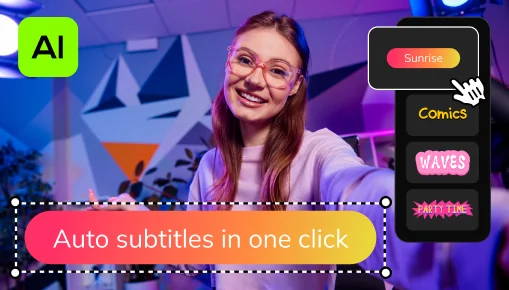
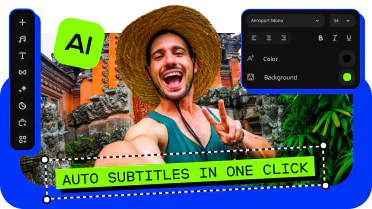
Sottotitoli automatici con un clic
La nuova timeline è ora più chiara e snella. Porta a termine i tuoi progetti più velocemente e divertiti di più con qualsiasi cosa, dai brevi video per i social ai film per famiglie più lunghi.
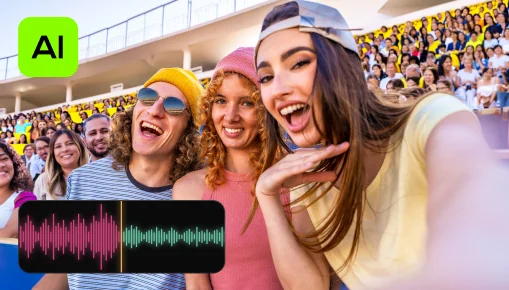
Rimozione di rumore con IA
Rimuovi automaticamente rumori di auto, vento e altri suoni indesiderati dalle tue clip con il nostro denoiser audio basato su IA. Crea video con un audio nitido che il tuo pubblico apprezzerà di certo.
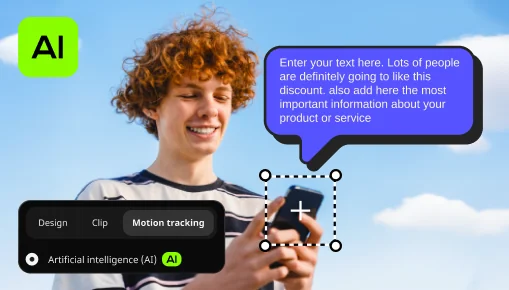
Tracciamento del movimento con IA
Migliora l'animazione dei tuoi video con grafica in movimento aggiuntiva. Basta fare clic e l'intelligenza artificiale allegherà rapidamente foto, video, emoji o meme agli oggetti nel filmato.
Rimozione del silenzio
Elimina automaticamente le pause indesiderate o regola tu stesso la durata della pausa e la soglia del volume. Risparmierai tempo ed eviterai la noiosa pulizia, così potrai concentrarti sul divertimento.
Effetti regolabili
Migliora i tuoi video con un clic: effetti realistici da polvere e luci a stile retrò e VHS. Tutti personalizzabili per adattarsi a ogni clip e dare più brillantezza ai tuoi montaggi.
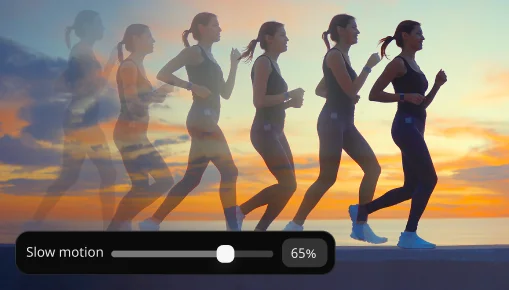
Slow motion
Rallenta i tuoi filmati per rendere i movimenti più chiari, concentrare l’attenzione sui dettagli chiave e controllare velocità e ritmo in ogni scena.
Esistono sono molti editor video gratuiti disponibili su Internet. Tuttavia, software di terze parti completamente gratuiti possono contenere codice dannoso che potrebbe rubare i tuoi dati personali e informazioni finanziarie.
Ecco perché abbiamo creato Movavi Video Editor – è sicuro al 100% e facile da usare! Puoi provare la versione gratuita con queste limitazioni: inclusione di una filigrana Movavi, video di 60 secondi o metà della lunghezza audio e alcune funzionalità avanzate non disponibili durante l'esportazione dei file. Se il software ti piace, puoi acquistare una licenza a vita o un abbonamento annuale alla versione completa e modificare i video senza restrizioni e con tutte le funzionalità disponibili.
Ci impegniamo sempre duramente per rendere il nostro software intuitivo al massimo. Talvolta lo testiamo persino con i nostri parenti più anziani! Perciò, possiamo senz'altro dire che Movavi Video Editor è uno dei migliori editor video disponibili sul mercato adatto anche ai principianti.
Anche se non ti sei mai occupato di editing video, ti basteranno 20 minuti per acquisire piena conoscenza di tutte le funzionalità di Movavi editor, grazie all'interfaccia intuitiva, agli utili suggerimenti e al nostro straordinario Team di supporto, sempre disponibile ad assisterti e a incoraggiare la tua creatività.
Vuoi creare contenuti coinvolgenti per YouTube? Non vedi l'ora di stupire il tuo pubblico con introduzioni e transizioni che lasciano il segno? Ti piacerebbe avere più Mi piace e follower? Allora Movavi Video Editor è la soluzione ideale di editing video per i tuoi contenuti YouTube! Dispone di fantastiche introduzioni pronte all'uso, una vasta gamma di effetti e transizioni strabilianti, il tutto accompagnato da un'interfaccia di facile uso, che permette di concentrarsi sull'attività di creazione senza doversi preoccupare di leggere complicati manuali.
Ma non è tutto! Se vuoi iniziare un viaggio che ti porterà a lasciare il segno su YouTube, abbiamo una speciale sorpresa per te: un paio di pacchetti di effetti progettati apposta per gli aspiranti YouTuber. Segui i link qui sotto e scopri come questi effetti potrebbero aiutarti a migliorare i tuoi video.
Pacchetto Il mio canale per YouTube
Pacchetto Il mio canale per YouTube #2
Se utilizzi software di editing video professionali, saprai che anche l'aggiunta della più semplice transizione video può richiedere ore di lavoro, alla disperata ricerca dei pulsanti giusti da premere e di istruzioni d'uso. Certo non è una bella esperienza.
Movavi Video Editor permette di aggiungere transizioni in soli 3 secondi: basta trascinare la transizione che preferisci tra le clip. Sì, è davvero così semplice. Per scoprire i vari tipi di transizioni, segui il link qui sotto.
Come scegliere transizioni per i tuoi video
Se hai già letto le risposte alle domande precedenti, non ti sarà difficile indovinare quale software stiamo per consigliarti. Ma, scherzi a parte, Movavi Video Editor non è solo una semplice alternativa a iMovie. Offre molto di più in termini di funzionalità e semplicità di utilizzo. Ti basterà provarlo per scoprire di cosa stiamo parlando.
Per scoprire le migliori alternative a iMovie per Windows, leggi il seguente articolo.
Alternative a iMovie per Windows
Un programma di editing video ti tornerà utile se desideri semplicemente tagliare e ritagliare un video, creare una presentazione o creare un filmato. Potrebbe anche essere necessario un convertitore video per rendere i tuoi file compatibili con piattaforme e dispositivi diversi.
Leggi gli articoli seguenti per saperne di più sui vari programmi per l'editing e la conversione video.
Gli 11 migliori programmi professionali per il montaggio video
Scopri dai nostri utenti come strumenti semplici possano fare la differenza

È un ottimo programma e fa proprio quello che mi serve per convertire i file mts che sto usando nel formato Quicktime di cui ho bisogno per il prodotto finito. Inoltre, gli strumenti di modifica sono semplici e intuitivi e mi aiutano a scegliere le scene e a prepararle per la conversione.

Bel prodotto. Non pensavo che mi avrebbe aiutato perché inizialmente non faceva quello che pensavo (trasferire un video in formato .jpg in singole immagini). Ma oggi, dovevo incorporare un DVD in un video e ha funzionato perfettamente.

Fantastico, semplice e facile da usare. Continuate a migliorarlo.

Il software più veloce e intelligente, un mai-più-senza.
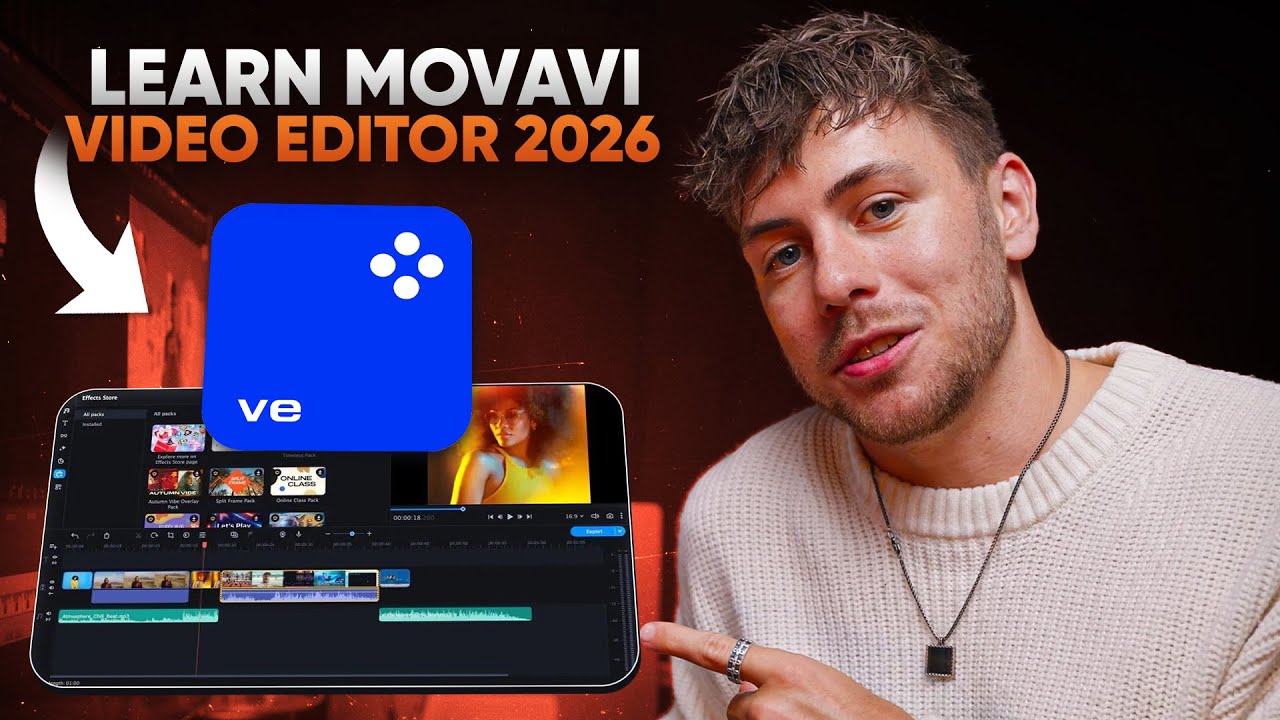
Scopri il nuovo Movavi Video Editor 2026: più veloce e ricco di effetti
Accelera il montaggio con strumenti automatici e prova oltre 40 nuovi effetti regolabili: risparmia tempo e dai più impatto a ogni video. Taglia automaticamente le pause indesiderate, applica effetti da una clip a tutte in un attimo e scopri oltre 30 nuovi stili di sottotitoli automatici
Rendi l'editing semplice con Movavi Video Suite 2026
Il nuovo Movavi Video Suite è ricco di funzionalità che rendono la creazione video un gioco da ragazzi! Salta i lavori noiosi con i potenti strumenti automatici. Affronta qualsiasi progetto con facilità grazie a centinaia di effetti, conversione file ultrarapida e un pratico registratore dello schermo.
Ottieni tutte le app e gli effetti più recenti in una volta con Movavi Unlimited 2026
Semplifica il tuo editing video e fotografico con i nuovi strumenti automatici e le prestazioni migliorate. Crea video accattivanti, realizza registrazioni dello schermo, converti file multimediali in qualsiasi formato e stupisci con tonnellate di effetti.
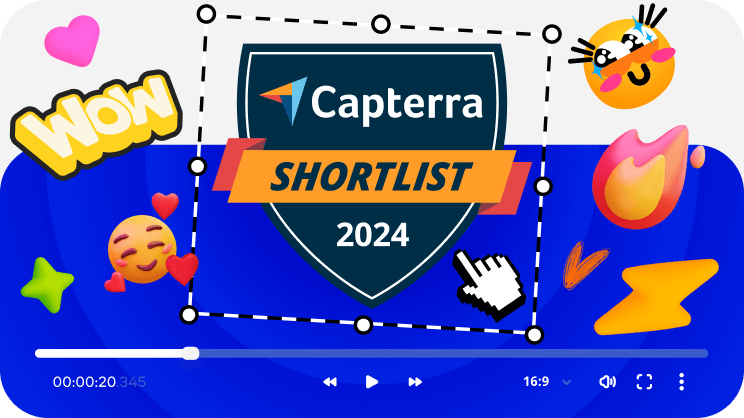
Il nostro editor video è uno dei migliori del 2023!
Movavi Video Editor è nella shortlist di Capterra 2023! Se non avete ancora provato Movavi Video Editor, provatelo subito e scoprite perché è uno dei migliori.
Microsoft® Windows® 10/11 64 bit con patch aggiornate e service pack installati
Processore dual-core da 1,5 GHz Intel®, AMD® o compatibile
Intel® HD Graphics 2000, NVIDIA® GeForce® serie 8 e 8M, Quadro FX 4800, Quadro FX 5600, AMD Radeon™ R600, Mobility Radeon™ HD 4330, Mobility FirePro™ serie, Radeon™ R5 M230 o scheda grafica superiore
Risoluzione dello schermo 1280 × 768, colore a 32 bit
4 Gb
400 Mb di spazio libero sul disco rigido per l'installazione, 600 Mb per le operazioni
Per effettuare l'installazione sono richieste le autorizzazioni di amministratore


1.5M + utenti già iscritti alla nostra newsletter