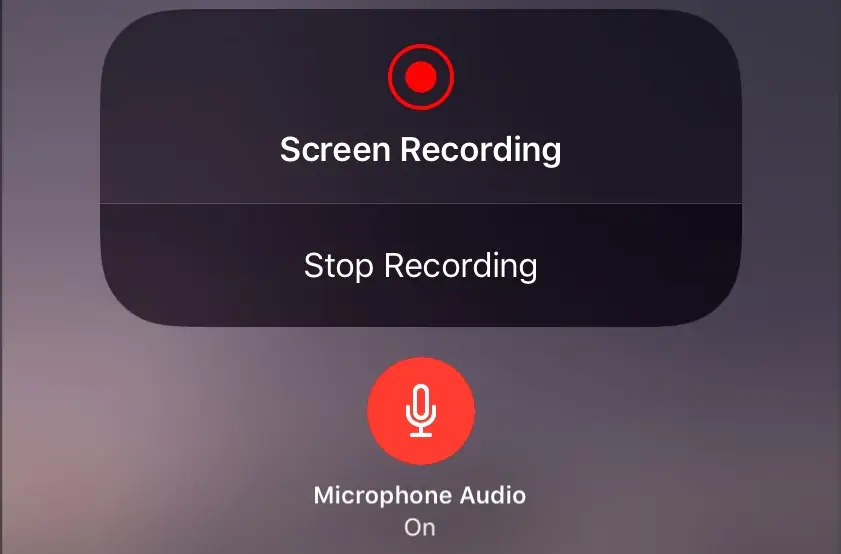
iPhone issues: Check mute switch, enable microphone audio in Screen Record settings, disconnect Bluetooth devices, or restart if iOS has bugs. Some apps like FaceTime block audio recording entirely.
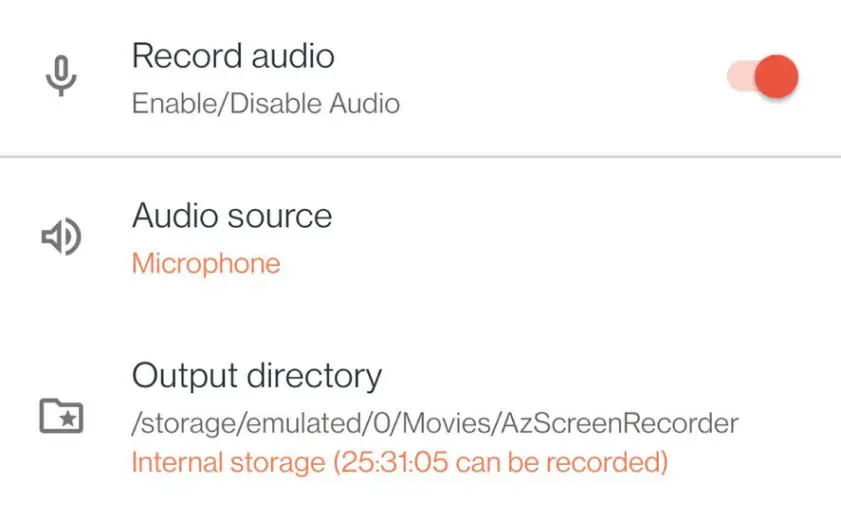
Android problems: Verify audio source settings (device audio vs microphone), restart the device, or try a different screen recorder app if the built-in one fails.
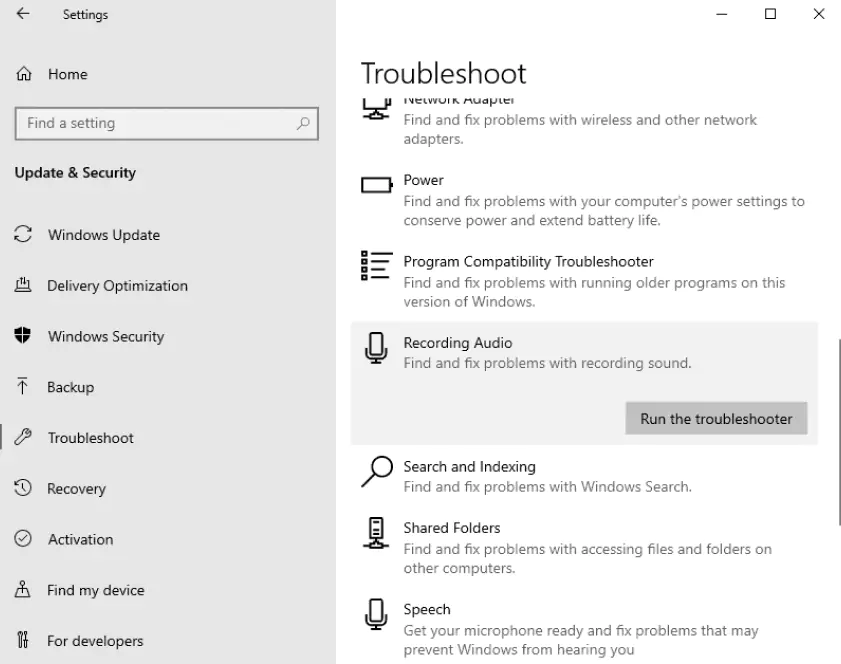
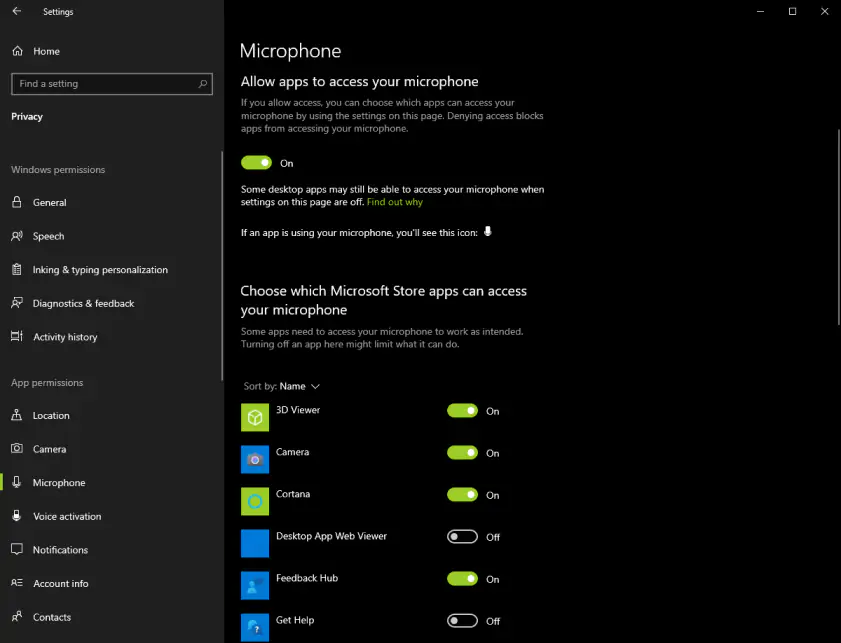
Windows 10/11 fixes: Run the Recording Audio troubleshooter, update sound drivers, and confirm microphone permissions in Privacy settings.
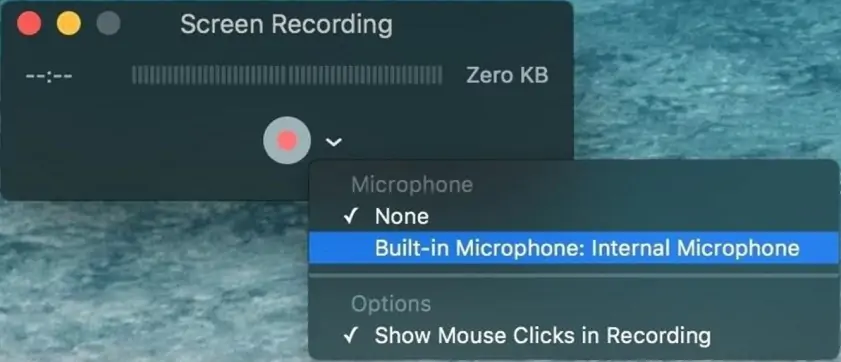
Mac solutions: Grant QuickTime microphone access, select correct input device (Built-in Mic), and check Sound input levels in System Preferences.
App restrictions: Copy-protected content from Apple Music, Netflix, or video calls from WhatsApp automatically mute audio during recording for legal/privacy reasons.
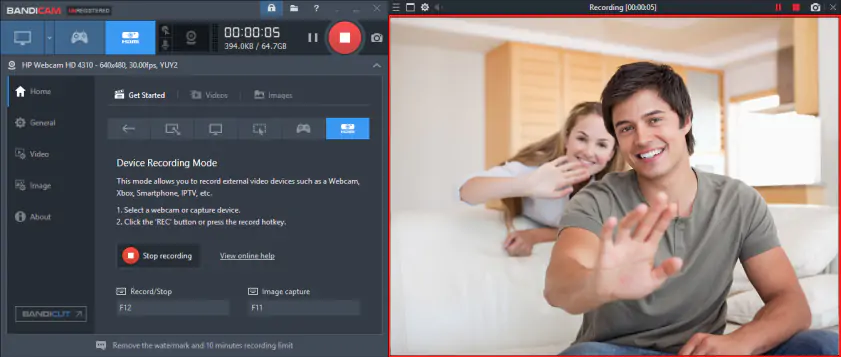
Universal solution: Use dedicated screen recording software where you can explicitly choose system audio, microphone, or both sources before starting.