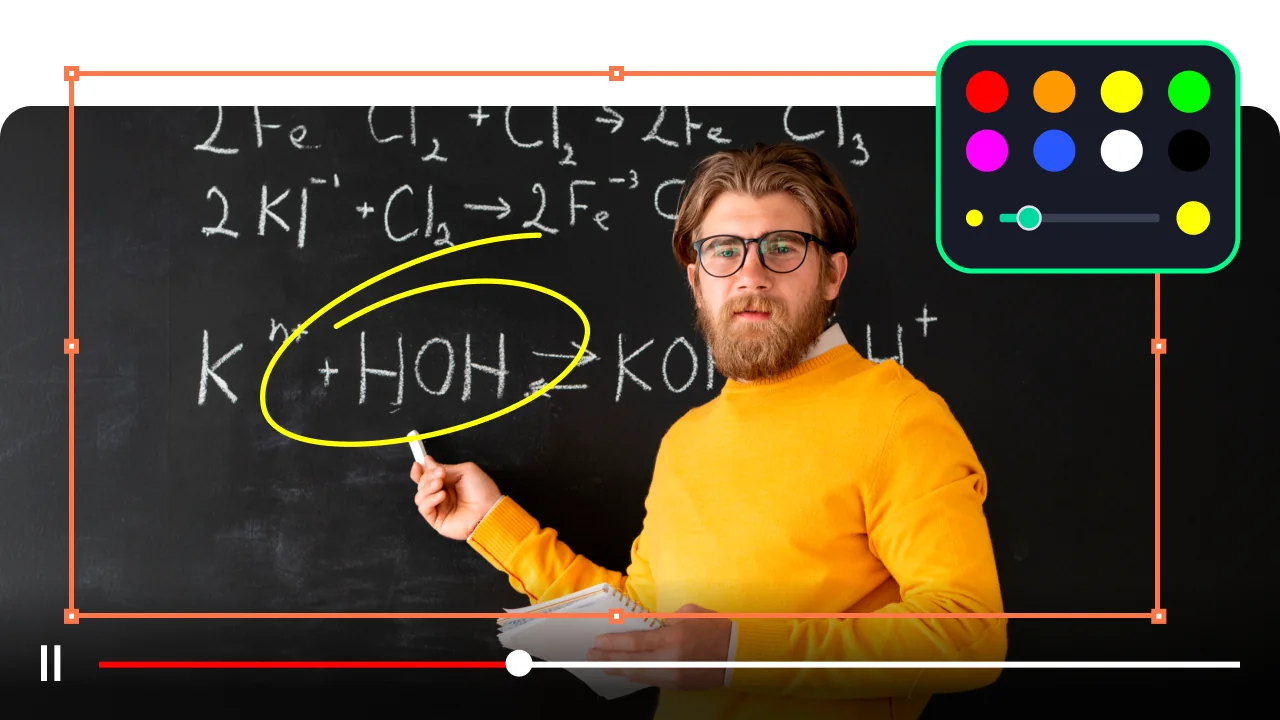
Online educators and course creators · EDUCATION
Teachers and course creators who produce video lessons on platforms like Udemy, Teachable, or YouTube need recordings that stay sharp when viewed full-screen on large monitors or TVs. 4K screen recording ensures that code, design work, text, and application interfaces remain legible even after video compression for upload, which meaningfully improves the production quality of instructional content without requiring a camera upgrade.
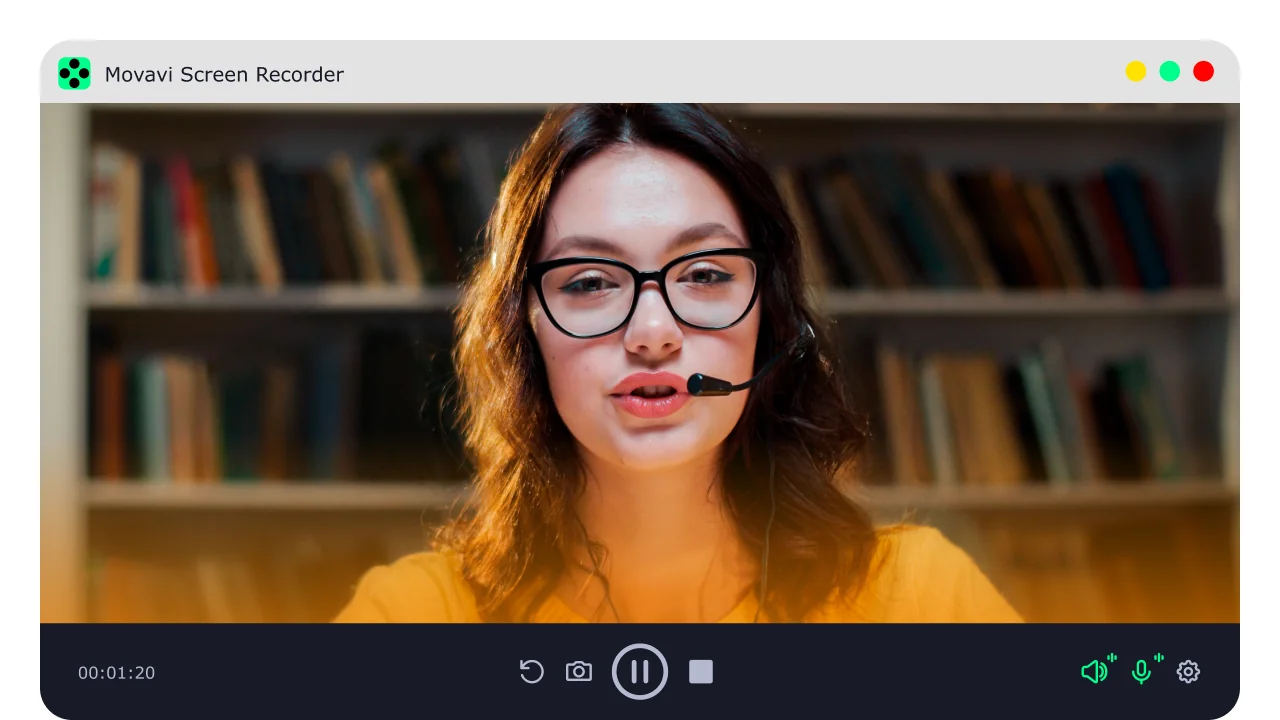
Streamers and content creators · CONTENT CREATION
Creators who record gameplay walkthroughs, software reviews, and reaction content benefit from 4K capture that gives their audience the option to watch in the highest available quality. Movavi's simultaneous webcam and system audio recording means they capture commentary and game audio in a single pass, and the built-in trim editor cuts the raw session down to a shareable clip without needing a separate video-editing application.
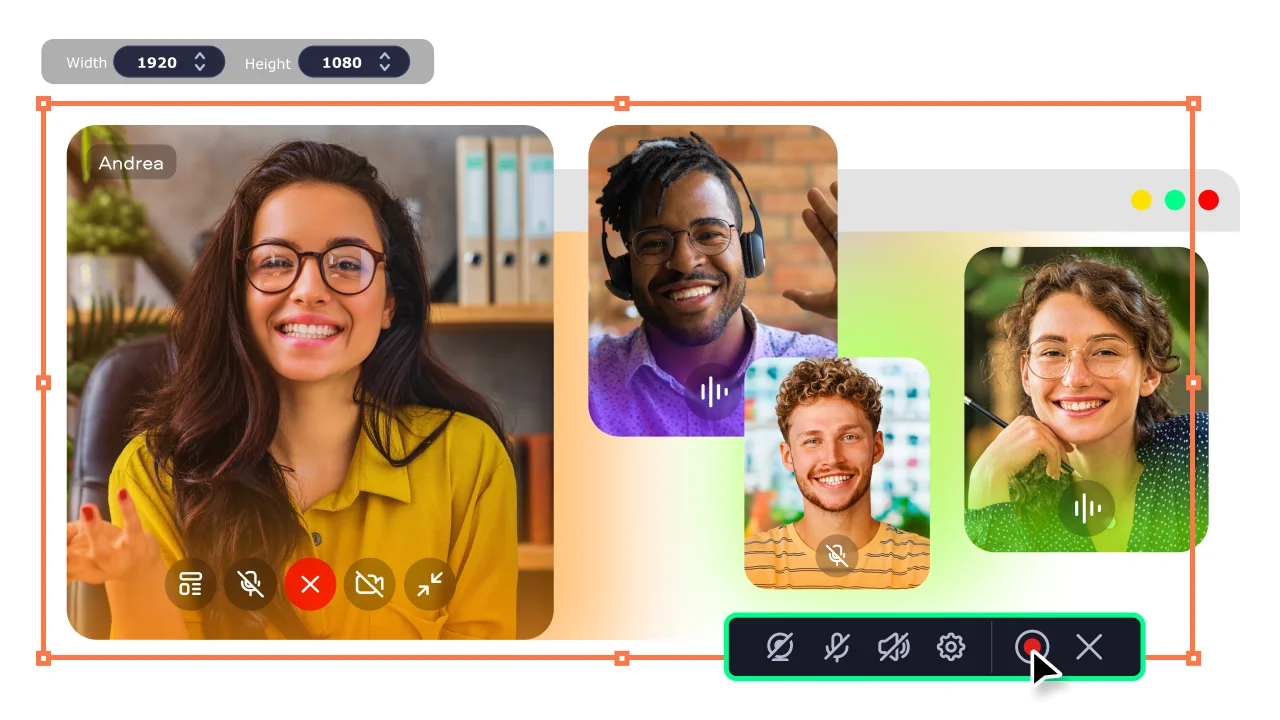
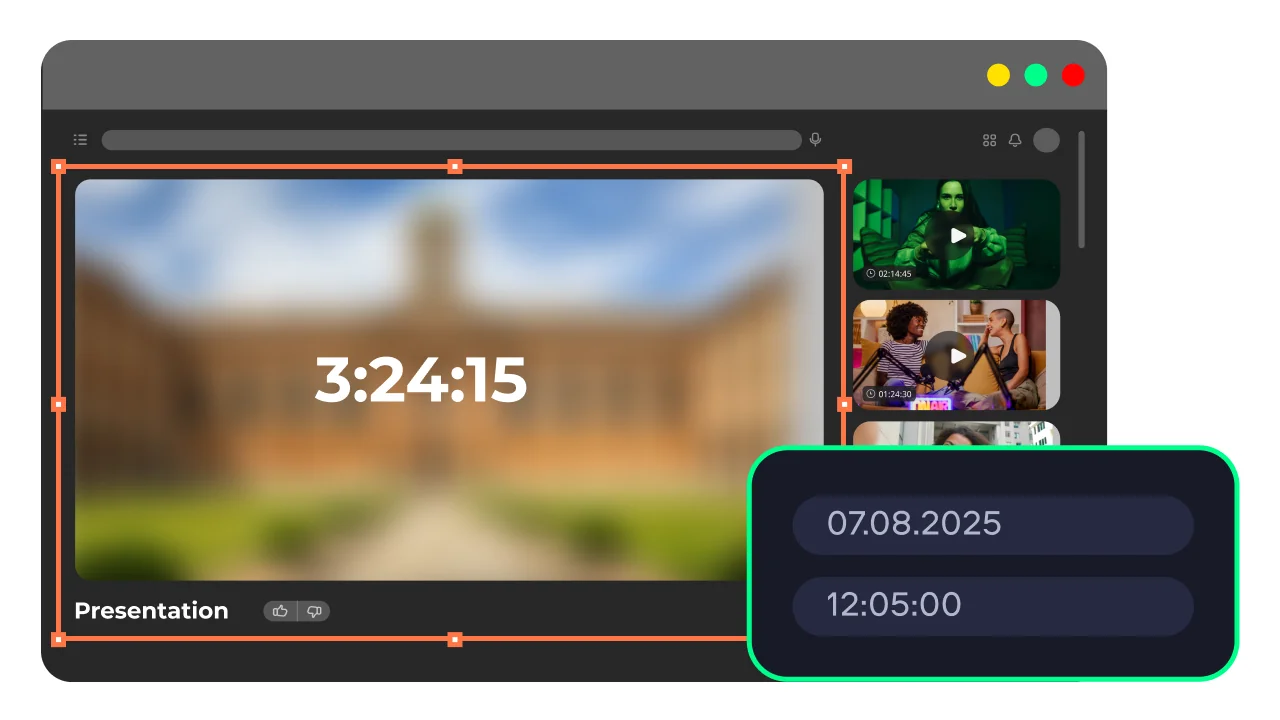
Corporate and remote teams · BUSINESS
Business professionals recording product demos, onboarding tutorials, client presentations, and remote training sessions use a 4K screen recorder for a PC to produce material that holds up on large conference-room displays and high-resolution monitors. Movavi's scheduling feature handles recurring recordings of live meetings and webinars automatically, and the keystroke display tool makes complex workflow demonstrations clear to viewers who need to follow every step.